Here you will find an array of delicious recipes that are easy to make, but gorgeous to look at. We firmly believe that you eat with your eyes first! We love using fresh, in season ingredients that will heighten the natural flavors of the dish.
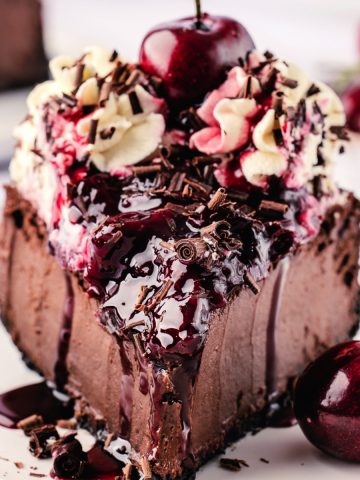
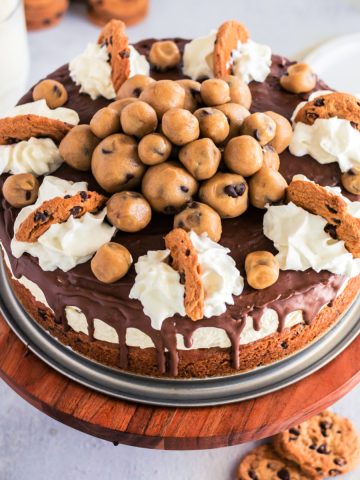
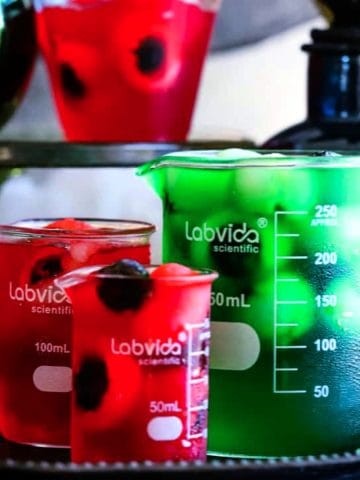
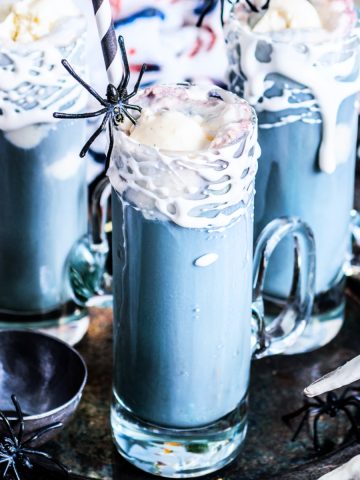
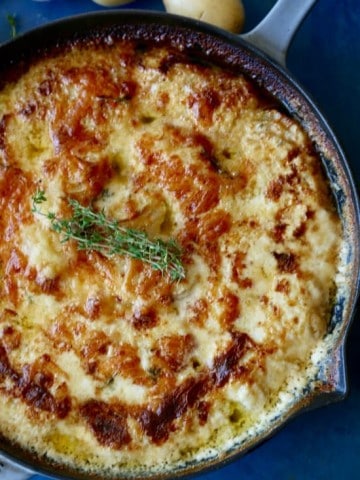
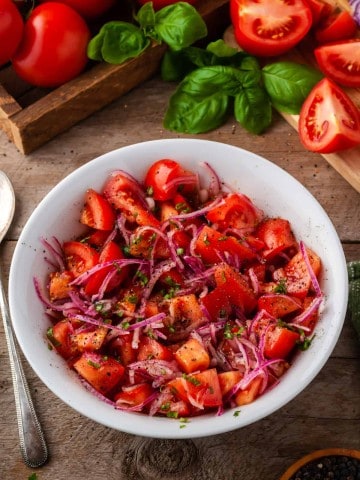
Trending Recipes
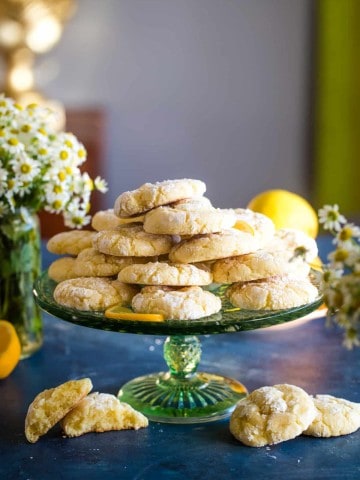
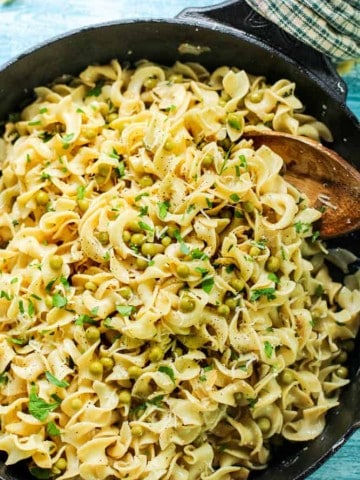
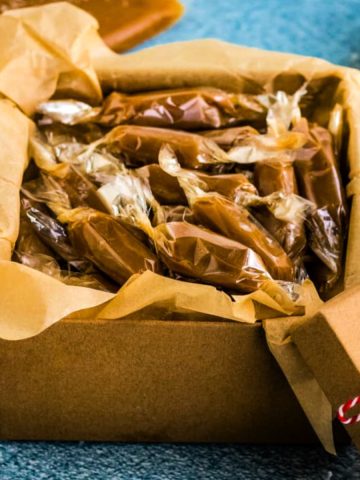
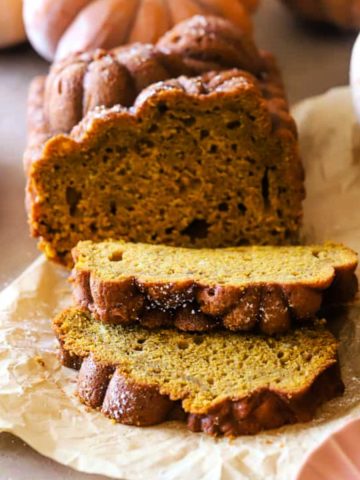
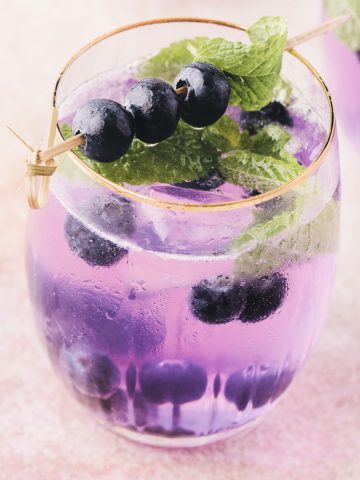
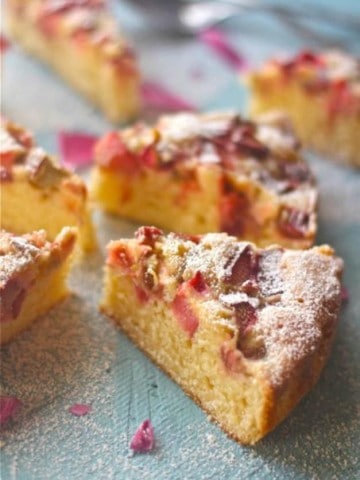
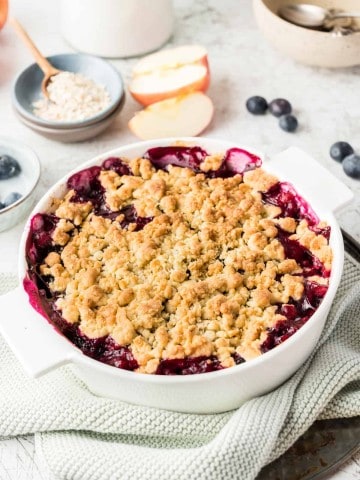
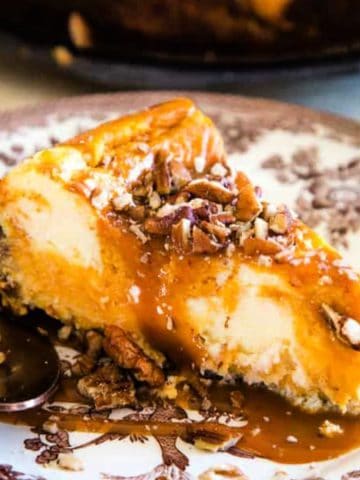
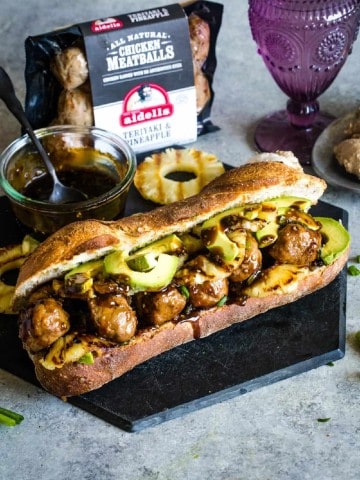
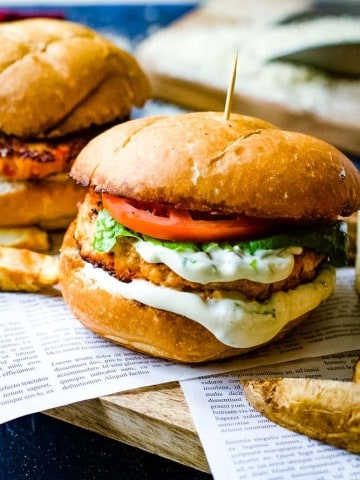
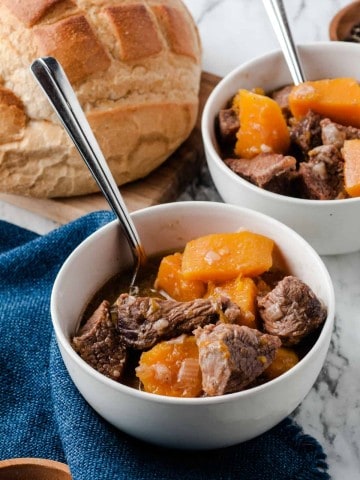
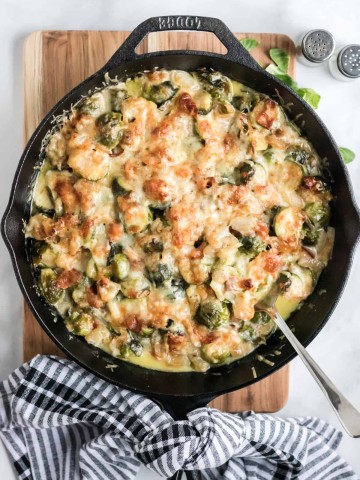
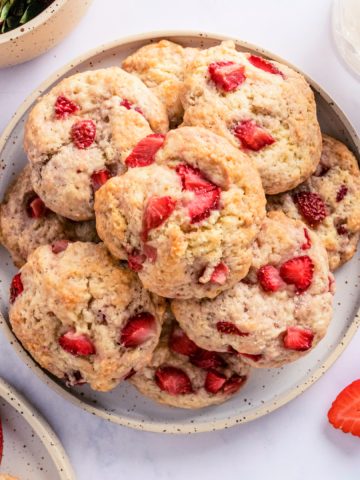
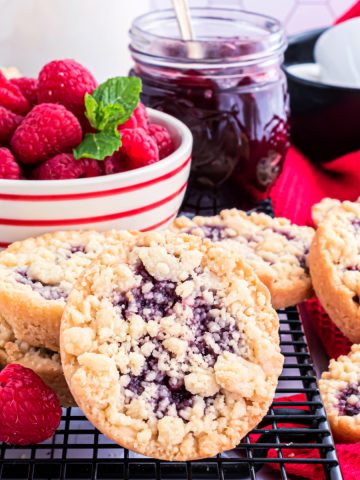
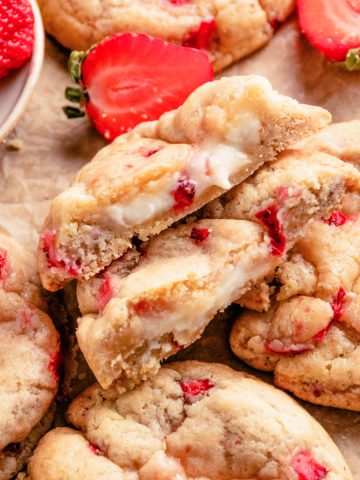
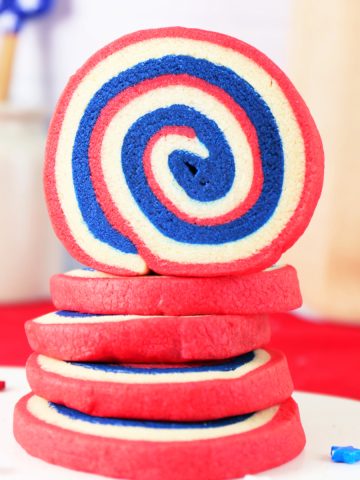
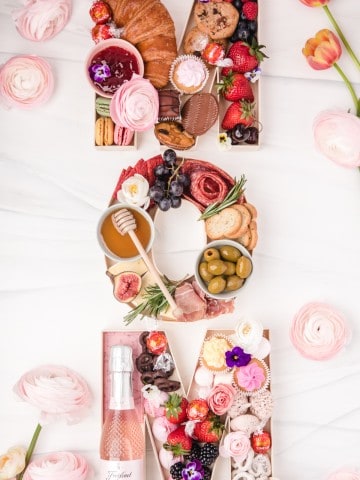
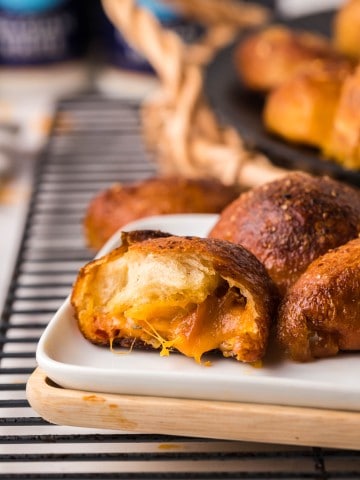
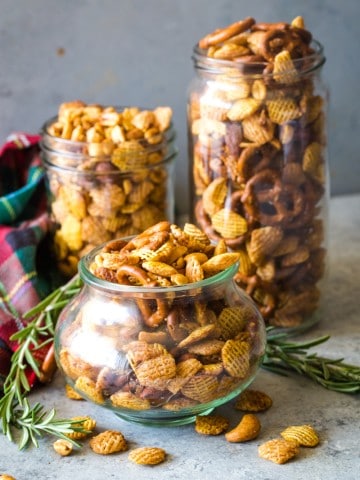
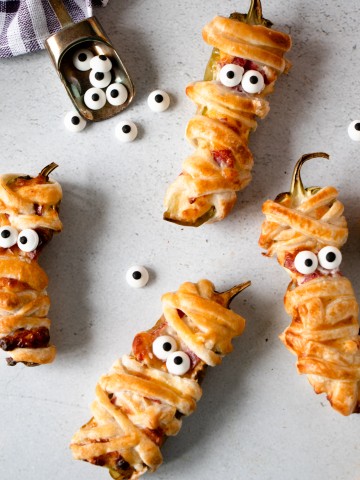
Find our most popular recipes right now on The Seaside Baker. These are tried and true recipes recipes that everyone is making!

Find Recipes For . . .


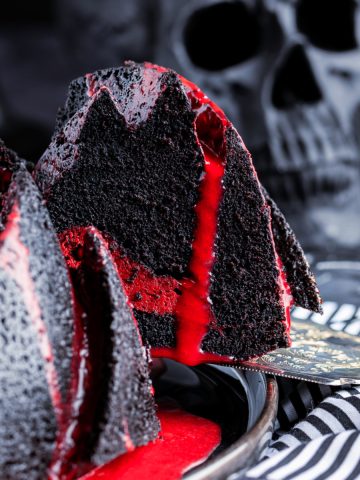
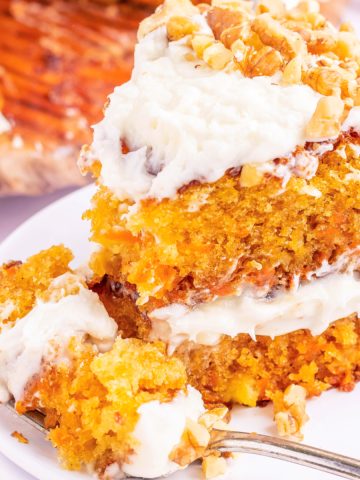
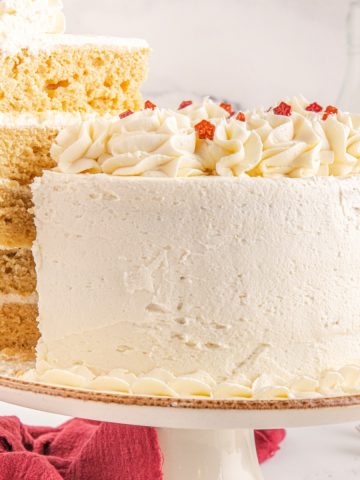
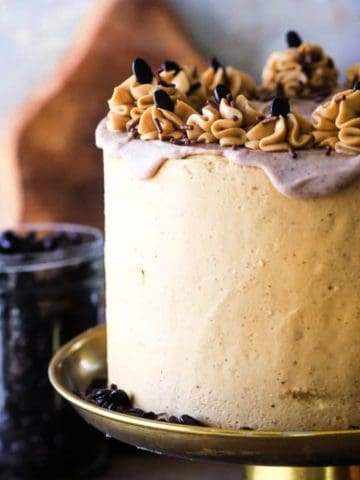
Cake Recipes
See more cake recipes →
Dinner Recipes
See more dinner recipes →
Cookie Recipes
See more cookie recipes →
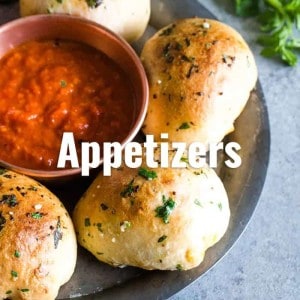
Appetizers
See more appetizers →

About Jackie
Welcome to The Seaside Baker! Here you will find my personal journals of recipes, places, experiences, and everything else that comes along with being a mother of three by the sea!