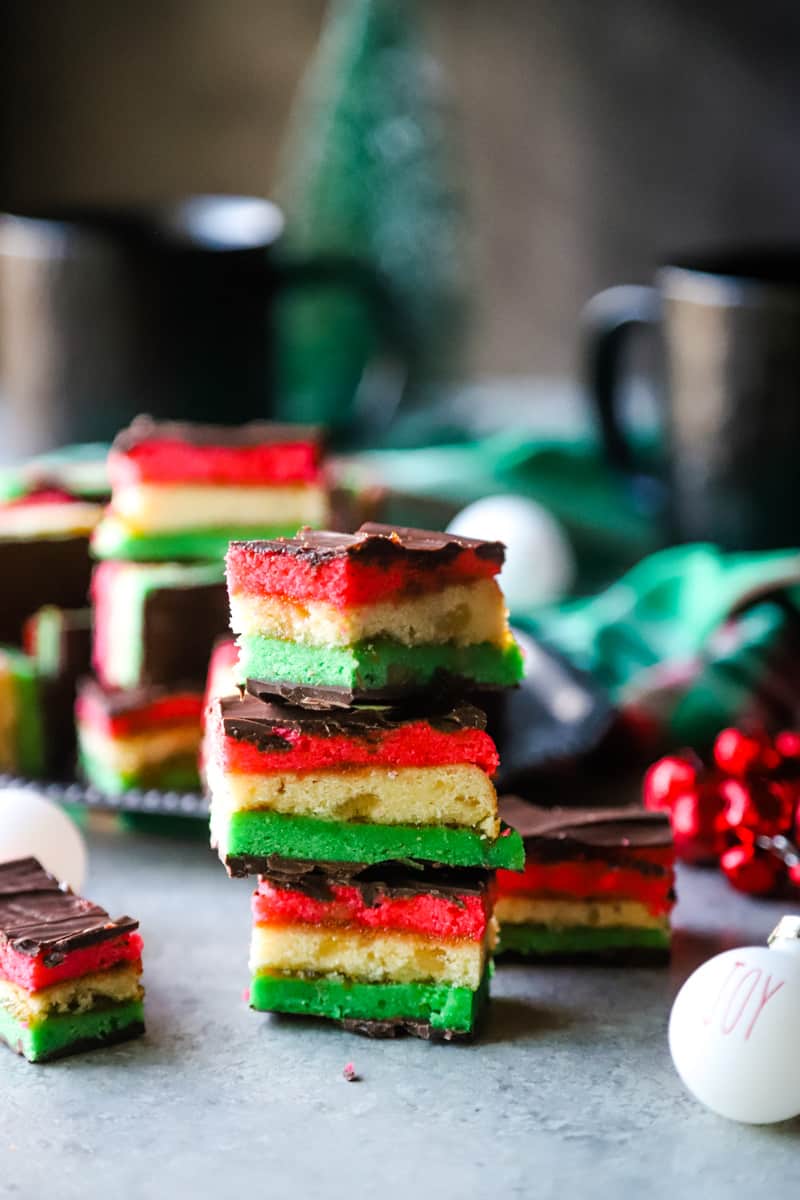
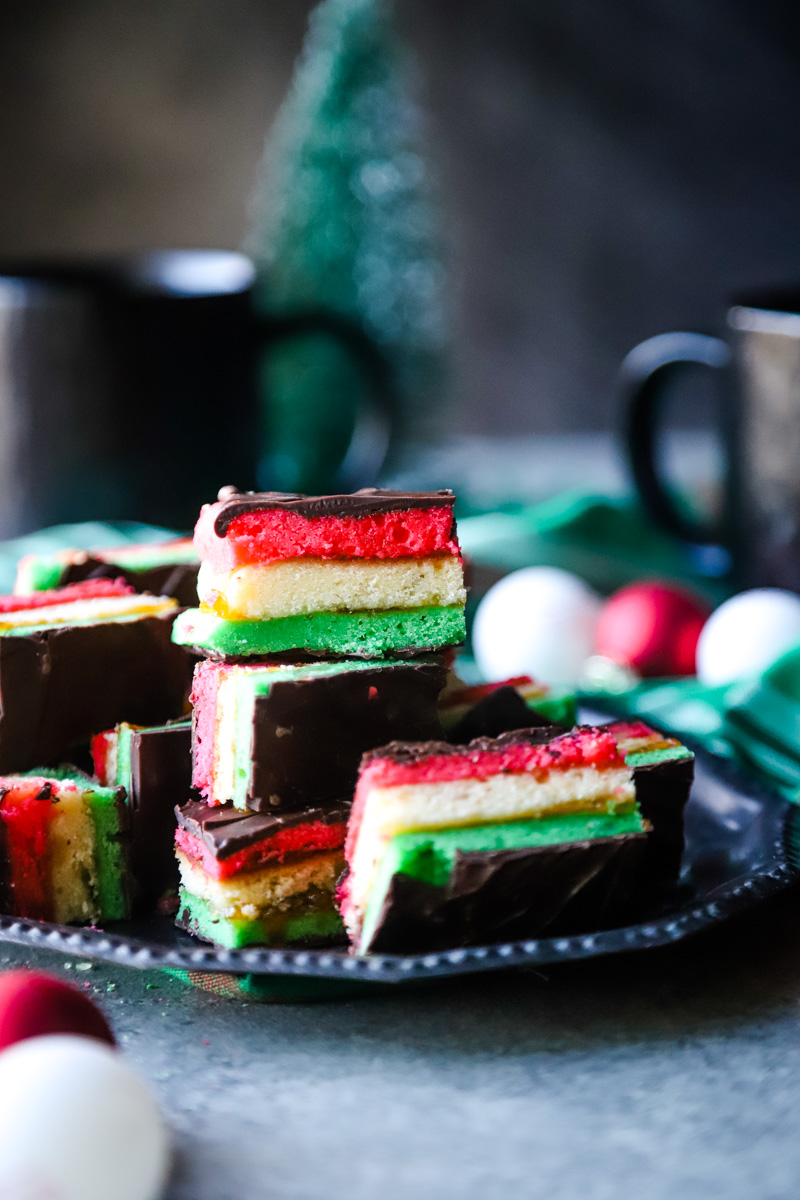
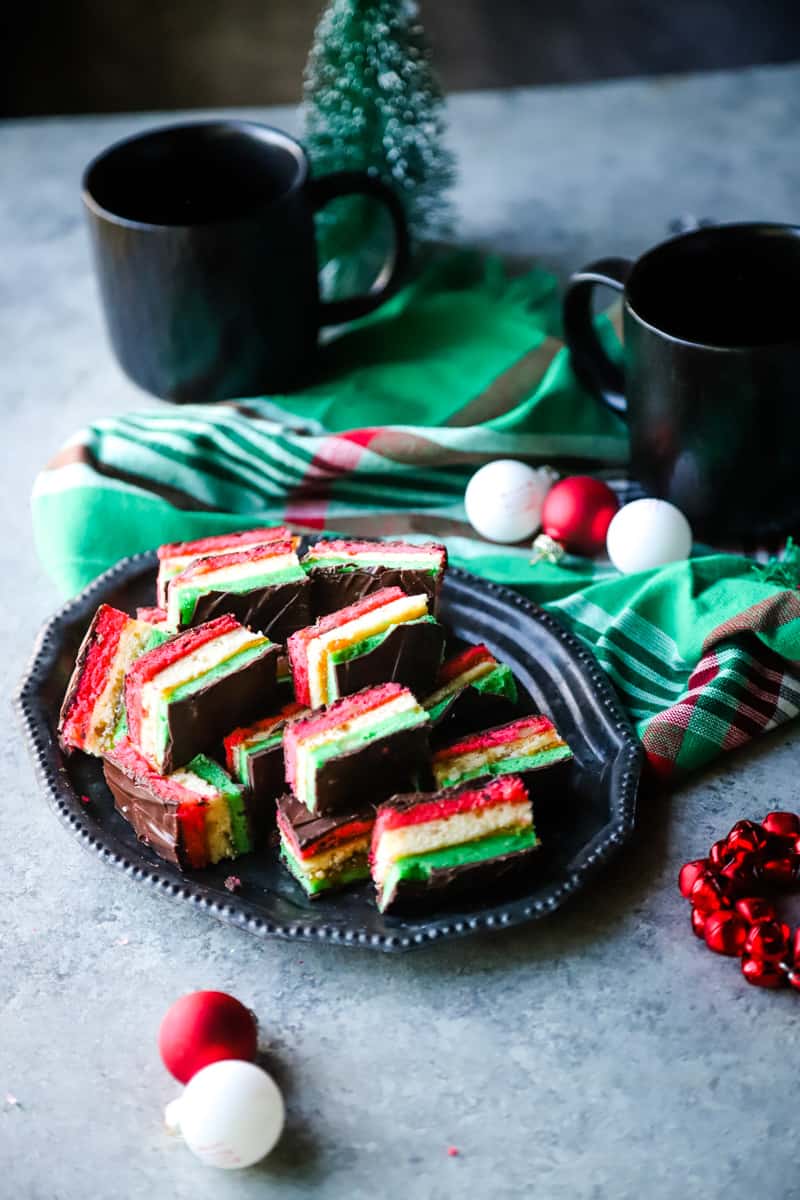
This Italian rainbow cookie recipe with almond extract is worthy of a New York Bakery. Thinly baked almond sponge cakes are colored red, white and green then layered with apricot preserves and topped with chocolate. Bite-size baked goodies that make the perfect festive treat.
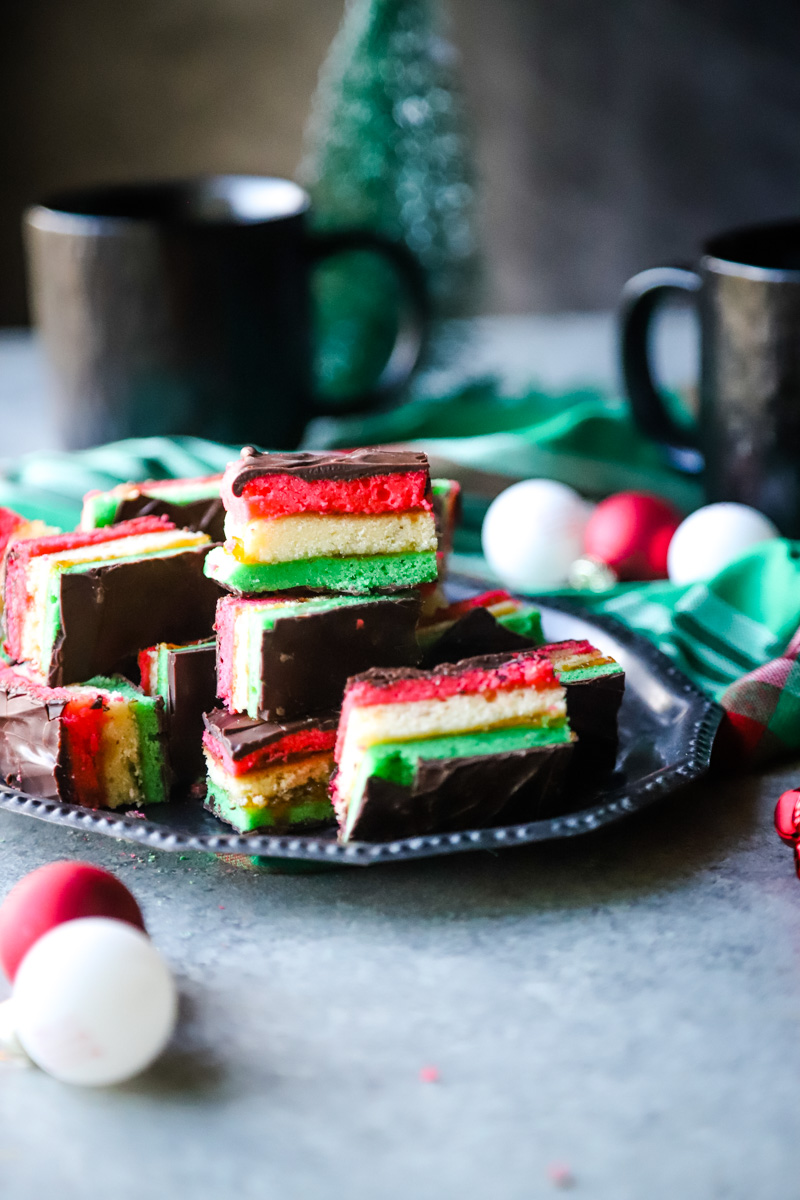
Fun Fact: Italian rainbow cookies aren’t actually from Italy and they’re technically not cookies. Before you scroll on by however, you need to give one (or a handful!) of these festive favorites a try. You’ll soon realize there’s no time to get hung up on heritage or technicalities when something tastes this good!
You may have seen them referred to as Neapolitans, Venetians or even 7 Layer Cookies thanks to the 3 cake layers, 2 chocolate plus 2 jam layers. They were created by Italian immigrants in New York as a way to celebrate their patriotism. While the layers of red, white, and green look festive they were originally to represent the Italian flag.
The “cookies” are actually thin layers of sponge cake made using flour, sugar, butter, eggs and the key ingredient – almond extract. This rainbow cookie recipe with almond extract also uses almond paste to elevate that distinct flavor.
Between the colorful cake layers is a thin spreading of apricot preserves. It’s then off for an 8 hour stint in the refrigerator to help the layers stick and flavors develop. Once chilled, the final (and arguably favorite) layer is added – chocolate!
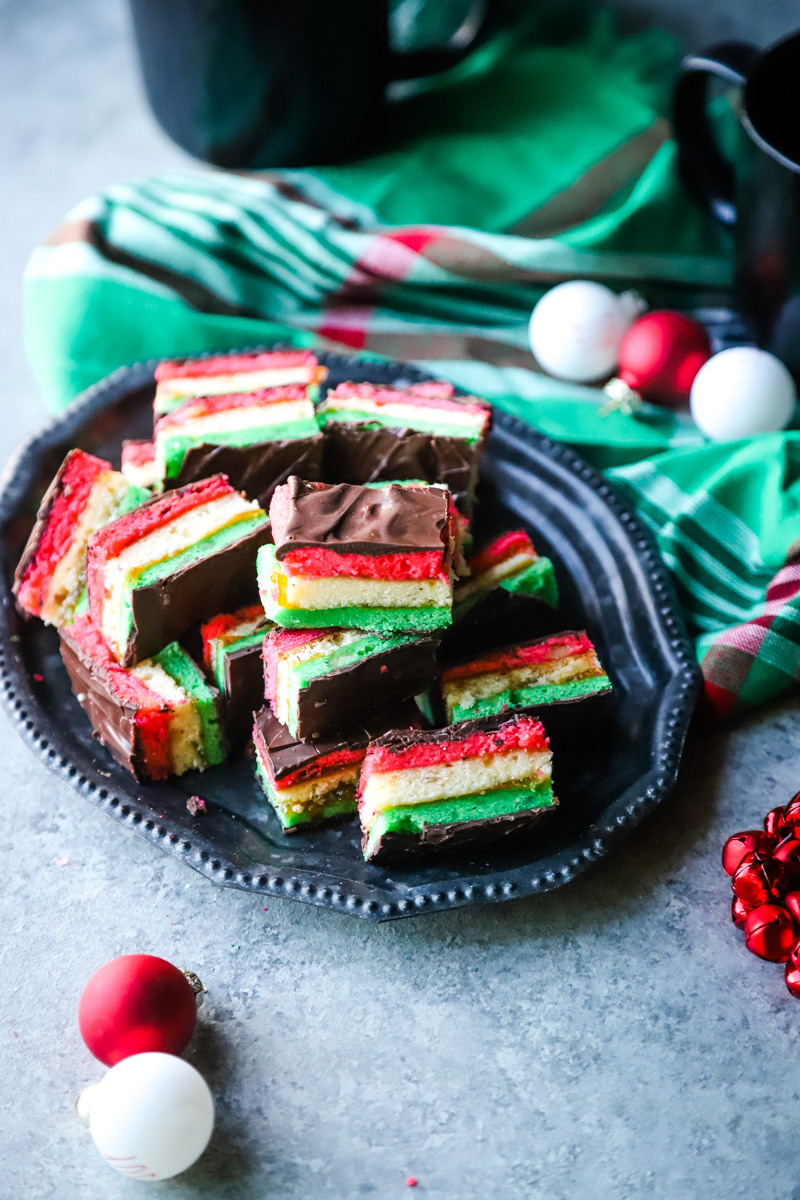
Applied to both top and bottom, the bitter-sweet chocolate brings a contrast in both flavor and texture to the dense sponge cake. Once sliced into bite size rectangles it’s time to impress family and friends with your homemade rainbow cookies.
While it’s not the quickest recipe (to reiterate, there is an 8-hour chill time) it is one of the most rewarding. The ego boost when showcasing these sweet treats to family and friends is worth the tricky layering and fiddly slicing. Don’t forget to save some rainbow cookies for yourself as the almond, apricot, and chocolate combination is divine. Perfectly paired with an afternoon espresso for a little Mediterranean magic.
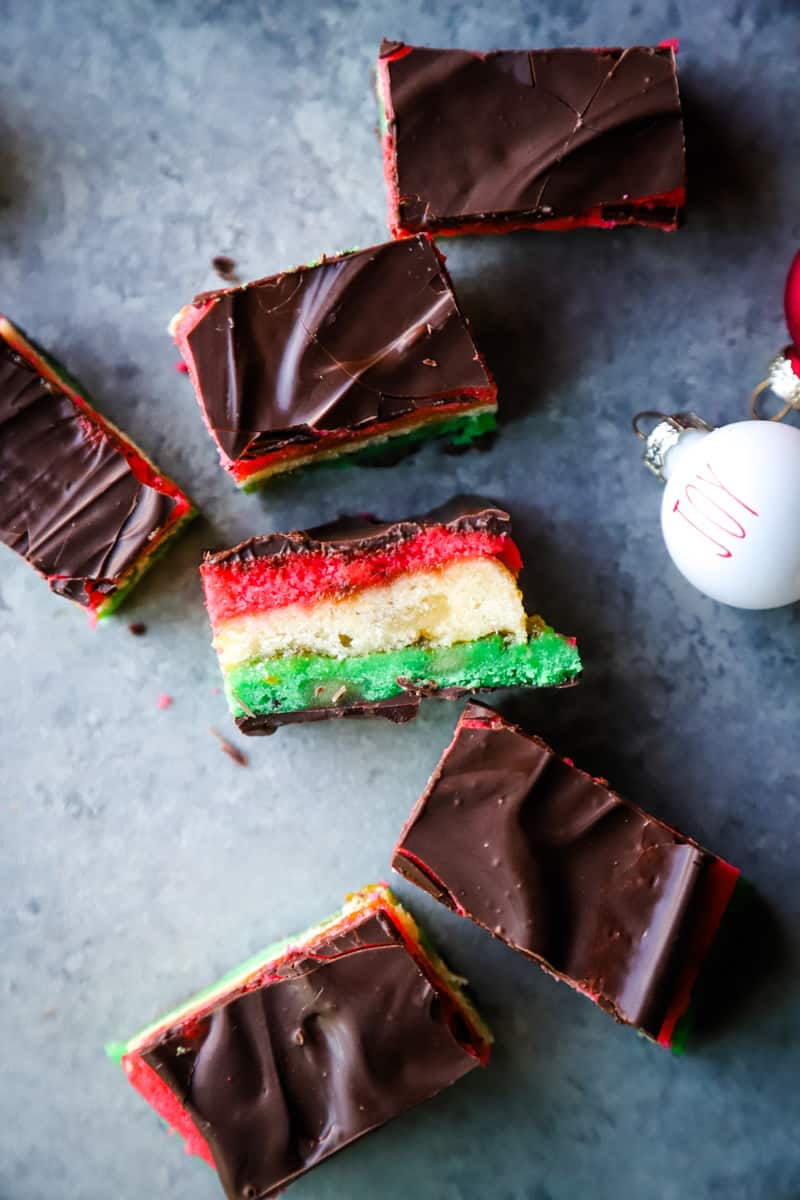
WHY WE LOVE THIS ITALIAN RAINBOW COOKIE RECIPE
- Unique – There’s no arguing these striped treats will steal the show at your next cookie exchange or festive get together. Not only is the eye-catching design guaranteed to impress, but the stand out flavors will win over even the fussiest of palates.
- Delicious – If you’re contemplating making this rainbow cookie recipe with almond extract or not, I can assure you the flavor is heavenly! Not too dissimilar to marzipan, it's sweet and almond focused but this is perfectly balanced by the bittersweet chocolate.
- Rewarding – As a wise baker once said, great things never came from comfort zones! Yes it’s tricky lining up and layering these rainbow cookies and no one enjoys waiting overnight to eat cake but the reward is so worth the effort! From the delighted reactions of your loved ones to the delighted reactions of your taste buds. Just be warned you’ll be whipping these up for every occasion after this!
- Big batch – Another reward of your hard work, LOTS of cookies! Italian rainbow cookies are intended to be bitesize, so you can slice this slab into dozens of treats. Perfect for gifting or fuelling you through those never-ending festive to do lists.
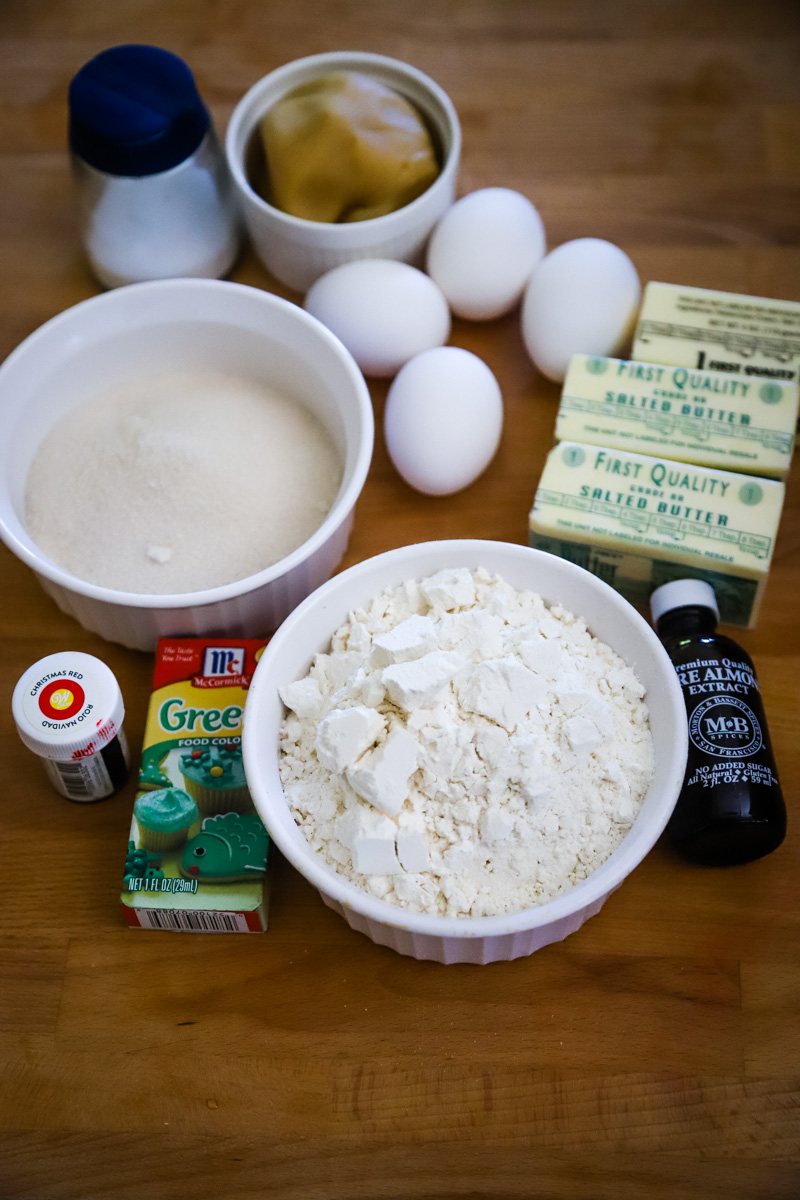
INGREDIENTS/SHOPPING LIST
- large eggs
- granulated sugar
- almond paste
- unsalted butter
- almond extract
- all-purpose flour
- salt
- Red and green gel food coloring
- apricot jam
SUBSTITUTIONS AND ADDITIONS
- Healthy upgrade – The color is vital in this recipe, but if you are not a fan of food color or simply want to get ahead on the New Year health kick, you can use natural food coloring instead. Roasted red beet provides a fabulous red and matcha powder can provide a vibrant green. Understandably this will affect flavor, so please let me know in the comments how it goes if you try this variation.
- Creative with color – Talking of color, why limit this incredible recipe to just red, white and green? They are called rainbow cookies after all! Switch up the design depending on the event, for example pink, yellow and blue for Easter or green, orange and white for St Patrick’s day.
- Apricot preserves – As I’ve made this rainbow cookie recipe with almond extract the apricot preserves pair beautifully. Some people may prefer using seedless raspberry jam instead but use it sparingly to avoid the flavor being overpowering. You could even use both – a layer of each!
- White chocolate – While some people prefer the contrast of a dark chocolate layer, you could switch it up for white chocolate for an extra sweet finish. The white also adds a festive flair and goes fabulous with the red, white and green design.
- Homemade almond paste - Do not use marzipan in place of almond paste. They are not the same thing although some recipes claim they can be used interchangeably. Marzipan has a much higher sugar content than almond paste and will not work properly in this rainbow cookies recipe. For best results, I recommend using a homemade almond paste. It’s surprisingly easy to whip up and can be used in so many recipes including raspberry almond French toast casserole and my cherry almond tart.
RECOMMENDED TOOLS TO MAKE THIS RECIPE
- 9x13 inch baking sheets
- Stand mixer with whisk & paddle attachment
- Measuring cups & spoons
- Mixing bowls
- Offset Spatula
- Cooling rack
- Parchment Paper
- Plastic wrap
- microwave safe bowl
- Serrated knife
HOW TO MAKE THIS RAINBOW COOKIE RECIPE WITH ALMOND EXTRACT
Before you gasp in horror at the number of steps, I got you. It looks like a lot, but I’ve made sure this rainbow cookie recipe with almond extract is super detailed so it’s fail proof. Throw on the Christmas tunes, pour yourself a Cranberry Pomegranate Margarita or two and have yourself a little festive fun in the kitchen!
Make The Batter
1. Preheat the oven to 350°F. Line a 9x13 inch baking sheet with parchment paper. PRO TIP: Line three 9x13 inch pans with parchment paper to speed up the process.
2. Using the whisk attachment on your stand mixer, beat the egg whites at medium-high speed. Stop when they just hold stiff peaks.
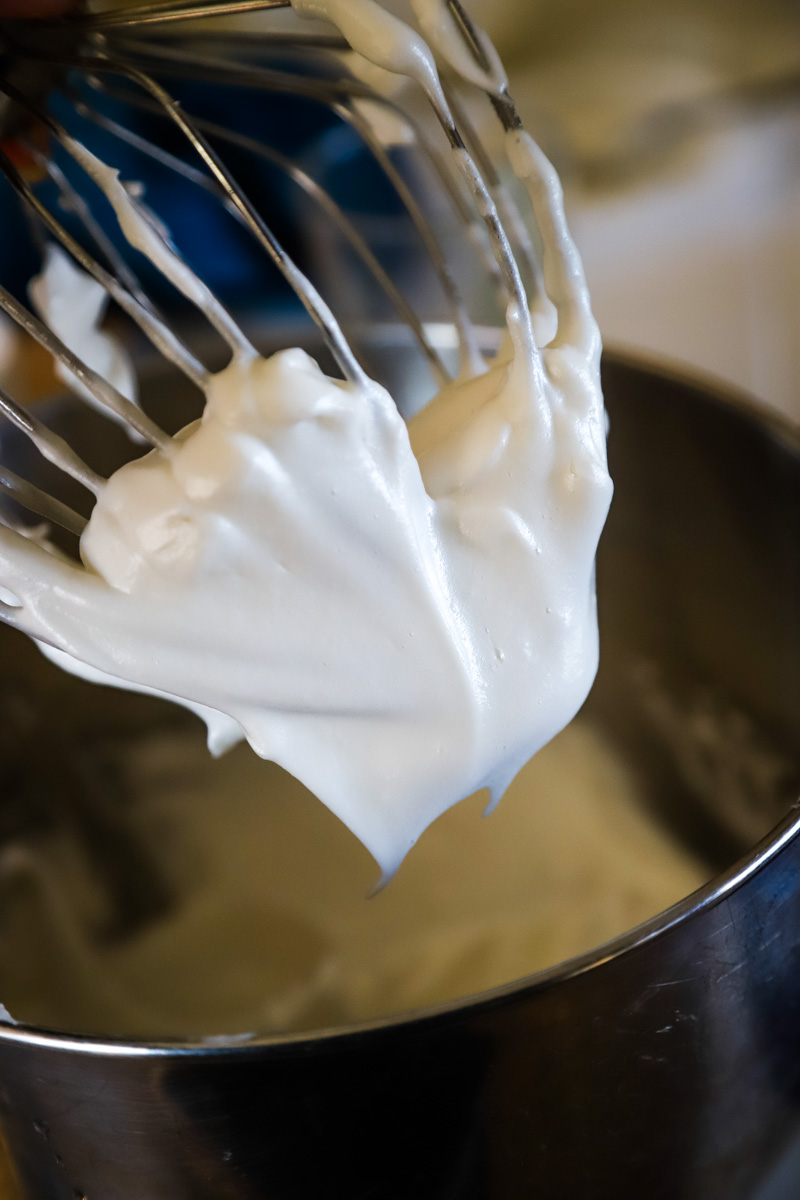
3. Gradually add ¼ cup sugar a little at a time, beating at high speed until whites hold stiff, slightly glossy peaks. Transfer to a new clean small bowl.
4. Switch to paddle attachment, then beat together almond paste and remaining ¾ cup sugar until well blended, about 3 minutes. PRO TIP: Grate in the almond paste as this will help to distribute it evenly within the batter and avoid clumps.
5. Add butter and beat until pale and fluffy, about 3 minutes, scraping down the sides of the bowl occasionally.
6. Add the egg yolks and almond extract and beat until combined well, about 2 minutes.
7. Reduce speed to low, then add flour and salt and mix until just combined.
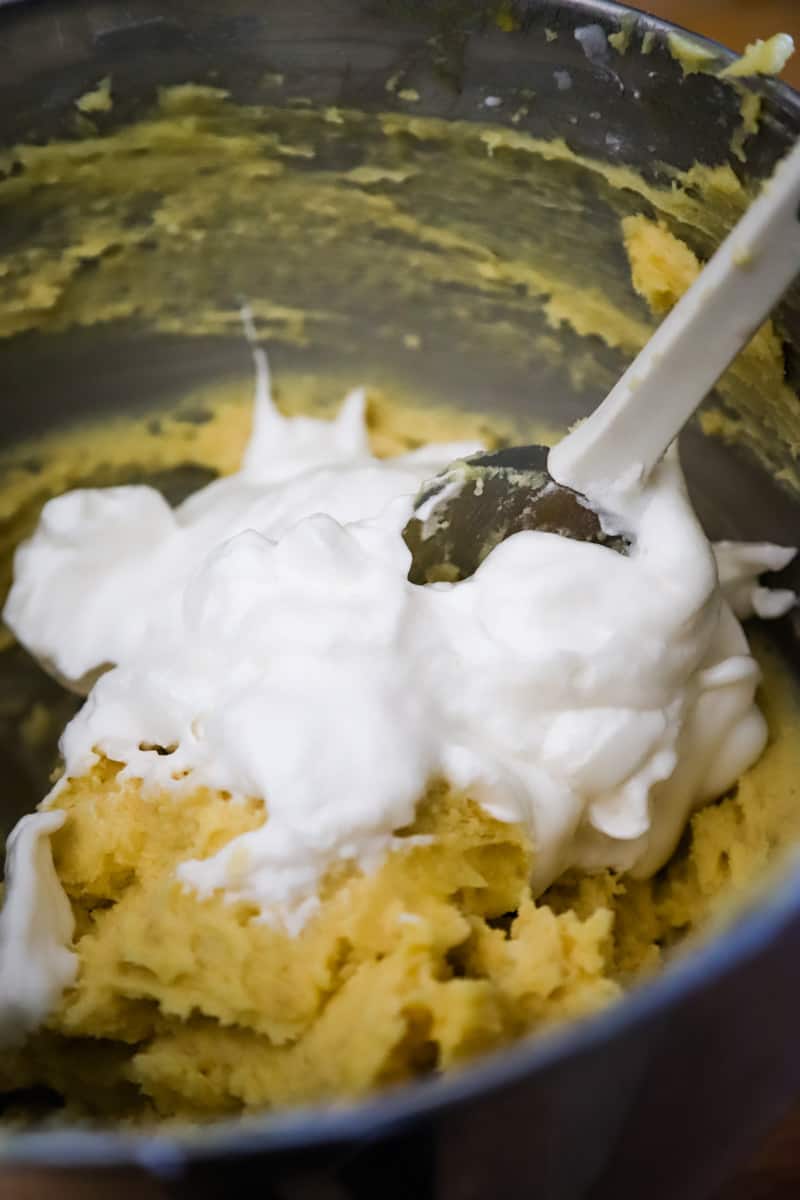
8. Fold in half of the egg white mixture into the almond mixture. Fold in the remaining whites gently.
Bake The Cake Layers
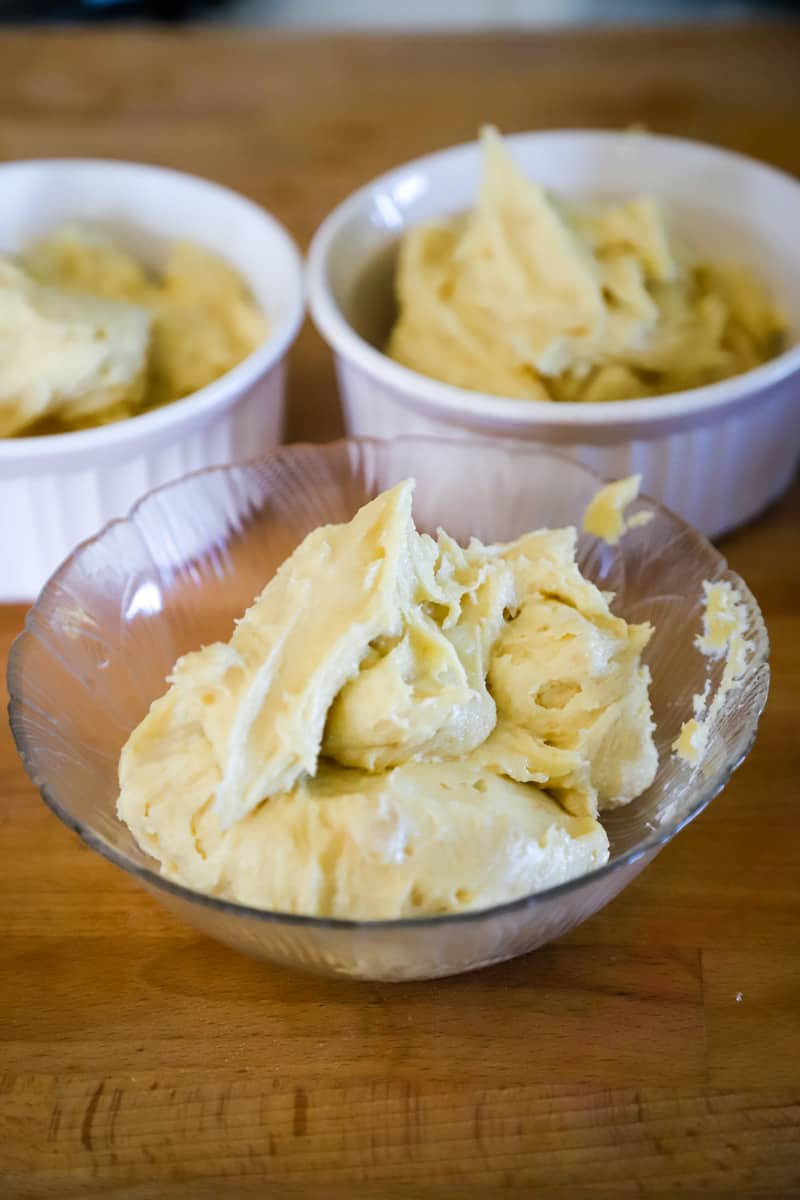
9. Divide the cake batter into 3 separate bowls. Stir red food coloring into one bowl and green food coloring into the other. Leave the white layer white. Pour 1st colored batter into the prepared pan and spread evenly with an offset spatula (layer will be about ¼ inch thick). PRO TIP: If you’re confident judging by eye, go for it or for optimum results you can weigh the batter to ensure each layer is definitely equal.
10. Bake the cake layer for 8 to 9 minutes, until just set. It is important to undercook slightly. Tops will still look somewhat glossy.
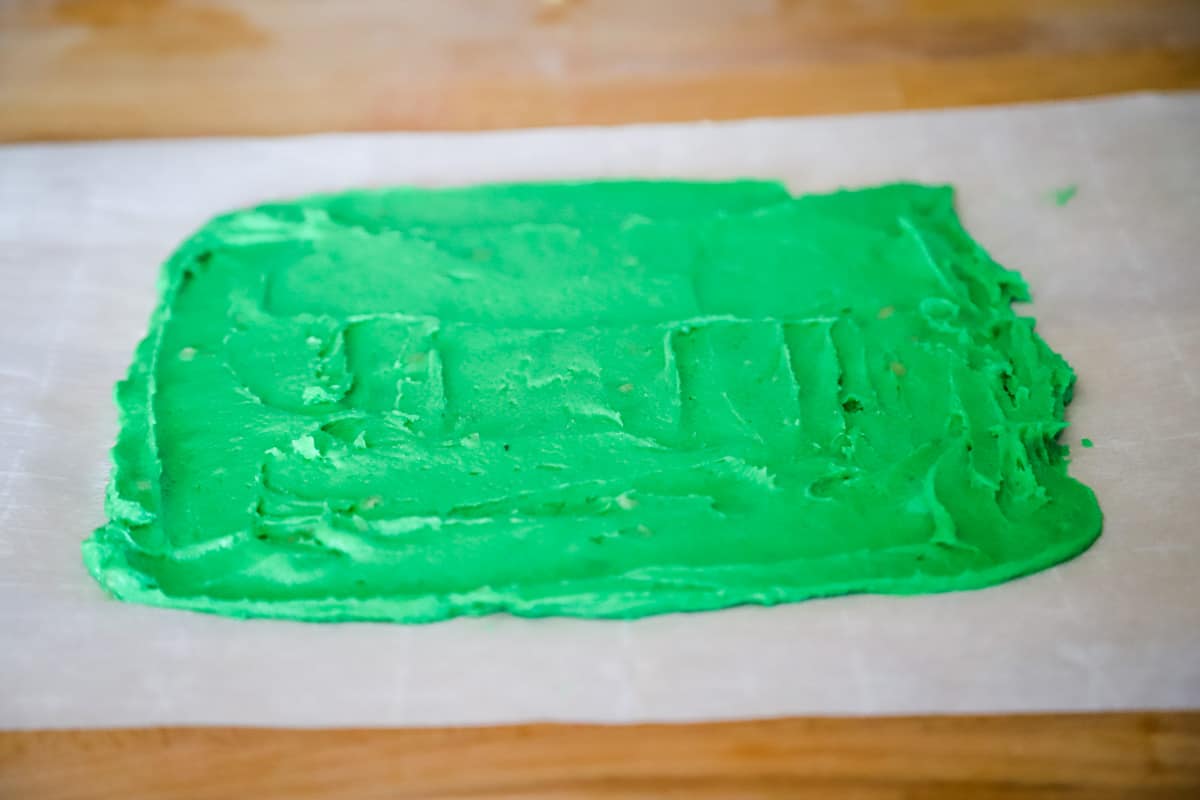
11. Transfer to a wire rack to cool. Reline the baking sheet with parchment paper and bake the next layer, followed by the last layer.
Assemble The Rainbow Cookie Layers
12. When all layers are cool, invert red cake layer onto a large baking sheet lined with wax paper. Discard paper from the layer and spread with half of the preserves. PRO TIP: If you’re struggling to spread the preserves, warming them a little in the microwave may help.
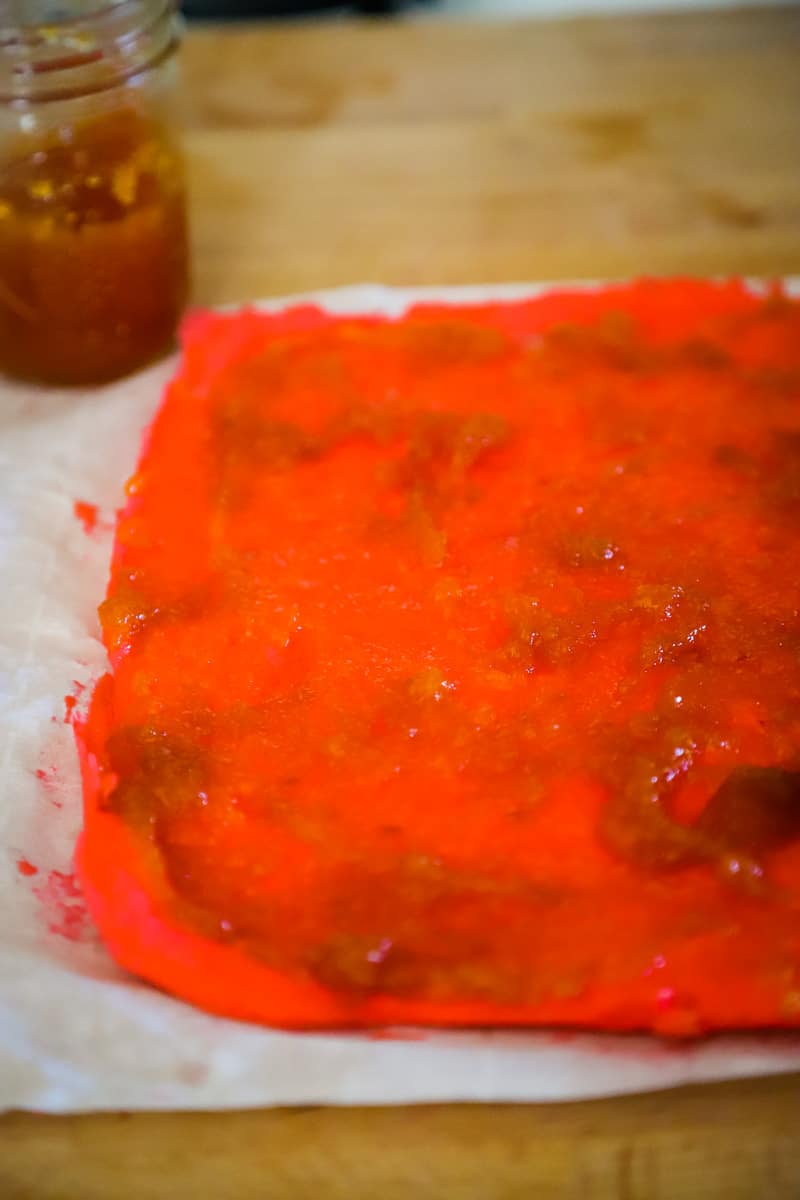
13. Invert white cake layer on the top of the 1st layer, discarding the paper. Spread with remaining jam. Then invert the final green cake layer on top and discard wax paper.
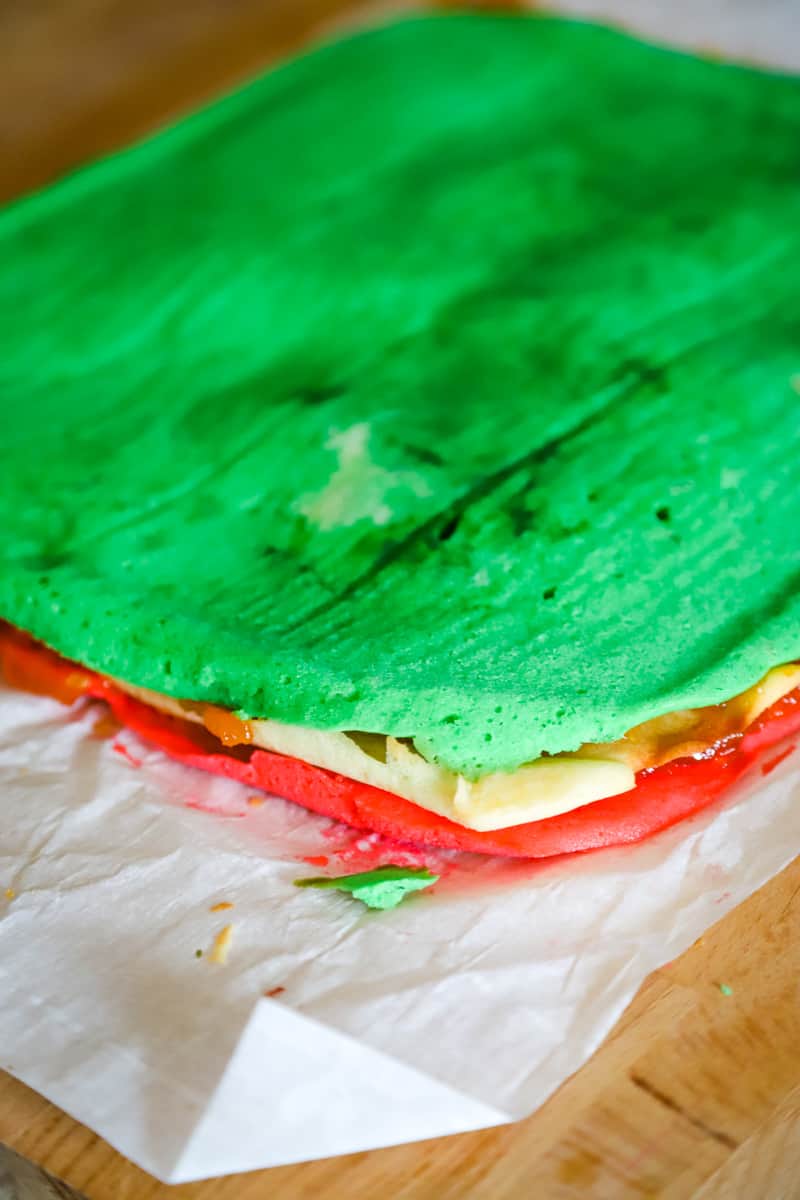
14. Cover the top layer with plastic wrap and top it with another pan or baking dish. Add cans from your pantry or cookbooks to weigh it down to compress the layers. PRO TIP: Weighting encourages the preserves to absorb into the cake and helps the layers stick together. If you skip this step, you risk the rainbow cookies falling apart when sliced.
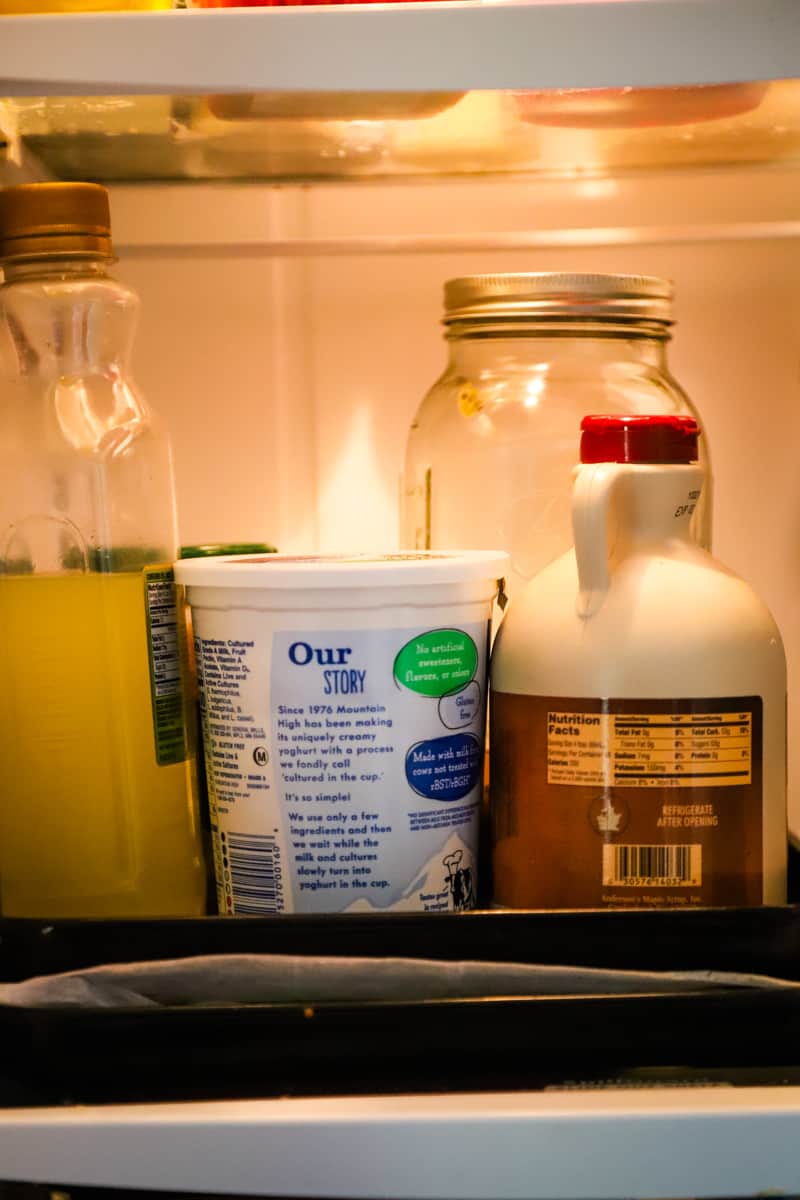
15. Chill for at least 8 hours, ideally overnight.
16. Remove weights and plastic wrap then trim the edges with a long serrated knife. PRO TIP: Obviously you can eat those extra pieces but you can also save them to add to ice cream for a speedy dessert.
Chocolate & Slice
17. In a microwave safe bowl, melt the chocolate discs for 1 minute. Let sit for 30 seconds then stir until smooth. If still not smooth, reheat for 15 second intervals.
18. Quickly spread half of the chocolate in a thin layer on top of the cake and smooth out with an offset spatula.
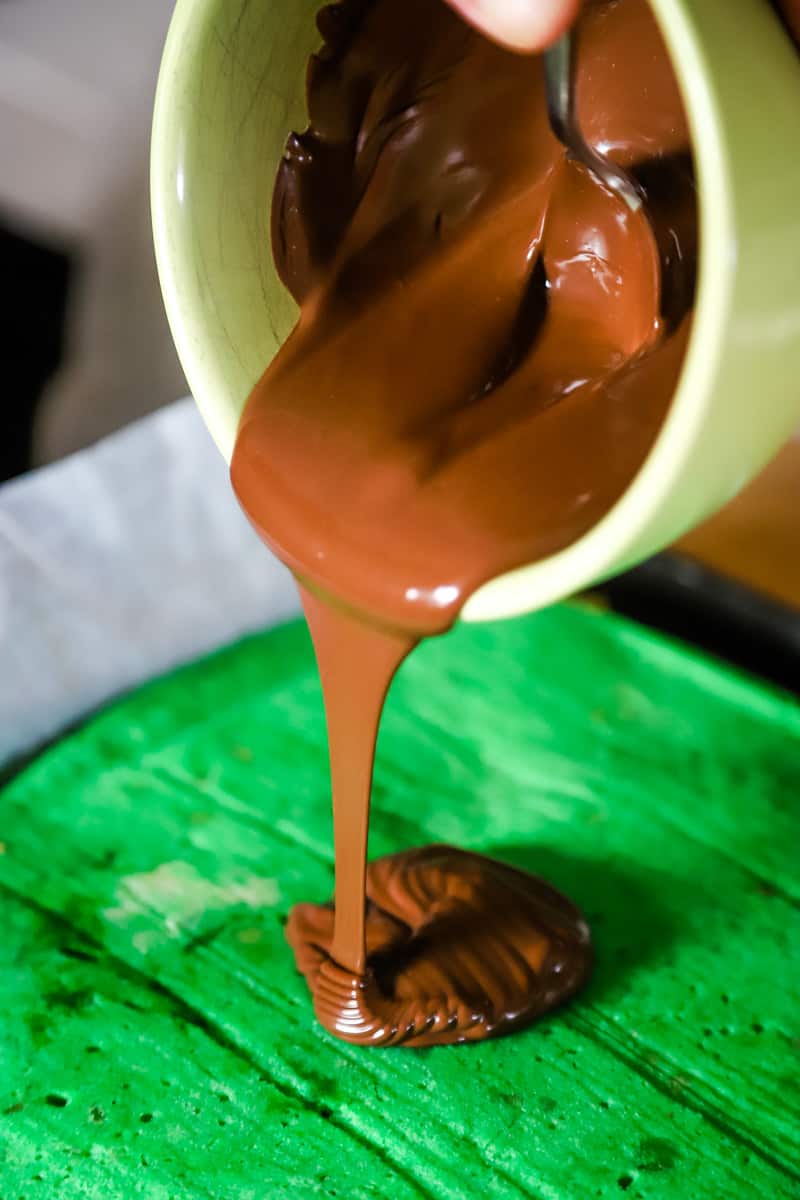
19. Chill, uncovered, until chocolate is firm, about 10 minutes.
20. Cover with another sheet of wax paper and place a second baking sheet on top. Flip the cake onto the second sheet (so now it’s chocolate side down) and remove the paper.
21. Reheat chocolate for 30 seconds, or until smooth, then quickly spread with remaining chocolate. Return to the refrigerator for another 10 minutes.
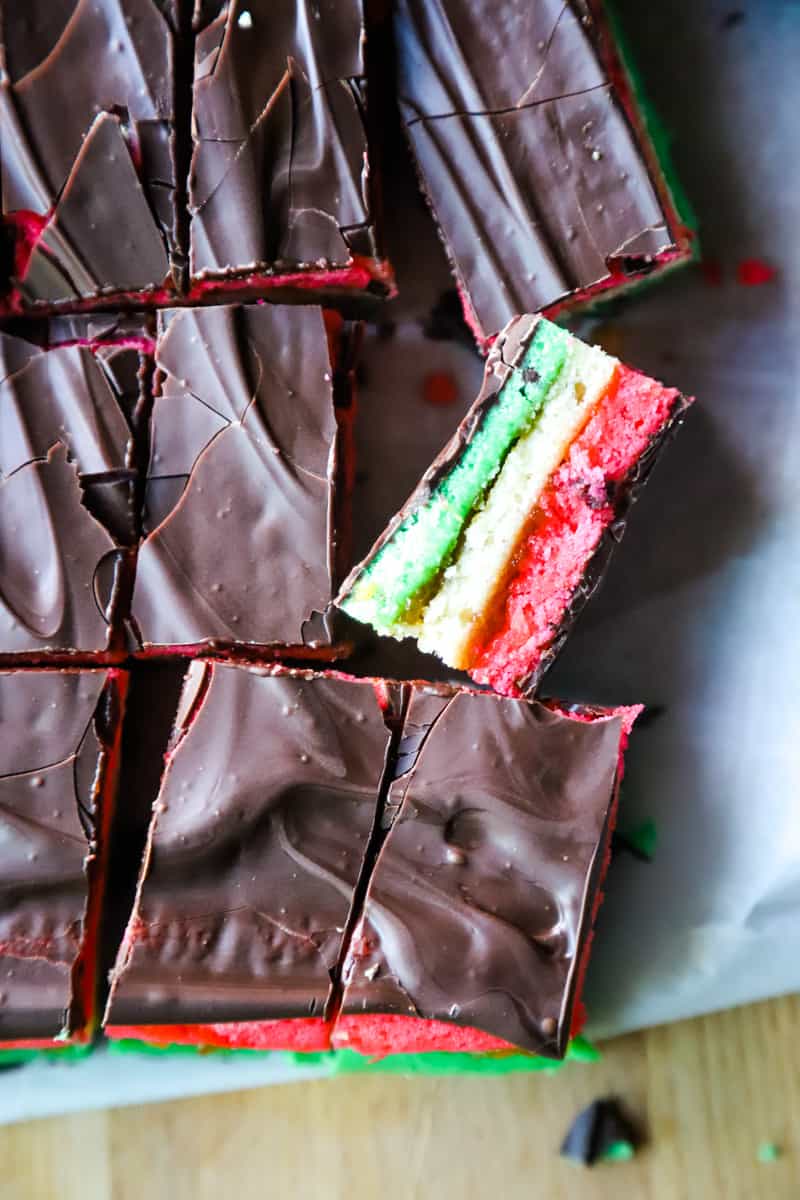
22. Cut lengthwise into 4 strips. Cut strips crosswise into ¾-inch-wide cookies. This rainbow cookie recipe will create a batch of around 60 cookies. PRO TIP: Your chocolate layers will melt quickly so you need to slice carefully and at speed. The best way to do this is to clean your knife after each cut and make sure your kitchen is cool. A hot kitchen Knife will speed up the melting! Run it under hot water then wipe the knife dry.
TIPS
- Separating The Eggs – Some Italian rainbow cookie recipes separate the eggs, while others don’t. Some people can’t taste the difference or prefer a more dense rainbow cookie. I find by whipping the egg whites and gently folding them into the almond batter, your rainbow cookies will have a light, airy texture so feel it’s worth the extra step.
- Almond measure – If you’re new to almond extract, don’t add it as liberally as you would vanilla. It’s essential you measure it exactly as it can easily overpower your recipe. I also recommend grating the almond paste so it distributes evenly and no one receives lumps of paste in their rainbow cookie.
- Even cake layers – While there is no harm judging by eye, just be wary that the only way to guarantee the colored layers will be even is to weigh your batter. Then, when you spread the batter into the pan, aim for as flat and even as possible. The more time you spend getting it even before you bake, the better the finished rainbow cookies will look.
- Baking pans - For convenience, it would be best to have 3 identical baking sheets but we don’t all have that luxury. Instead, if you only have 1 pan you can bake one layer at a time. Just make sure to cool and clean your baking sheets after each use for best results.
- Chocolate tips – If you have time, swirl your chocolate top layer with a fork for a fun design. I then recommend you refrigerate until almost firm. Sometimes if the chocolate is fully set it can crack when you slice the cookies.
- Cut the cookies – Another way to prevent the chocolate cracking as you slice is to use a serrated knife and run it under hot water before slicing. Before each slice, dip the knife in hot water or wipe with a wet cloth. This will help you achieve clean cuts for neat, uniform cookies.
- Time Commitment – My final but possibly most important tip is to be patient. This recipe takes a good 10 hours or so from beginning to end (although the majority of that is chill time.) Read the instructions fully before you begin, set aside an undisturbed 2 to 3 hour window and don’t forget those festive tunes for a little festive boogie as you bake!
STORAGE TIPS
- Italian rainbow cookies will keep for up to 3 days at room temperature. If you want them to last longer, you can store them in the fridge for up to a week. As a warning though, refrigerating them can sometimes dry out the cookies.
- To freeze rainbow cookies, layer them in an airtight container between sheets of parchment paper so they don’t stick. They will keep in the freezer for up to 3 months.
- Set aside at room temperature for around 15 minutes to defrost before serving.
FREQUENTLY ASKED QUESTIONS
Why are they called rainbow cookies?
I apologize if you expected the colors of an actual rainbow but Rainbow cookies (also called “Tricolore,”) were created during the 1900s by Italian immigrants in New York. The three colors – white, red, and green – are to celebrate the Italian flag and earn the cookies their name. This is the reason they’re also referred to as Italian flag cookies, Napoleon cookies, and Venetian cookies. There’s no reason why you can’t switch up the shades to whatever colors you have in your pantry, however!
Can you make this rainbow cookie recipe with almond extract gluten free?
Yes! It’s actually super easy to make gluten free rainbow cookies. You just need to swap out the flour for your favorite gluten-free alternative. Bob's Red Mill 1-to-1 gluten free flour blend is a great choice.
How to make homemade almond paste?
If you’re a big fan of the rainbow cookie flavor, why not make your own homemade almond paste? That way you can try more almond-focused recipes like my triple almond chocolate chip cookies. By making your own you’ll save money and always have some on hand as you can store it in the freezer for up to 3 months:
- Pulse almond flour, powdered sugar, and salt in a food processor a few times to break up any clumps.
- Add 1 teaspoon of almond extract to begin with and pulse to combine. Taste test and add more if desired.
- Add egg white and pulse for a further 2 minutes. The mixture should be smooth and form a ball.
- If you find it’s still sticky, add a little more almond flour.
- Wrap tightly in plastic wrap and store in refrigerator or freezer.
MORE FESTIVE TREATS YOU MAY ENJOY
- Dark chocolate cherry shortbread
- Christmas Wreath marshmallow treats
- Grinch fudge
- Starbucks copycat cranberry bliss bars
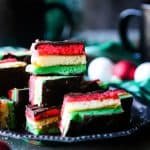
Thinly baked almond sponge cakes are colored red, white and green then layered with apricot preserves and topped with chocolate. Bite-size baked goodies that make the perfect festive treat.
- 4 large eggs separated
- 1 cup granulated sugar
- 1 cup almond paste
- 1 ¼ cups unsalted butter softened
- 1 teaspoon almond extract
- 2 cups all-purpose flour
- ½ teaspoon salt
- Red and green gel food coloring
- 1 12-oz jar apricot preserves, heated and strained
- 10 ounces ghirardelli melting chocolate disks
-
Preheat oven to 350°F. Line a 9x13 inch baking dish with parchment paper.
-
Beat whites in a mixer fitted with whisk attachment at medium-high speed until they just hold stiff peaks.
-
Add ¼ cup sugar a little at a time, beating at high speed until whites hold stiff, slightly glossy peaks. Transfer to another bowl.
-
Switch to paddle attachment, then beat together almond paste and remaining ¾ cup sugar until well blended, about 3 minutes.
-
Add butter and beat until pale and fluffy, about 3 minutes.
-
Add yolks and almond extract and beat until combined well, about 2 minutes.
-
Reduce speed to low, then add flour and salt and mix until just combined.
-
Fold half of egg white mixture into almond mixture to lighten, then fold in remaining whites gently.
-
Divide batter into 3 bowls. Stir food coloring into each bowl. Pour 1st colored batter into prepared pan and spread evenly with an offset spatula (layer will be about ¼ inch thick).
-
Bake each layer 8 to 10 minutes, until just set. (It is important to undercook.Tops will look still somewhat glossy.)
-
Transfer to a rack to cool. Reline the baking dish with parchment and cook the next layer, followed by the last layer.
-
When all layers are cool, invert 1 layer onto a wax-paper-lined large baking sheet. Discard paper from layer and spread with half of preserves. Invert next on top of 1st layer, discarding paper. Spread with remaining preserves. Invert final layer on top of previous layer and discard wax paper.
-
Cover the top layer with plastic wrap and top it with another pan or baking dish. Add cans from your pantry to weigh it down to compress the layers. Chill at least 8 hours.
-
Remove weight and plastic wrap.
-
Trim edges of assembled layers with a long serrated knife.
-
In a microwave safe bowl, melt the chocolate discs for 1 minute. Let sit for 30 seconds then stir until smooth. If still not smooth, reheat for 15 second intervals.
-
Quickly spread half of the chocolate in a thin layer on top of the cake and smooth out with an offset spatula.
-
Chill, uncovered, until chocolate is firm, about 10 minutes.
-
Cover with another sheet of wax paper and place another baking sheet on top, then invert cake onto sheet and remove paper.
-
Reheat chocolate for 30 seconds, or until smooth, then quickly spread with remaining chocolate. Chill until firm, about 30 minutes.
-
Cut lengthwise into 4 strips. Cut strips crosswise into ¾-inch-wide cookies.

Leave a Reply