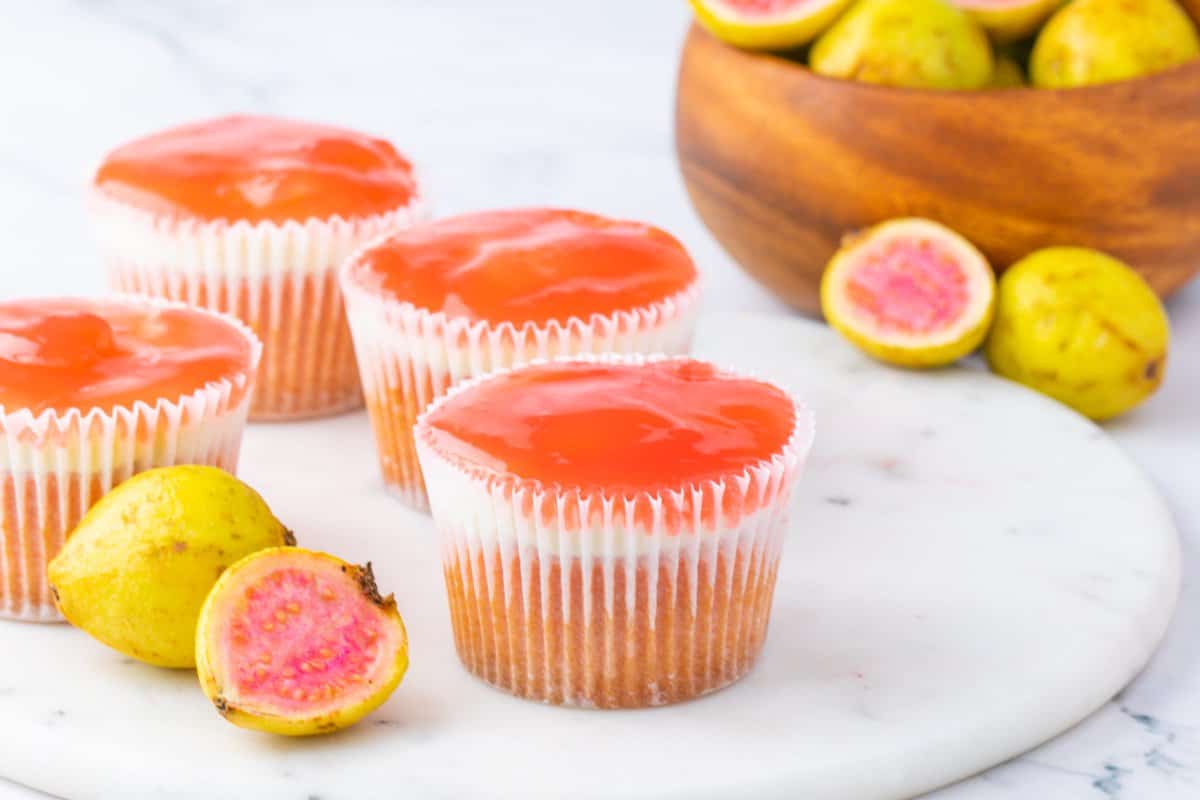
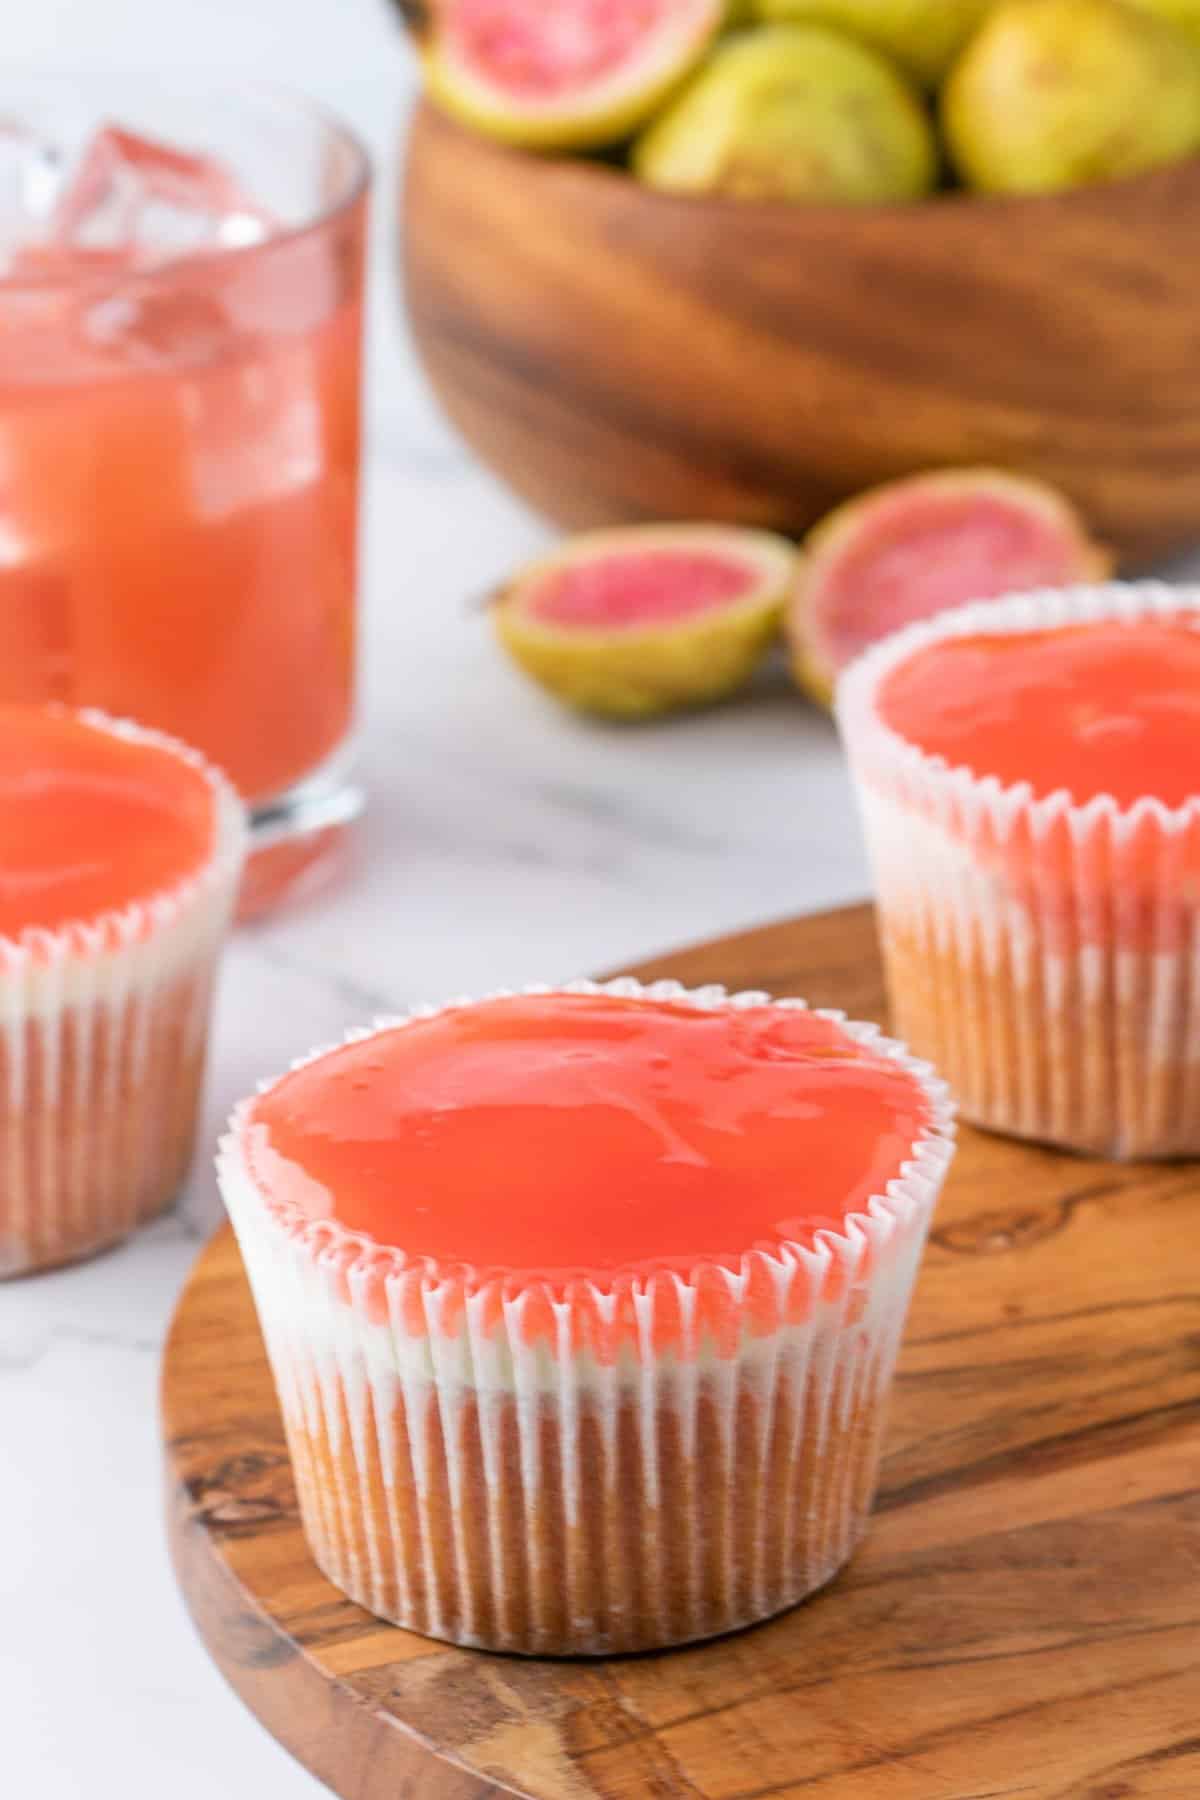
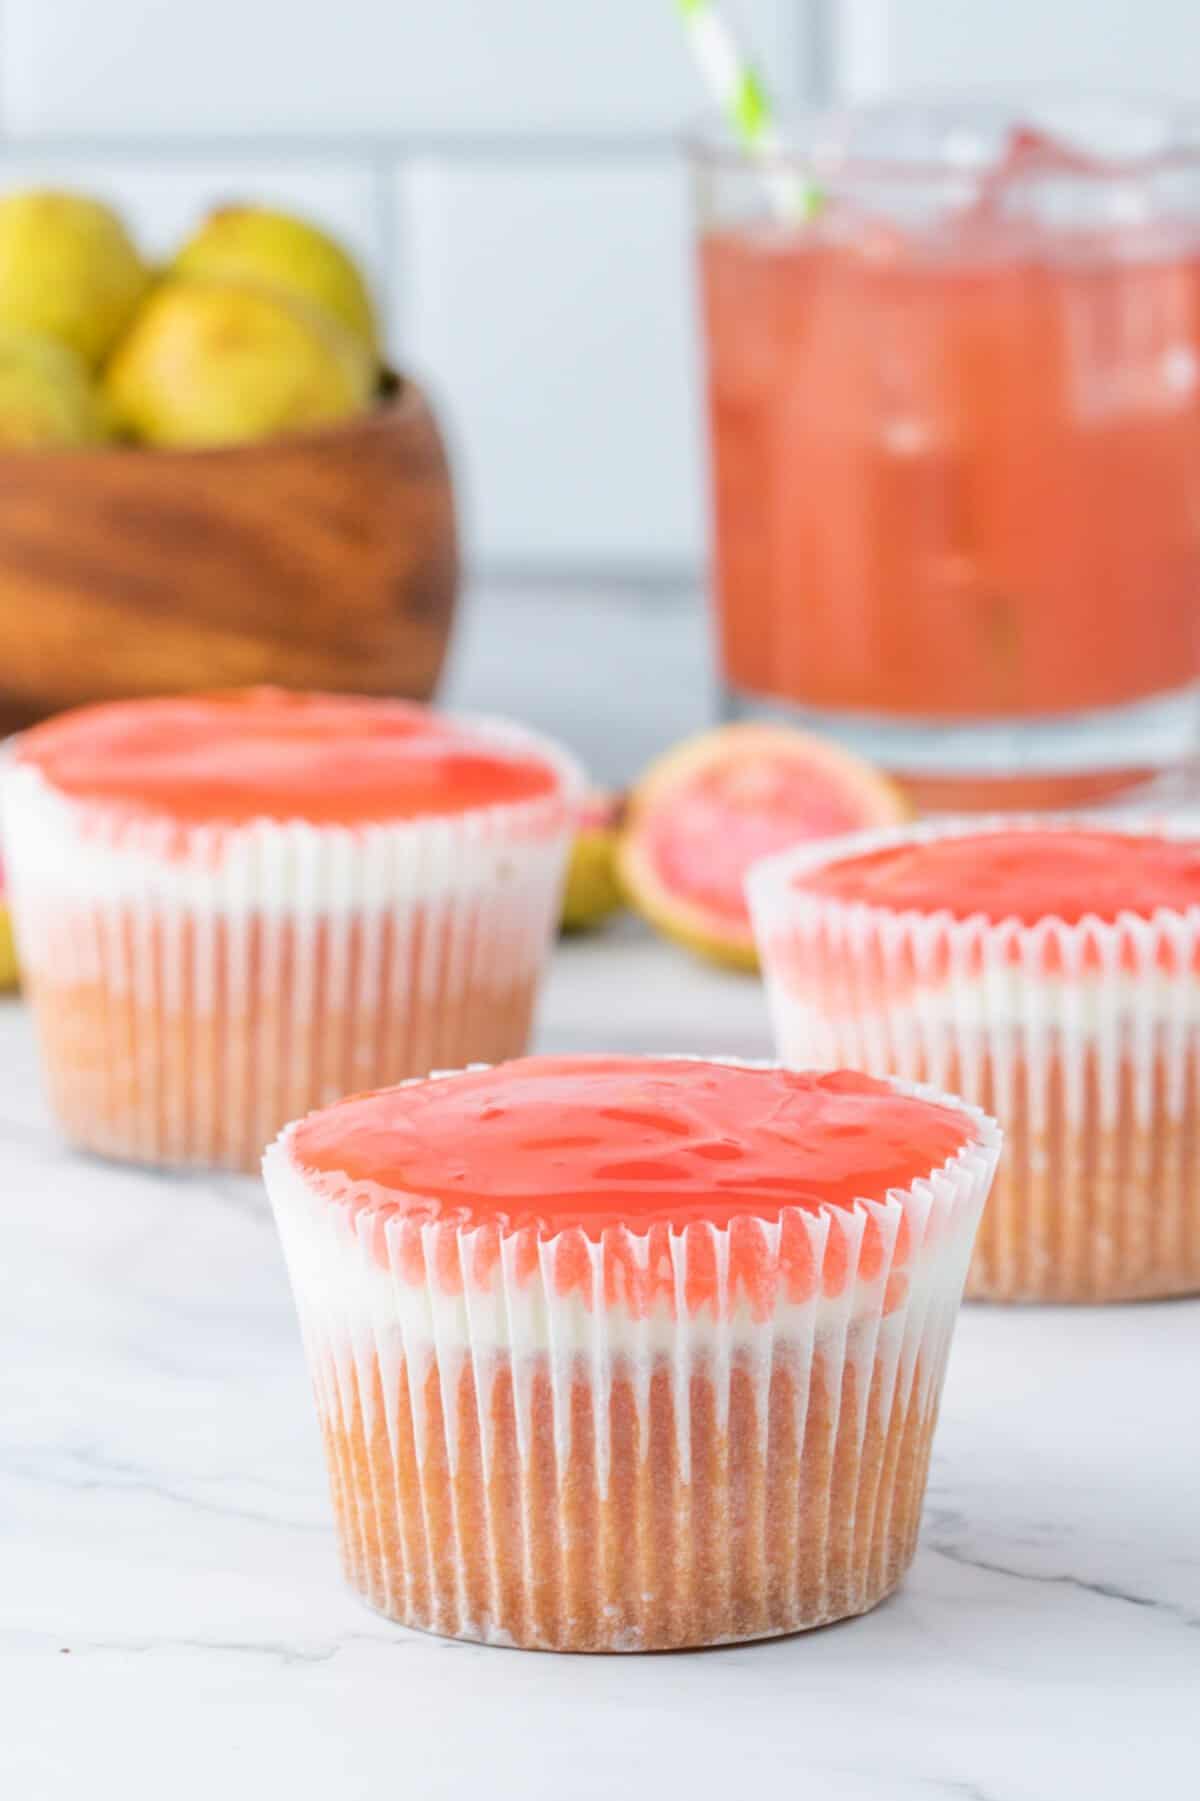
Transport your taste buds to Hawaii with this mini Hawaiian Guava cake recipe. With soft strawberry sponge, rich cream cheese frosting and a layer of glossy guava gel they’re paradise in dessert form.
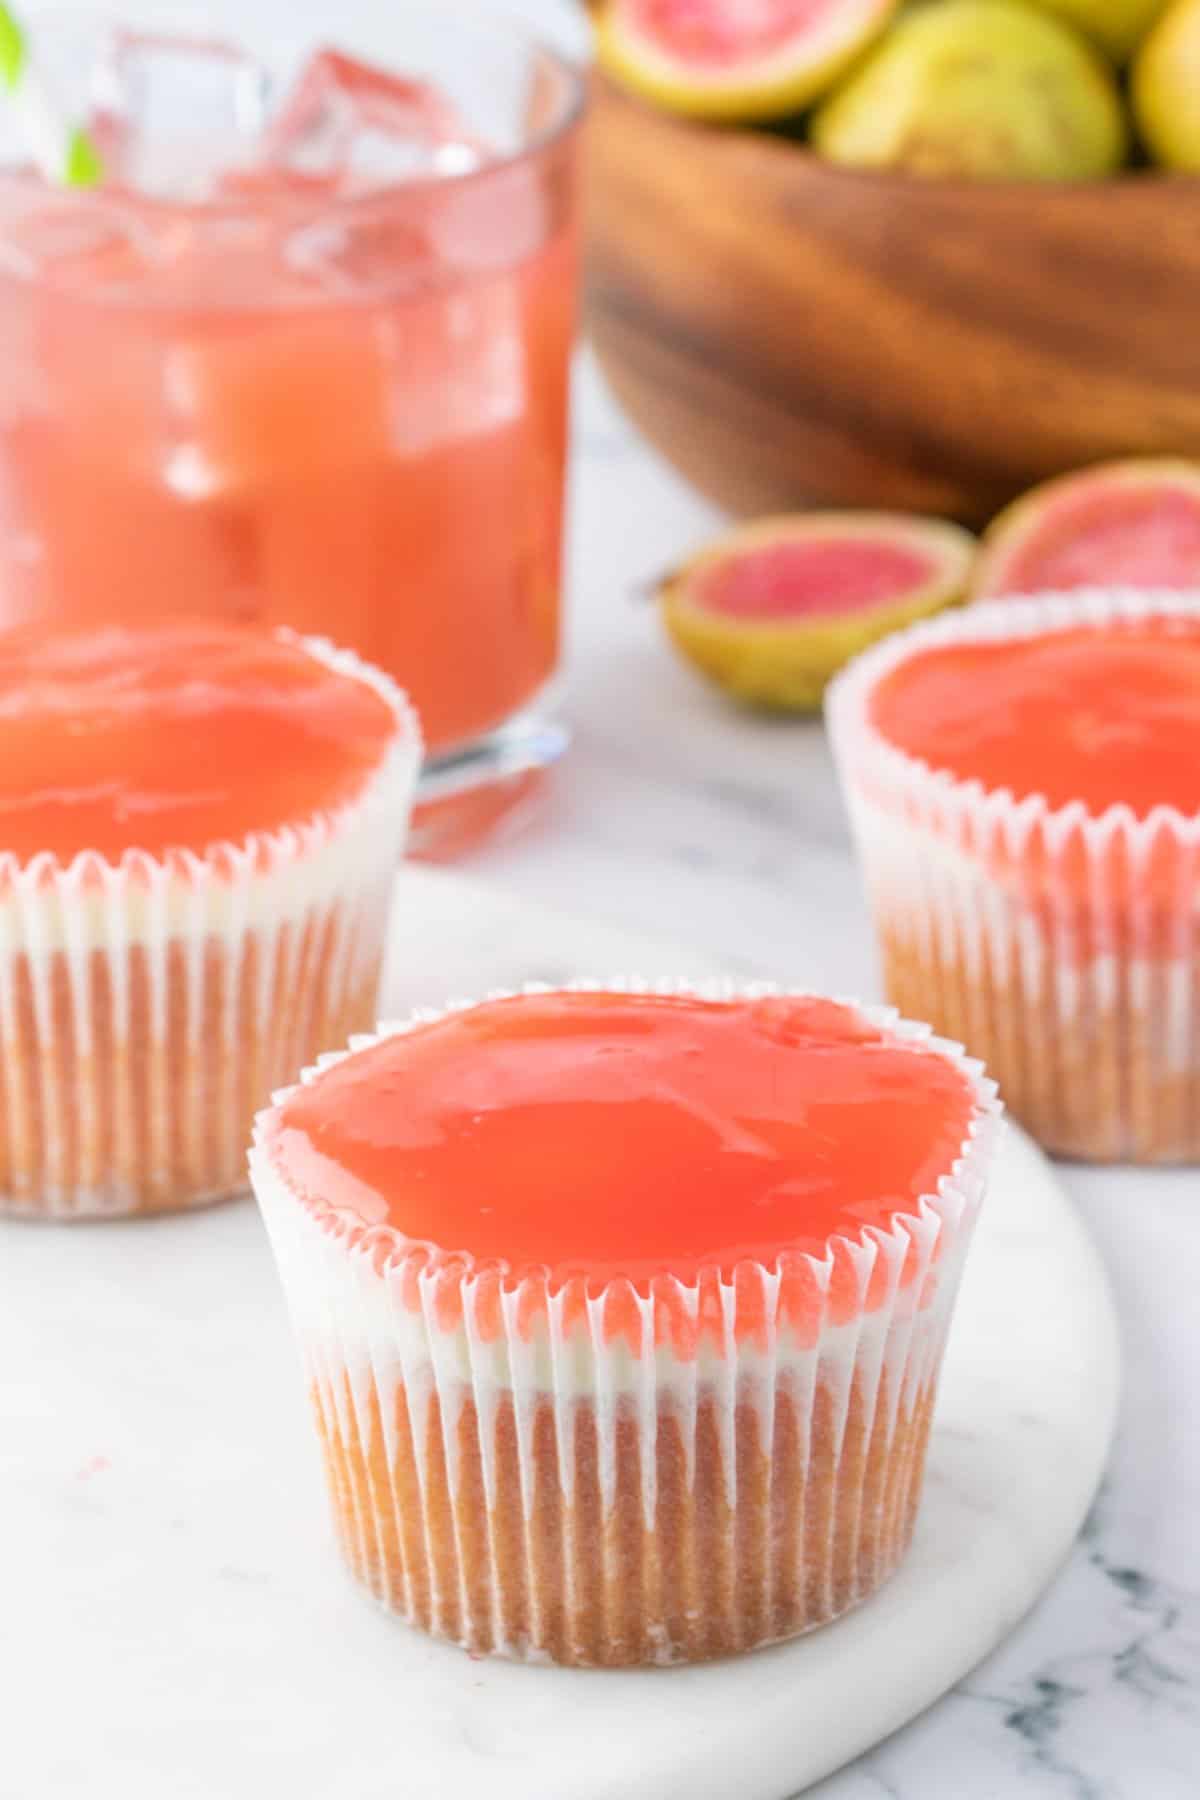
As someone who grew up in Hawaii, there are certain foods that transport me straight back to childhood and Hawaiian guava cake is one of them. Guava cake is a famous Hawaiian dessert that originated in Dee Lite Bakery, Honolulu. Fast forward to today, the bakery is no longer open, and I no longer live in the Rainbow State so what’s a gal to do when you crave a scrumptious sweet slice of pink perfection? Bake her own of course!
Now, traditional Hawaiian guava cake has three components – soft, fluffy sponge cake, creamy frosting and a layer of guava gel topping. It’s also traditionally baked as a sheet pan cake then sliced into squares. I love a sheet pan cake, but I wanted to give these guava cakes a fun twist so I made a few tweaks to the traditional recipe. The cakes are still filled with the same amount of Hawaiian flavors though.
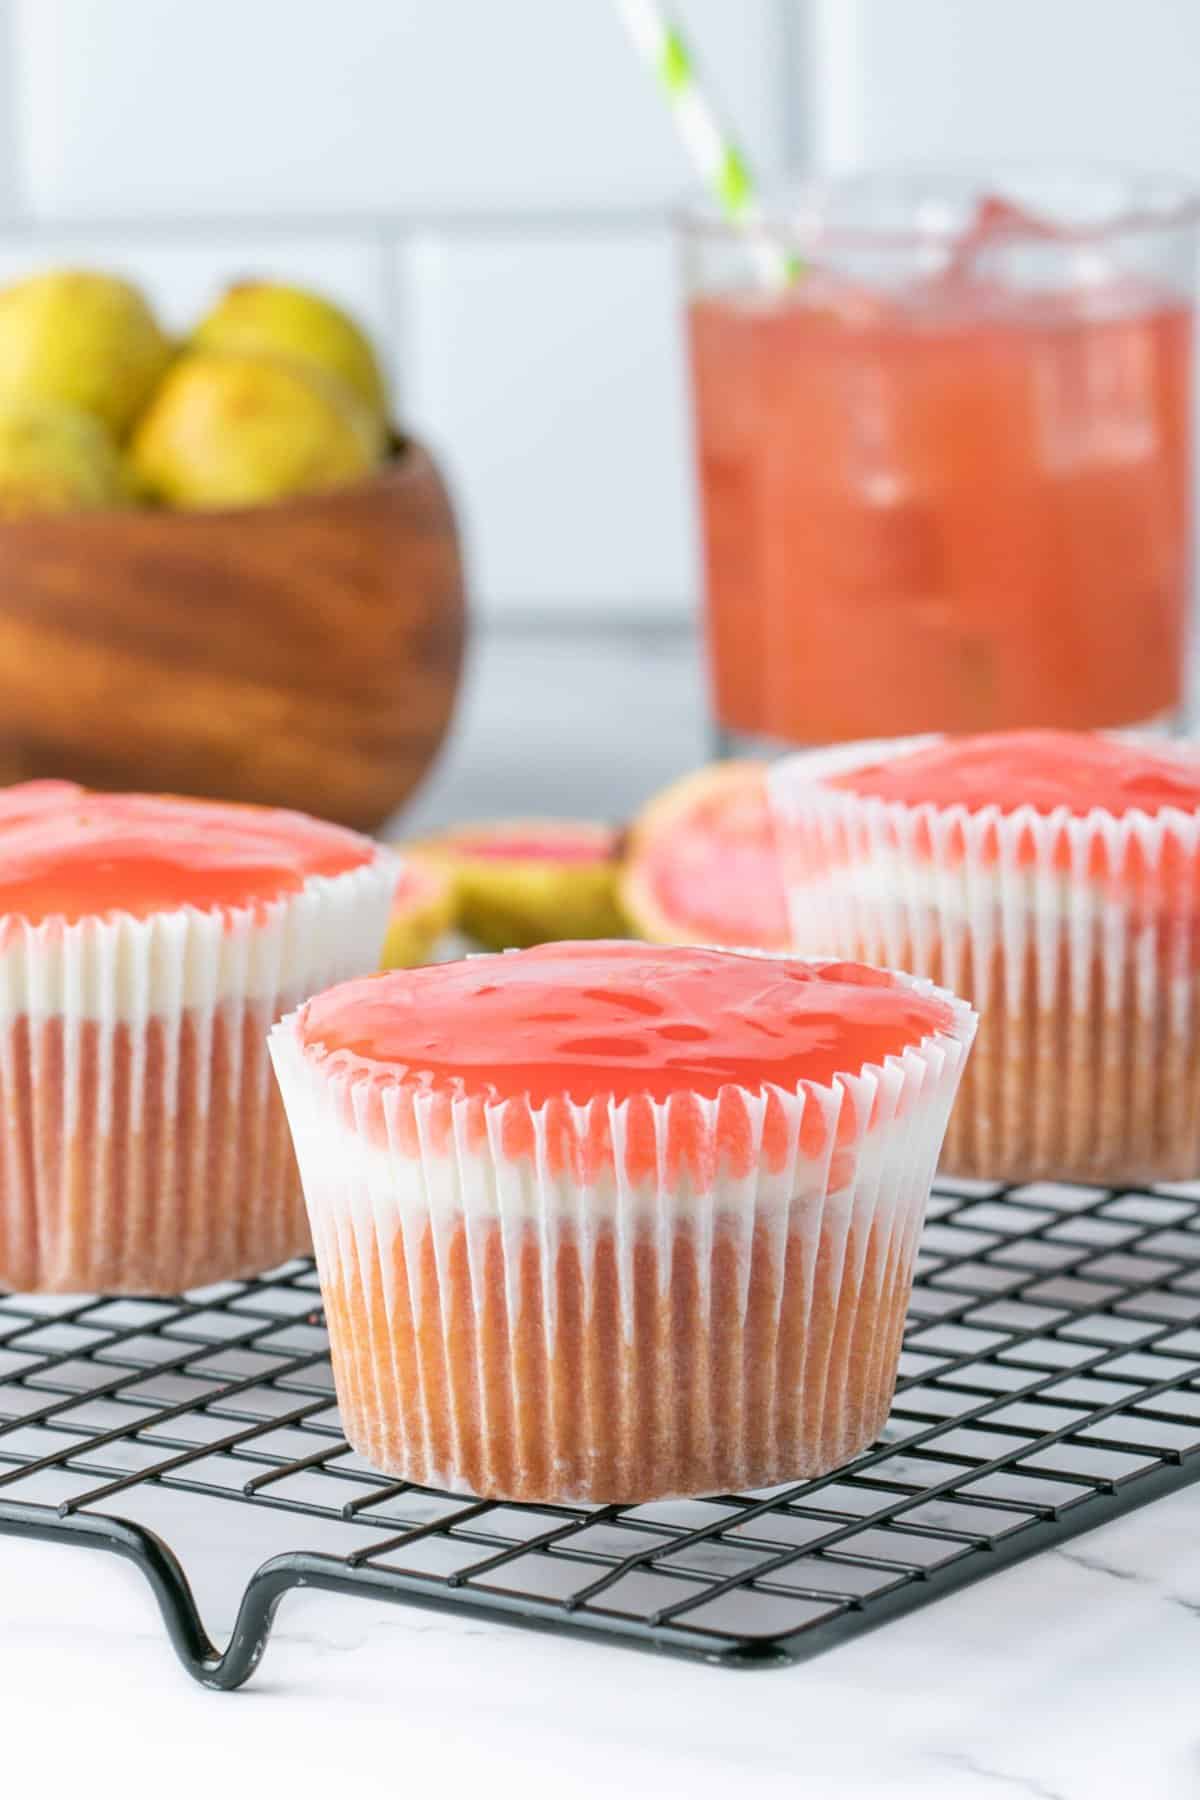
Starting with the shape, I decided to switch things up and make these mini Hawaiian guava cakes instead of one slab of sheet pan cake. Not only does this make perfect portions that are ideal for parties and potlucks, but I find cupcakes a little easier to store, transport and serve.
Secondly, I used a strawberry cake mix. Partly for the flavor (because who can argue with the heavenly combo of guava and strawberry) and partly for time. I would never cut corners on this classic Hawaiian dessert if I felt it compromised on flavor, so as always, I promise irresistible results. Plus it gives the little cakes a nice pink color.
My final fun tweak is the frosting. I use cool whip and cream cheese for a divinely creamy texture and flavor. Traditional Hawaiian guava cake recipes use heavy cream but cool whip and a splash of vanilla creates the perfect complementing flavor to the tropical guava layer.
These bitesize bakes are oozing guava goodness and are guaranteed to brighten your day. For added vacay vibes why not pair with my mango and pineapple margarita – lei and sunglasses optional!
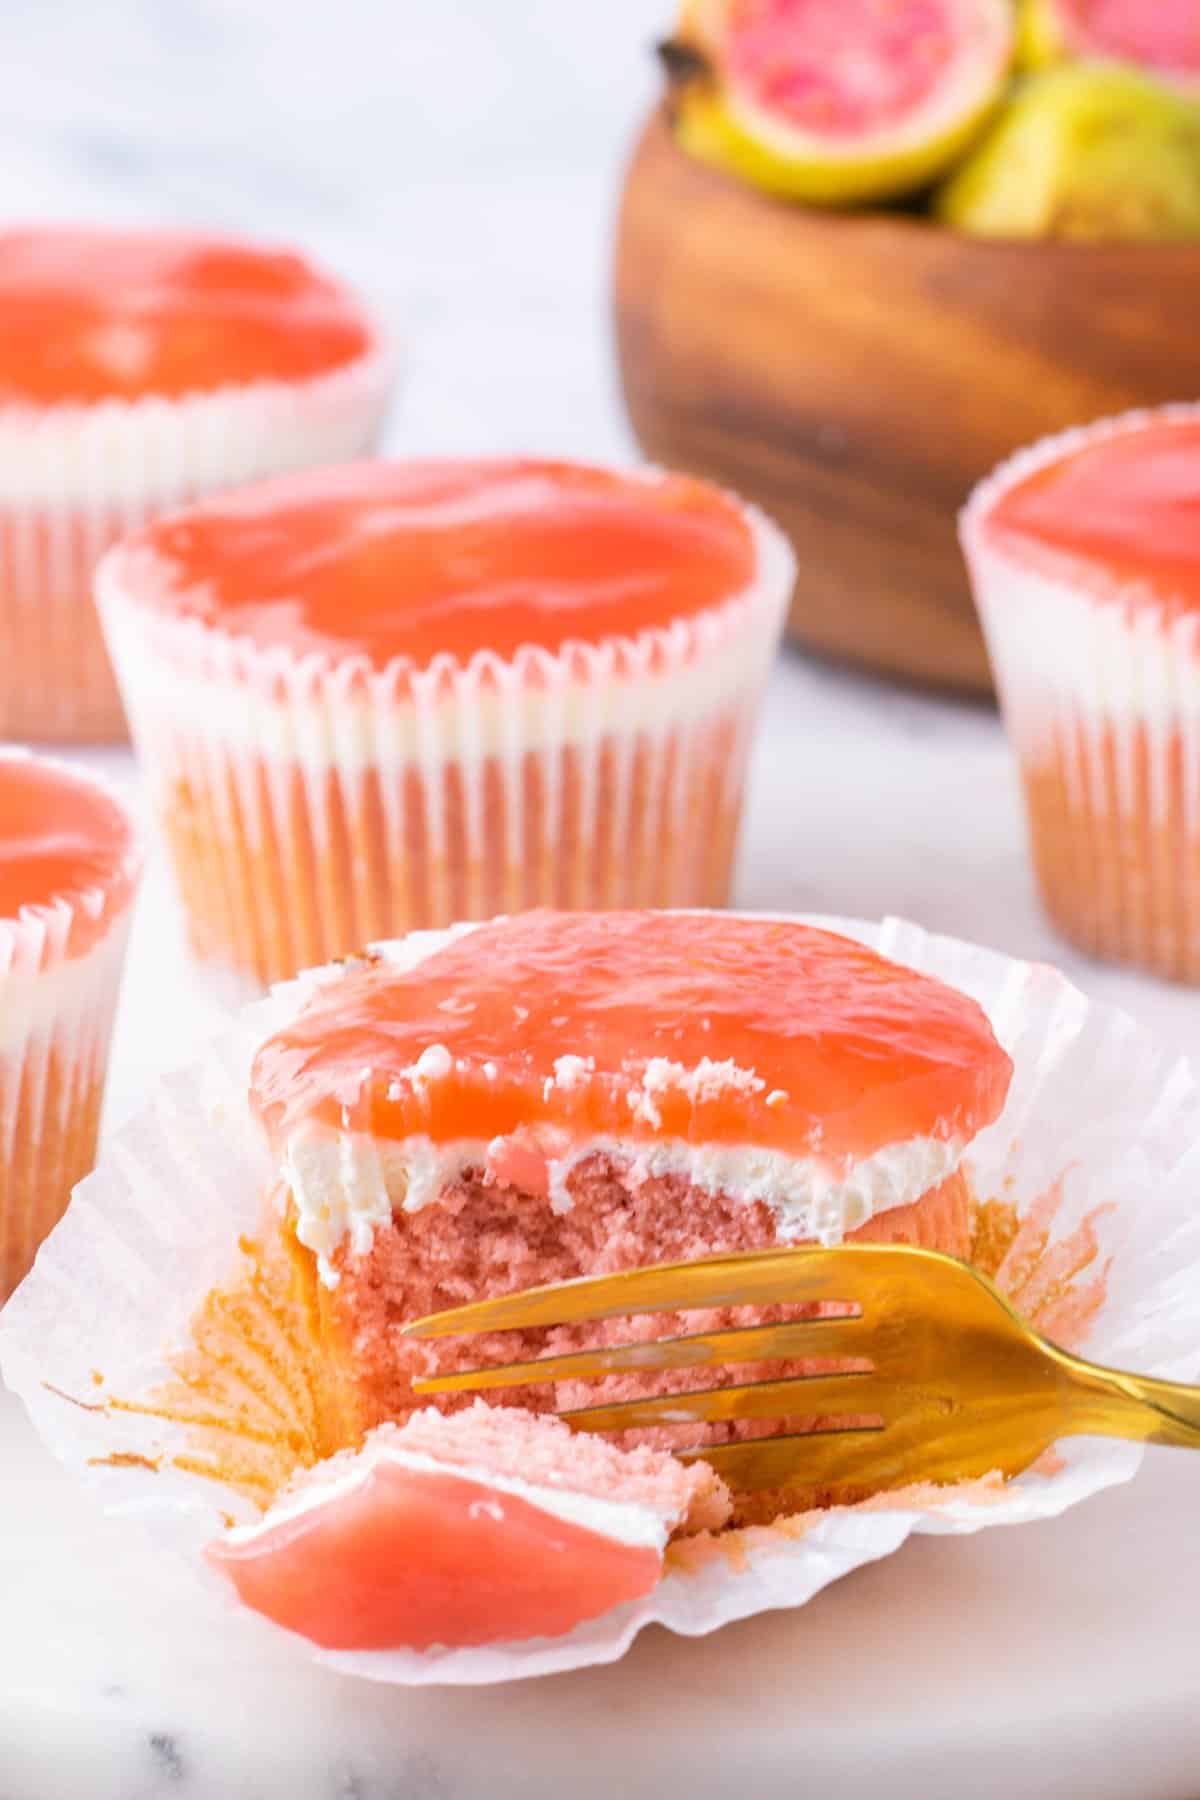
WHY WE LOVE THIS MINI HAWAIIAN GUAVA CAKE RECIPE
- Guava Goodness – Each of the three layers brings their own flavor to the party. With rich cream cheese frosting sandwiched between a strawberry sponge laced with sweet guava juice and homemade guava glaze on top, it’s tangy, tart and tropical all in one!
- Perfect for parties – Switching the sheet pan style for mini Hawaiian guava cakes makes them easier to transport and bake up a big batch for parties. There’s no extra stress of slicing and serving either, avoiding squabbles over who gets the biggest slice.
- Unique – Despite the popularity of guava cake in Hawaii, it’s not as well-known elsewhere. I find that they steal the show at picnics, potlucks or BBQs over here with their vibrant pink and tropical taste. They’re perfect for when you want a daring dessert that will still be a crowd pleaser.
- Straightforward – These mini Hawaiian guava cakes could not be more simple. Start with a strawberry cake mix, throw in some guava juice, eggs and coconut oil then bake. As the cakes cool, whip up the frosting and gorgeous guava gel. Decorate and done!
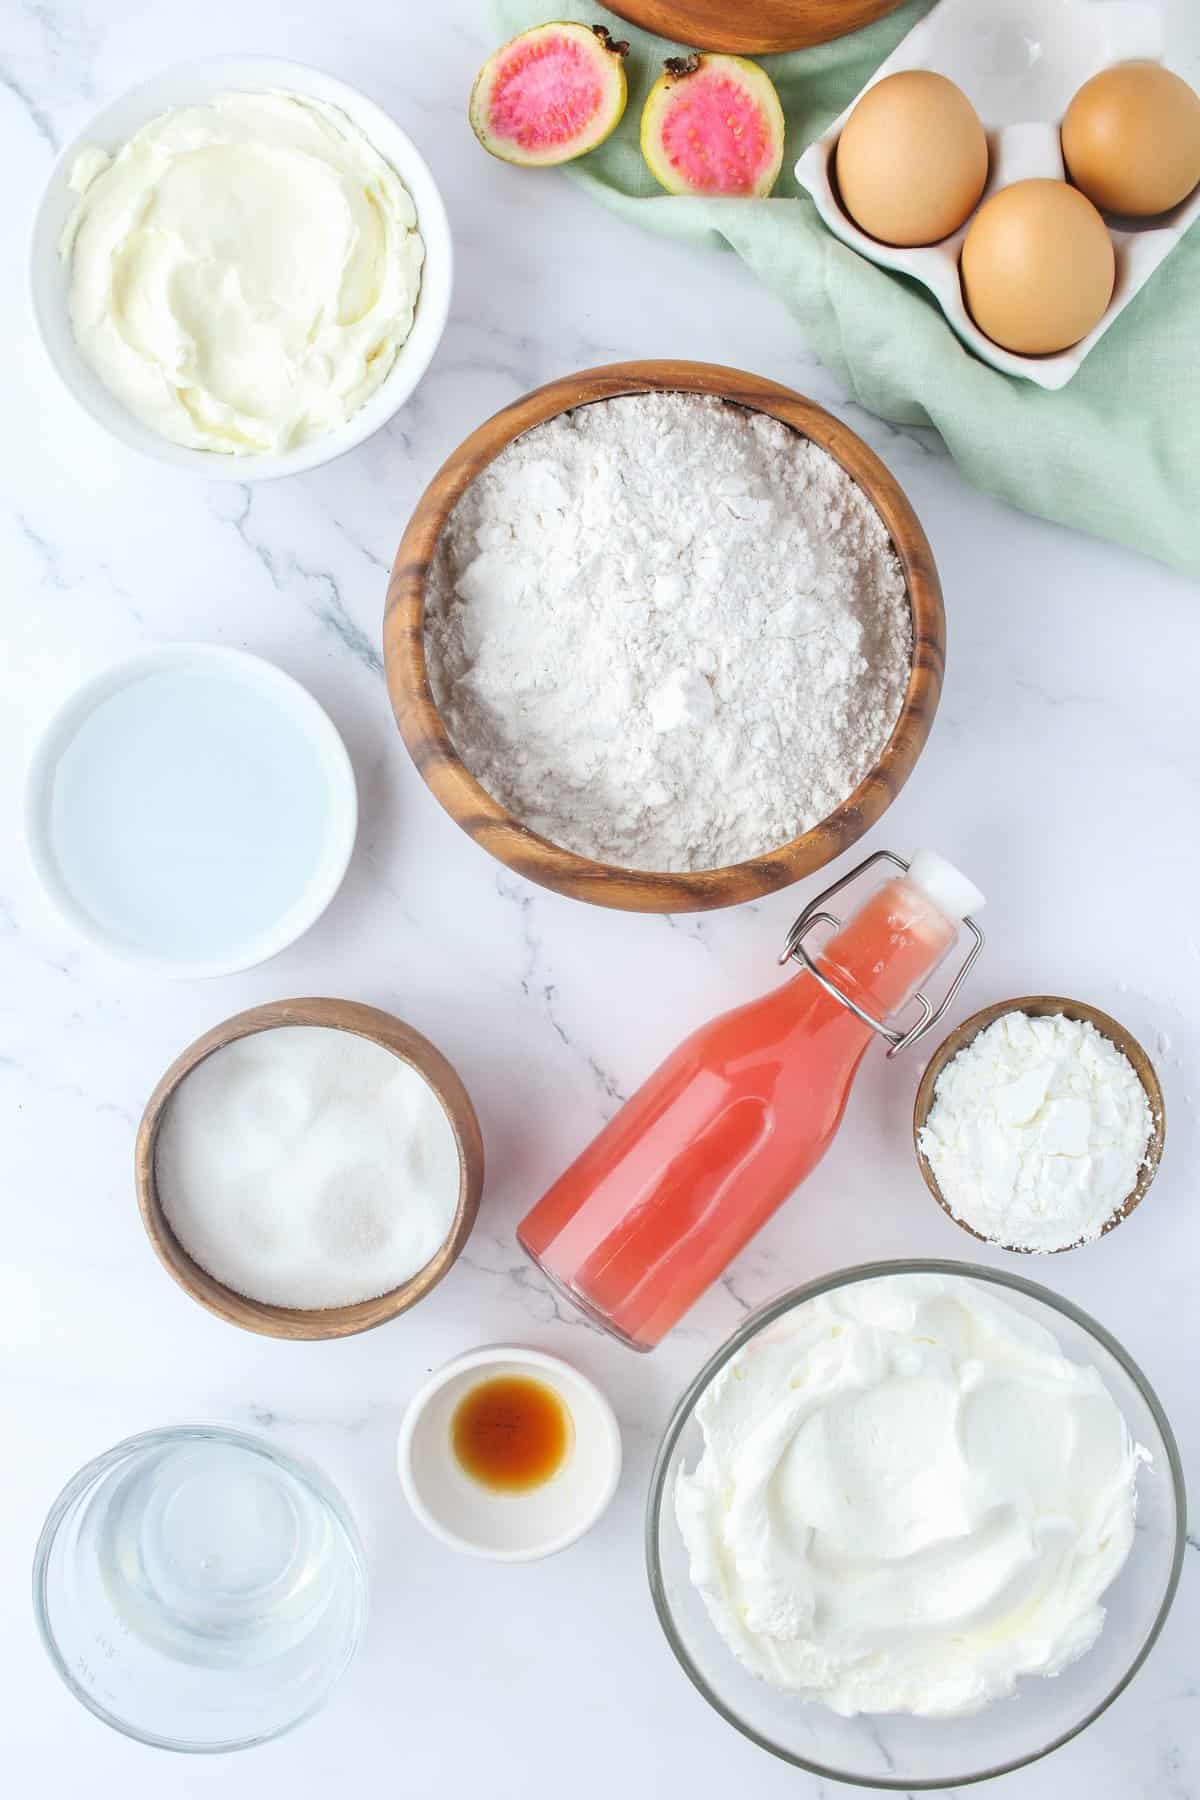
INGREDIENTS/SHOPPING LIST
- Strawberry cake mix- You can also use an angel food cake mix and use a guava juice as the water replacement to make a more traditional guava chiffon cake.
- A few cups guava juice or guava nectar
- Eggs- room temperature
- Oil - I used coconut oil (measured in liquid form) but any neutral flavored oil will work.
Guava Gel Topping
- Guava nectar or guava juice
- Sugar
- Cornstarch
- Small amount of water
Cream Cheese Layer
- Cream cheese, softened for easy mixing
- Sugar
- Vanilla extract
- Cool Whip, thawed- You can always use whipping cream that has been beat to stiff peaks as a replacement.
SUBSTITUTIONS AND ADDITIONS
- Guava nectar or guava juice – You can use either guava nectar or guava juice in this recipe. You may also come across guava puree or guava concentrate in the store – either works. If you’re struggling to find some, try the Hispanic or International foods section, or you could always order online. Using a blend can also work well if you can only source a guava and strawberry juice or a passion fruit guava blend.
- Goodbye Guava – I get it, it’s guava cake but there’s no reason why you can’t switch up the glaze. Play around with strawberries, lilikoi (passion fruit), mango, or any other juice/concentrate or different fruit nectar you have at home.
- Strawberry cake mix – I prefer strawberry cake mix as I love the color and flavor, it pairs perfectly with guava. However, you can always substitute with white or yellow cake mix instead. Alternatively, if you have a little more time you could use my Sprinkles strawberry cupcake sponge or white cupcake mix and simply add the guava juice.
- Coconut oil – Hawaiian guava cake should have a chiffon cake texture. This means it uses oil instead of a traditional fat such as butter. For this reason, I do not recommend you substitute the oil for butter or shortening, as it won’t create the same light and fluffy texture. I find coconut oil brings an extra hint of flavor that’s typically tropical. However, you could swap it for canola or vegetable oil.
- Frosting Flavor – Switch out the vanilla for lime zest, pineapple juice or coconut extract. This will give the cream cheese frosting a tropical twist that complements the guava flavor.
- Food color – I find that thanks to the strawberry cake mix and the guava juice I chose, my cakes turned out perfectly pink. However if you prefer a more intense pink, you can add a drop or two of red food color.
- Garnish – Although it’s not traditional to add toppings (and these cakes are perfect as is) if you fancy a finishing touch, you could add sliced strawberries, toasted coconut flakes or make additional frosting to pipe on stars or rosettes around the edge.
- Change up the shape – As mentioned, Hawaiian guava cake is typically made in a sheet pan but if desired, you could even convert this recipe to a layer cake recipe using round pans. You’ll likely need to increase the quantities of the ingredients to ensure enough batter to fill a larger pan. You may also need to increase the bake time, but if you give it a try I’d love to hear how it goes!
RECOMMENDED TOOLS TO MAKE THIS RECIPE
- Measuring cups/spoons
- Cupcake pan
- Cupcake liners
- Medium Saucepan
- Whisk
- Mixer
- Spatula
- Wire Cooling Rack
HOW TO MAKE THIS MINI HAWAIIAN GUAVA CAKE RECIPE
In need of a vacay? These perfectly pink mini guava cakes are guaranteed to brighten your day. Bursting with guava goodness they’ll transport your taste buds to tropical Hawaii in seconds. Starting with strawberry cake mix, create the batter then bake. Once cool, it’s time for a delicious layer of rich cream cheese frosting followed by the perfectly pink guava gel. Some would say, paradise in cupcake form!
STEP ONE- Make the Guava Gel
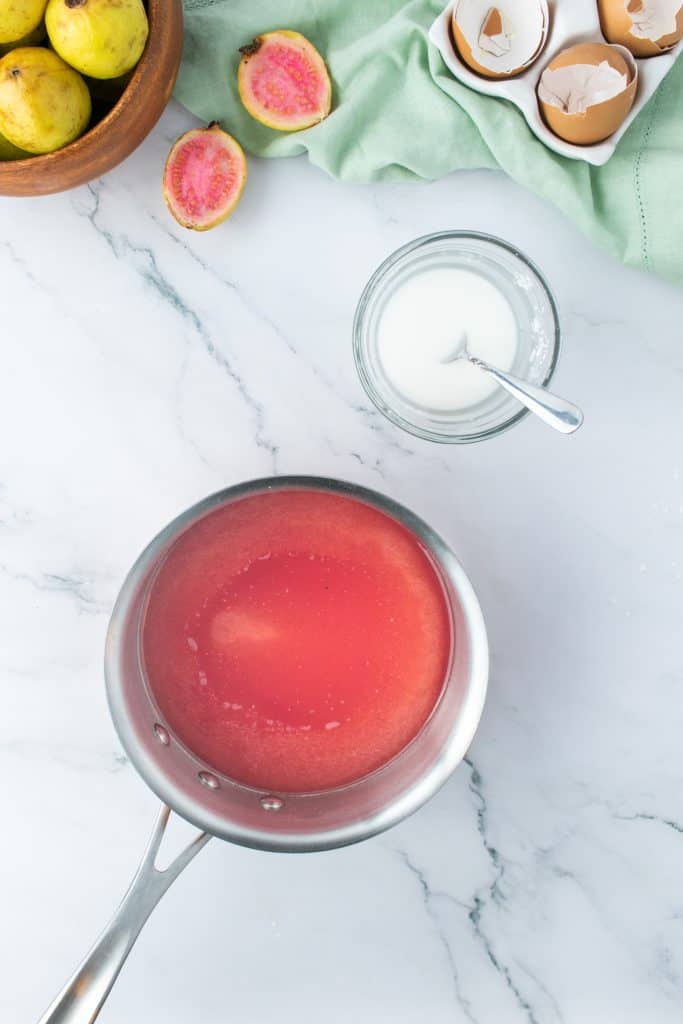
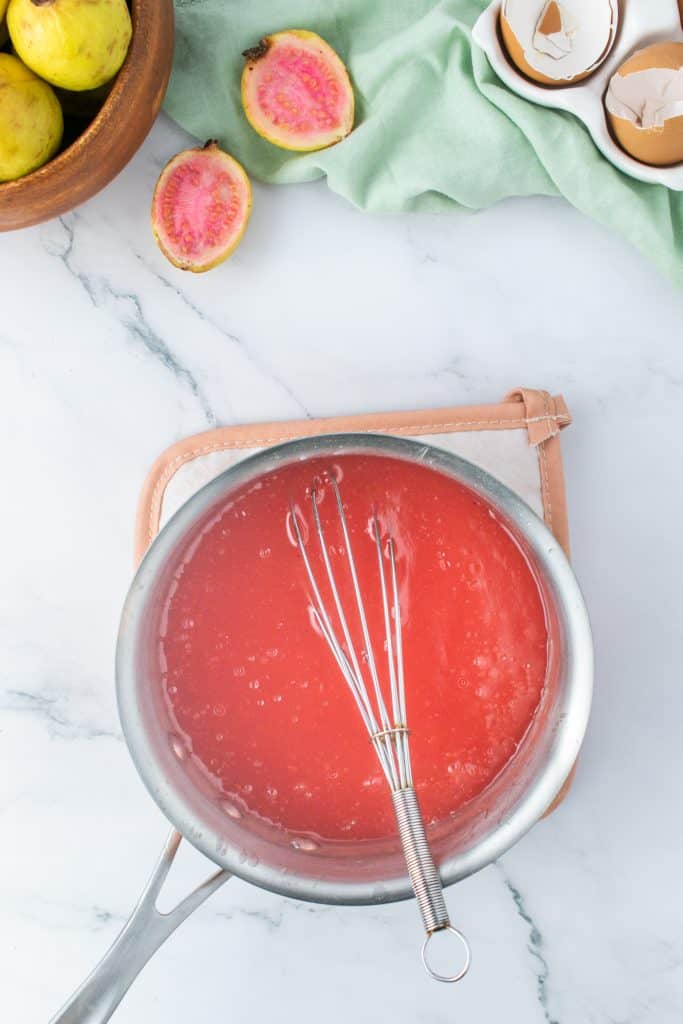
In a medium saucepan, bring the 2 cups of guava juice and sugar to a boil over medium heat. Make a slurry of cornstarch and water. Then, remove guava juice from heat and stir in the cornstarch mixture with a whisk. Return to the heat. Bring back to a boil, and boil for one minute and until a thick liquid that coats the back of the spoon. PRO TIP: This boiling process activates the thickening agents in the cornstarch. If you don’t boil for long enough, the gel won’t thicken to the desired consistency. Transfer from the saucepan to a bowl, then place in the refrigerator to cool and set.
STEP TWO- Make the Hawaiian Guava Cake cupcakes
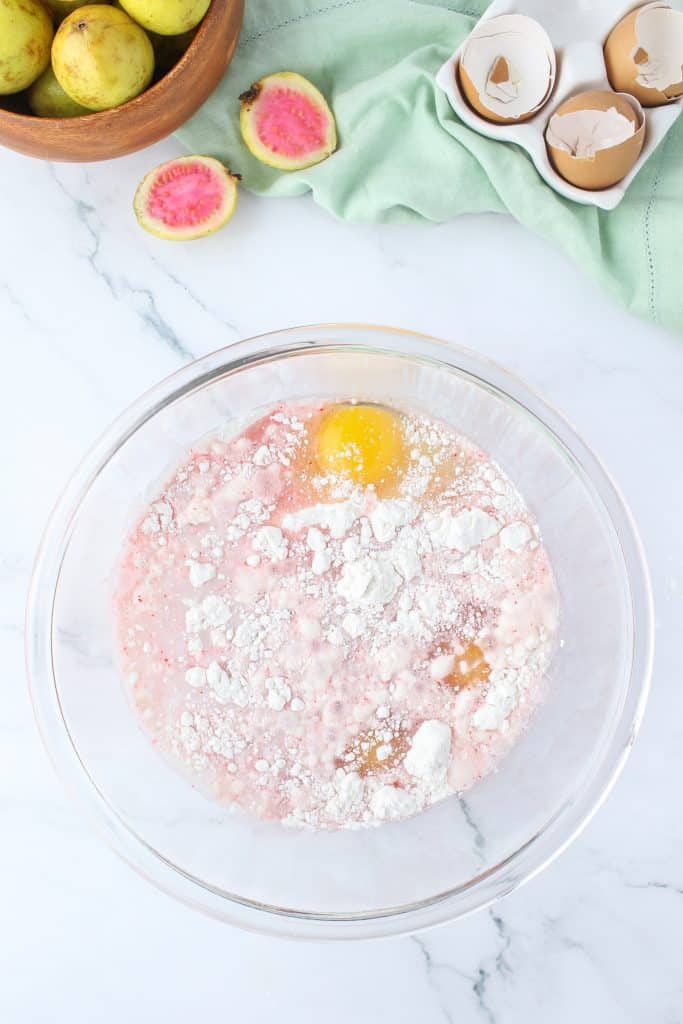
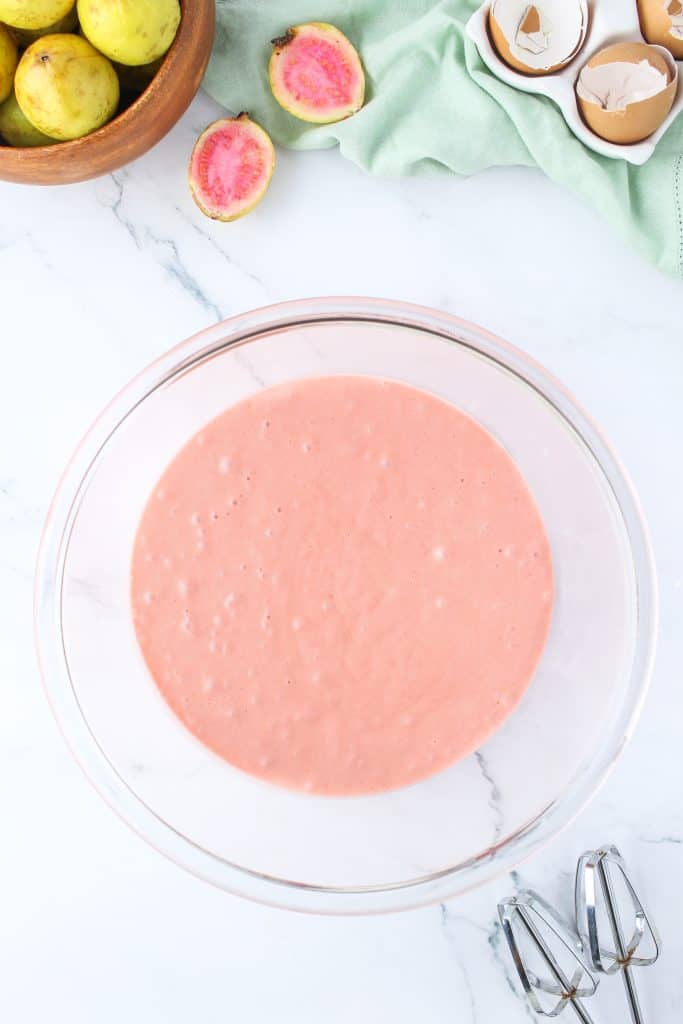
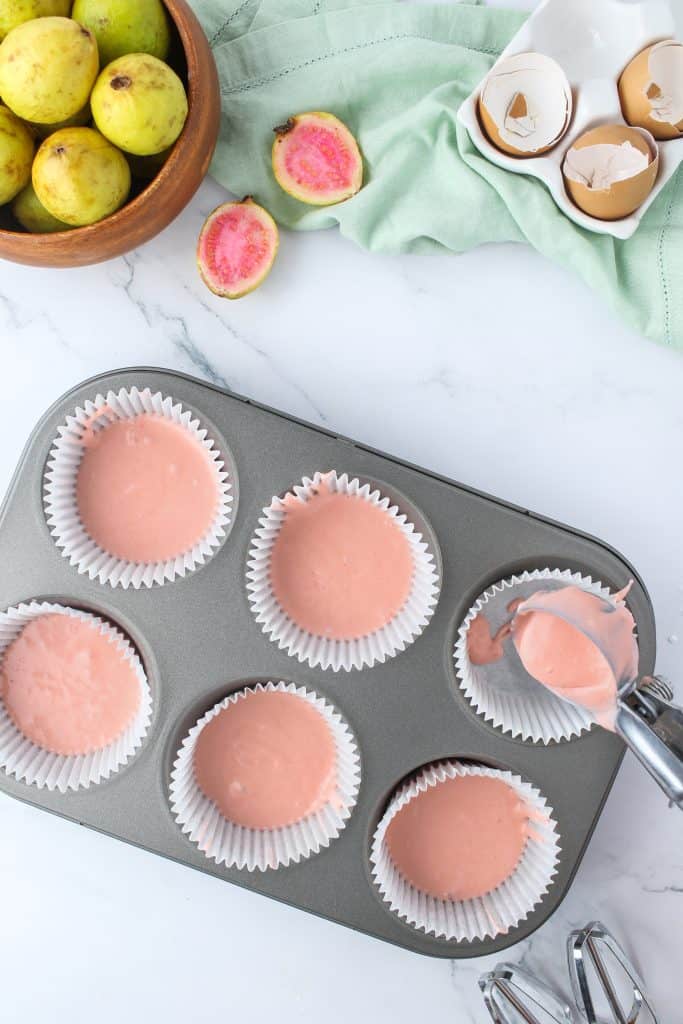
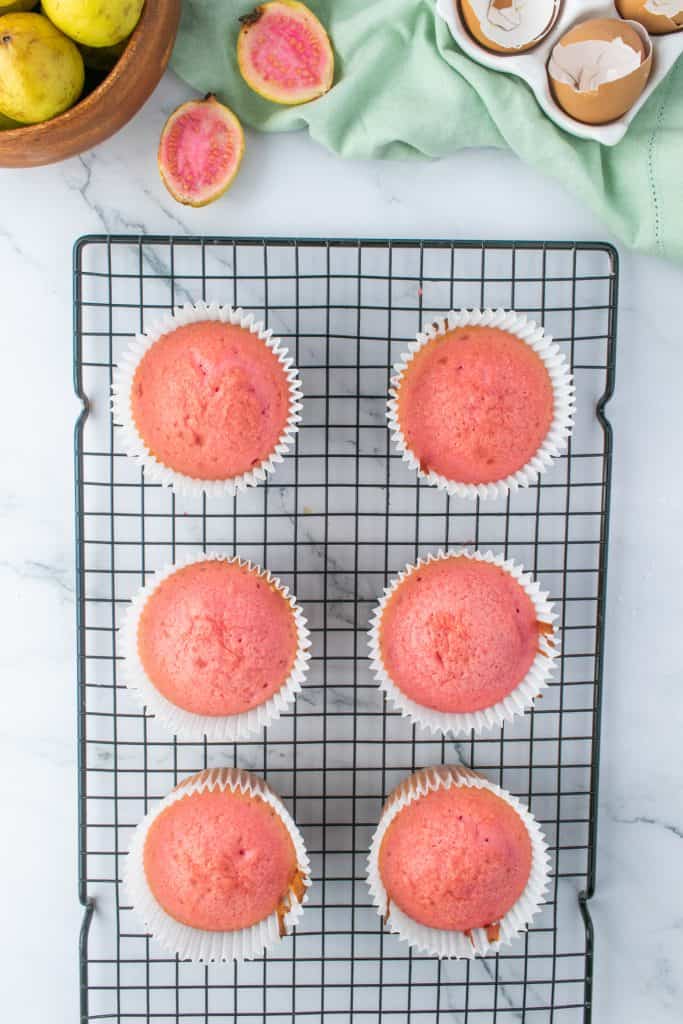
Mix together the cake mix, guava juice, eggs, and oil in the mixer. Start with 30 seconds on low, scrape the bowl, then 2 minutes on medium. PRO TIP: It’s vital not to overmix as this will result in a denser cake. Divide the batter evenly in the cupcake liners. Fill to the ⅓ level and no more. Bake for 19-22 minutes, until lightly golden. Remove from the oven, and transfer to a wire cooling rack to cool.
STEP THREE- Make the Cream Cheese Frosting
Beat cream cheese with a mixer until fluffy. Add sugar and vanilla and mix well. PRO TIP: Make sure your cream cheese is at room temperature. This helps it blend and avoids lumpy frosting. Slowly fold in the Cool Whip, and refrigerate the frosting until ready to use. PRO TIP: It’s important to add the Cool Whip gently and avoid over-mixing. This will help maintain a light and fluffy frosting.
STEP FIVE- Assemble
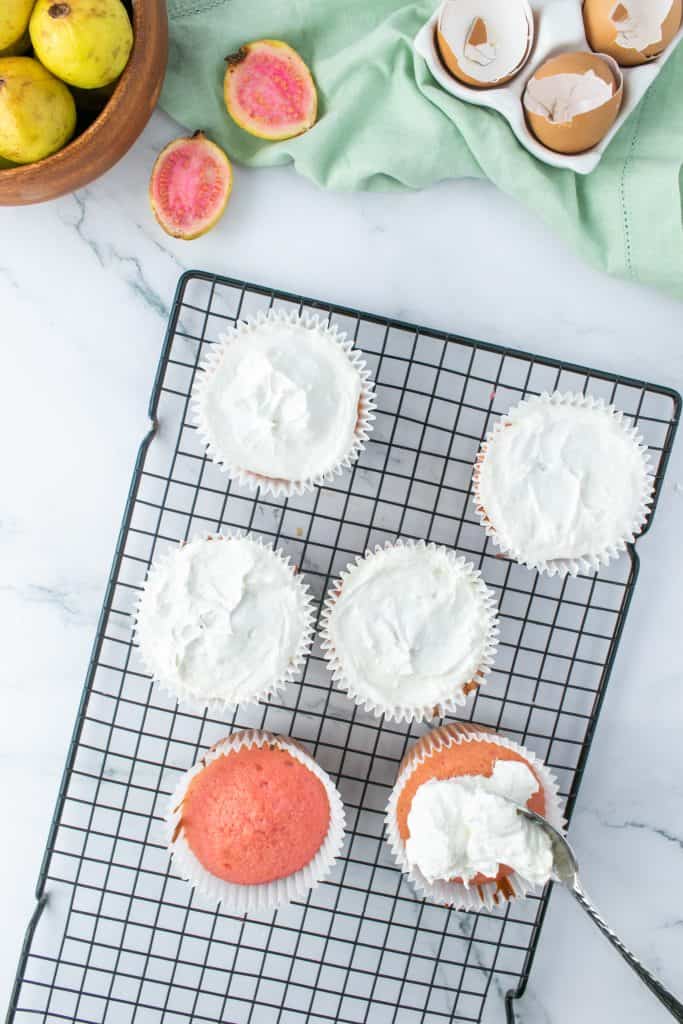
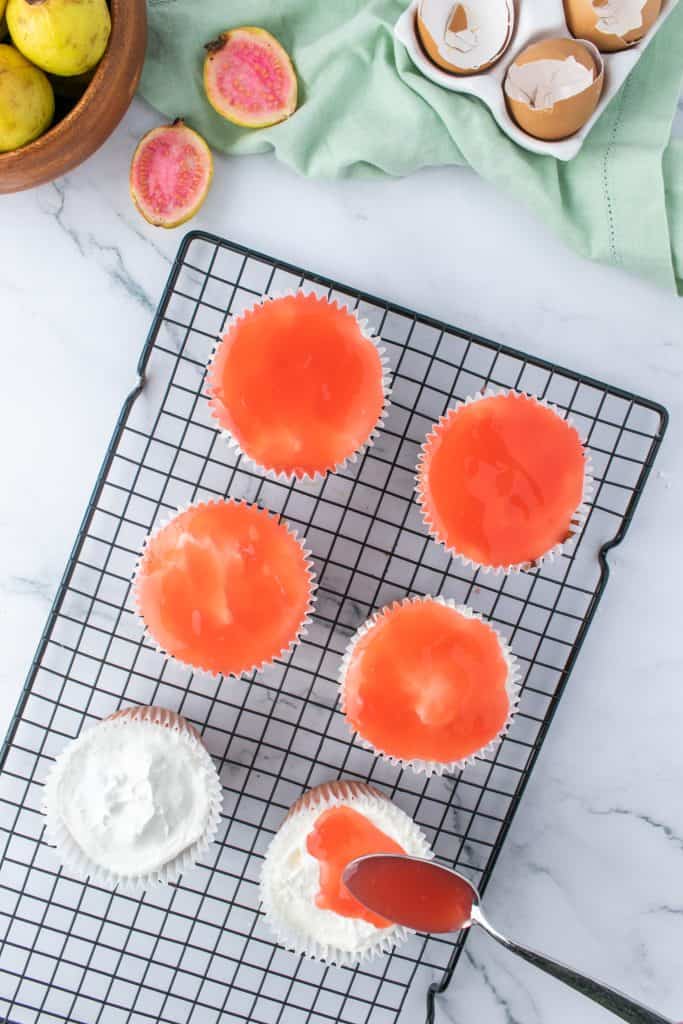
Once the cakes have cooled, spread over the cream cheese mixture evenly. Refrigerate until the cream cheese layer sets. Once set, glaze the tops of the cakes with guava mixture. Refrigerate until ready to serve. PRO TIP: You could apply the guava gel simply using a teaspoon or a piping bag if preferred.
TIPS
- Make guava gel first – While not essential, I find it best to make the guava gel first, so it has time to set up while you bake the cakes. If you're really short on time, you can use guava jelly or guava jam.
- Don’t overfill- When dividing the cake batter into the cupcake liners, make sure not to fill them to the top. Overfilling can cause the cupcakes to overflow while baking, and you need space for the frosting and gorgeous guava gel!
- Bake time - I’ve suggested 19-22 minutes for the cakes however, every oven is different. To check for doneness, insert a toothpick into the center of a cupcake; if it comes out clean or with a few moist crumbs, they are done.
- Cupcake flavor – If you want your cakes to have a more intense guava flavor, create a little extra guava syrup. When the cupcakes come out of the oven, prick them gently with a toothpick. Then, brush the cakes with the extra guava syrup allowing it to soak in before you top with the frosting and gel. You can also add some guava jam to the frosting frosting to make a guava buttercream.
- Serve Chilled: For the best taste and texture, serve these Hawaiian guava cakes chilled. I feel it makes the flavors more pronounced and gives the cream cheese layer extra time to firm up.
- Patience – This isn’t the recipe you start 20 minutes before visitors arrive. You need to ensure the cakes, guava gel, and cream cheese all have time to chill and set. Otherwise, you will have piles of guava gloop. Take your time, and why not whip up a watermelon margarita as you wait – it helps incorporate those vacay vibes.
STORAGE TIPS
- These mini Hawaiian guava cakes can be stored in an airtight container in the refrigerator for up to 3 days.
- If you plan on freezing, make and bake the guava cake but don’t make the frosting. Once the cakes have cooled completely, wrap in plastic wrap then store in a Ziploc bag in the freezer for up to 3 months.
- To defrost, place in the refrigerator overnight. Then thaw at room temperature while you make the guava gel and frosting. Assemble and decorate as per the remaining instructions.
FREQUENTLY ASKED QUESTIONS
What is Hawaiian Guava Cake?
Hawaiian guava cake is a popular traditional Hawaiian dessert that was first invented in the 1960s at the famous Dee Lite Bakery in Honolulu. Invented by the bakery’s owner - Herbert Matsuba – he wanted to create a chiffon cake that showcased the flavors of Hawaii. Traditionally, it was a sheet pan cake, sliced into six scrumptious slices per pan.
As well as the famous guava cake, the bakery became known for its rainbow chiffon cake that flaunted flavorful layers of guava, passion fruit and lime. In 1990, the bakery was sold to Saint-Germain Bakery and following a successful stint, it then closed in 2018. Making it even more important to keep the wonderful Hawaiian guava cake dessert alive with this recipe!
Can you make these mini Hawaiian Guava Cakes ahead of time?
No time to bake and decorate all in one day? No problem! You can make these mini Hawaiian guava cakes, guava topping, and frosting ahead of time. For best results, I recommend baking the cakes the day before, then assembling them the next day.
Store the cakes in an airtight container on your counter (no need to refrigerate until the frosting and gel is on.) Then assemble as per instructions before chilling and serving.
Alternatively, you can freeze the cakes (without frosting or gel) for up to 3 months. Check out my storage tips for details.
OTHER ISLAND INSPIRED TREATS
I might be a little biased as it’s my home turf, but Hawaiian food is my FAVE. Whether you’re looking to switch up your usual BBQ dish or want to impress friends next time you host with your personal aloha kitchen, check out my pork ribs with Hawaiian BBQ sauce recipe, or my irresistible Kalua Pork Sliders. Wash down those family favorites with my Hawaiian style margaritas made using mango, pineapple and passionfruit! Or whip up the best brunch ever with my raspberry almond French toast recipe, using the star of the show King Hawaiian sweet round bread. With all these recipes, you'll be on a tropical vacation after one meal!
MORE TROPICAL TREATS YOU MAY ENJOY
- Coconut Cake with mango curd filling
- Pineapple curd cupcakes
- No Bake Key Lime Pie
- Pineapple Upside Down Cheesecake Trifle
- 1 strawberry cake mix
- 1 ⅓ cups guava nectar or guava juice
- 3 eggs — room temperature
- ⅓ cup coconut oil — room temperature liquid
- 2 cups guava nectar or guava juice
- ½ cup sugar
- ¼ cup cornstarch
- 3 tablespoons water
- 6 ounces cream cheese softened
- ¼ cup sugar
- 1 teaspoon vanilla
- 6 ounces Cool Whip thawed
-
Preheat the oven to 350°F, and line jumbo (or regular) cupcake pan with cupcake liners.
-
Mix together the cake mix, guava juice, eggs, and coconut oil in mixer; 30 seconds on low, scrape bowl, then 2 minutes on medium.
-
Divide the batter evenly in the cupcake liners, to the ⅓ level (no more). Bake for 19-22 minutes, until light golden. Remove from oven, and transfer to a wire cooling rack to cool
-
In a medium saucepan, bring the 2 cups guava juice and sugar to a boil over medium heat. Make a slurry of the cornstarch and water. Remove guava juice from heat and stir in the cornstarch mixture with whisk. Return to heat and bring back to a boil, and boil for one minute. Cool in refrigerator.
-
Beat cream cheese with mixer until fluffy. Add sugar and vanilla and mix well. Slowly fold in the Cool Whip, and refrigerate until ready to use.
-
When cake has cooled, spread cream cheese mixture evenly over cakes. Refrigerate until cream cheese layer sets.
-
Glaze the tops of the cakes with guava gel. Refrigerate until ready to serve.

Leave a Reply