
Thinking about throwing a Zombie Party this Halloween? Then read on for all the tips, tricks and treats you need to make your zombie party truly spooktacular!
This shop has been compensated by Collective Bias, Inc. and its advertiser, MARS. All opinions are mine alone. #CollectiveBias
It's officially October, which means we can finally start talking about Halloween. It's about darn time, as I have been planning for it since early this summer. #notkidding
I have been wanting to throw a Zombie Party for quite a while now, and this year it's finally time. With a group of teenage boys that always seem to be hanging around, throwing a mini Zombie surprise party complete with severed ears and zombie boogers just seems right. It's a good thing my kids are just as in to Halloween time as I am. They love to bake and create all sorts of fun crafts to spook our house up!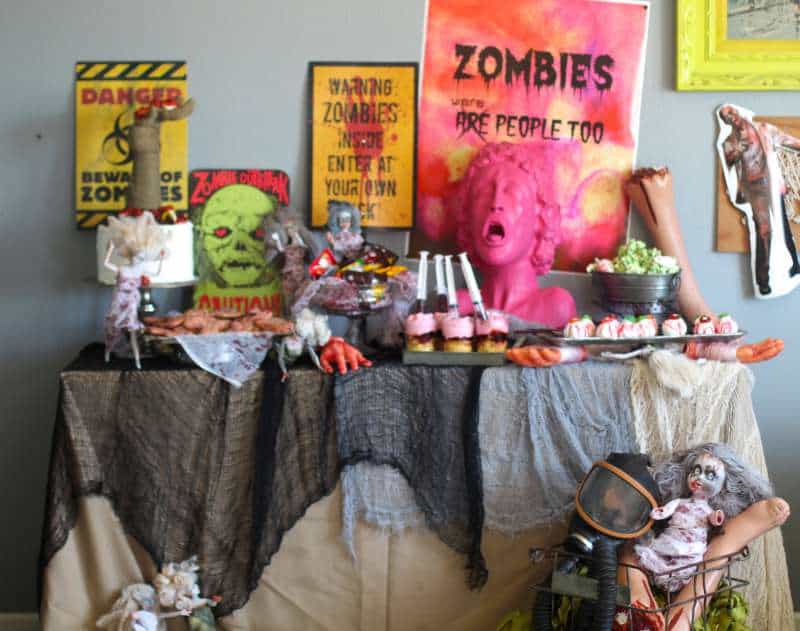
In fact, we recently spent over an hour in the Halloween section, picking up everything we would need for a month full of crafts, zombie party supplies, and of course favorite candies for BOO Kits After being BOO'd for the first time last year, we are eager to start the BOO'ing train this year in our neighborhood.
What is a Halloween Boo Kit?
In case you don't know what BOO'ing means, it is when you make a little Halloween treat, secretly deliver it with a card that explains how it works, and then the recipient does the same to someone else! It is so fun to watch the excitement on Facebook from our friends that we BOO'd.
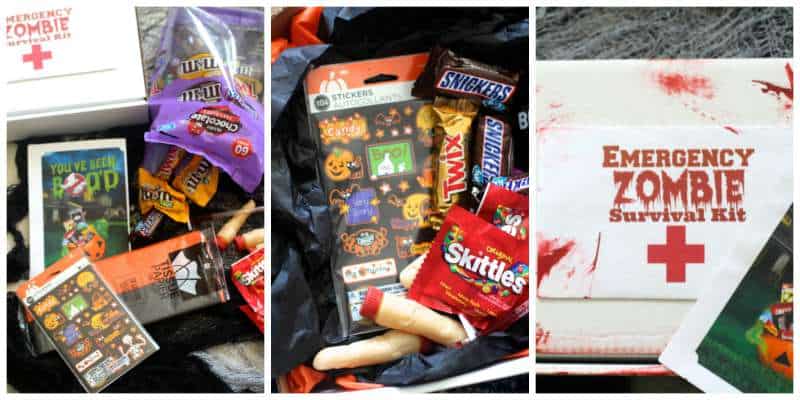
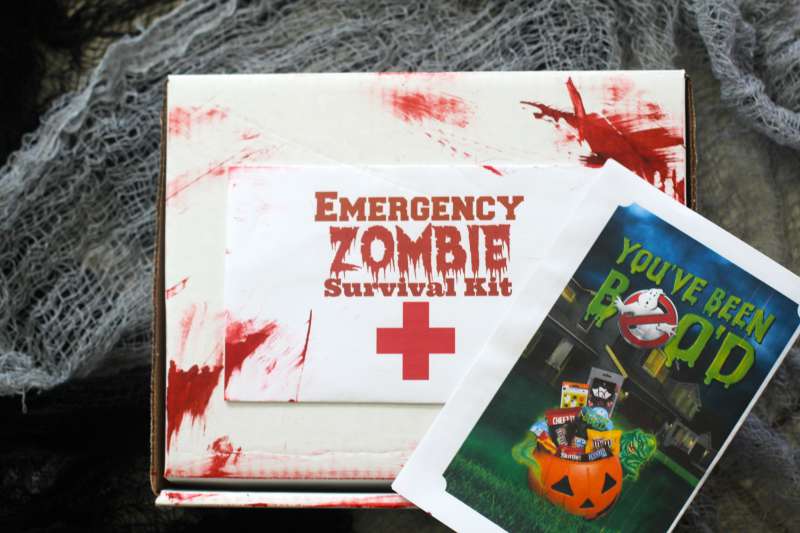
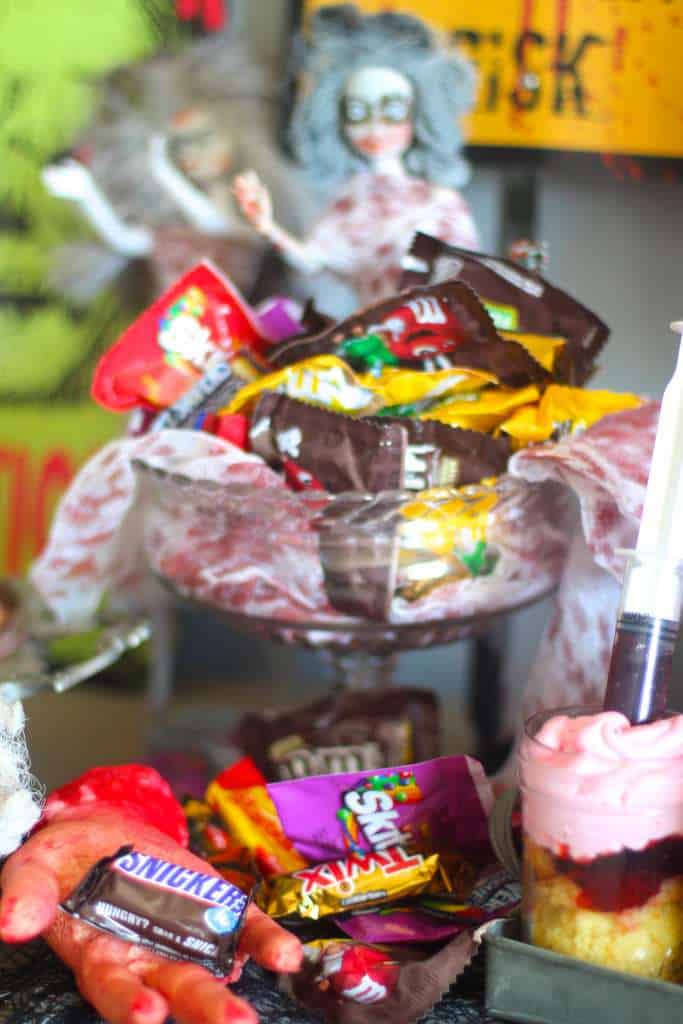
Pre- Zombie Party, we thought it would be most appropriate to secretly surprise our friends with a Zombie Survival Kit. We picked up a white box, tissue paper, Halloween stickers, finger bubbles, zombie apocalypse supplies, and of course candy!
After filling the box, we attached the label and BOO Kit card, and then had to zombify it! Making red scratch-like marks so it would look like we had been attacked on our way to deliver. Awesomeness!
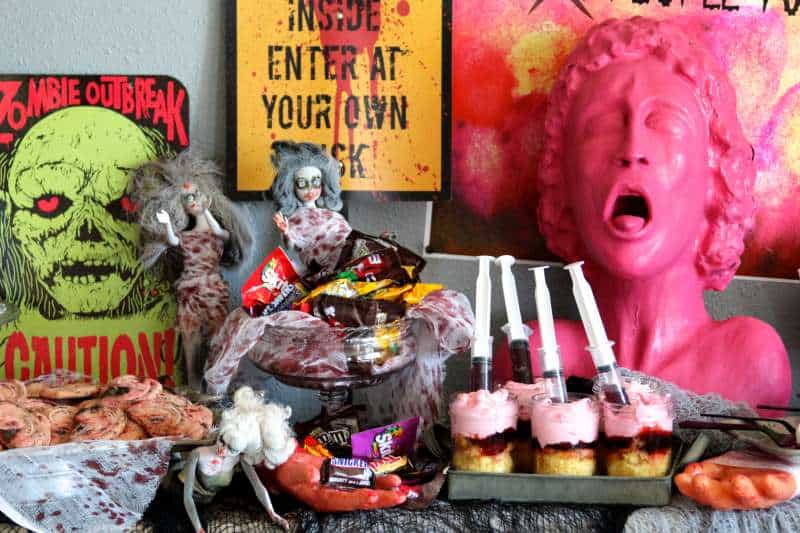
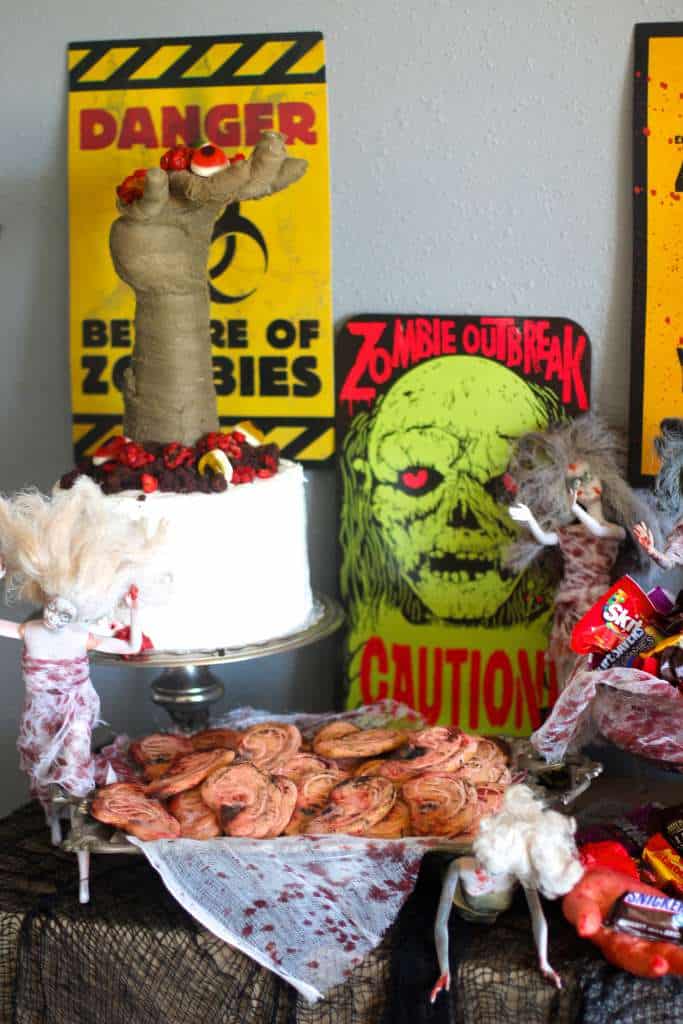
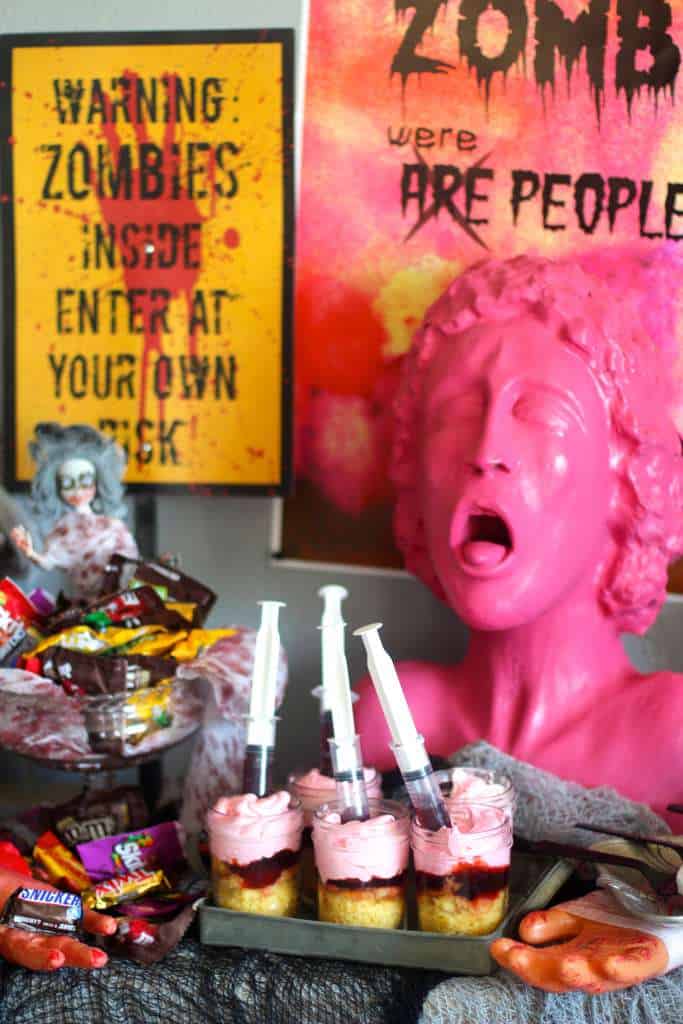
For our party we used a combination of fun quirky things that we have collected through the years (my mom and I always have an eye out for cool things for our Halloween parties) and homemade props.
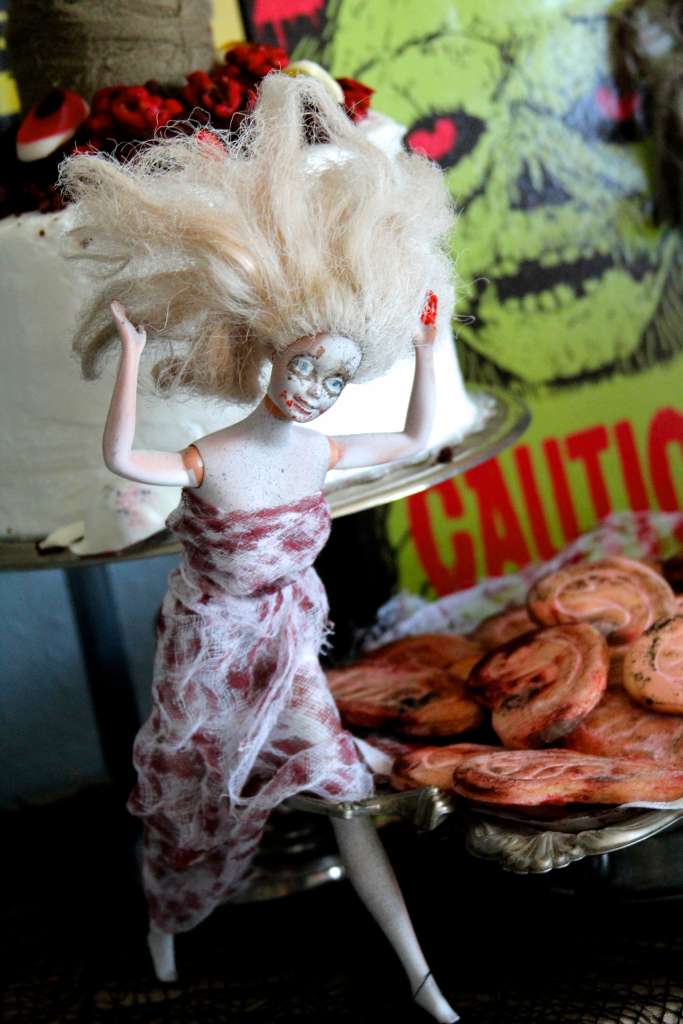
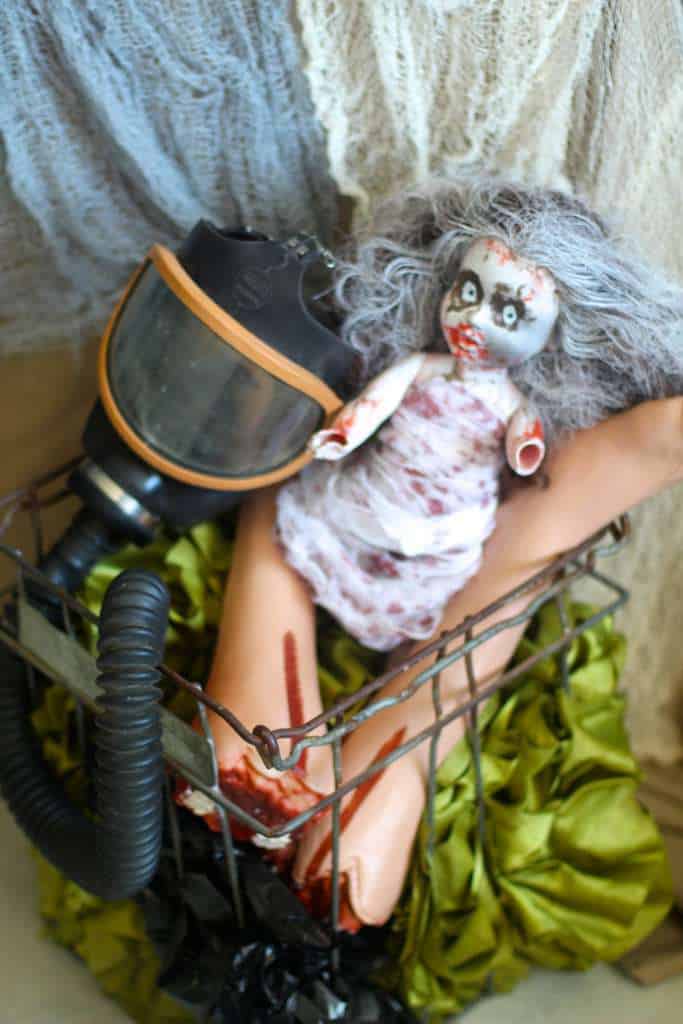
How To Make Zombies
- Go to thrift store and buy used dolls.
- Spray paint them white
- Use a sponge to apply some black around the eyes and red around the mouth and hands.
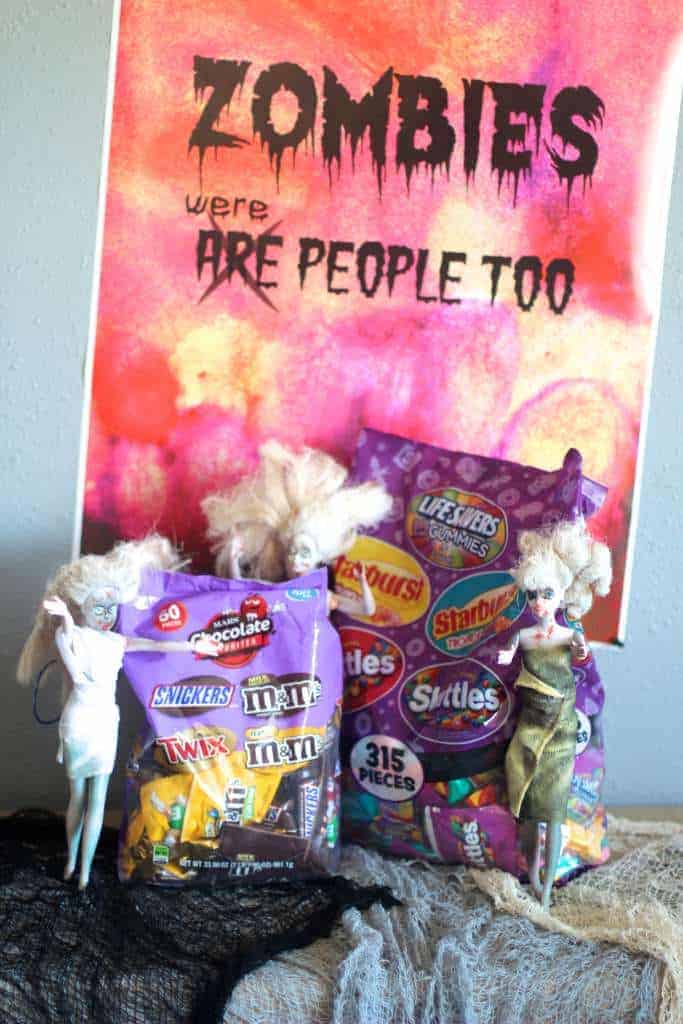
We ordered these assorted Zombie posters to use as part of our decor...my son loves them so much he wants to keep them in his room after Halloween is over!
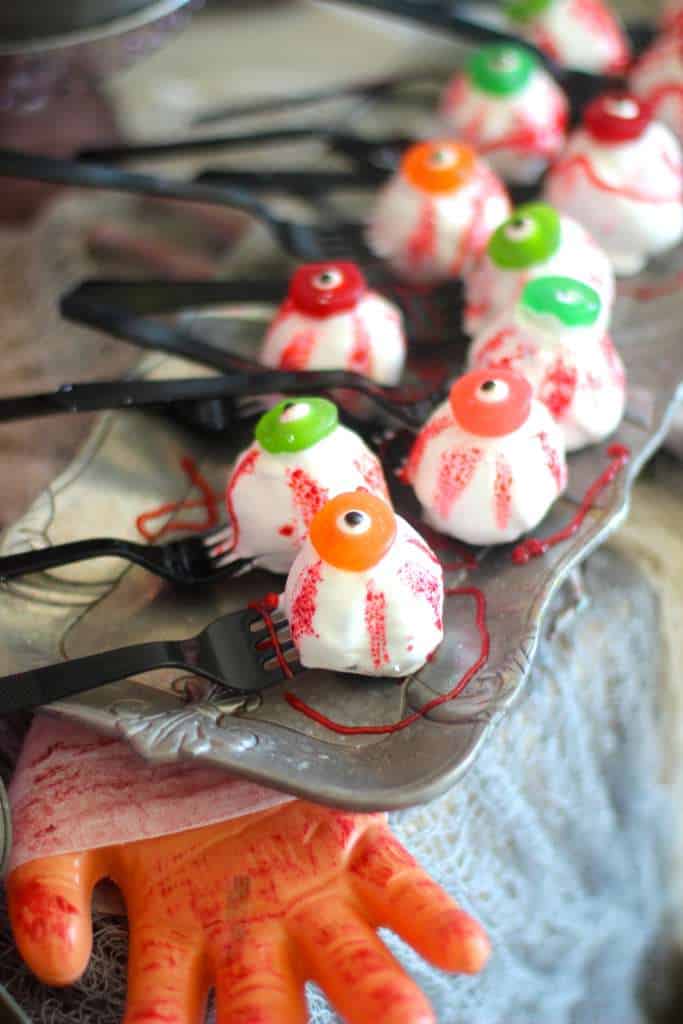
Since I knew I would be serving a bunch of teens, I wanted to make the food freakily fun. I decided to make Severed Ear Cookies and Brownie Pop Eyeballs.
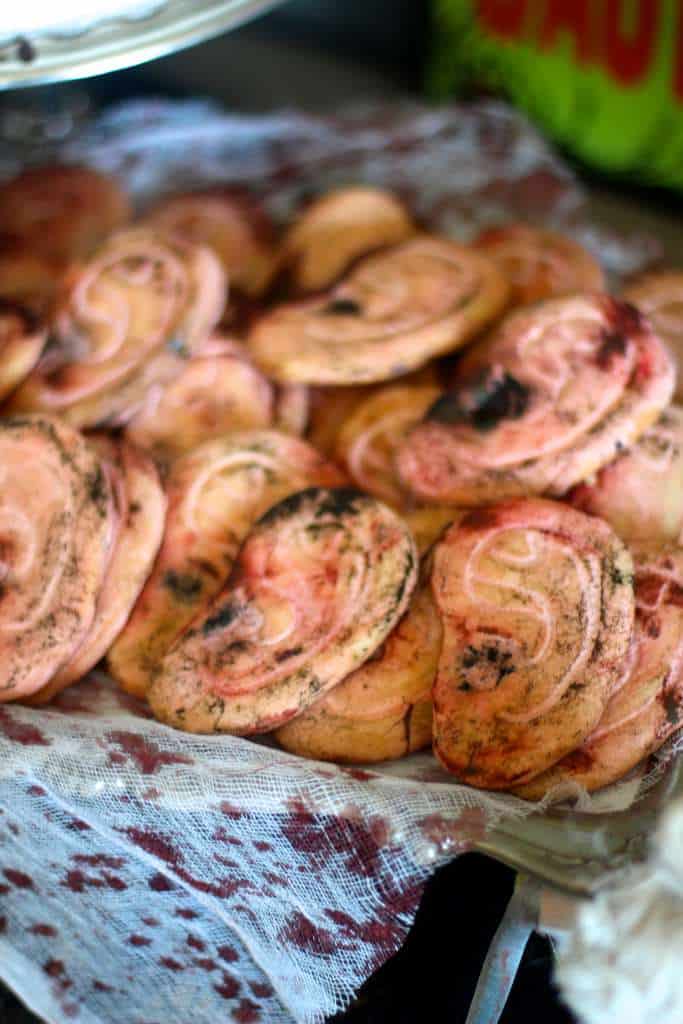
Tips for Making Severed Ear Cookies
- Mix up a batch of sugar cookies my favorite is this recipe), then use these awesome ear-shaped cookie cutters to form your cookies.
- To make super realistic looking ear cookies, dip your baked and cooled cookies in a peach colored simple glaze.
- Once dried, paint on red and black food dye with a dry brush to achieve the dirty/severed effect. Spooky!
How To Make Brownie Pop Eyeballs
Start by simply making a batch of brownies, then crumble them up and mix in some with frosting. To create the creepy eyeballs, follow these steps:
- Roll out quarter sized balls, stick a plastic fork in the top of each, and freeze for about 30 minutes.
- Dip the brownie pops into melted white dipping chocolate.
- Place a candy eyeball in the center of one round gummy candy piece, then position in the center of the brownie ball.
- Once the white chocolate is set, brush on some red food coloring to create eyeball veins.
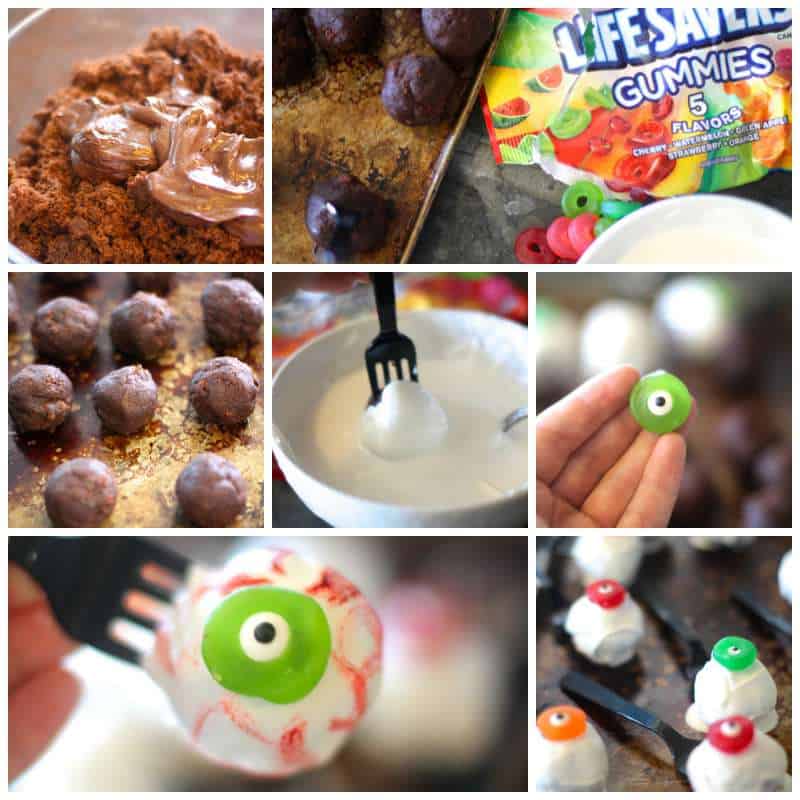
Plate your creepy creations on a serving platter, then drizzle some red gel around the plated eye balls for a festive finish!
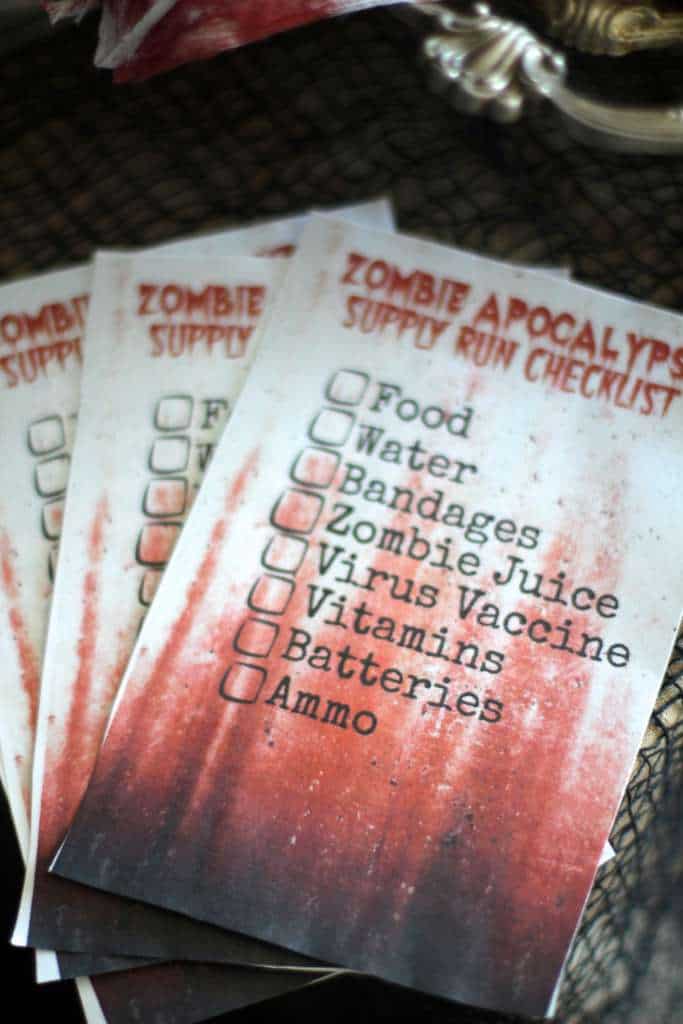
On the night of our party, I sent the teens on a Zombie Apocalypse Supply Run to burn off all of their extra energy.
And let me just say, I am so playing that video when they get married! LOL!
More Zombie Party Treat Recipes
Looking for even more frightfully delicious Halloween treats to serve at your zombie party? Then check out my recipes for Halloween Root Beer Floats, tasty Harvest Moon Sugar Cookies, an these spooky Vampire Apple Pie Milkshakes.

- 1 9x9 inch pan of cooked brownies
- ¾ cup chocolate frosting
- 1 pound white melting chocolates
- 24 plastic forks
- 1 tablespoon shortening or coconut oil
- 24 Life Savers® Gummies
- 24 edible eyes
- Red food dye
- paint brush
-
Using your hands or a food processor, turn brownies into a medium size crumb.
-
Mix chocolate frosting with brownie crumbs.
-
Mold mixture into 24 quarter sized balls and stick with plastic forks.
-
Freeze balls for 30 minutes.
-
Insert each edible eye ball into the Life Savers® Gummies.
-
When balls are cold, melt chocolate and shortening or coconut oil in a microwave safe bowl for one minute.
-
Stir chocolate until smooth. If not smooth, microwave for increments of 10 seconds, stirring in between each, until smooth.
-
Line a baking sheet with foil or wax paper.
-
Dip each ball into chocolate until it is coated. Gently tap to remove excess coating.
-
Place on cookie sheet and let sit for 10 seconds, then place the eye in the center.
-
Continue with the rest of the brownie balls.
-
Refrigerate eyeballs for 30 minutes until coating has hardened.
-
Squirt a tiny bit of red food coloring onto plate.
-
Using a brush, paint on veins.
-
Refrigerate in an airtight container for up to 3 days before serving.
eclecticmommy
This is an awesomely gruesome Halloween bash! Love all the details. #client