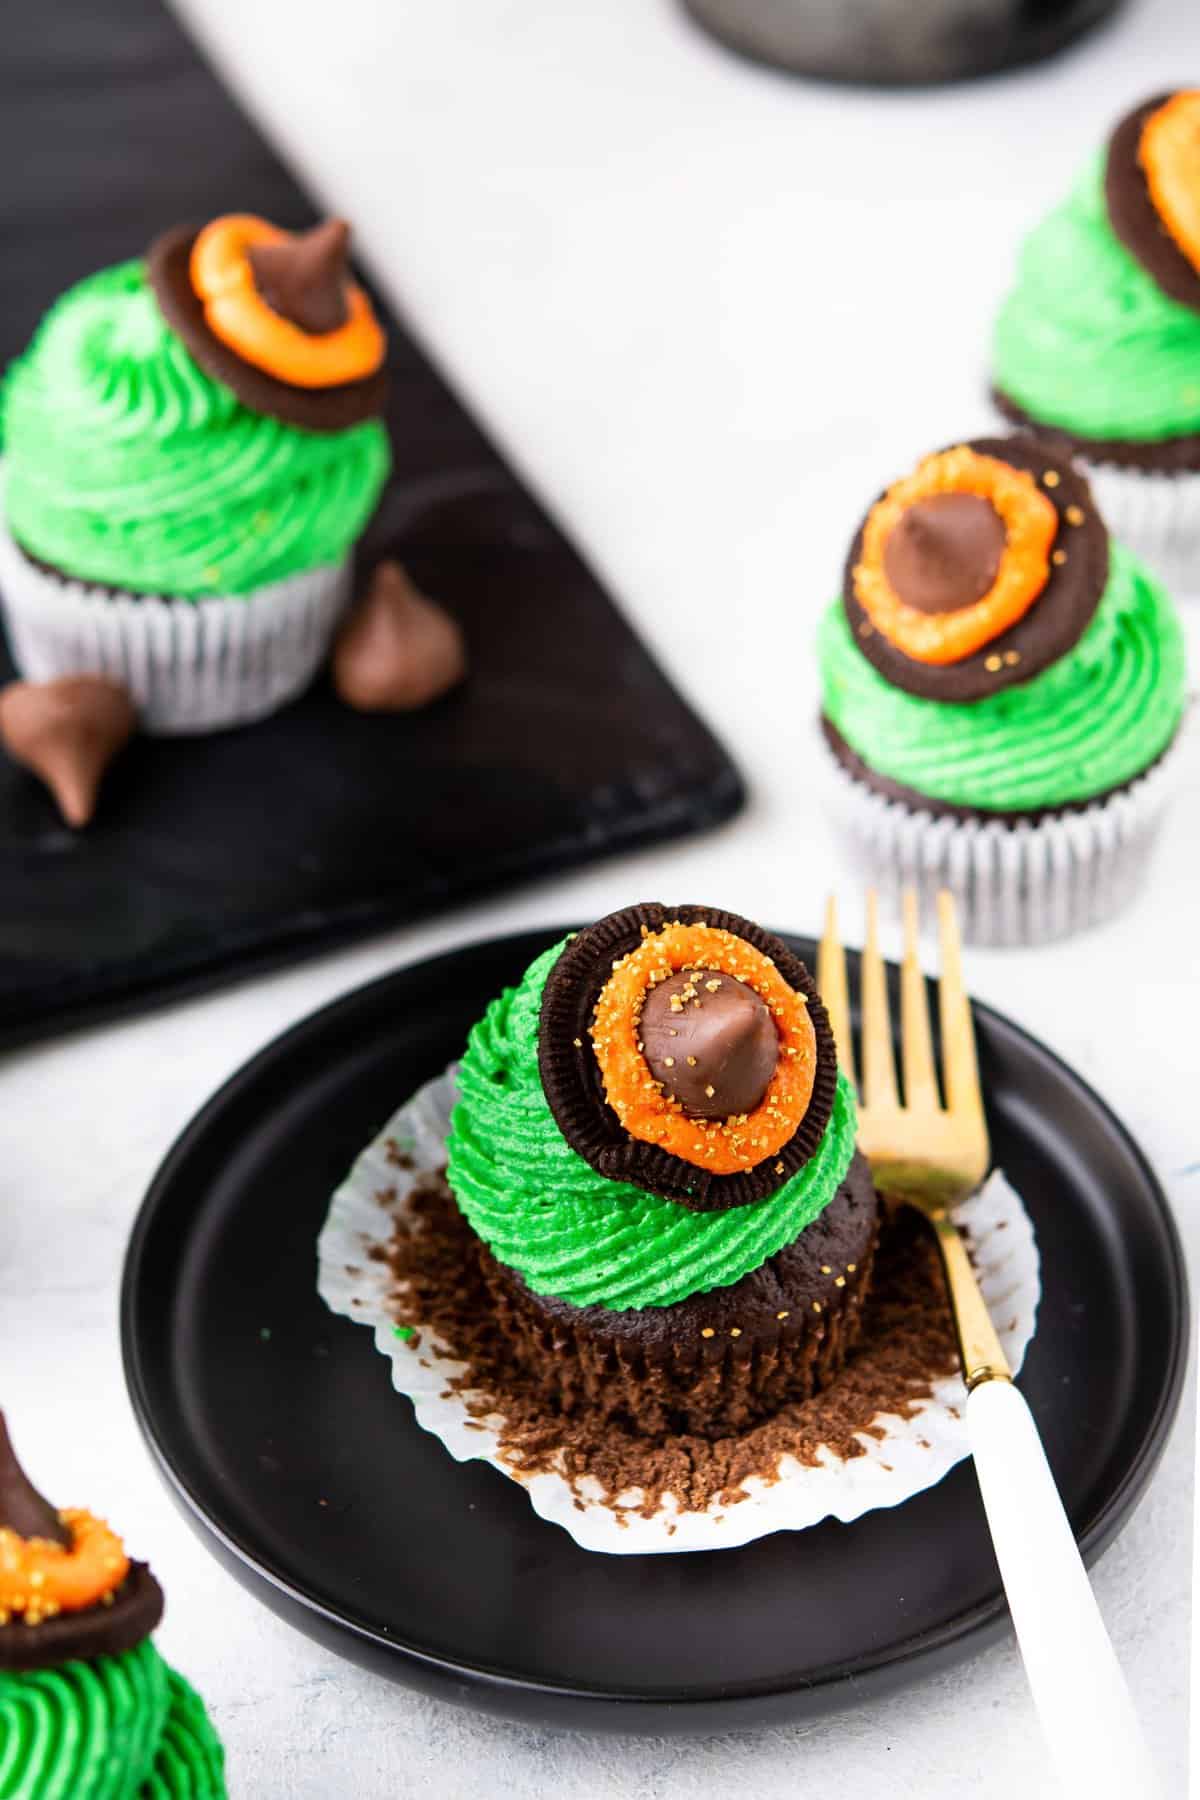
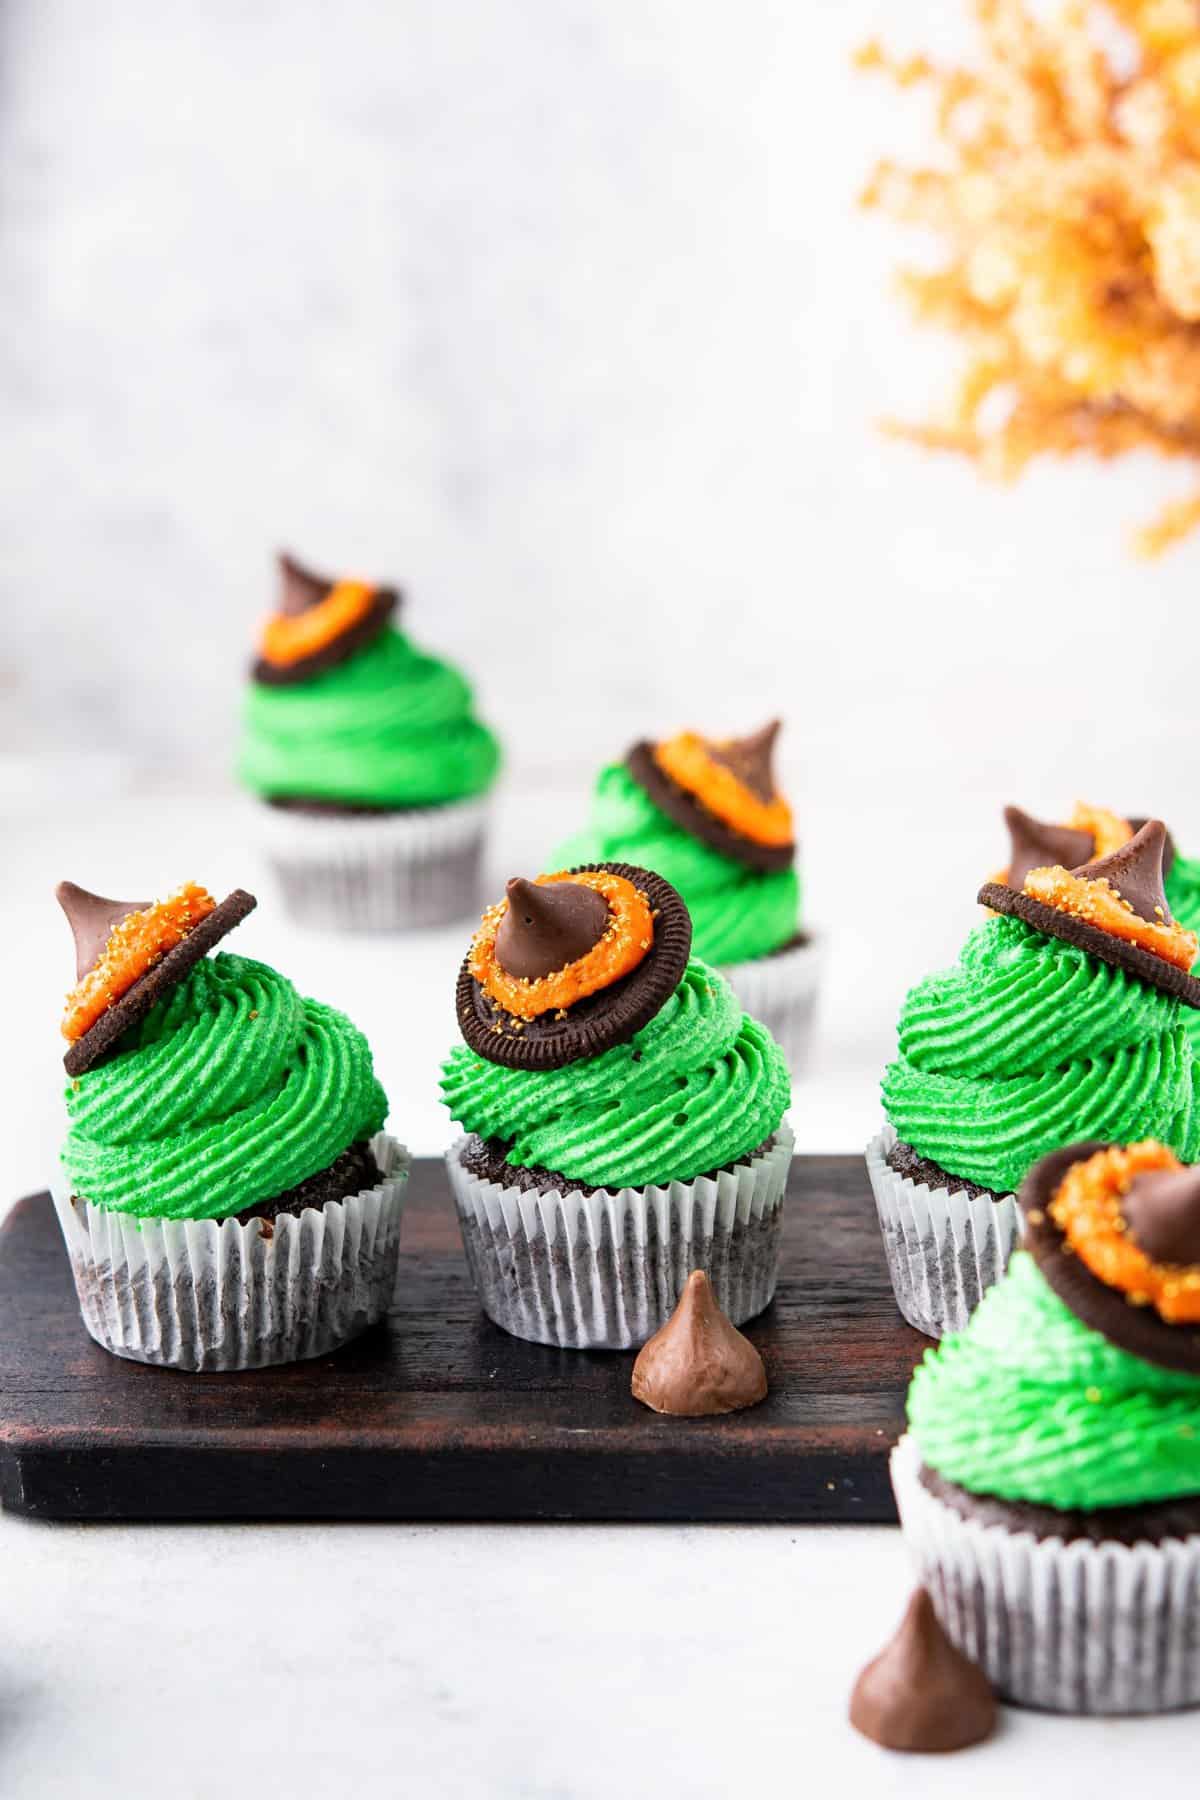
These easy chocolate witch hat cupcakes are wickedly delicious and guaranteed to brighten any buffet table at your next Halloween party. Don’t be tricked, they are most definitely a treat to make with this recipe whipping up a batch of 12 cupcakes in only an hour.
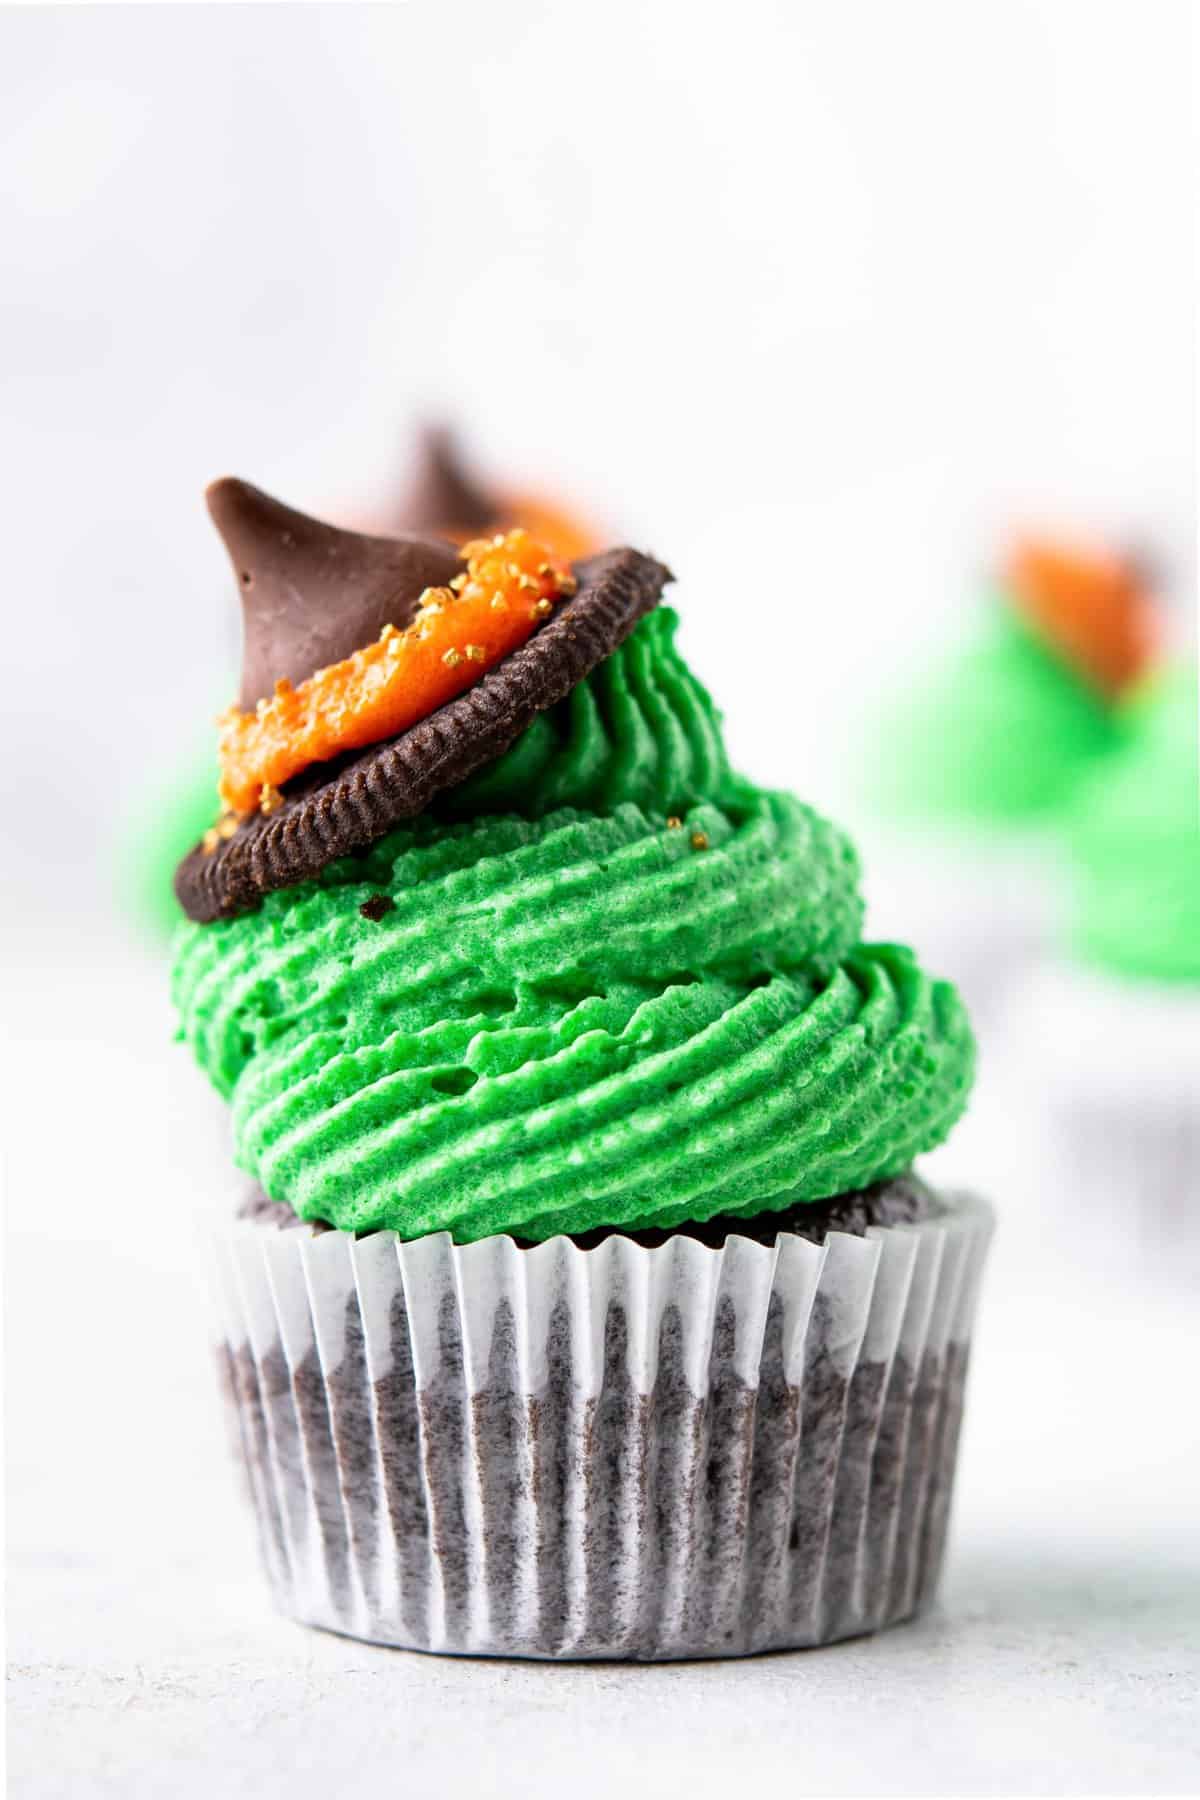
Halloween isn’t just a time to get creative with costumes, but in the kitchen too. You’d be forgiven for thinking these cupcakes are from a gourmet baker but in fact they’re super simple, thanks to these step-by-step instructions.
Moist homemade cupcakes with a delicious kick of coffee and cocoa are topped with a swirl of frosting and chocolate hat topper. No fancy ingredients or tricky tools are required, simply a few Oreo cookies and some Hershey's kisses make the hats on top of these sensational sweet treats and get you into the Halloween spirit. They're the perfect treat for halloween parties or that fall bake sale!
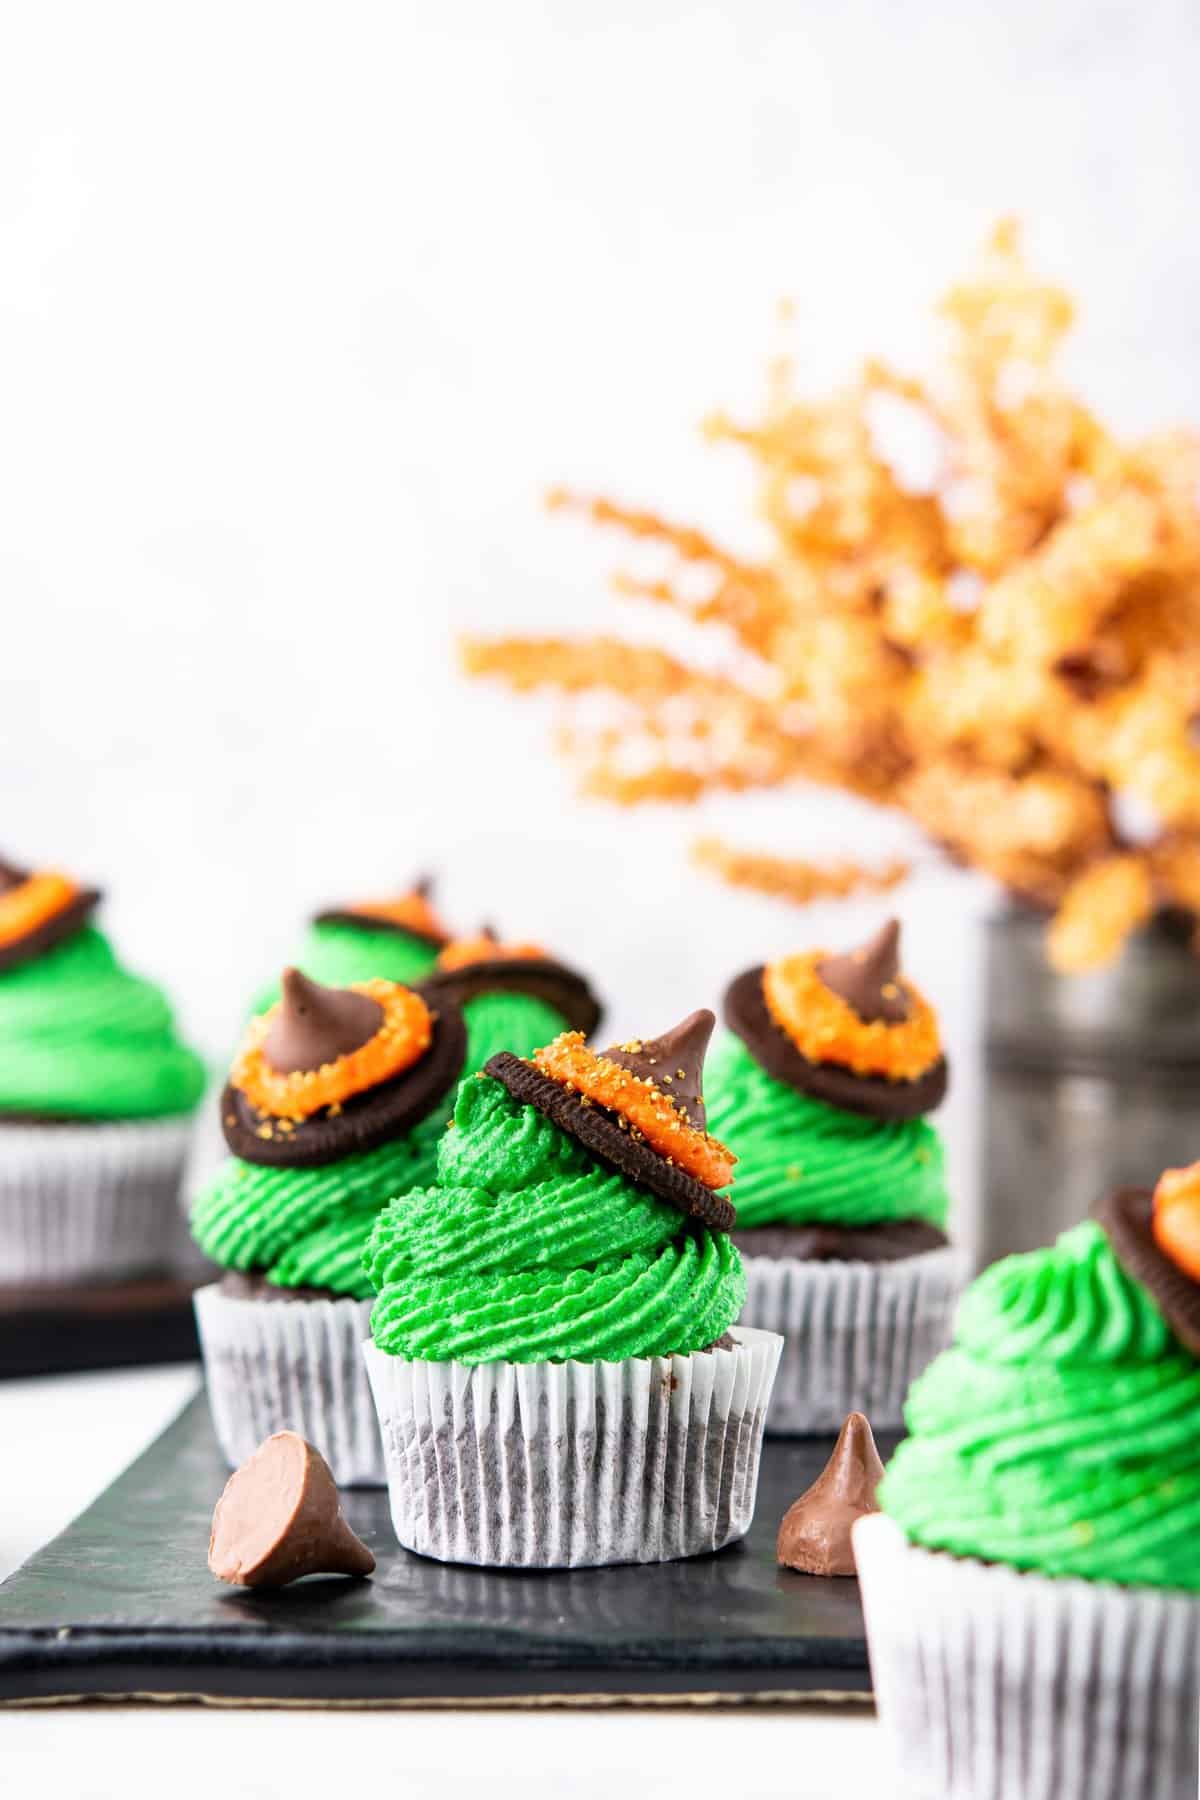
This means your little ones can get involved in the festive fun too so you’ll be making cupcakes AND memories. Simple, sweet with a hint of spooky in this easy treat. What’s not to love with these adorable witch hat cupcakes?
If you love these cute witch hat cupcakes, make sure to check out our other easy halloween cupcakes- Vampire Cupcakes, Monster Cups, Halloween Cupcakes, or our Brain Cupcakes.
WHY WE LOVE THIS CHOCOLATE WITCH HAT CUPCAKES RECIPE
- Easy- Even if you’ve never picked up a piping bag before you’ll find that you’ve got all the skills needed when it comes to these easy Chocolate Witch Hat Cupcakes.
- The perfect party food – They will look epic on the party food table next to my witch finger cookies and graveyard pudding cups.
- Can feed a crowd – One of the many, many delightful things about cupcakes is that it is super easy to double or triple the recipe if you need a bigger batch to feed a crowd.
- Kid friendly – The recipe is so straightforward the whole family can get involved in the baking, decorating, and hopefully washing up too.
- Quick – At this time of year we’re all super busy, but thankfully it takes only an hour for these cupcakes to go from bowl to baked to belly!
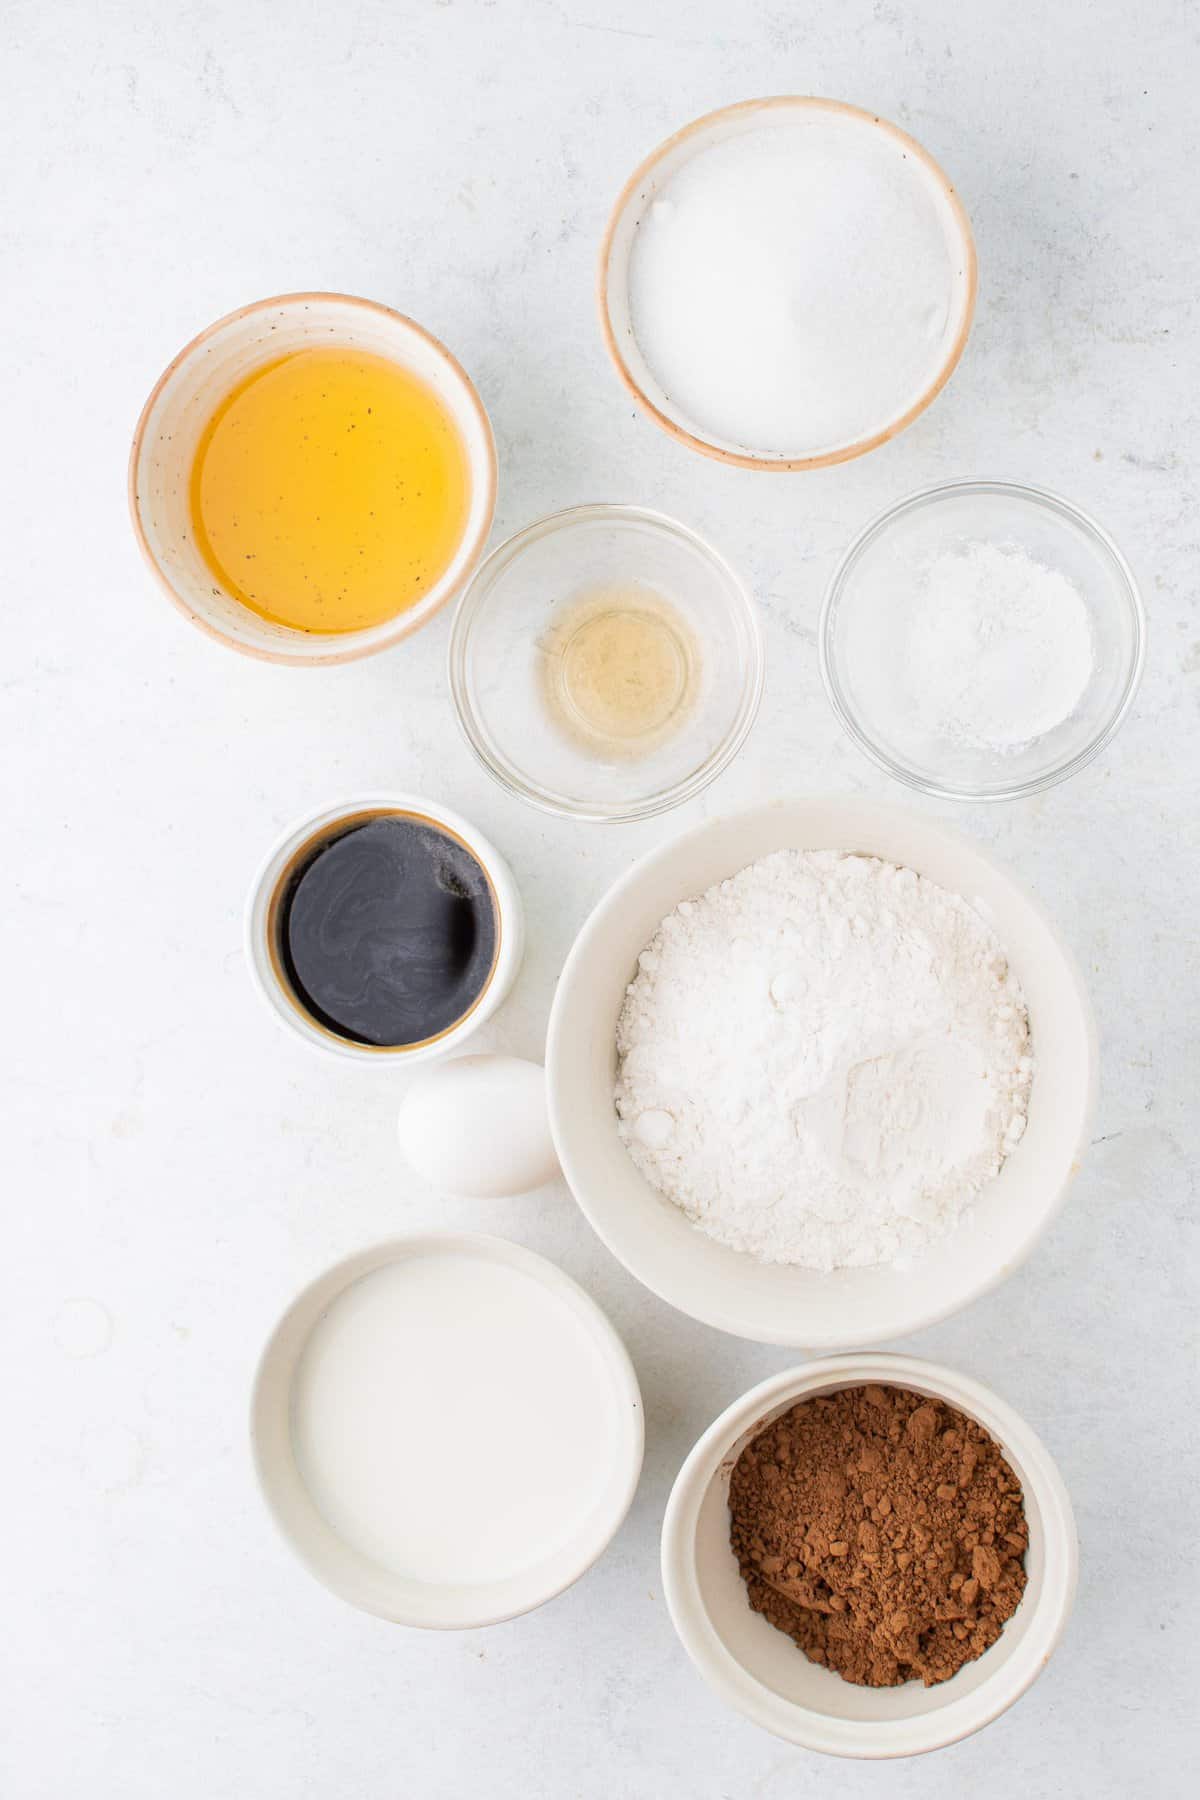
SIMPLE INGREDIENTS /SHOPPING LIST
Chocolate Cupcakes
- All-purpose flour
- Baking powder
- Cocoa powder
- A pinch of salt
- Granulated Sugar
- Vegetable Oil
- Whole Milk
- Vanilla extract
- Large Eggs
- boiling water
- espresso or instant coffee powder
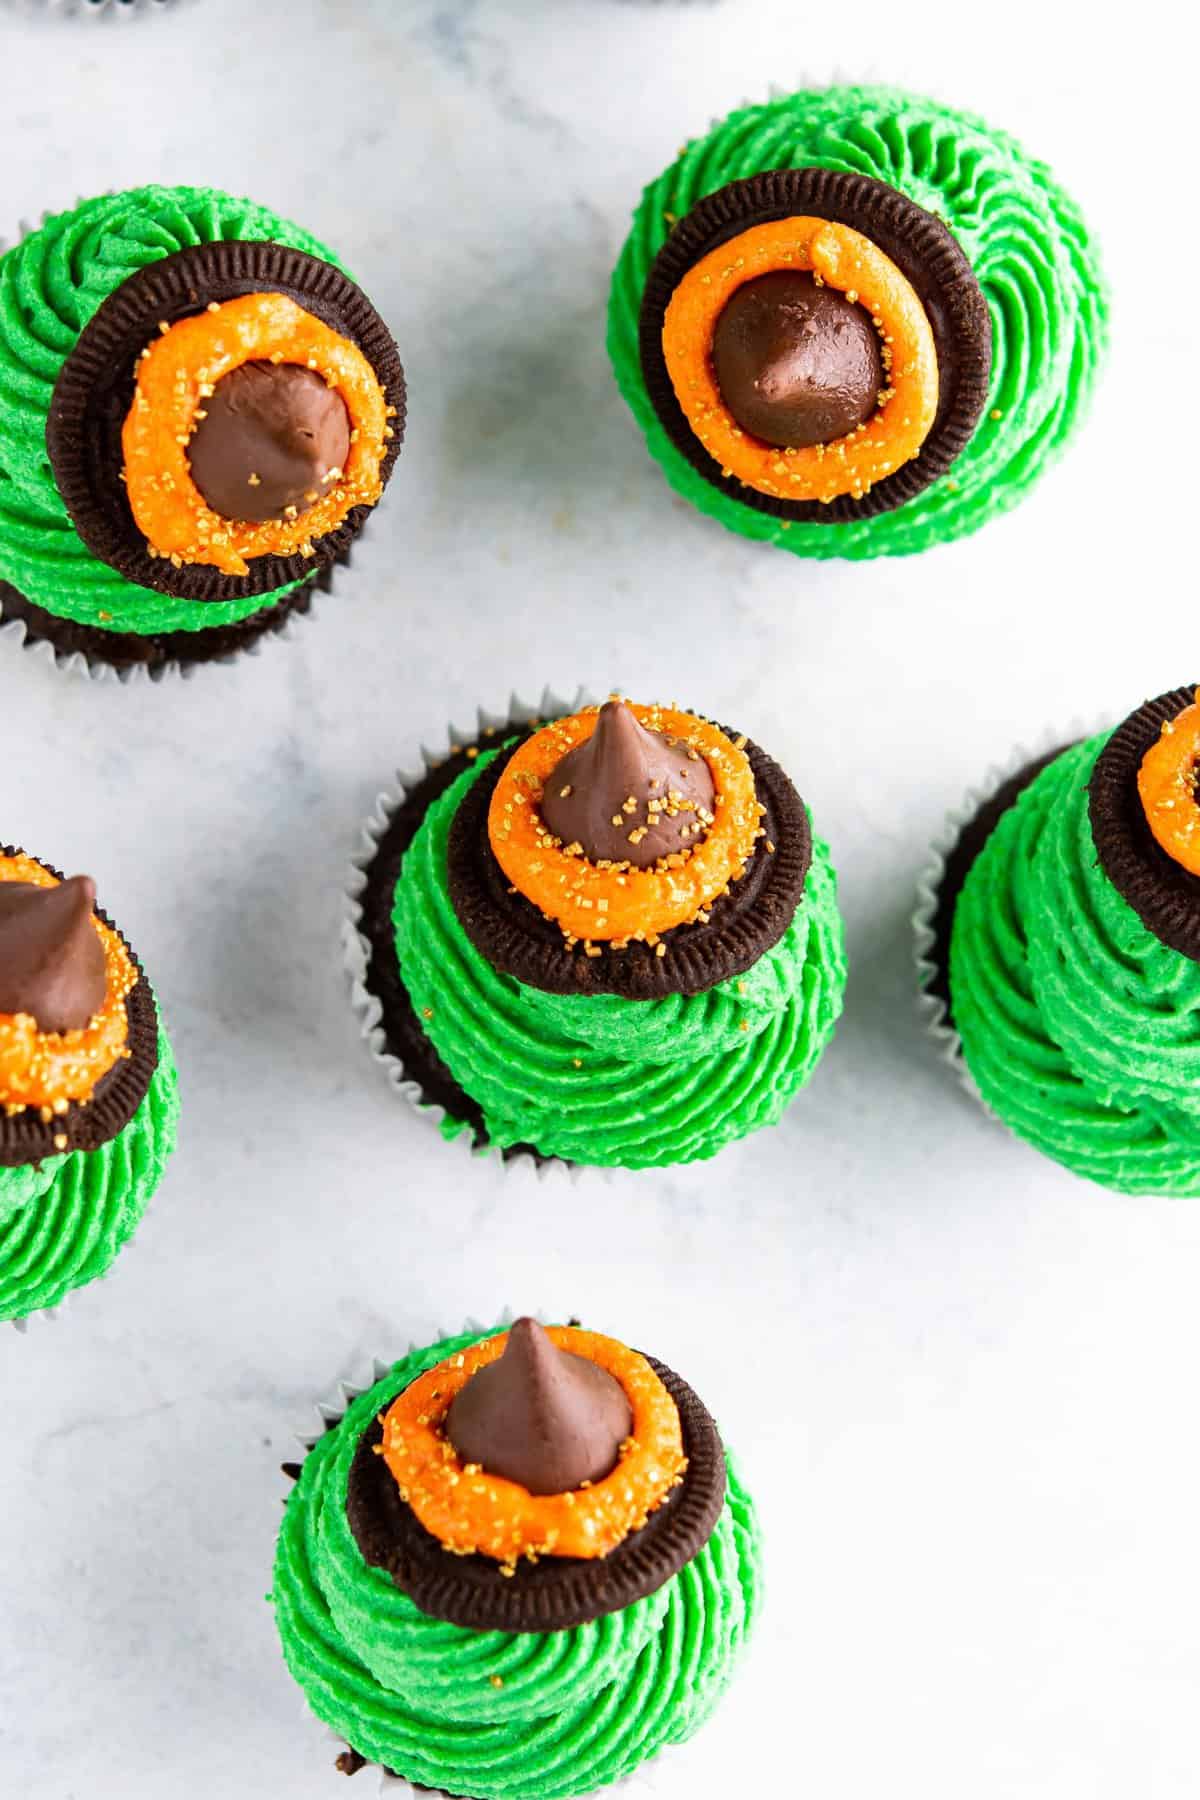
For Vanilla Frosting and Witch Hats Decorating:
- Unsalted Butter
- Granulated Suga
- Vanilla extract
- Green and Orange Gel food color
- Hershey’s Kisses
- Regular Oreo Cookies
- Orange Sprinkles
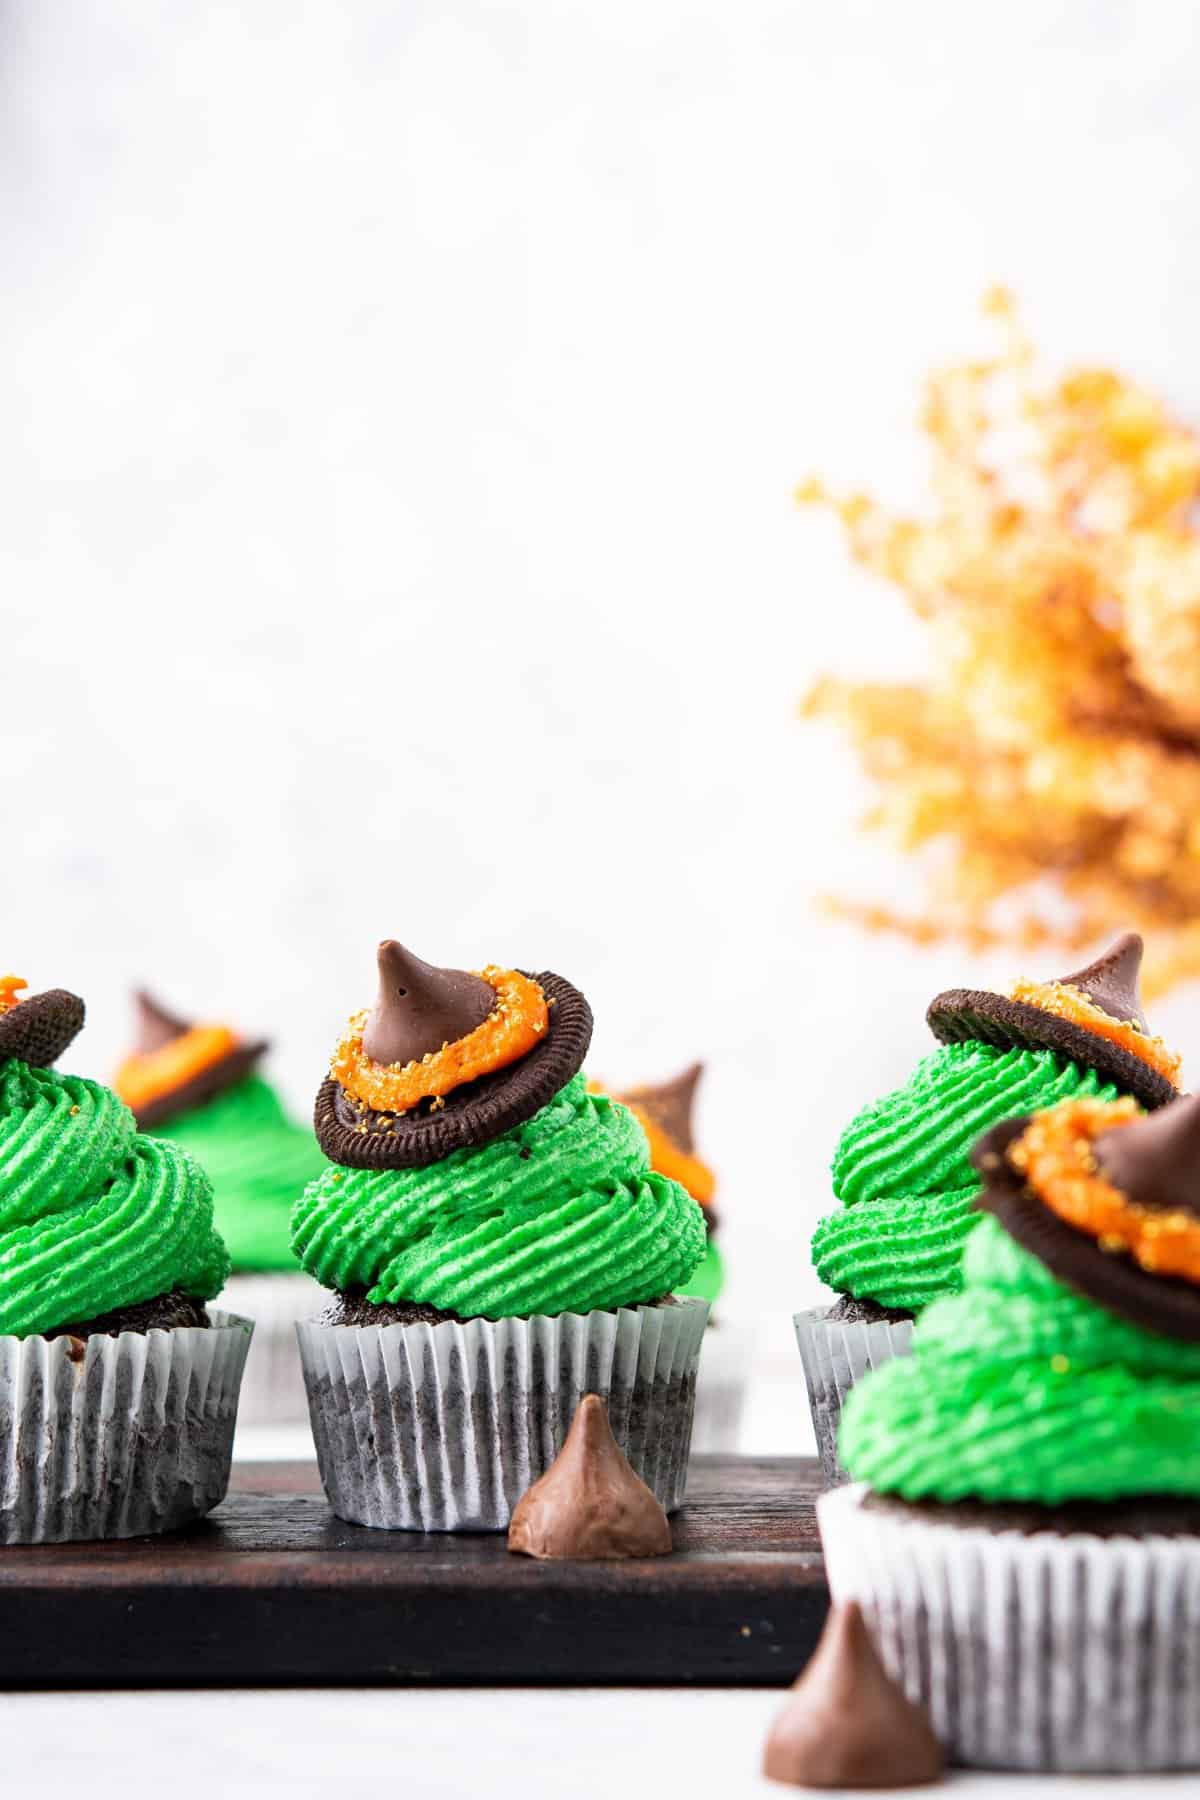
WITCH CUPCAKES SUBSTITUTIONS AND ADDITIONS
- Cupcake – You don’t need to stick to this cupcake recipe as it does contain coffee which isn’t to everyone’s tastes. Feel free to experiment with any of my cupcake recipes to use as your base or any boxed mix.
- Save time with store-bought – whether you’re short on time, or your kids’ school has a no homemade bakes policy, you could switch out the frosting or cupcakes for store-bought.
- Kisses - If you want to switch up the flavors (or colors) you could use dark chocolate kisses, or even white chocolate hugs. If you would like a more dramatic witch hat, use sugar cones.
- Frosting – For the witch “hair” I used a vibrant green and then orange frosting to glue the kisses to the Oreo cookies. Feel free to get creative! Purple would also look amazing or keep it white for a wizard-inspired look.
- Flavor – skip the caffeine kick if serving these to kids. It’s also super easy to switch up the flavor of your cupcakes. Good old pumpkin spiced always goes down well, or if it's adults you’re entertaining this fall try my beer cupcake base!
- Oreos – I opted for Oreos as they are the perfect witch hat color however you can mix it up for your favorites such as chocolate shortbread.
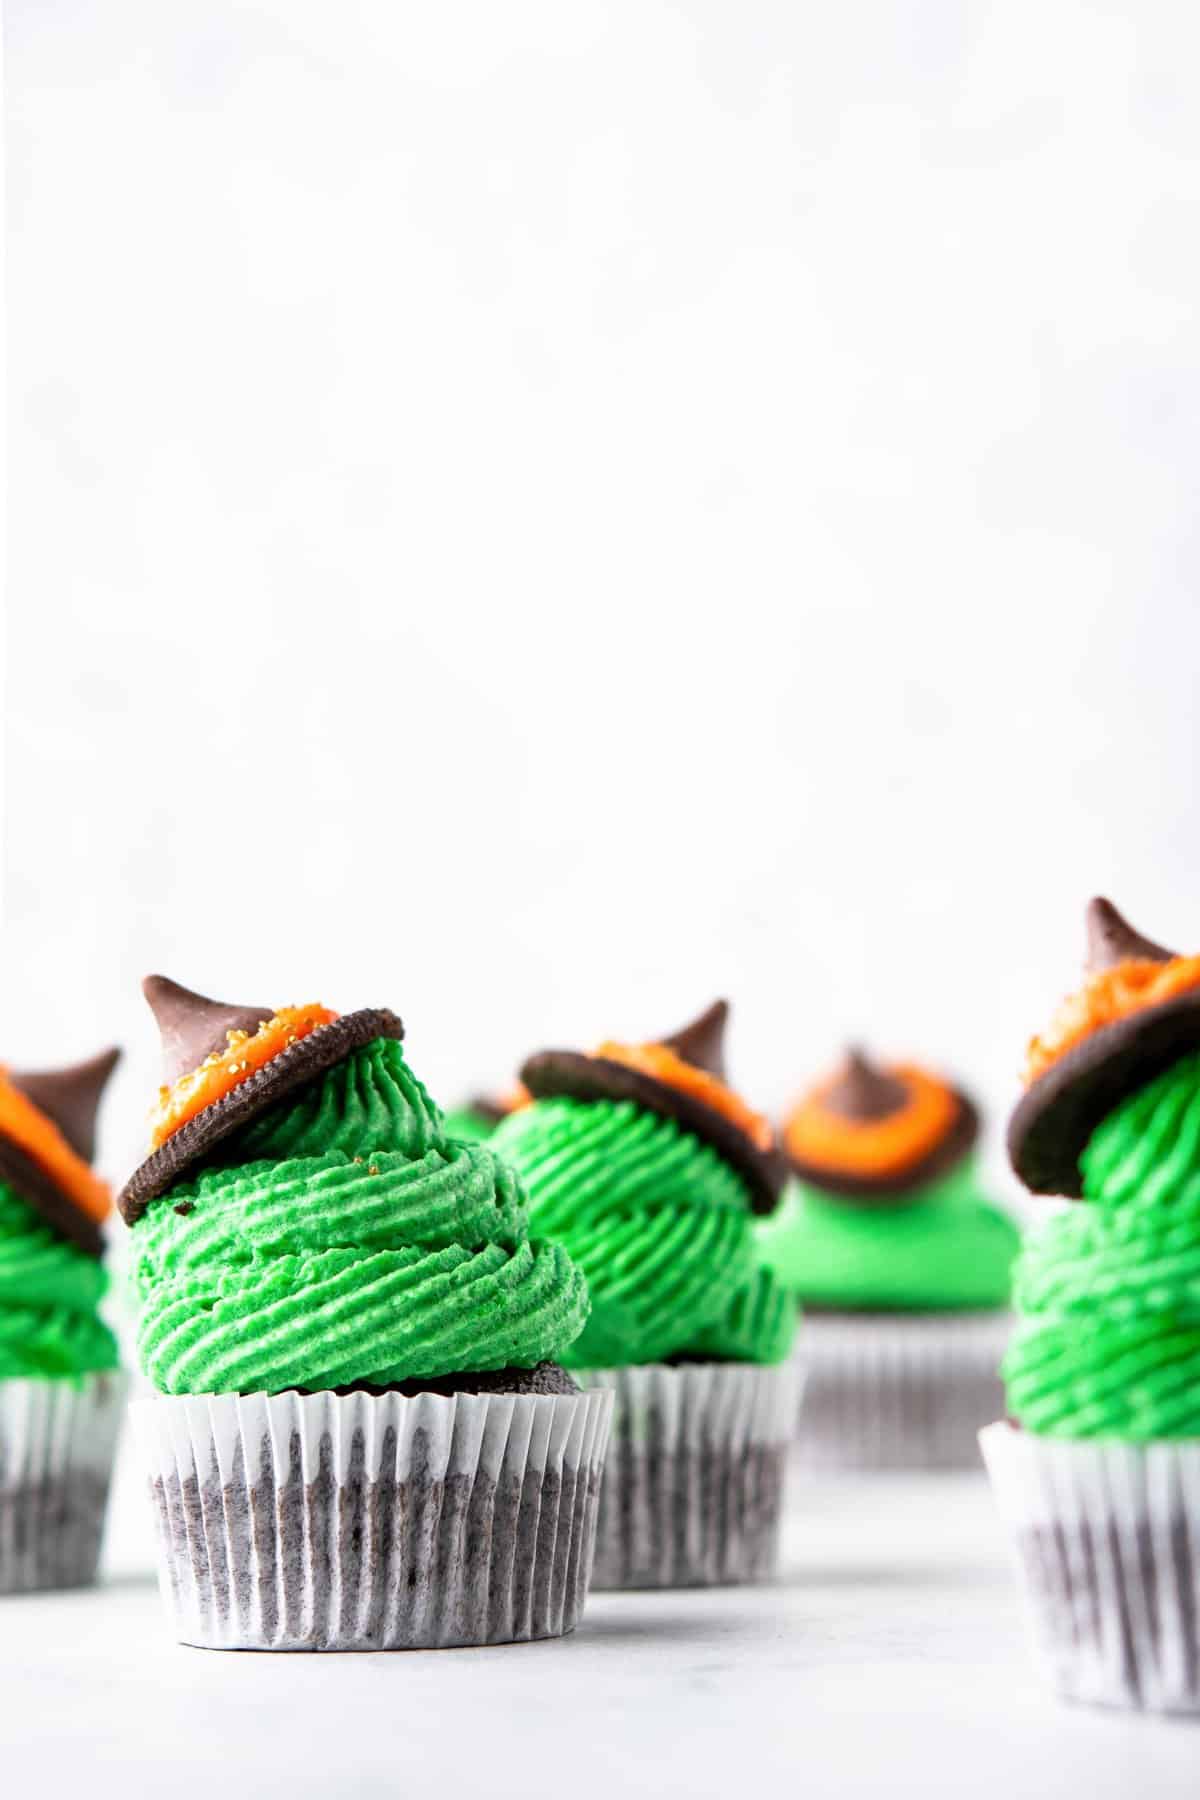
RECOMMENDED TOOLS TO MAKE THIS RECIPE
- Cupcake liners
- Baking tray
- Large bowl
- Spatula
- Ice cream scoop
- Wire rack
- Stand mixer or hand mixer
- open star tip nozzle
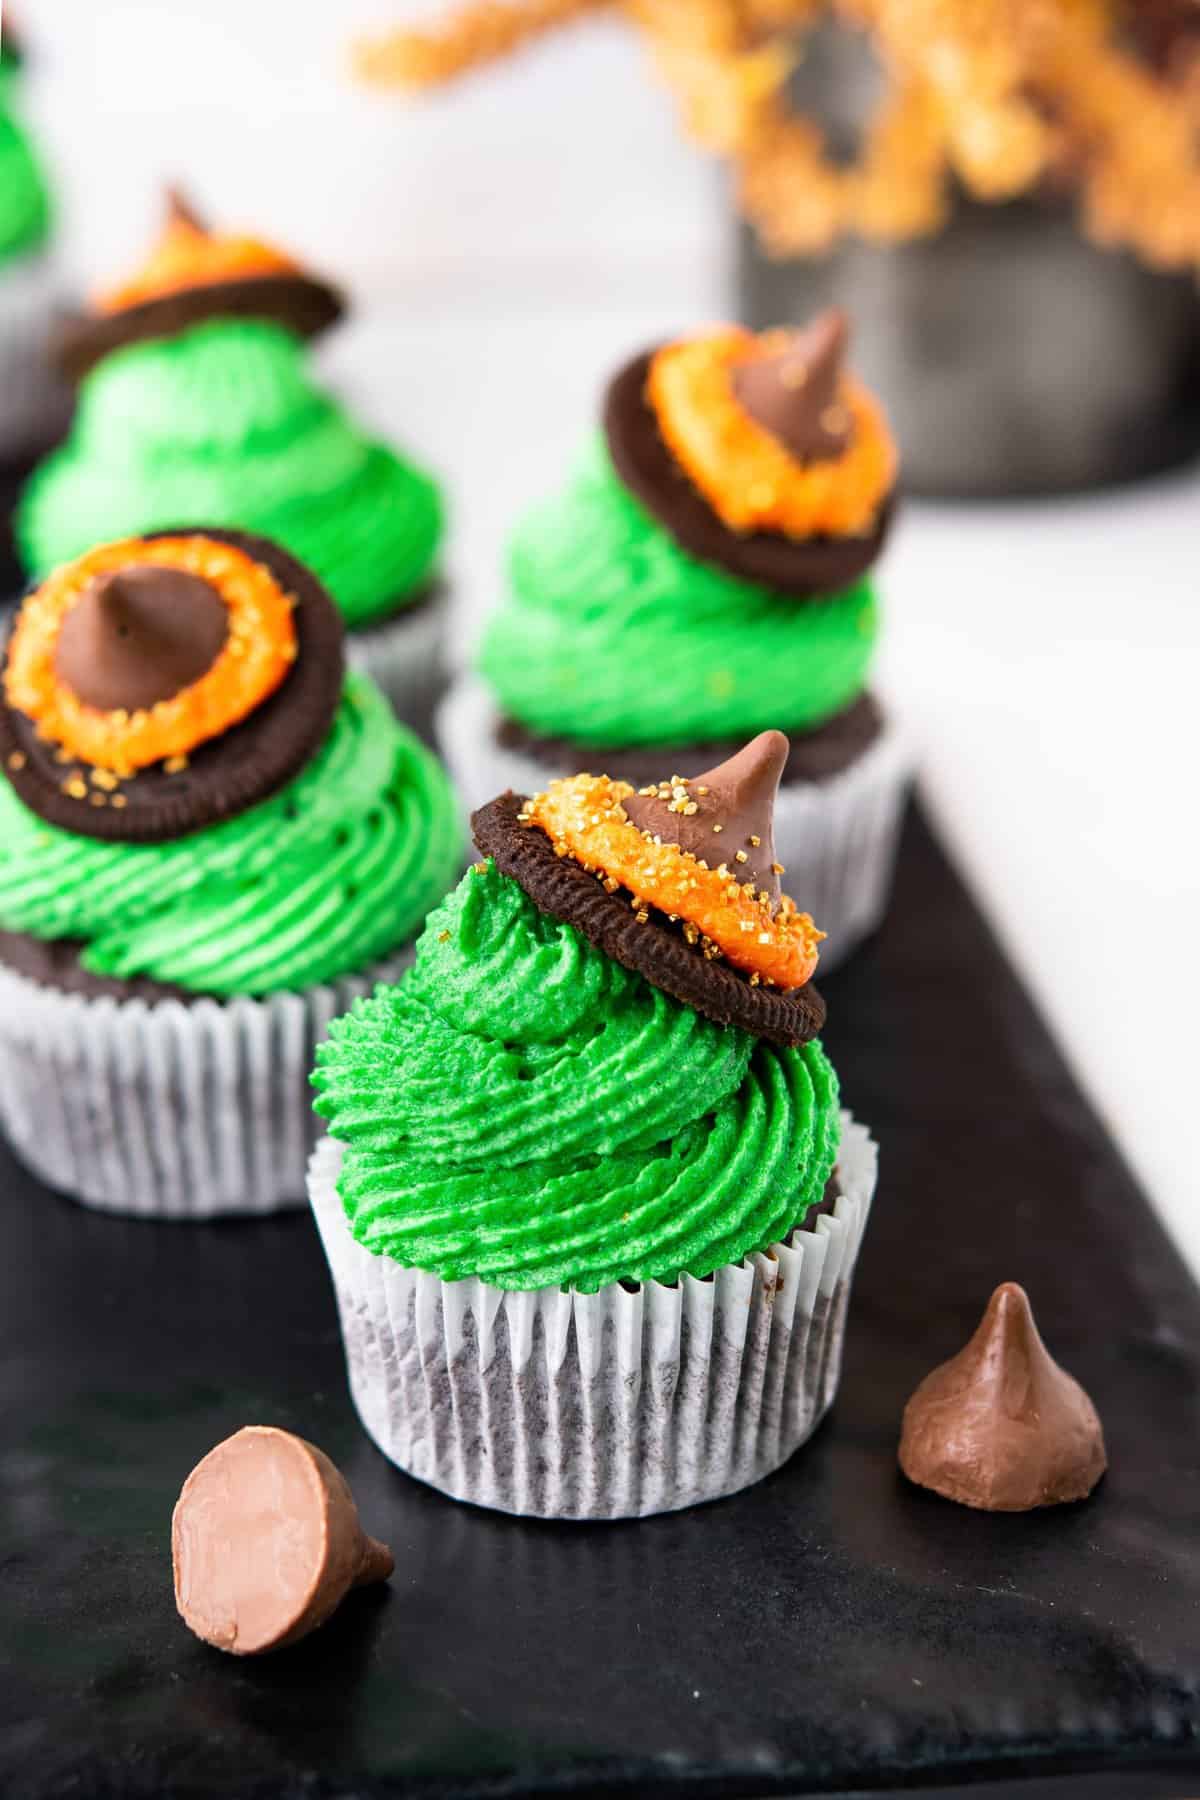
HOW TO MAKE THIS CHOCOLATE WITCH HAT CUPCAKES RECIPE
These Halloween Witch Hat Cupcakes are super easy to make and fun to assemble. Get the kids in the kitchen to help with this fun treat! Make it even more fun for the littles by wearing your favorite witch costumes!
1. Preheat the oven to 350 degrees F and line your baking tray with cupcake liners.
2. Start with the dry ingredients. In a large bowl, add the flour, baking powder, cocoa powder, salt, and sugar and stir it well.
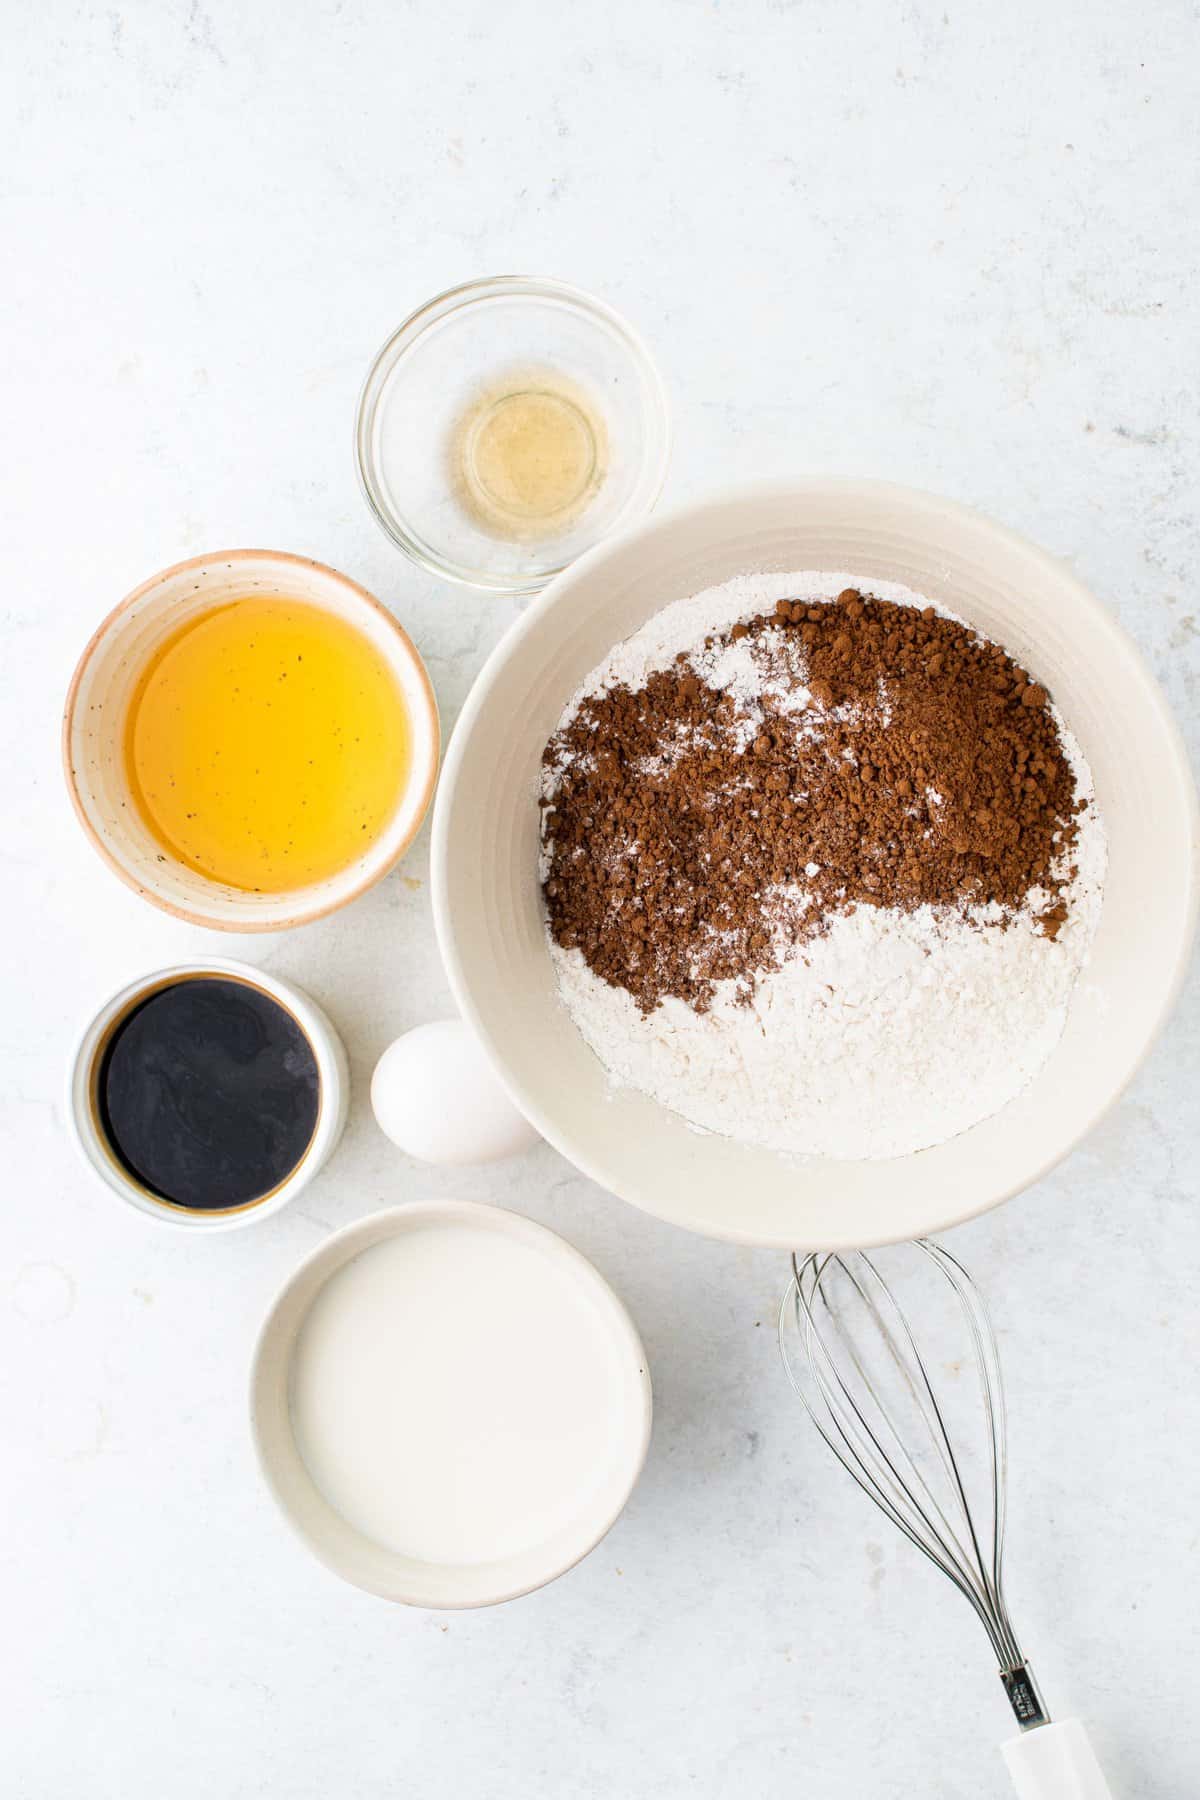
3. Now add the wet ingredients - oil, milk, vanilla extract, and egg to the flour directly and mix well.
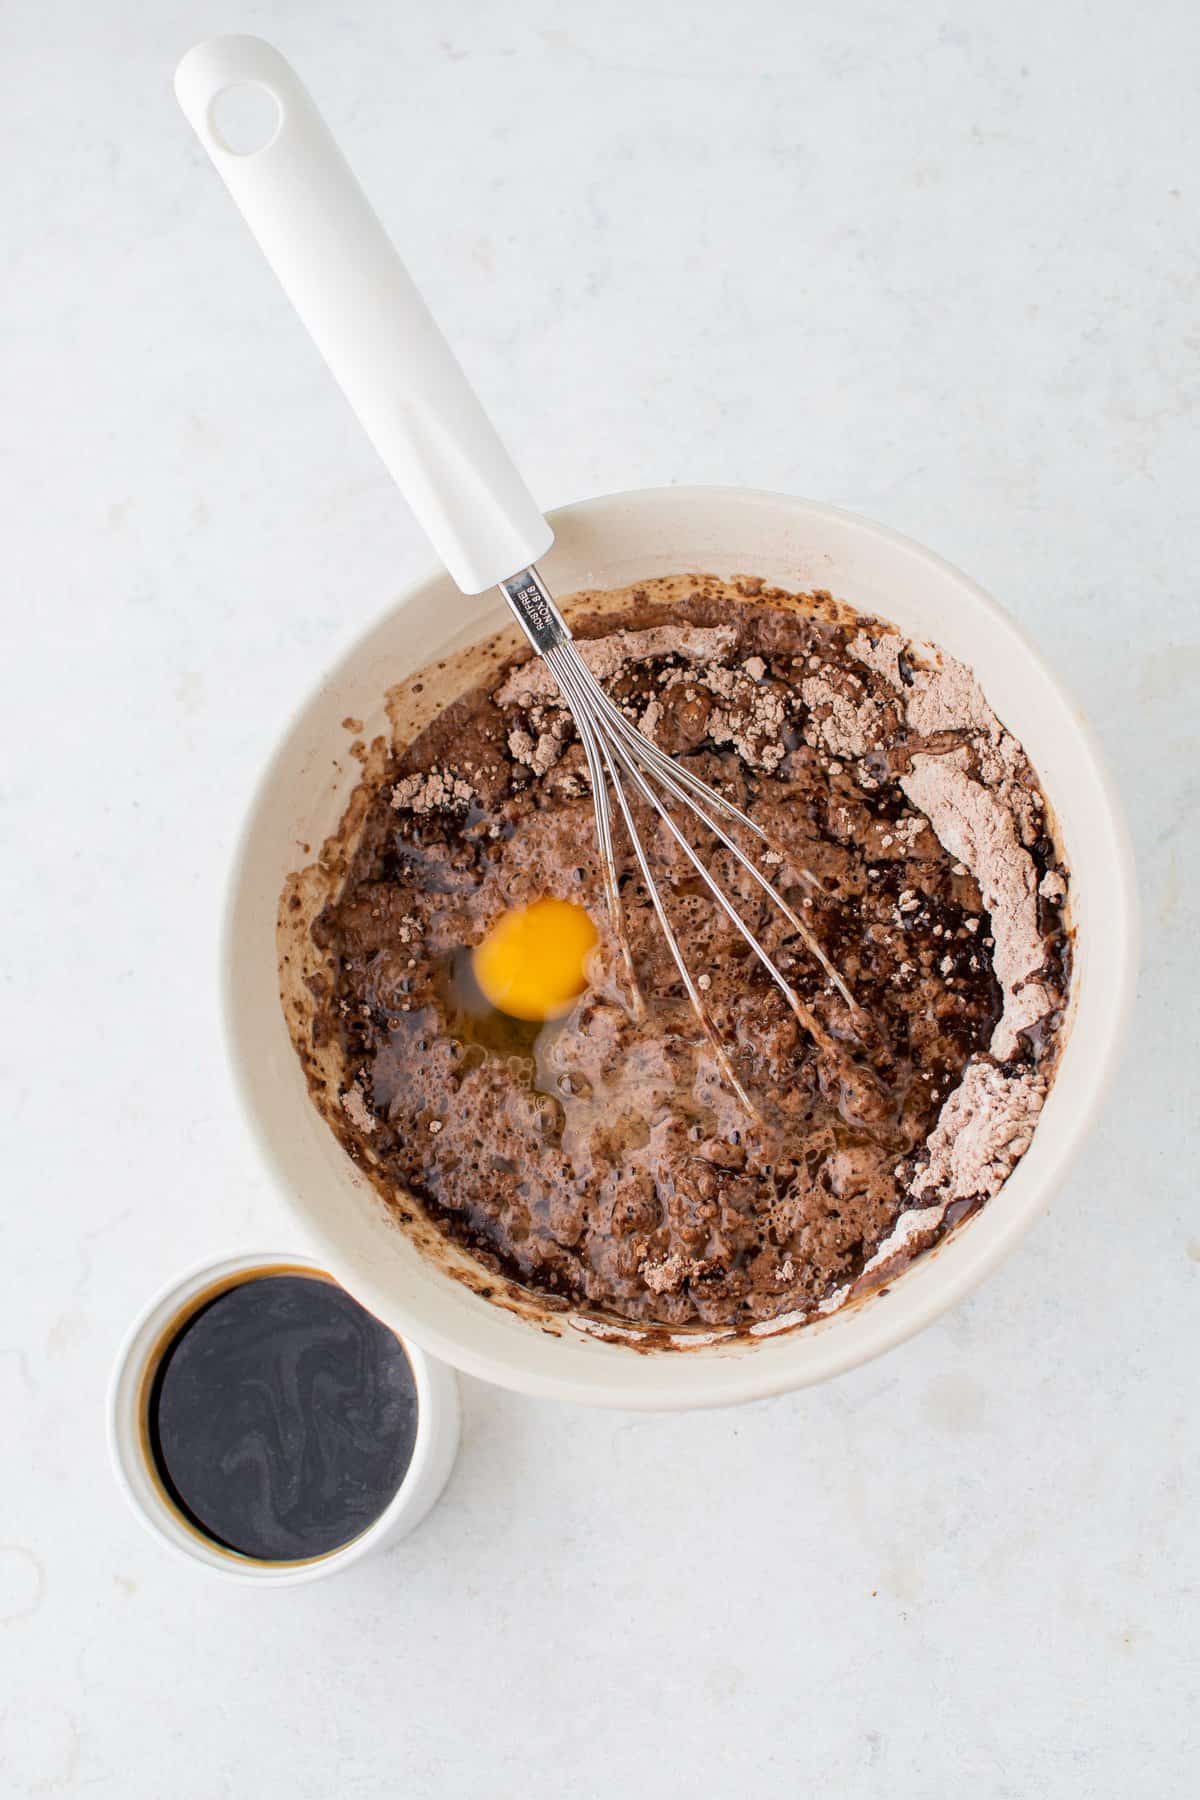
4. Lastly, add the hot coffee in intervals. Make sure you keep mixing till you get a smooth consistency.
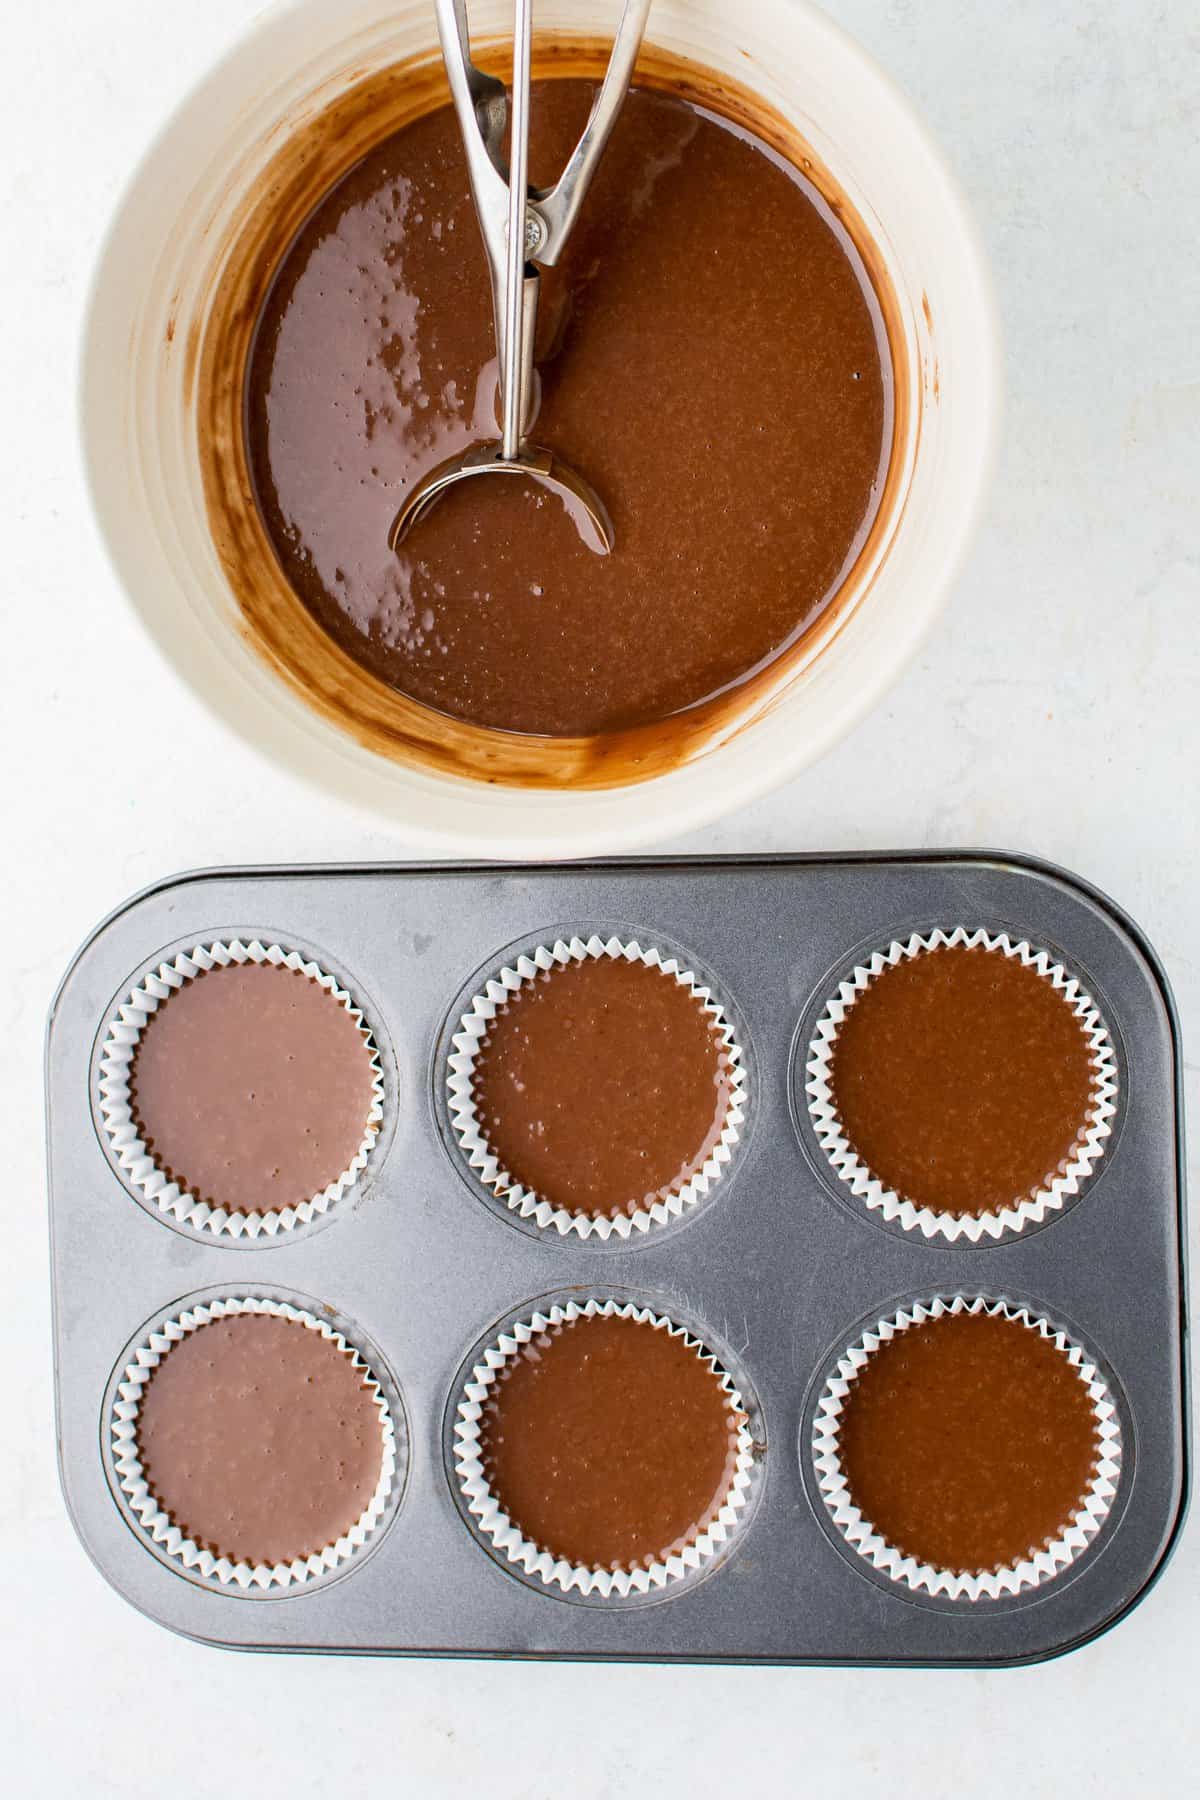
5. Scoop out the batter and fill your liners till ¾ full. PRO TIP: I like to use an ice cream scoop for this. It keeps the cupcakes consistent in size and minimizes mess.
6. Bake for 20-25 mins or until a toothpick inserted in the middle comes out clean. Let the cupcakes cool for 5 minutes in the baking tray before transferring them to a wire rack to cool completely.
For Frosting and Assembling:
1. In a bowl of a stand mixer or using a hand mixer, cream the butter until it's light and creamy. Add vanilla extract, followed by the powdered sugar. Beat until you get a smooth and fluffy consistency, usually around 5-6 minutes.
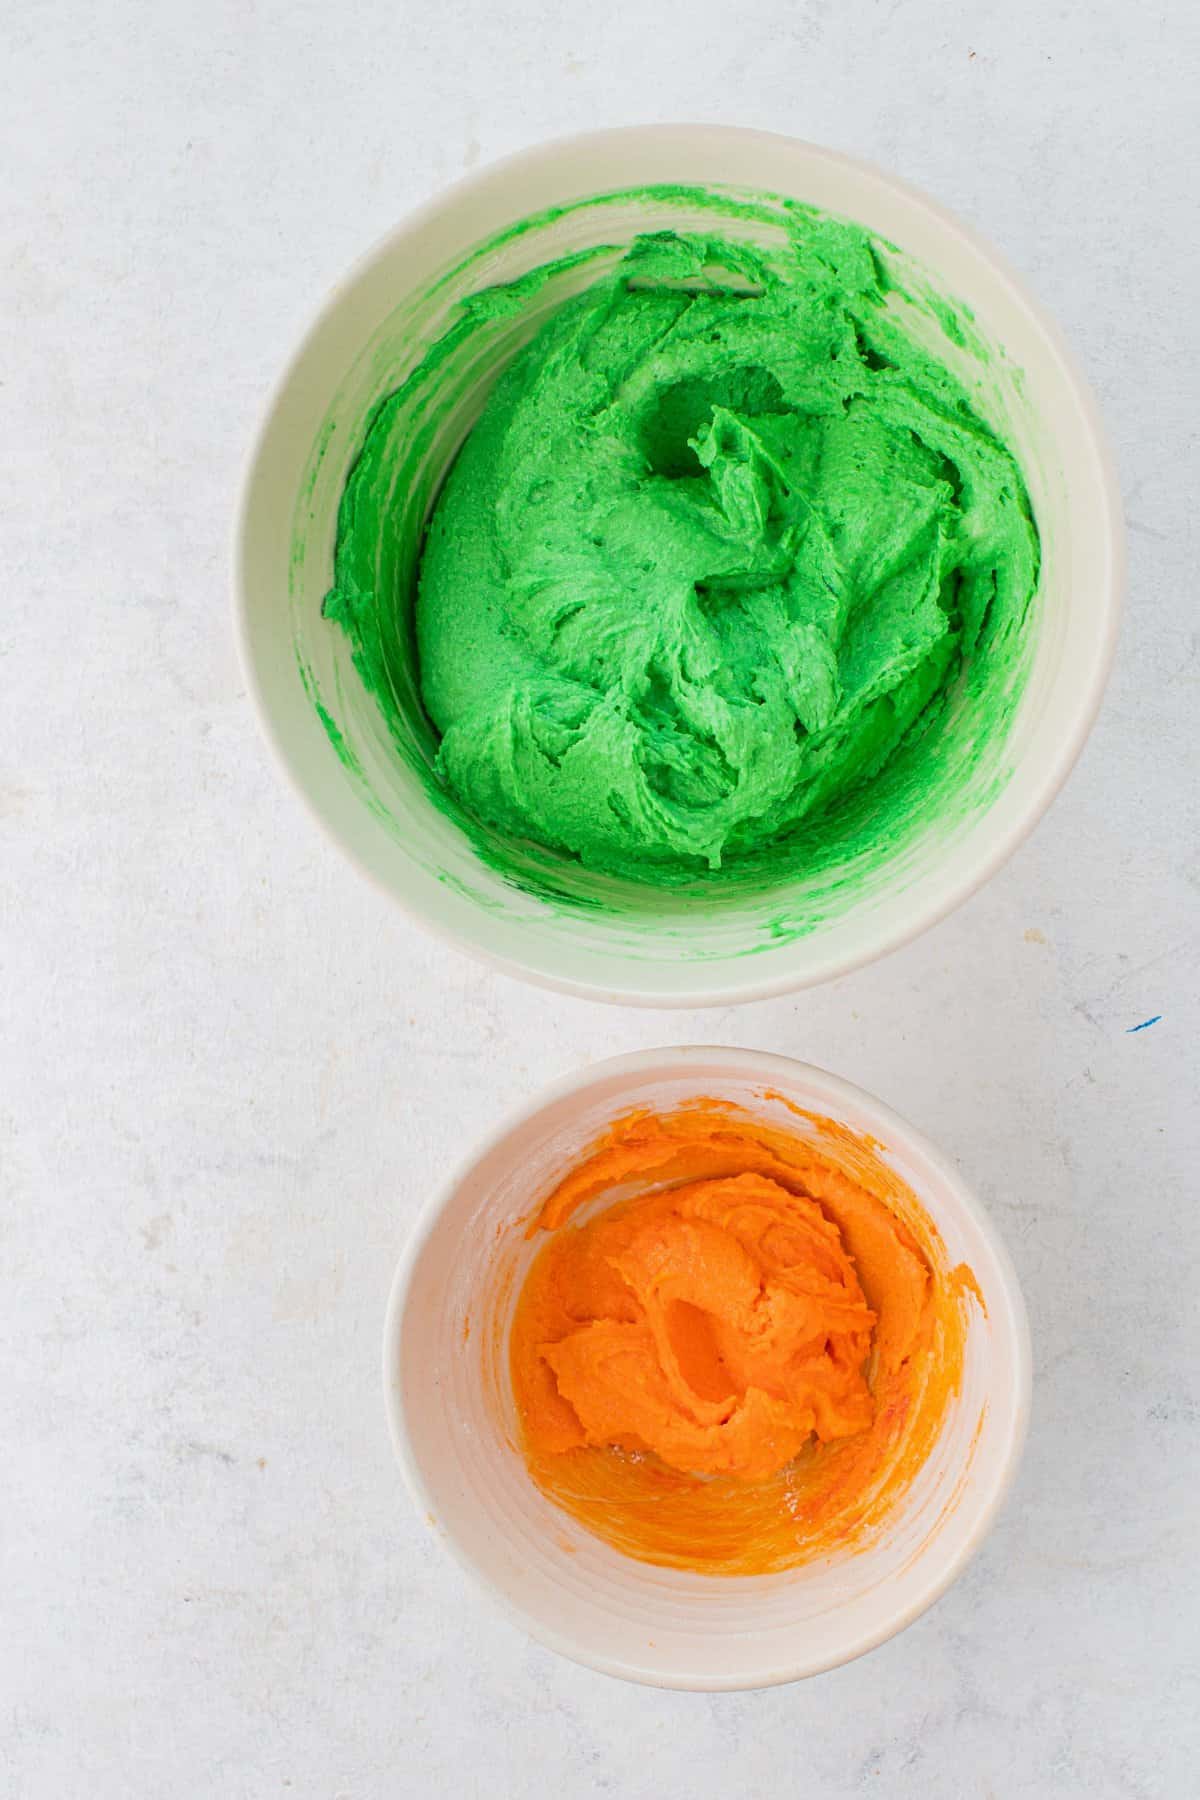
2. Remove ¾th of the frosting into a separate small bowl and tint with 4-5 drops of green gel food color. Tint the remaining with 3-4 drops of orange gel food color.
3. Gently separate Oreos in half and scrape off the icing so that you get 2 cookies for each Oreo for the witch's hat.
PRO TIP:If you find separating the Oreos too fiddly, you can use a whole Oreo but add it gently as the weight might flatten the frosting.
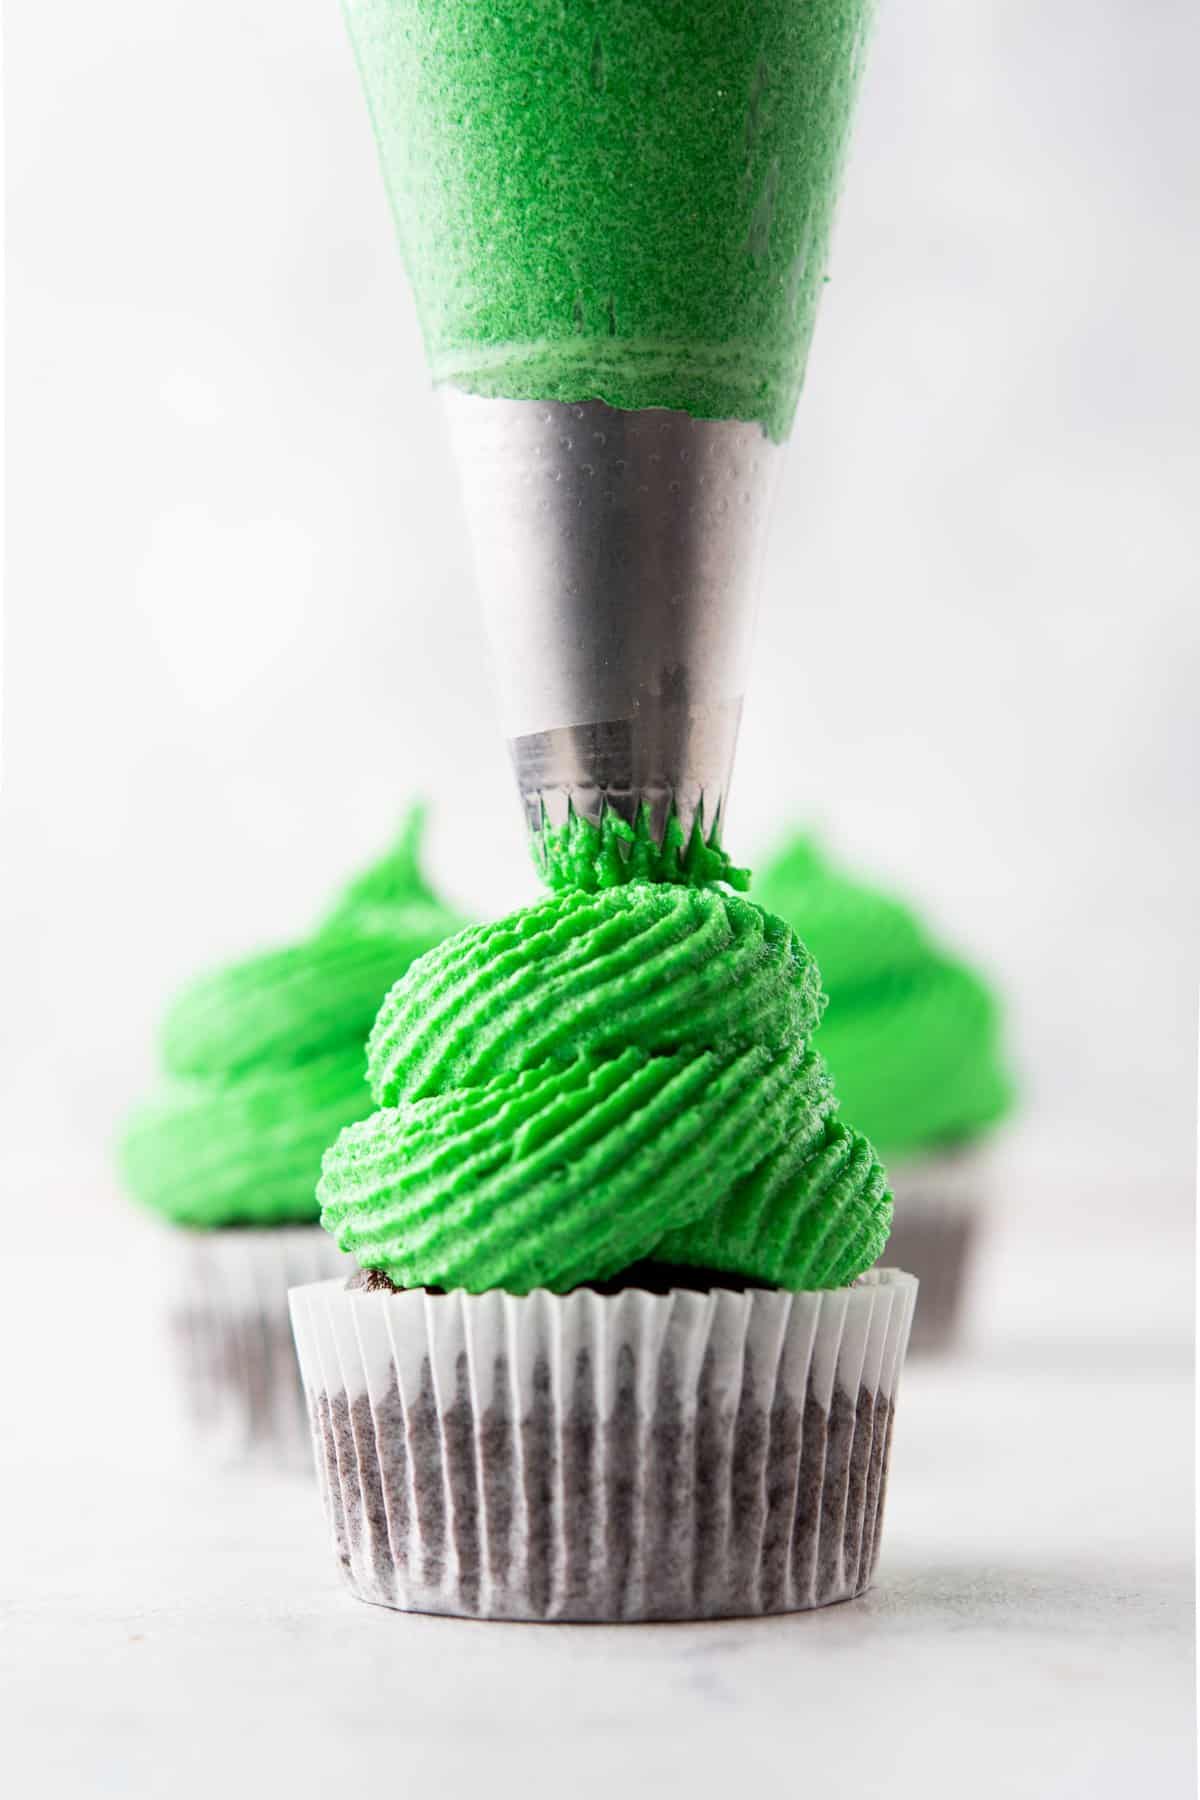
4. Frost cupcakes with the green frosting first, creating a tower of icing. PRO TIP: I use a large, open star tip nozzle for the green frosting.
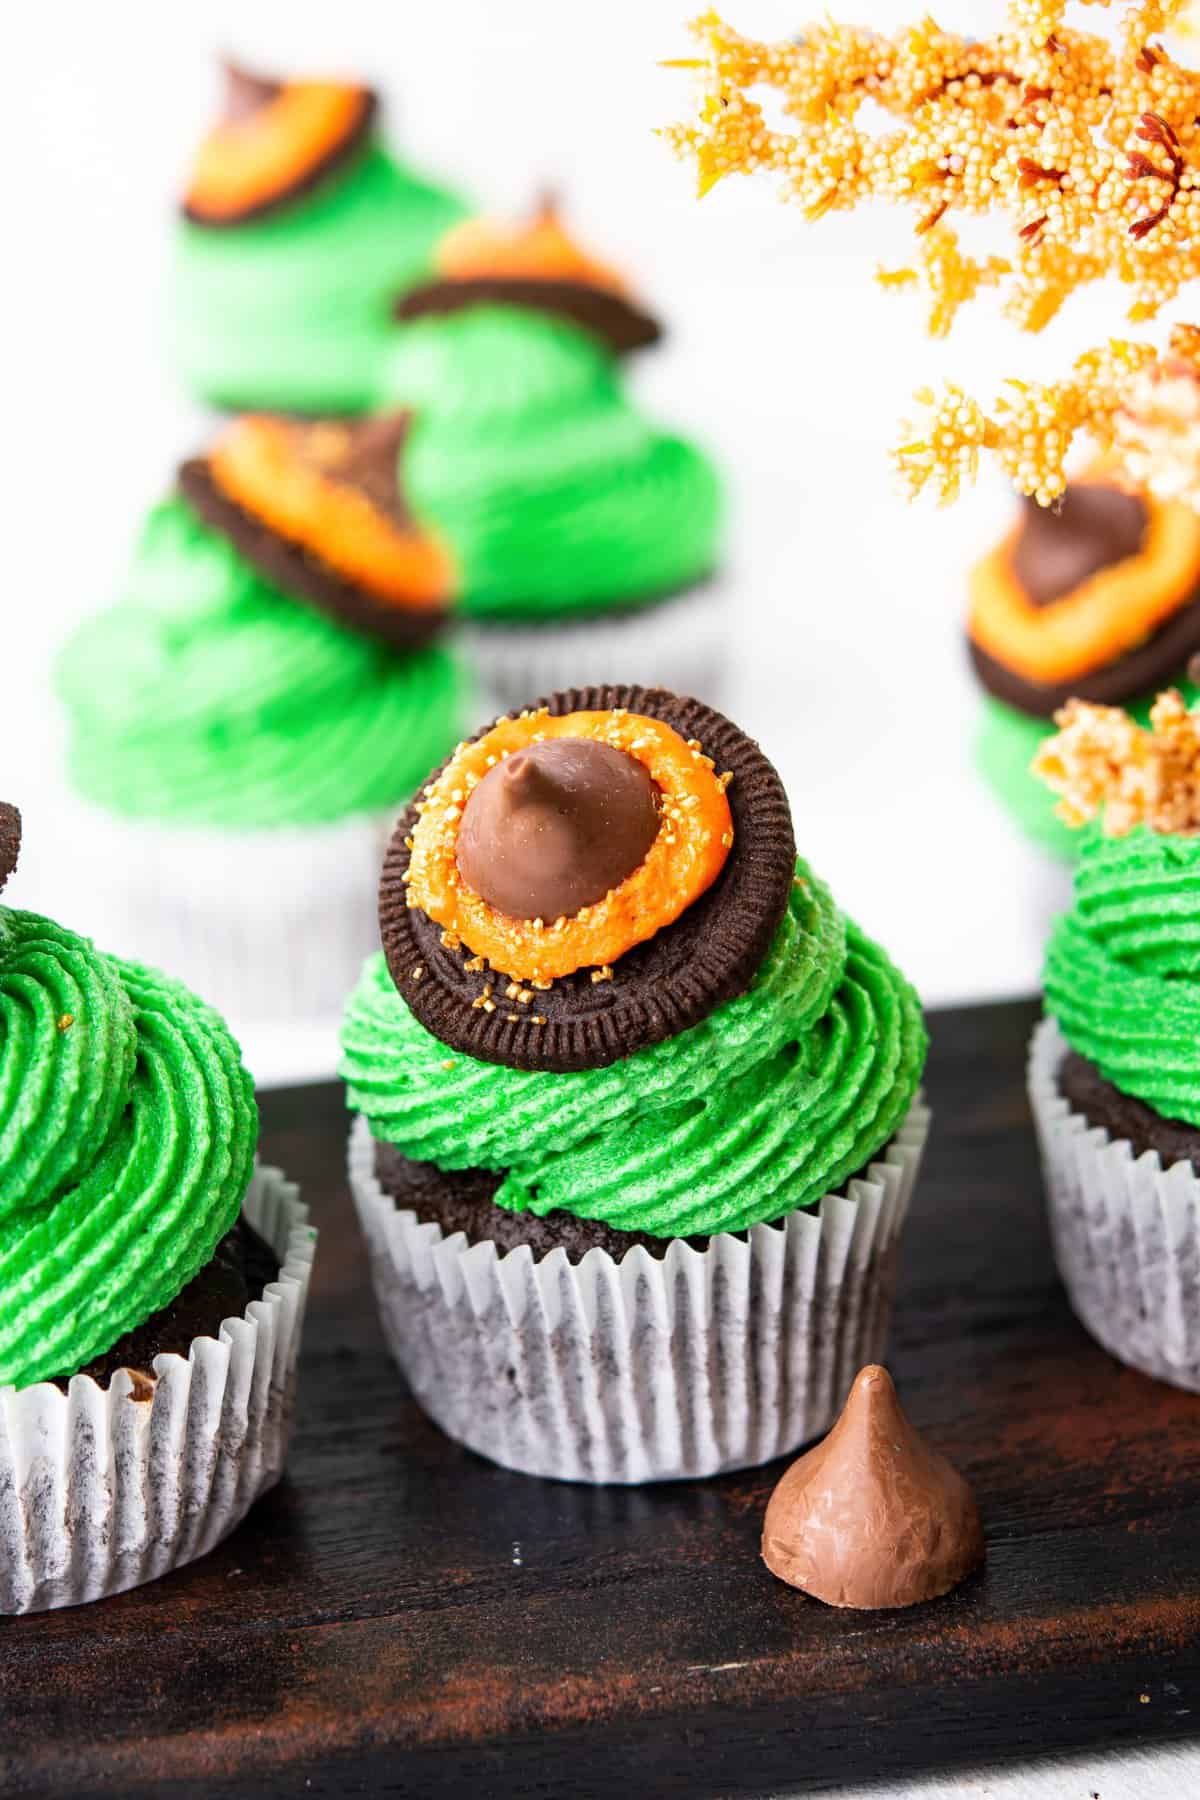
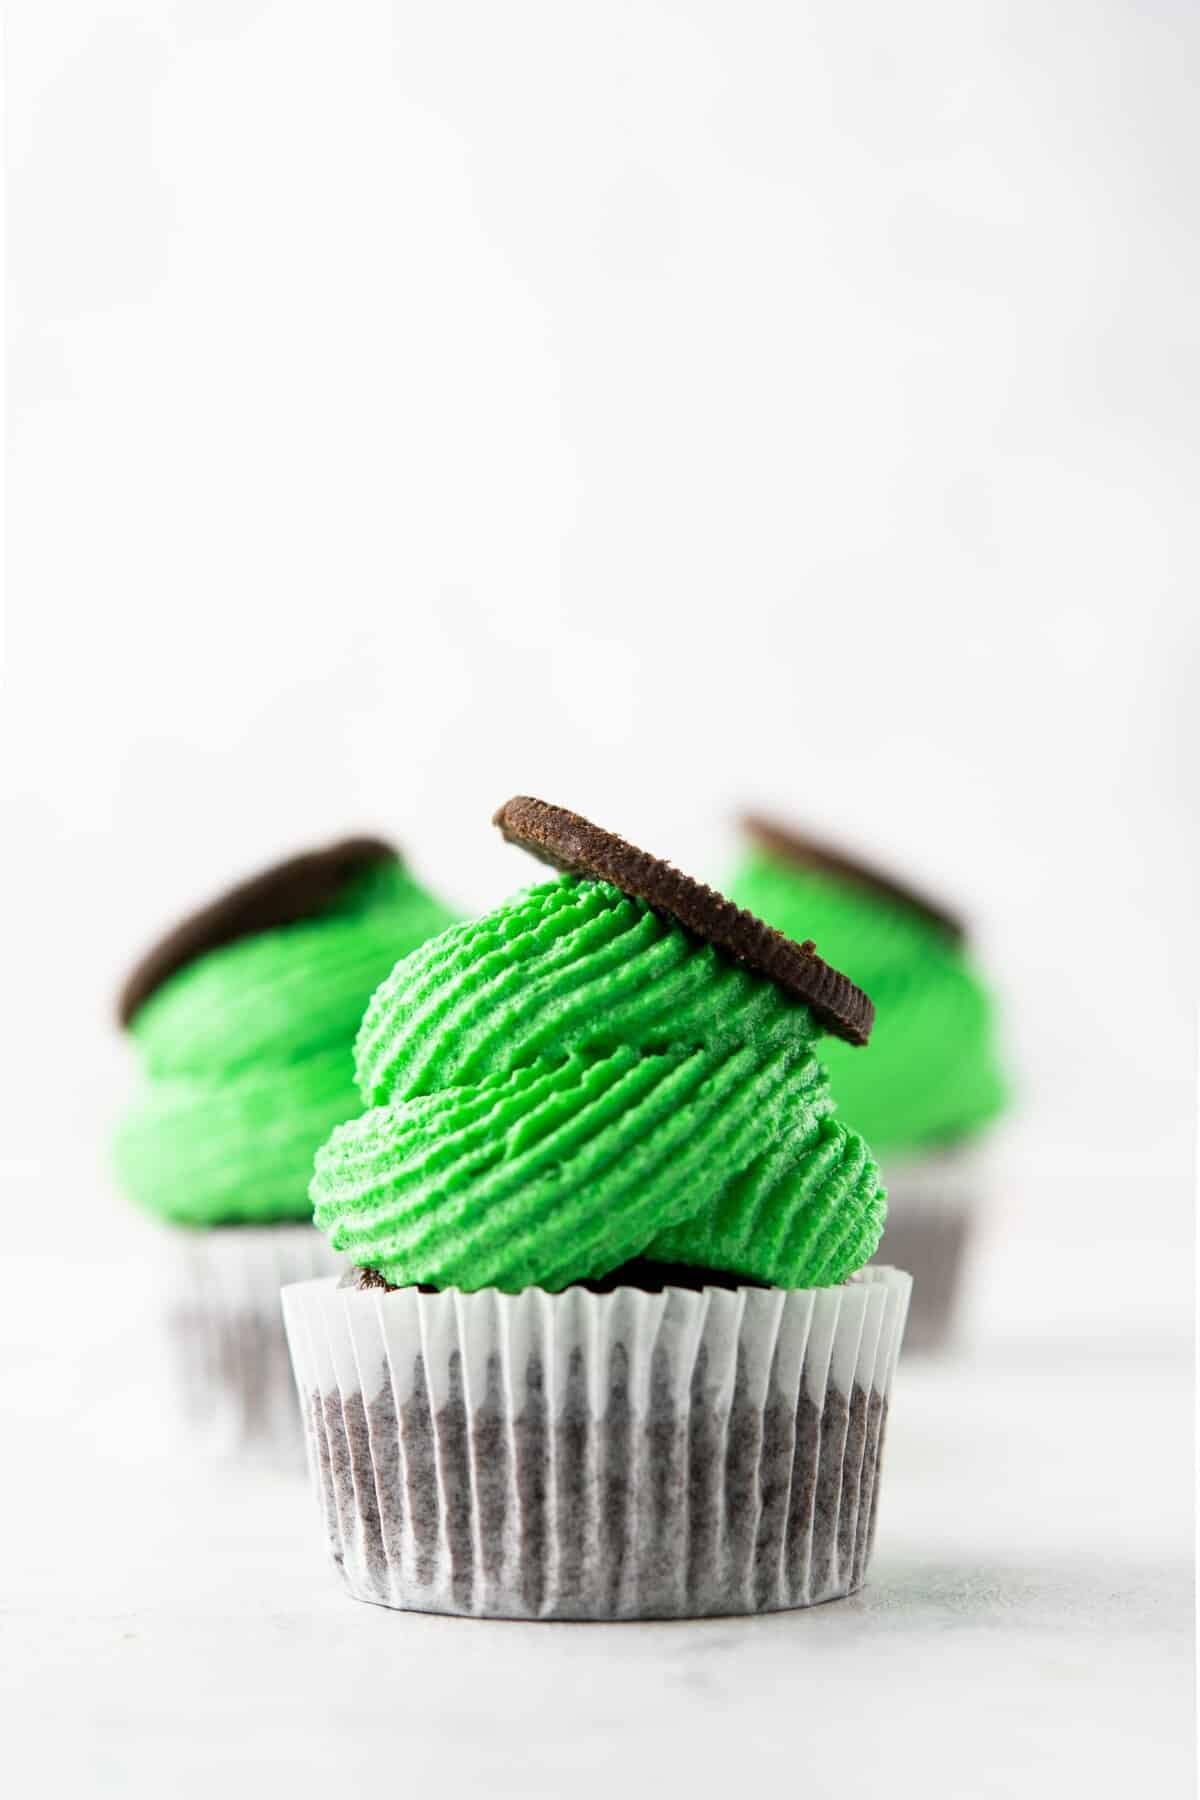
5. Then on the top, place the Oreo cookie at a slight angle to create an illusion of a hat on top of the cupcakes.
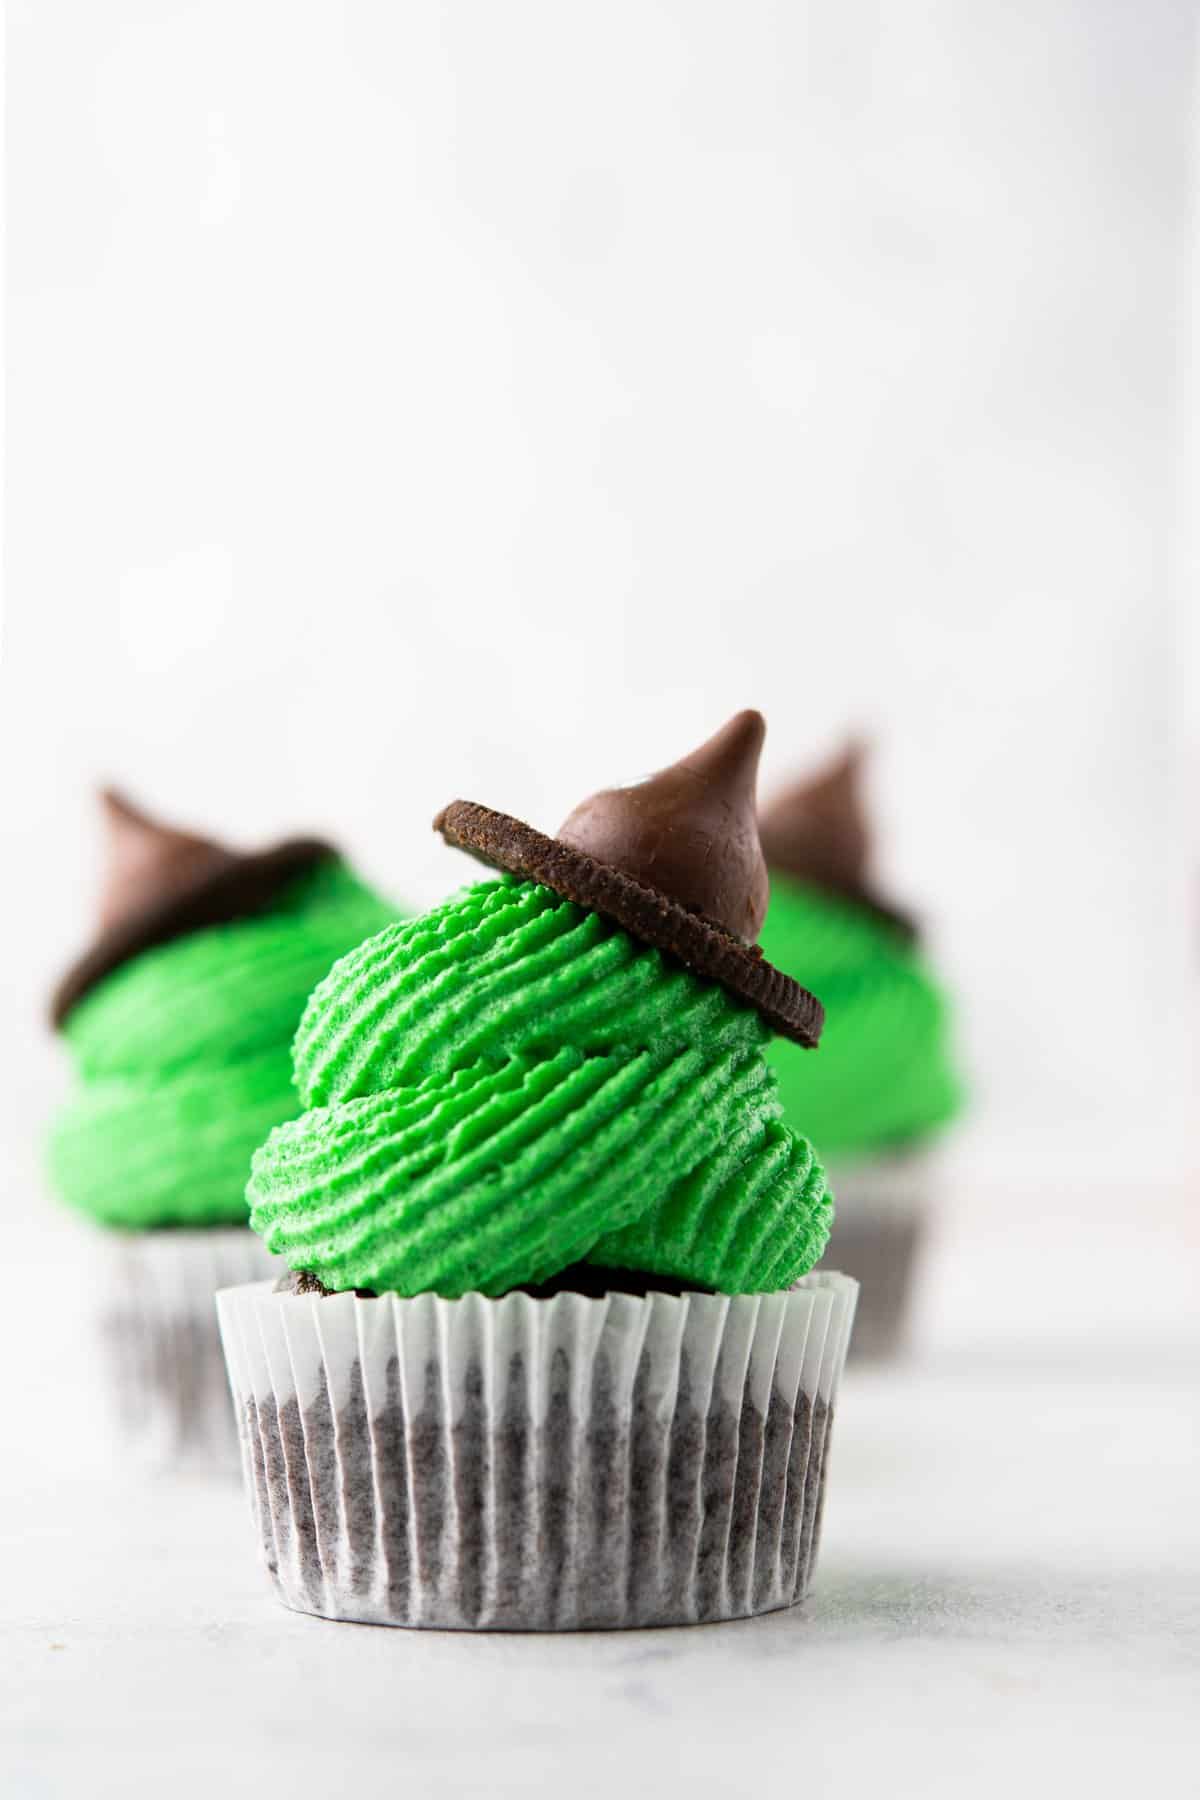
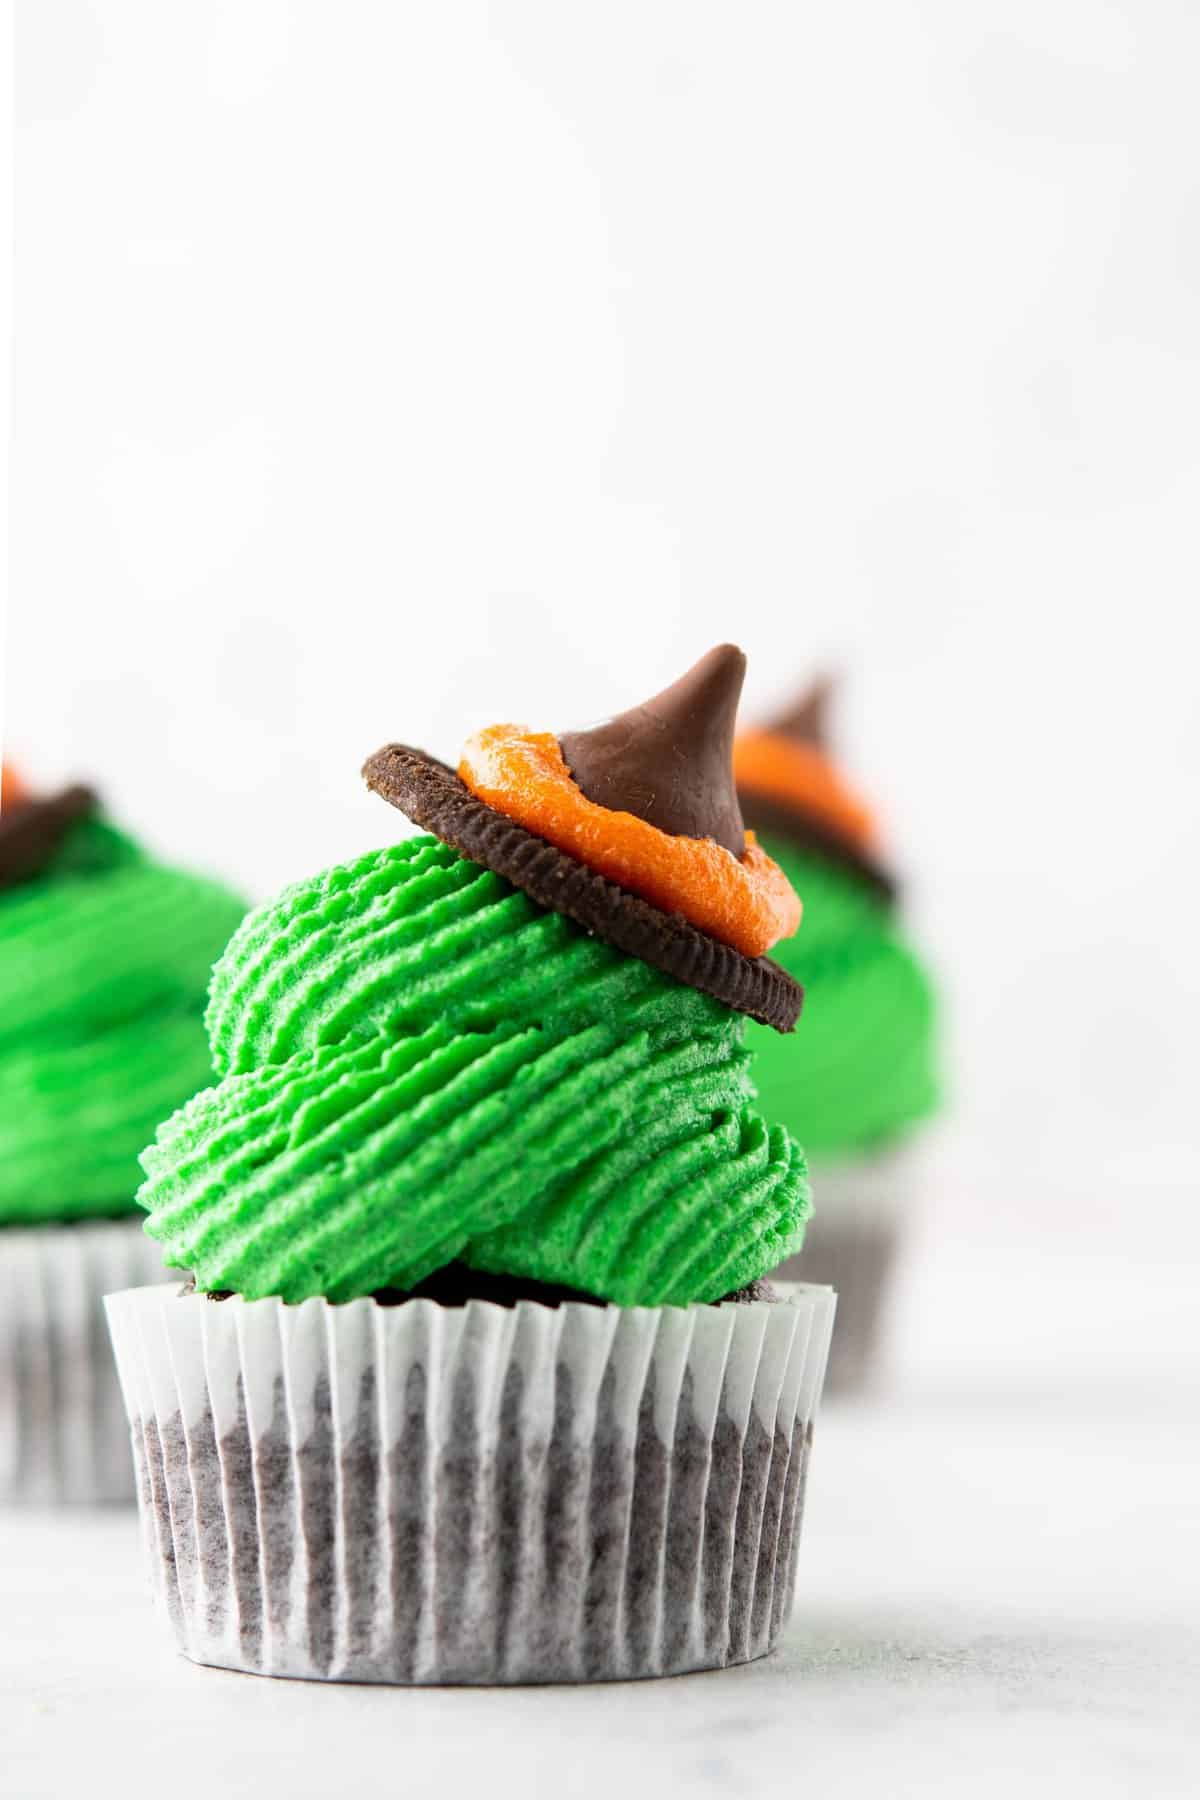
6. Apply a small amount of orange icing in the center of the cookie and then stick the kisses on top. Now, carefully pipe orange frosting around the kisses creating a band on the hat to create the cupcake toppers. PRO TIP: For the orange frosting I just cut the tip of a piping bag or plastic bag using a clean scissor).
7. Add orange sprinkles on top for added decor.
8. Serve immediately and enjoy!
TIPS
- Don’t spoil with oil - Use flavorless oils such as canola oil in the cupcakes to avoid spoiling the flavor.
- Correct color – For more intense colored frosting simply add more drops of color. If you prefer a more subtle shade, only add a drop or two.
- Double-colored frosting – Can’t commit to one color of frosting? Why not add a spoonful of different colored frosting to each side of the bag then when you pipe it out, it will create a multi colored effect, perfect for witch’s hair!
- Patience is key – Although the decorating is the most fun part, wait until your cupcakes are cooled fully before attempting the frosting. If you pipe it on too soon, the warm cake will cause the frosting to melt and slide off.
- Cookies- Turn these adorable cupcakes into witch hat cookies by replacing the cupcake with a sugar cookie!
STORAGE TIPS
- These witch hat cupcakes will stay fresh for 2-3 days when stored in an airtight container in the refrigerator.
- However, don’t add the hats if you plan on storing them as the cookies will go soggy. Store the cupcakes, then add the hats when ready to serve.
- You can also store any extra frosting in the fridge for 4-5 days; allow it to come to room temperature before using it again.
FREQUENTLY ASKED QUESTIONS
Which piping tip works best for these witch hat cupcakes?
Depending on the desired look, I recommend either 2A, 1M, 6B, and 2D. These will give you that professional appearance even with minimal piping skill.
Can you make these easy witch hat cupcakes in advance?
For best results, I recommend making them the same day you plan to eat them. If you need to make a little ahead, do so no more than 24 hours in advance. This is because the longer the cupcakes sit, the more the Oreo cookies will absorb moisture from the frosting, making them soft and soggy.
How can I make sure my cupcakes are moist?
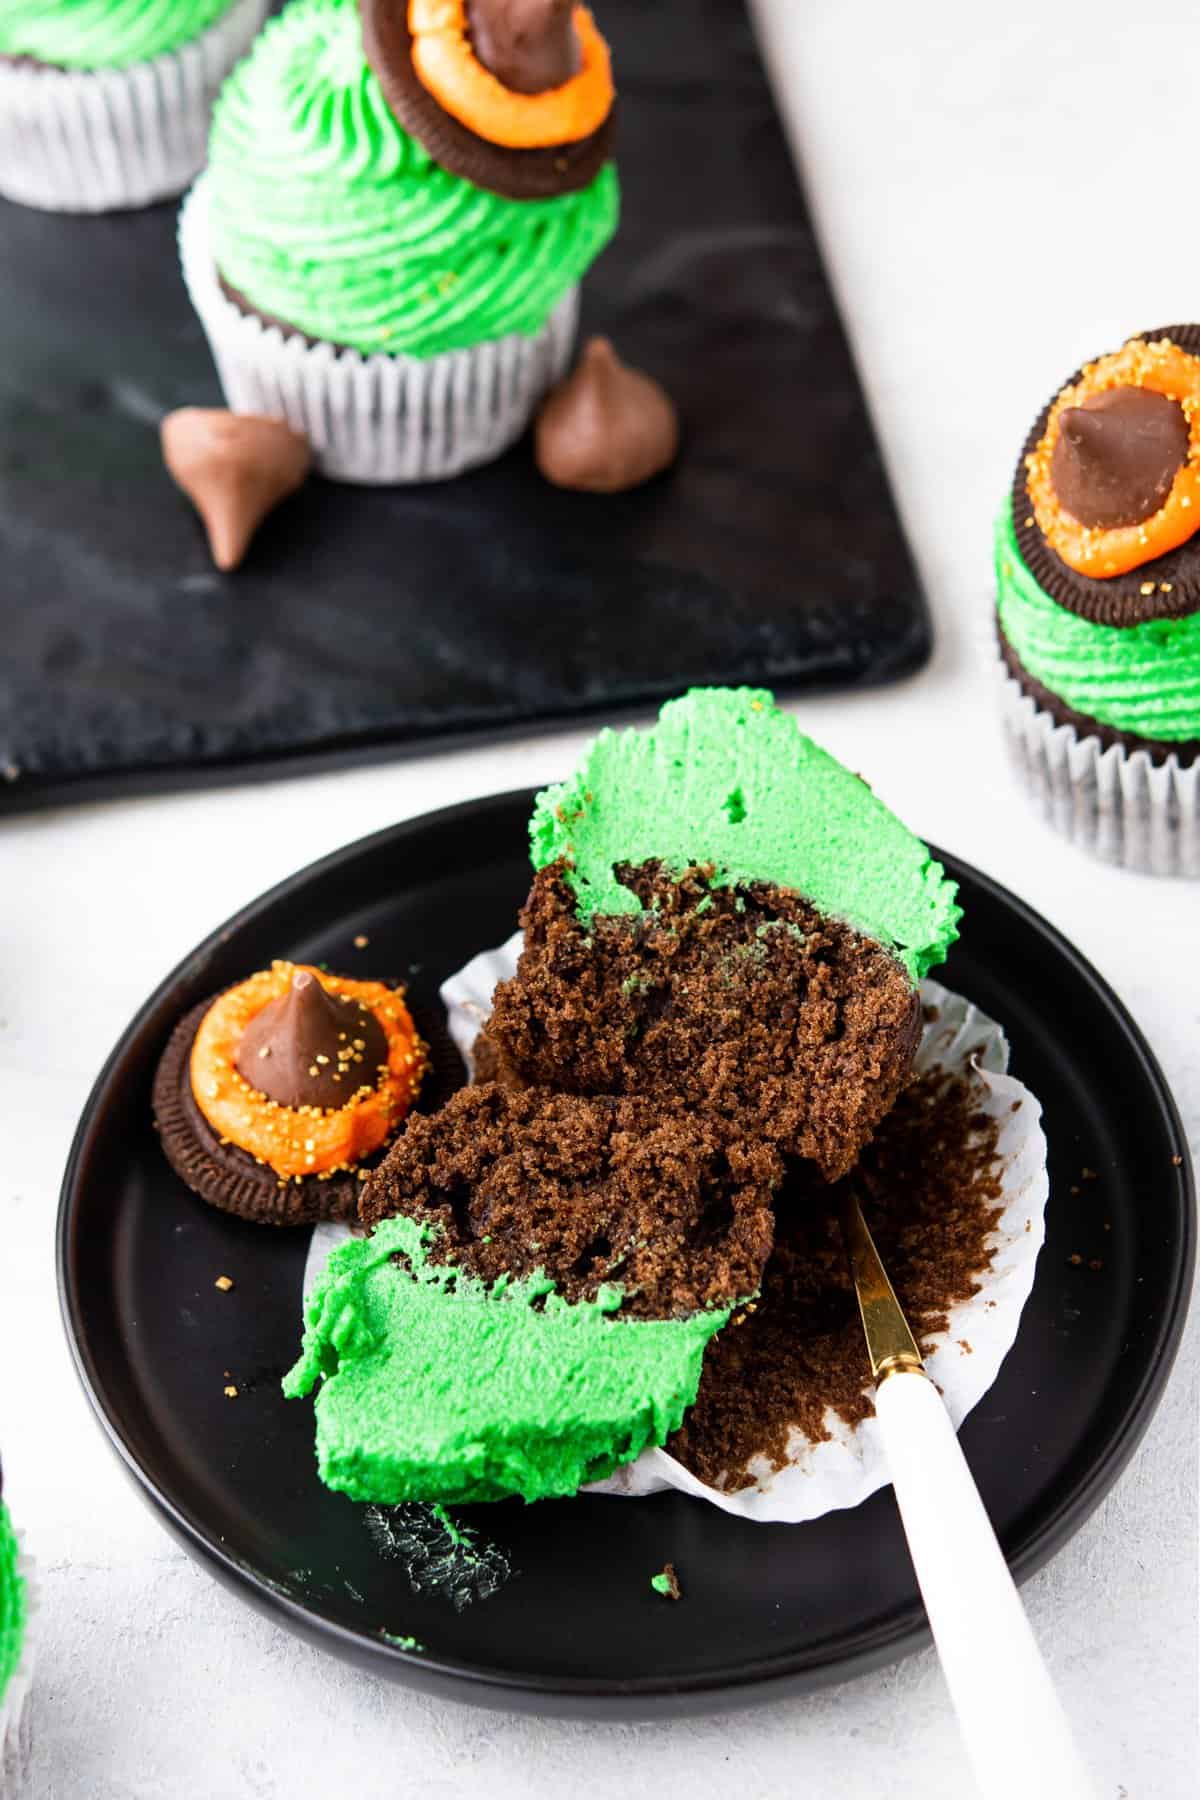
The trick is adding oil or butter to your cupcake batter. This will ensure your cupcakes will lock in moisture and won’t turn out dry. Also, keep an eye on cooking time and the oven temperature to avoid over baking.
MORE EASY HALLOWEEN TREATS YOU’RE SURE TO LOVE:
- Halloween Dipped Mint Oreos
- Halloween Root Beer Floats
- No Bake Halloween Treats 4 Ways
- Red Velvet Halloween Cake
- Halloween Macarons

- 1 cup All-purpose flour
- ¾ teaspoons Baking powder
- ¼ cup Cocoa powder
- ¼ teaspoon salt
- 1 cup Granulated Sugar
- ½ cup Oil
- ¼ cup Milk
- 1 ½ teaspoons Vanilla extract
- 1 large Eggs
- ½ cup boiling water or just use hot coffee
- 2 tablespoon of espresso or instant coffee powder
- 1 cup Unsalted Butter Softened
- 4 ½ cups powdered sugar 1 tablespoon Vanilla extract
- 4-5 tablespoons milk or cream
- Green and Orange Gel food color
- Hershey’s Kisses – 12 pieces
- Regular Oreo Cookies – 6-8 pieces
- Orange Sprinkles – 4-5 tbsp
-
Preheat the oven to 350 F / 180 C and line your baking tray with cupcake liners.
-
In a large bowl, add the flour, baking powder, cocoa powder, salt, and sugar and stir it well.
-
Now, add oil, milk, vanilla extract, and egg to the flour directly and mix well.
-
Dissolve the coffee granules into the hot water.
-
Lastly, add the hot coffee in intervals and keep mixing till you get a smooth consistency.
-
Scoop out the batter using an ice cream scoop, and fill your liners till ¾ full.
-
Bake for 20-25 mins or until a toothpick inserted in the middle comes out clean. Let the cupcakes cool for 5 minutes in the baking tray before transferring them to a wire rack to cool completely.
-
In a bowl of a stand mixer or using a hand mixer, cream the butter until it's light and creamy. Add vanilla extract, milk, and powdered sugar (in batches) and beat until you get a smooth and fluffy consistency (5-6 min).
-
Tint ¾th of the frosting with 4-5 drops of green gel food color and tint the rest of the frosting with 3-4 drops of orange gel food color.
-
Gently separate Oreos in half and scrape off the icing so that you get 2 cookies for each Oreo.
-
Frost your cupcake with the green frosting first, creating a tower of icing (I am using a large open star tip nozzle for green-colored frosting and for the orange I have just cut the tip of the bag using a clean scissor).
-
Then on the top, place the Oreo cookie slightly tilted sideways (to create an illusion of a hat).
-
Apply a little bit of the orange frosting in the center of the Oreo cookie and then stick the kisses on top. Now, carefully pipe orange frosting around the kisses creating a circle.
-
Sprinkle the orange sprinkles on top for the added decor.
-
Serve immediately and enjoy! Happy Halloween!!
WITCH HAT CUPCAKES stay fresh for 2-3 days when stored in an airtight container in the refrigerator. You can also store the extra frosting in the fridge for 4-5 days; allow it to come to room temperature before using it again. (Don’t decorate with hats if you’re planning on storing these cupcakes as the cookies will turn soggy)
Use flavorless oils such as canola oil in cupcakes for the best results.
You can make the cupcakes or use store-bought ones or you can even use a mix.
Adjust the intensity of the colors till you get desired bright shade in the frosting.

Leave a Reply