
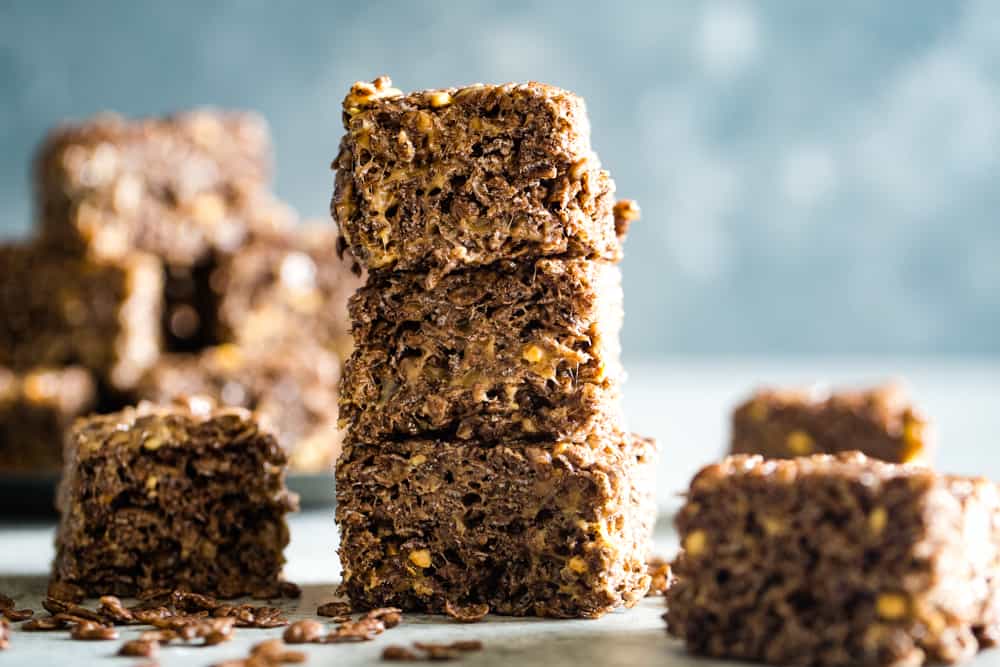
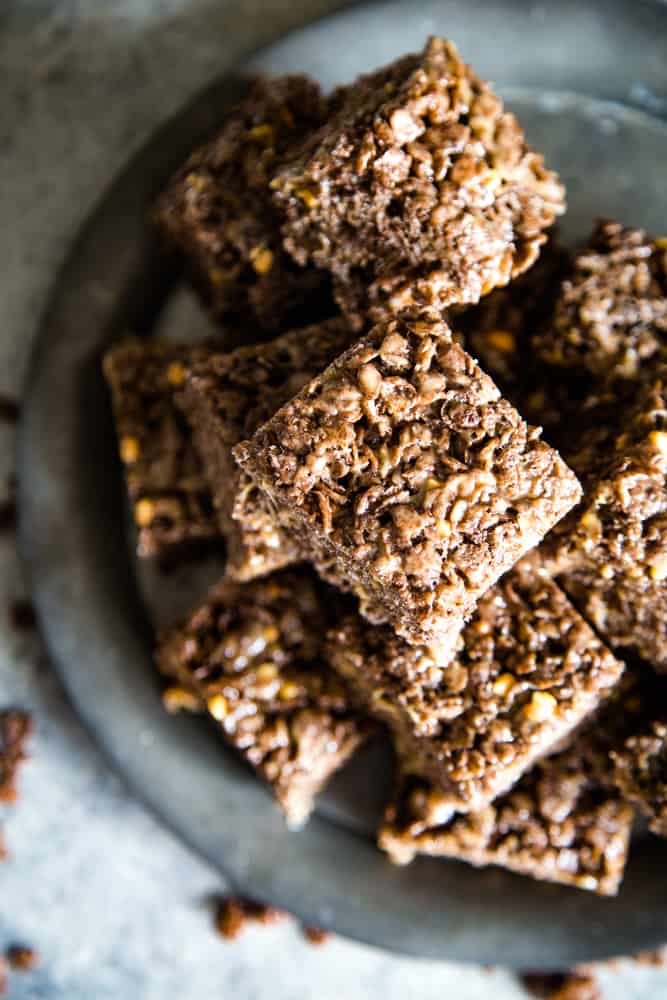
This chocolate peanut butter squares recipe is ready in minutes but won’t be forgotten any time soon. Made using just four ingredients, this no-bake childhood favorite is irresistibly easy.
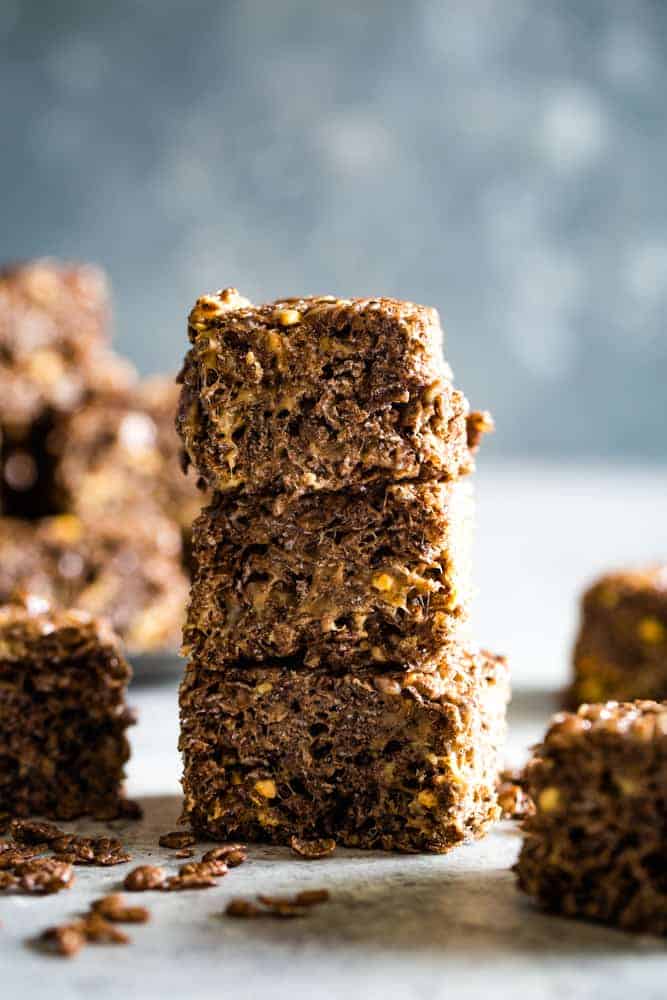
Some may describe chocolate and peanut butter as a match made in heaven. I say throw in some marshmallows and you have a devilishly delicious combination. A combination that inspired this chocolate, peanut butter squares recipe. While we all love the nostalgic cereal squares using Rice Krispies, these sweet treats are made using cocoa pebbles cereals for added chewy, chocolate charm that the whole family will love.
Start by melting your marshmallows with butter, mix in your cereal then pack it into your pan before slicing and devouring this easy dessert. A super simple yummy snack that is ideal for kids’ lunches or coffee breaks. These cocoa pebble treats are also gluten free and by switching out the butter for coconut oil can be dairy free too.
They are the perfect dessert for potlucks and parties as it’s easy to whip up a huge batch on a budget. This recipe can also be customized for different holidays and tastes by adding chocolate chips, colored sprinkles, caramel or candies.
WHY WE LOVE THIS CHOCOLATE PEANUT BUTTER SQUARES RECIPE
- Fuss-free – With just 5 minutes prep, 4 ingredients and no baking required it could not be easier to whip up a batch of these cereal squares to satisfy that sweet tooth.
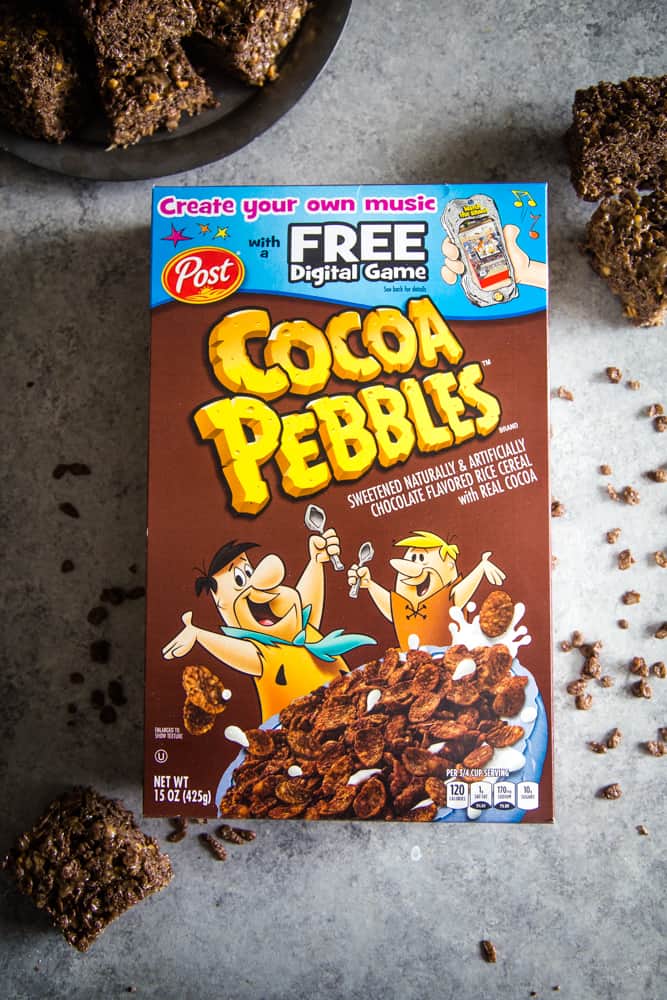
- Crowd-pleasing flavors – Who doesn’t love the chocolatey taste of Cocoa Pebbles cereal combined with peanut butter? Throw in some melted marshmallows for an irresistible dessert that all ages will love. They're like rice krispie treats- just better with a chocolatey twist!
- Gluten Free – Who knew serving up celiac-friendly treats could be this easy? It’s one of my go-to gluten-friendly desserts alongside my gluten free carrot cake and almond flour chocolate chip cookies.
- Kid friendly - These no-bake cereal squares are perfect for cooking with kids. The older ones can measure and combine the ingredients, and the youngsters love to help press the mixture into the pan. All while the grownups can enjoy the washing up.
- Perfect for parties – A portable treat that you can make in advance and take to potlucks and parties. They also make a great edible gift, too.
COCOA PEBBLES TREATS INGREDIENTS/SHOPPING LIST
- unsalted butter
- mini marshmallows
- peanut butter creamy or crunchy
- Cocoa Pebbles Cereal
SUBSTITUTIONS AND ADDITIONS
- Switch up the cereal - it’s so easy to make this cereal treat just by swapping out cocoa pebbles cereal for the standard Rice Krispies or cocoa Krispies. Fruity pebbles can also be used for a fun fruity twist and colorful treat. To make the fruity pebbles treats, omit the peanut butter and add about ½ cup extra marshmallows. Note, Cocoa Pebbles cereal is gluten-free, however if you’re switching it for Rice Krispies they contain malt.
- Salted Caramel – If you fancy taking these treats up a notch you could use salted butter instead and add a caramel drizzle for a sensational salted caramel twist.
- Up the chocolate content – Craving more chocolate? Add ½ cup of chocolate chips to make these treats even more irresistible.
- Added indulgence – Why stop at added chocolate? For added indulgence chopped nuts, raisins or pretzel pieces are delicious additions to these cereal squares. You could also add extra whole mini marshmallows to the mix as these will give the bars pockets of gooey goodness.
- Change the Cereal- This easy recipe works well with honey nut cheerios and cinnamon toast crunch cereals!
- Topping – You could also customize the topping with either a drizzle of melted chocolate, mini chocolate chips, or even freeze-dried strawberries. Or top with sprinkles for a seasonal twist such as hearts for Valentine’s or red and green sprinkles for Christmas.
- Dairy-free – If you’d like to make these marshmallow squares dairy free, you can switch out the butter for coconut oil.
- Switch up the shape – I get it, they are called chocolate peanut butter squares but feel free to experiment with shapes. You can also make these cocoa pebble treats into little nests (perfect for Easter) or have fun with cookie cutters like these rice krispie gingerbread men.
RECOMMENDED TOOLS TO MAKE THIS RECIPE
- 9x9 square baking pan
- Parchment pan
- Large pot
- Spoon/spatula
- Measuring cup
- Sharp knife
HOW TO MAKE THESE COCOA PEBBLES TREATS WITH PEANUT BUTTER
With just five minutes prep its super easy to assemble these chocolate peanut butter squares. Melt the mallows, mix in the cereal, press into the pan and slice into squares. Voila! A fun treat in no time!
1. Line a 9x9 square baking pan with parchment paper then spray with non-stick cooking spray. PRO TIP: If you want a thinner bar, use a 9x13-inch pan, If you want thicker bars, use an 8x8 inch square pan.
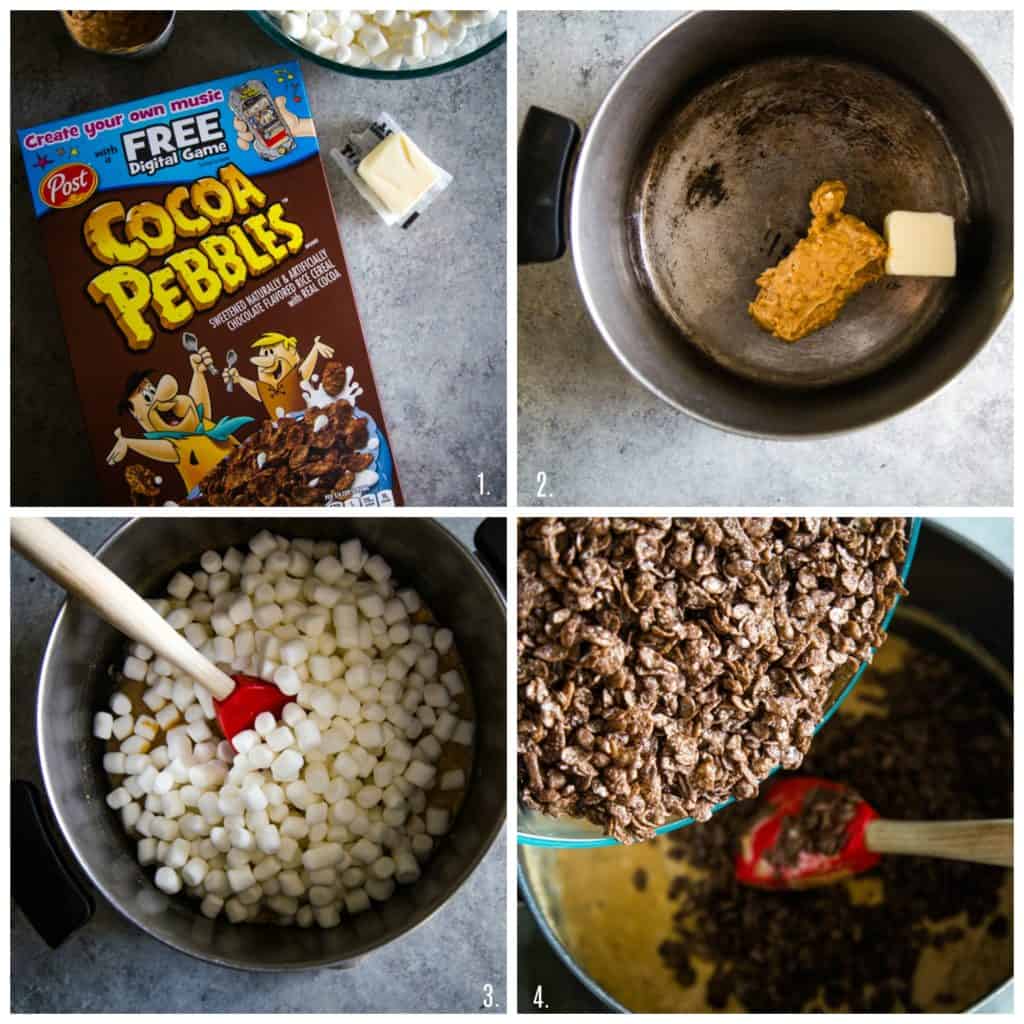
2. In a large pan, melt butter and peanut butter on low heat, stirring constantly.
3. Once the butters have melted add the mini marshmallows. Stir constantly to avoid burning.
4. When the marshmallow mixture has melted and is smooth, turn off the heat and remove the pan from the stove.
5. Add cereal to the pan and stir until evenly coated with the mixture. PRO TIP: Add the cereal in halves instead of all at once. This will make it easier to stir and coat fully.
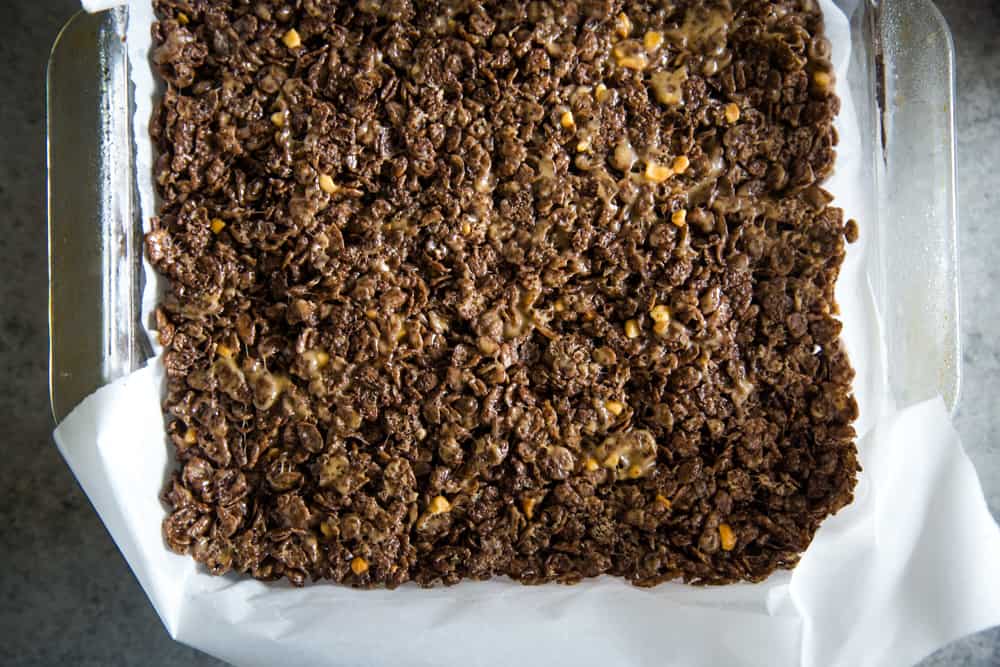
6. Pour the mixture into the prepared pan.
7. Spray the back of a measuring cup or your hand with nonstick cooking spray and press mixture down until firmly compacted and in an even layer. PRO TIP: Alternatively, to save coating your hands in cooking spray you can place a piece of parchment paper on top and press down instead.
8. Allow to cool for 30-45 minutes, then slice into squares. PRO TIP: Firmer bars are easier to cut so don’t skip cooling time. Then spray a pizza cutter or large knife with cooking spray to make slicing into squares easy.
9. Store squares at room temperature in an airtight container for up to 2 days.

COCOA RICE KRISPIES TREATS TIPS
- Parchment paper- Don’t skip lining your pan with parchment paper, and then greasy it more. This makes it super easy to lift out the cereal square ready to slice and will make washing your pan MUCH easier.
- Low and slow – Don’t be tempted to crank up the heat when melting the marshmallows. Keep it low and slow otherwise, you risk overheating the sugar in the marshmallows which will make them hard instead of gooey and delicious.
- Fresh marshmallows – avoid using marshmallows that have been open a while as these will be dry and will melt into a big blob. Fresh marshmallows melt better and will become soft and stringy. Save the old ones for making my Copycat Crumbl S’mores Cookies instead.
- Be gentle – Be careful not to crush your cereal mix too much when spreading it into the pan as this will make the treats too condensed and tough. For light, chewy treats press them gently into the pan using a buttered spatula or the back of a measuring cup.
- Avoid a marshmallow mess - Marshmallow is super sticky so grease all utensils and even your hands with either butter or non-stick cooking spray. This will make the squares easier to handle and the mess to a minimum.
STORAGE TIPS
- These chocolate peanut butter squares are best served the same day. However, if making them ahead, store in an airtight container at room temperature for up to 2 days. To avoid sticking, use parchment paper or wax paper between layers. They can also be wrapped individually in plastic wrap.
- As they are so easy to make I prefer to whip up a fresh batch as and when I fancy, however you can also freeze them. Freezing can be handy if you need to make a particularly large batch for an event. Add them to a freezer safe Ziploc bag, making sure to separate the layers with parchment paper. Freeze for up to six weeks.
- To thaw, place them out on the counter (don’t worry they’ll thaw fast!)
FREQUENTLY ASKED QUESTIONS
CAN YOU MAKE THESE IN THE MICROWAVE INSTEAD OF STOVE TOP?
Yes. To make these chocolate peanut butter squares in the microwave, heat the marshmallows and butter on high for 1 minute. Remove from the microwave and stir until the marshmallows are fully melted. If needed, return to the microwave and heat at 15 seconds increments until the mixture is smooth. Then follow the remaining steps as per stove top instructions.
CAN I DOUBLE THIS RECIPE?
When I need a large batch, but still want thick bars, I will double the batch of cocoa pebbles treats. Just make sure you are using a large pot that can hold all of the cereal. Alternatively, you can put the cereal mixture in a large bowl and pour the melted butter/marshmallow mix into it and mix there.
HOW TO AVOID TOUGH CHOCOLATE PEANUT BUTTER SQUARES
If you find your treats are a little on the tough side, there are a few tips I’d recommend:
- Making sure to use freshly opened marshmallows.
- Do not rush the melting process. This will turn your marshmallows hard instead of soft and stringy.
- Don’t compact the mixture too tightly in the pan. Gently press it in for firm yet easy-to-bite yet crispy treats.
HOW TO SOFTEN UP CHOCOLATE PEANUT BUTTER SQUARES
If your cereal squares have gone a little stale and are too firm or chewy to eat there are a couple of ways you can freshen them up. You can either pop them in the microwave for 5-10 seconds to soften or store them alongside a slide of bread. Yes, bread!
Either store a slice of bread alongside the squares in a Ziploc bag overnight or if there’s a whole batch to soften, add a few slices to your airtight container. Thanks to the moisture in the bread, the treats will be soft again the next day.

OTHER CEREAL TREATS YOU MAY ENJOY
- Rice Krispie Treat Gingerbread Men
- Cereal Marshmallow Snack with Cranberry Seeds
- Scotcheroo Cheesecake Bars
- Cereal Milk Ice Cream

- 4 tablespoons unsalted butter
- 5 cups mini marshmallows 1 bag
- ½ cup peanut butter creamy or crunchy
- 6 cups Cocoa PEBBLES™
-
Line a 9x9 square baking pan with parchment paper and spray with non-stick cooking spray. If wanting thinner squares, use a 9x13 inch pan.
-
In a large pan, melt butter and peanut butter on low heat, stirring constantly.
-
Once butters have melted add mini marshmallows. Stir constantly to avoid burning.
-
When marshmallow mixture has melted and is smooth, turn off heat and remove pan from stove.
-
Add cereal to pan and stir until evenly coated with mixture.
-
Pour mixture into casserole dish.
-
Spray the back of a measuring cup or your hand with nonstick cooking spray and press down the mixture until firmly compacted.
-
Allow to cool for 30-45, then slice into squares.
-
Store squares at room temperature in an airtight container for up to 2 days.
THE FLINTSTONES and all related characters and elements © & ™ Hanna-Barbera. (s19)
Leave a Reply