
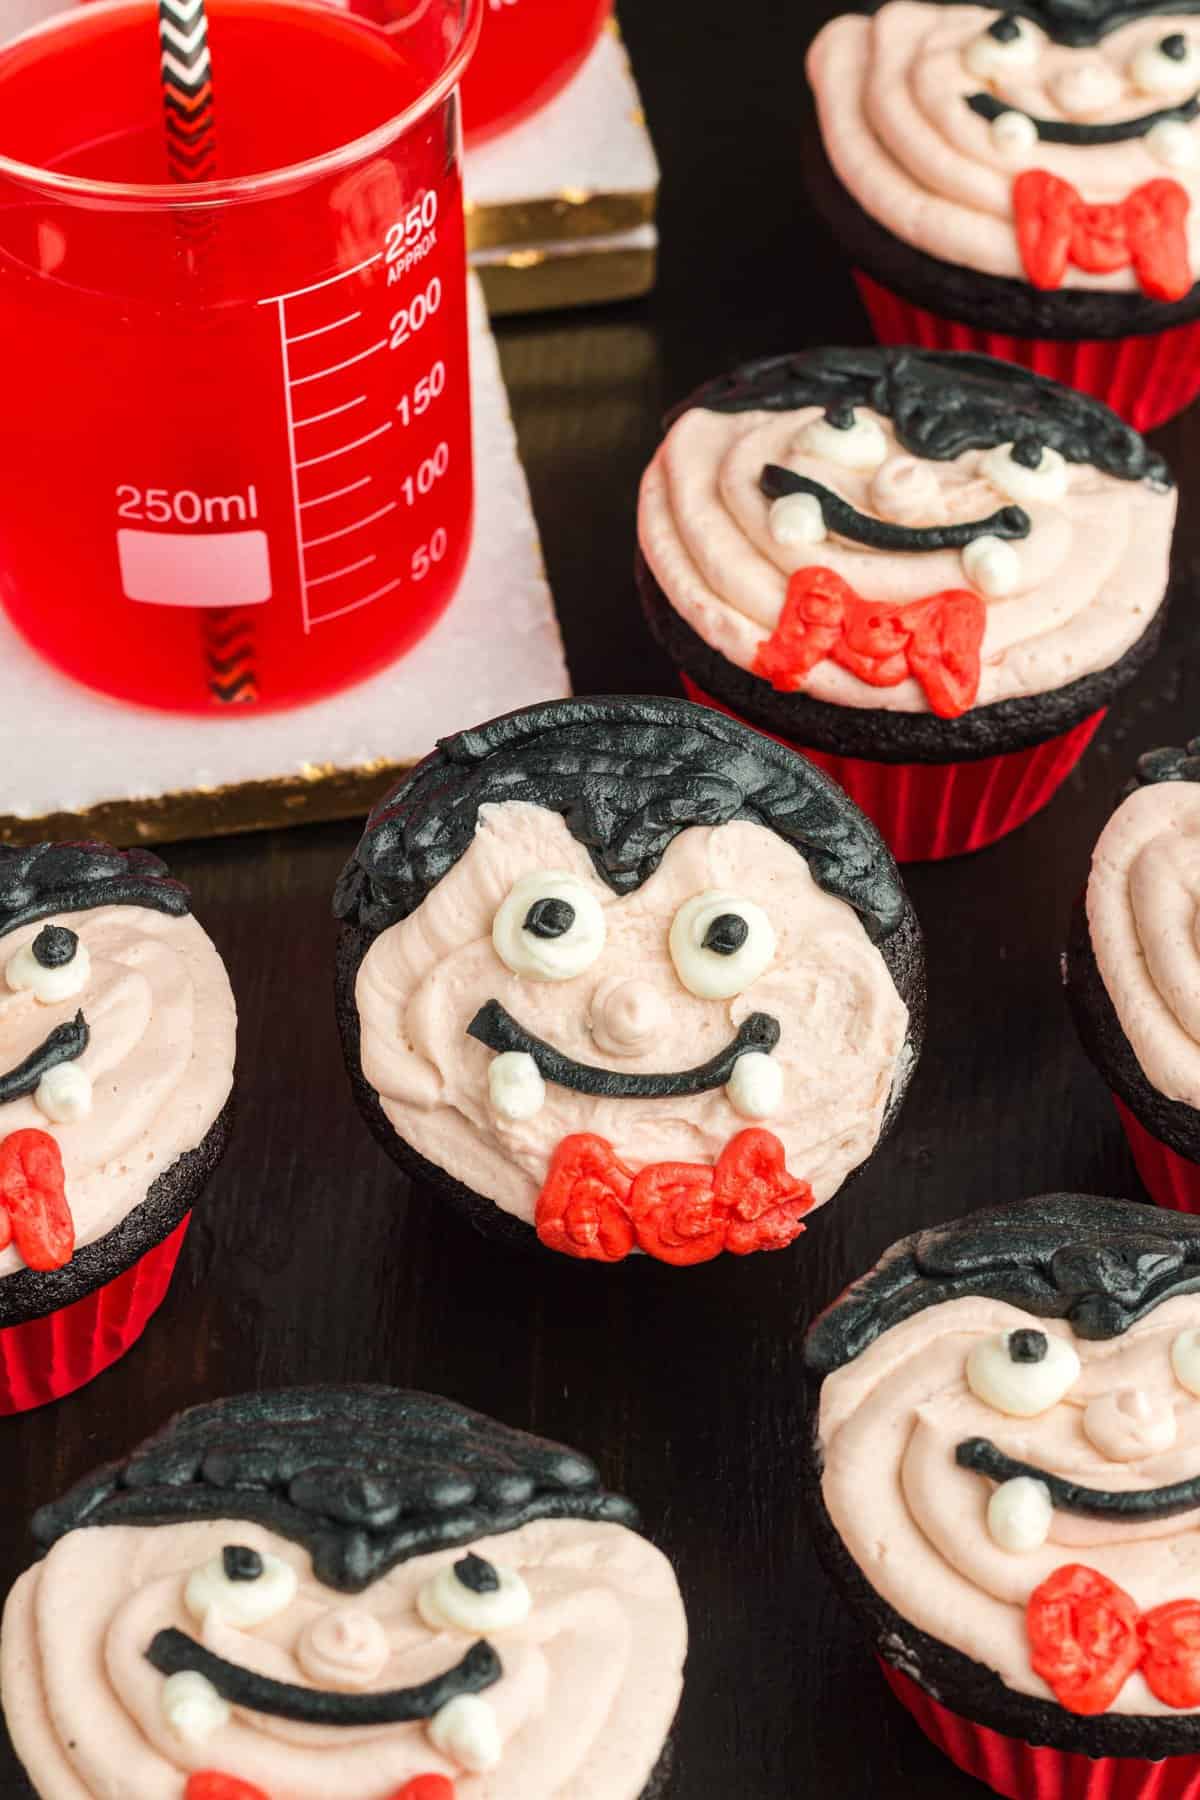
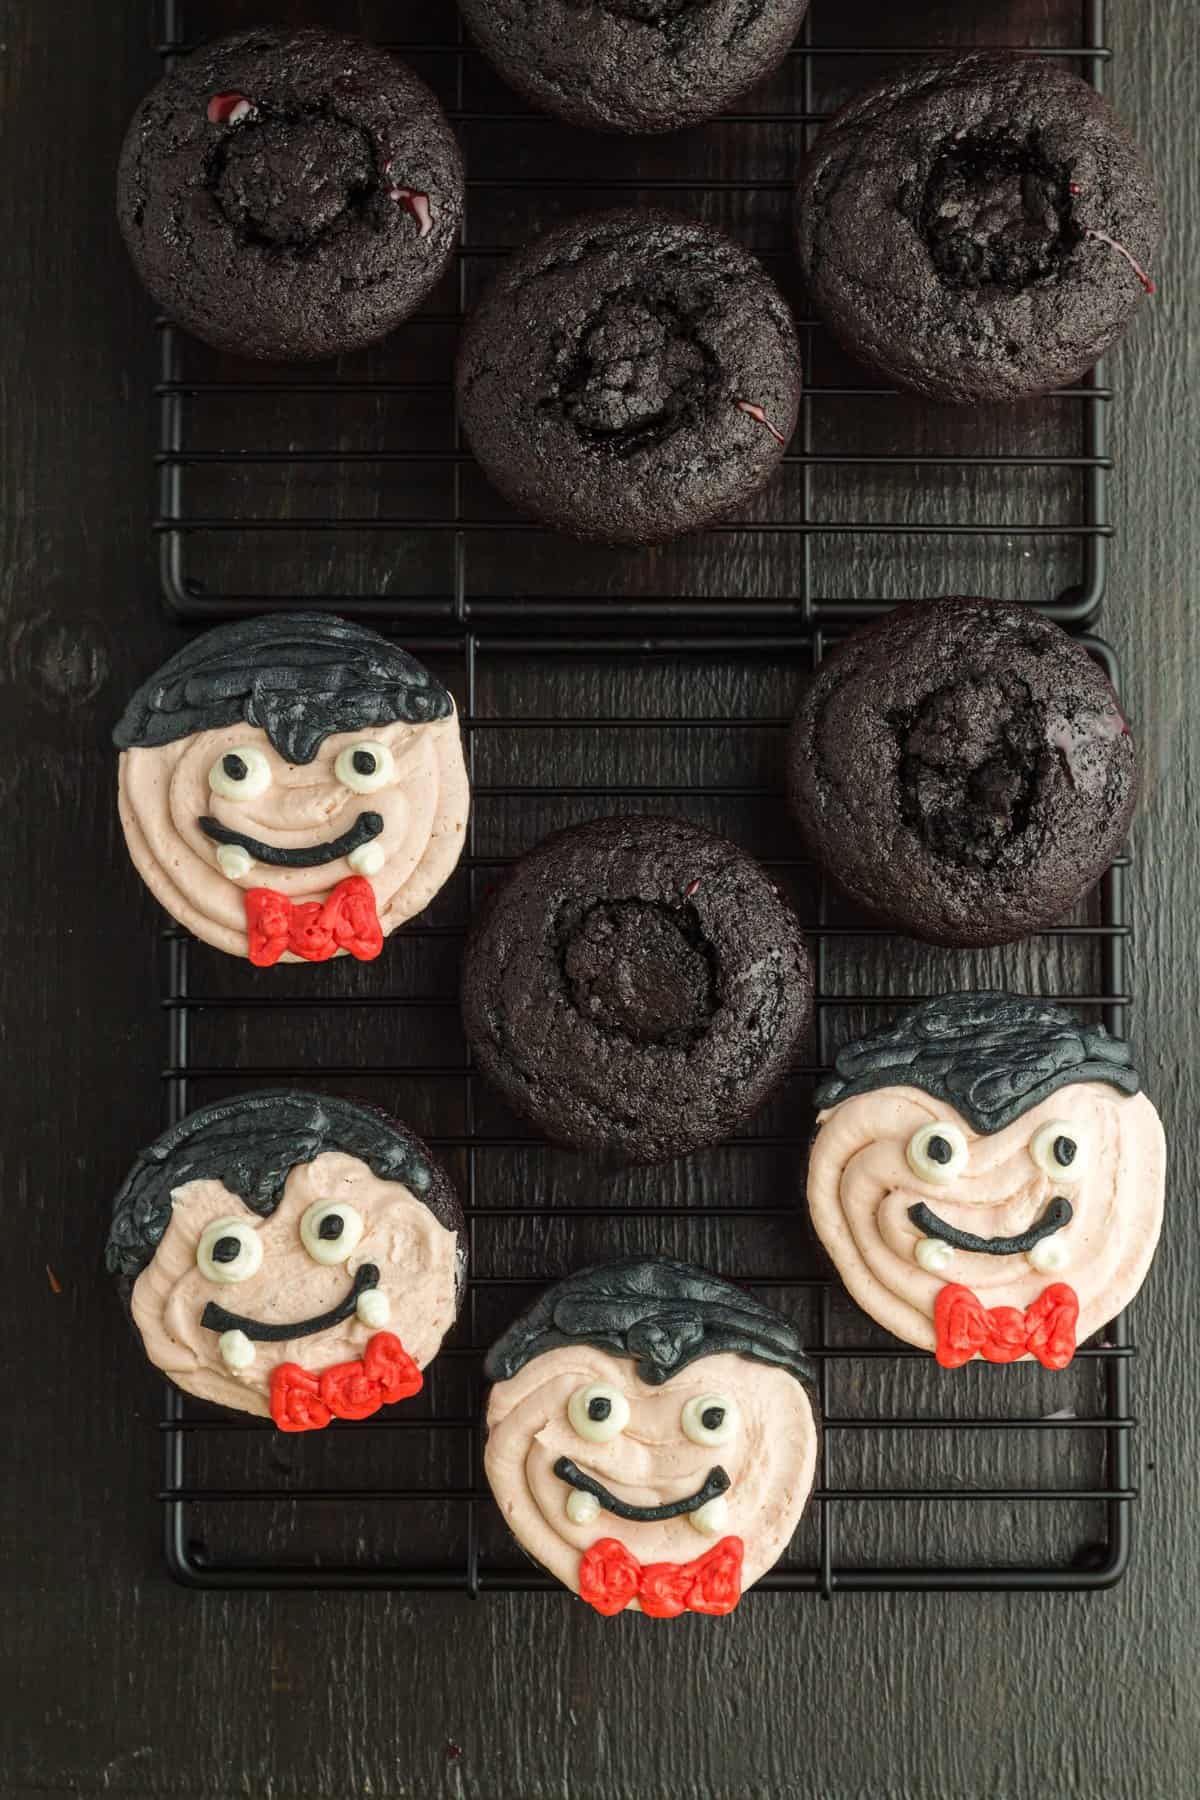
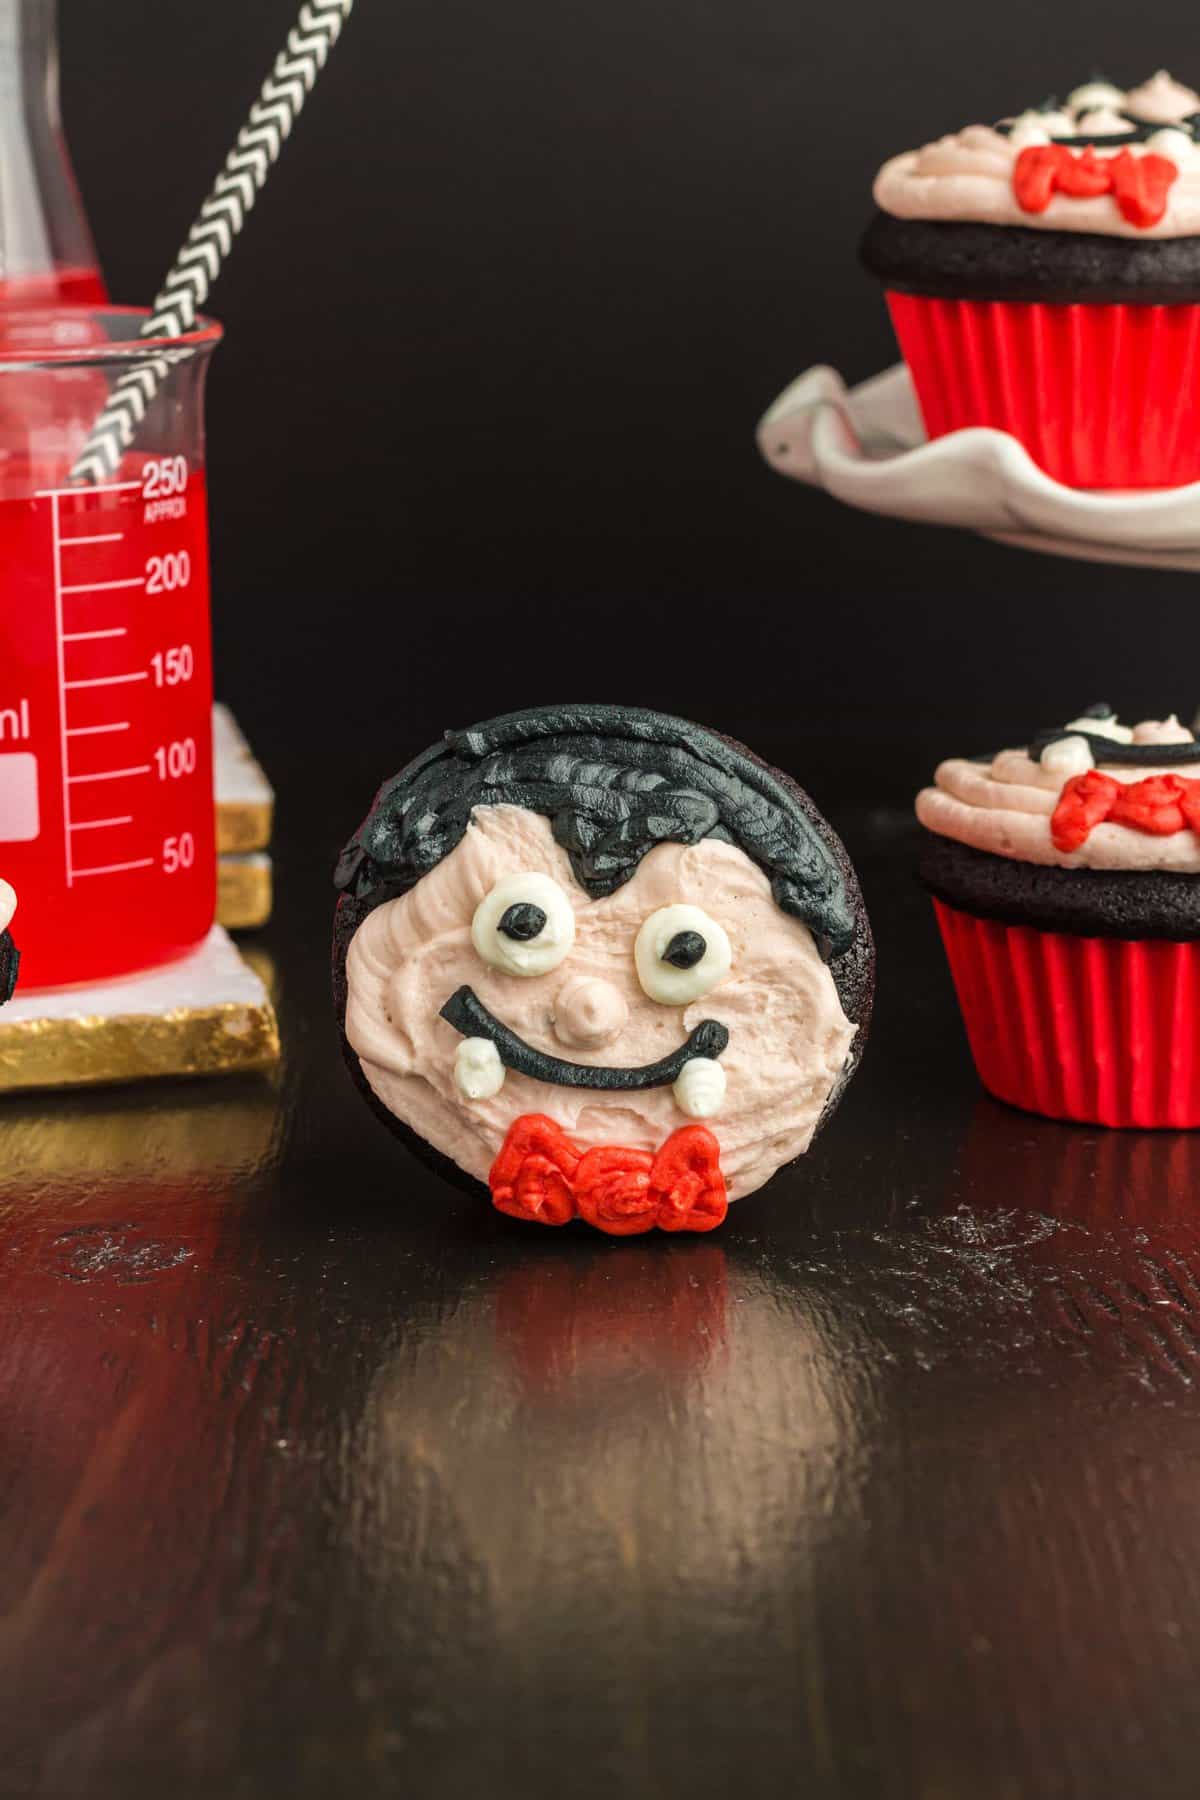
Not only do these vampire cupcakes look spooktacular, but they taste sensational too. Moist cupcakes provide the canvas for fun vampire faces with a sweet surprise twist inside.
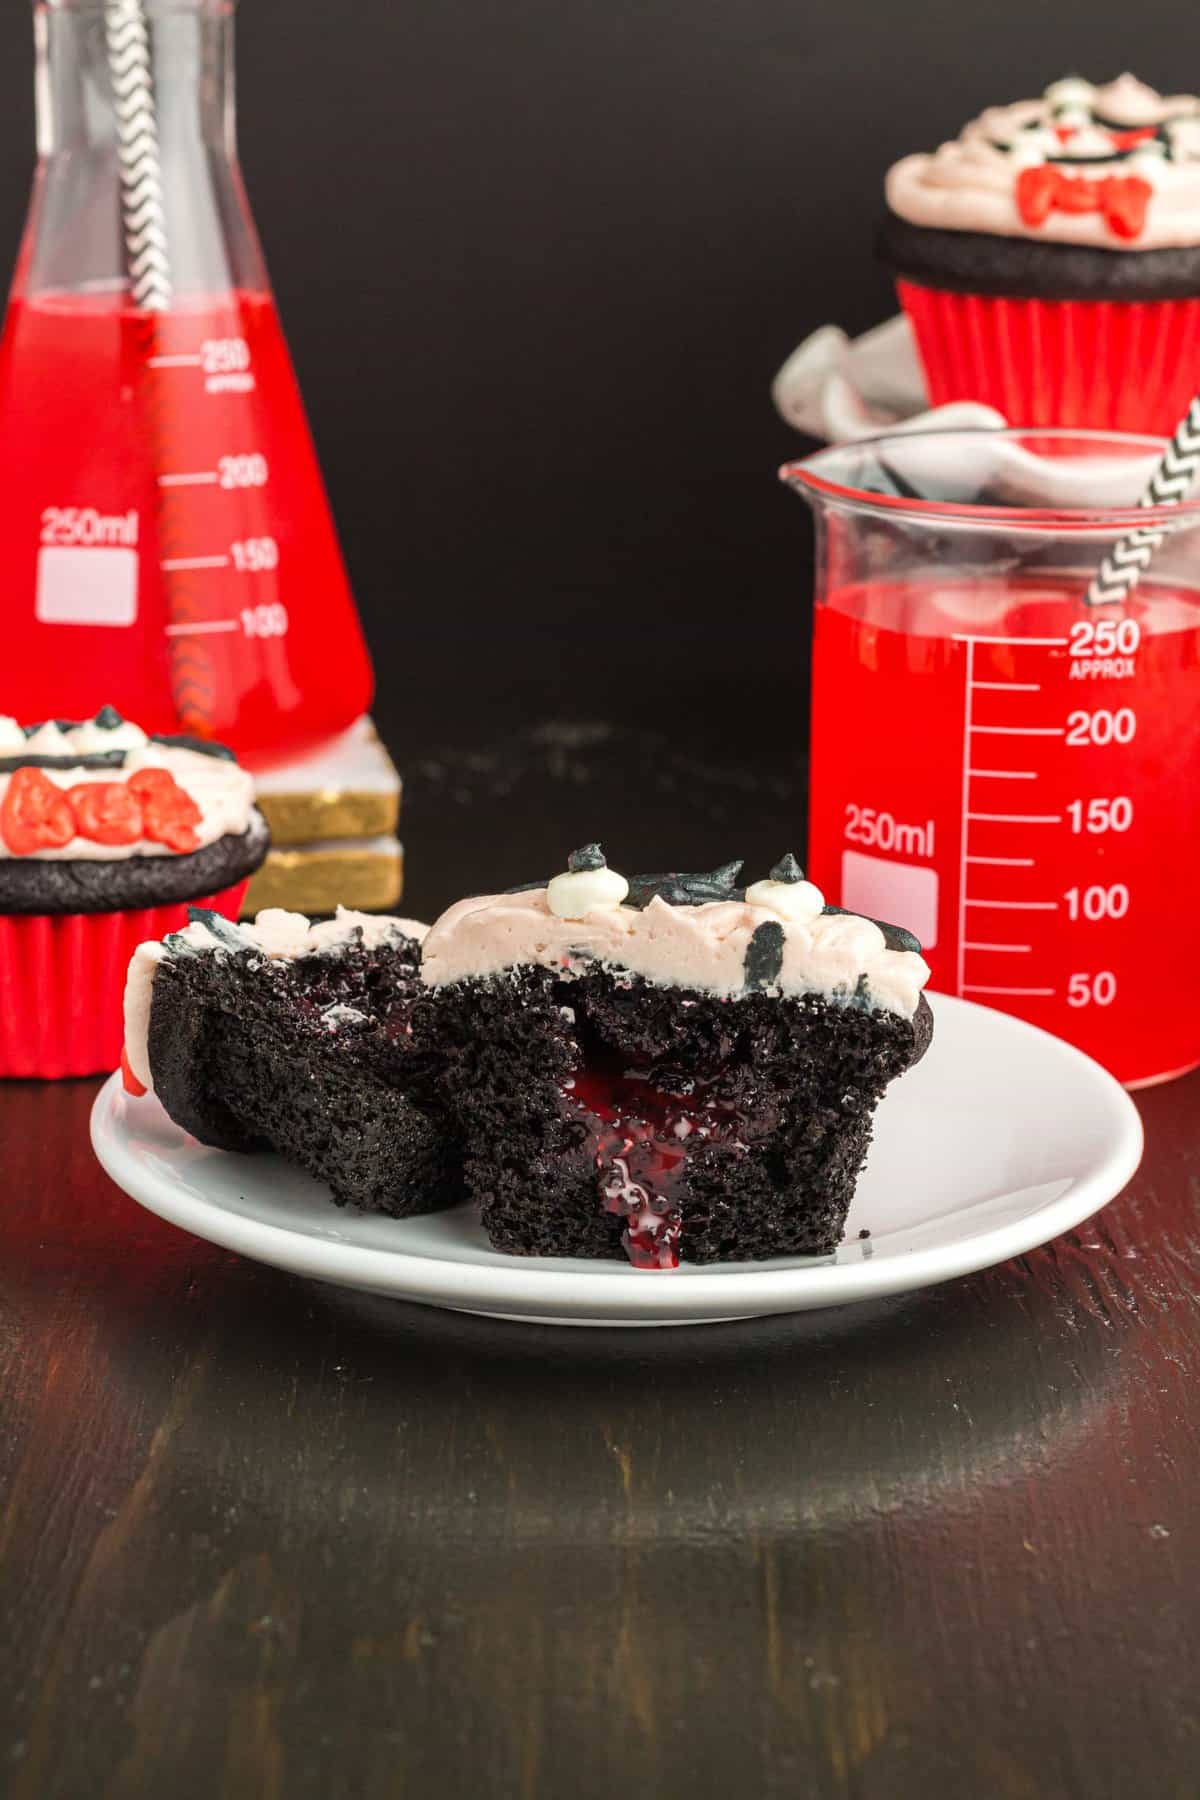
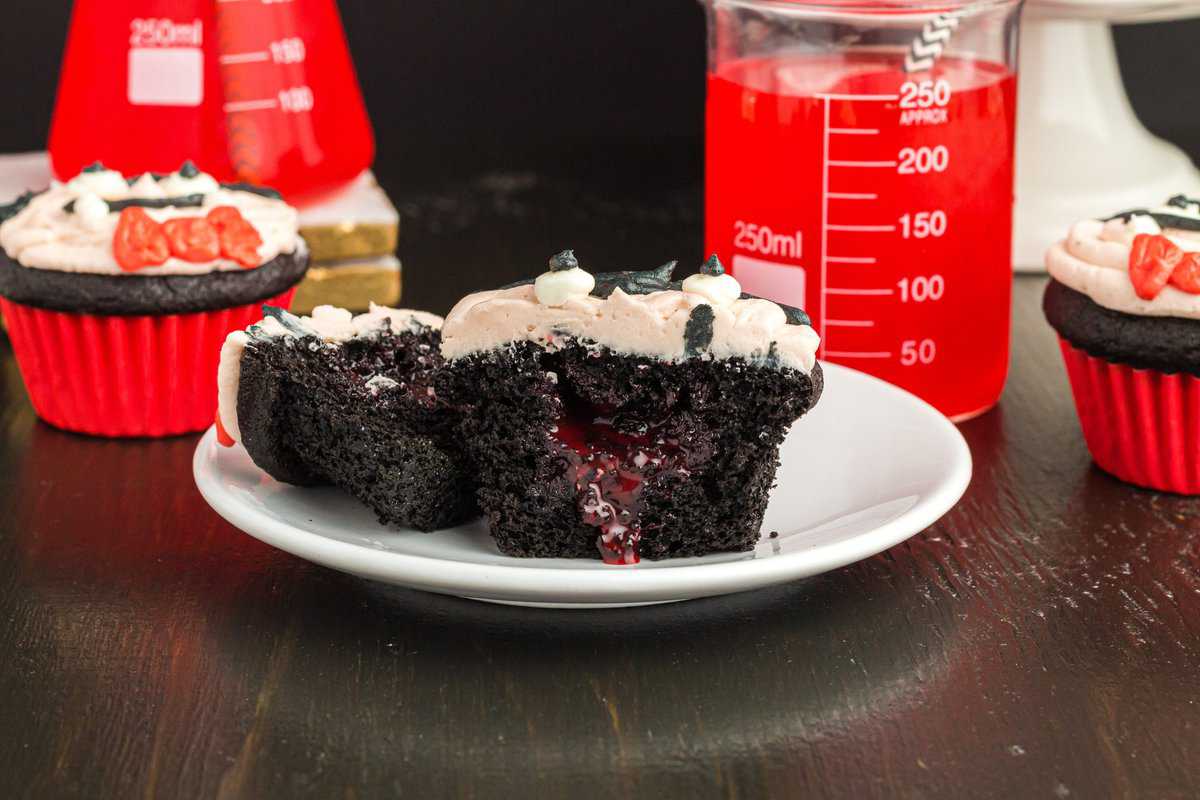
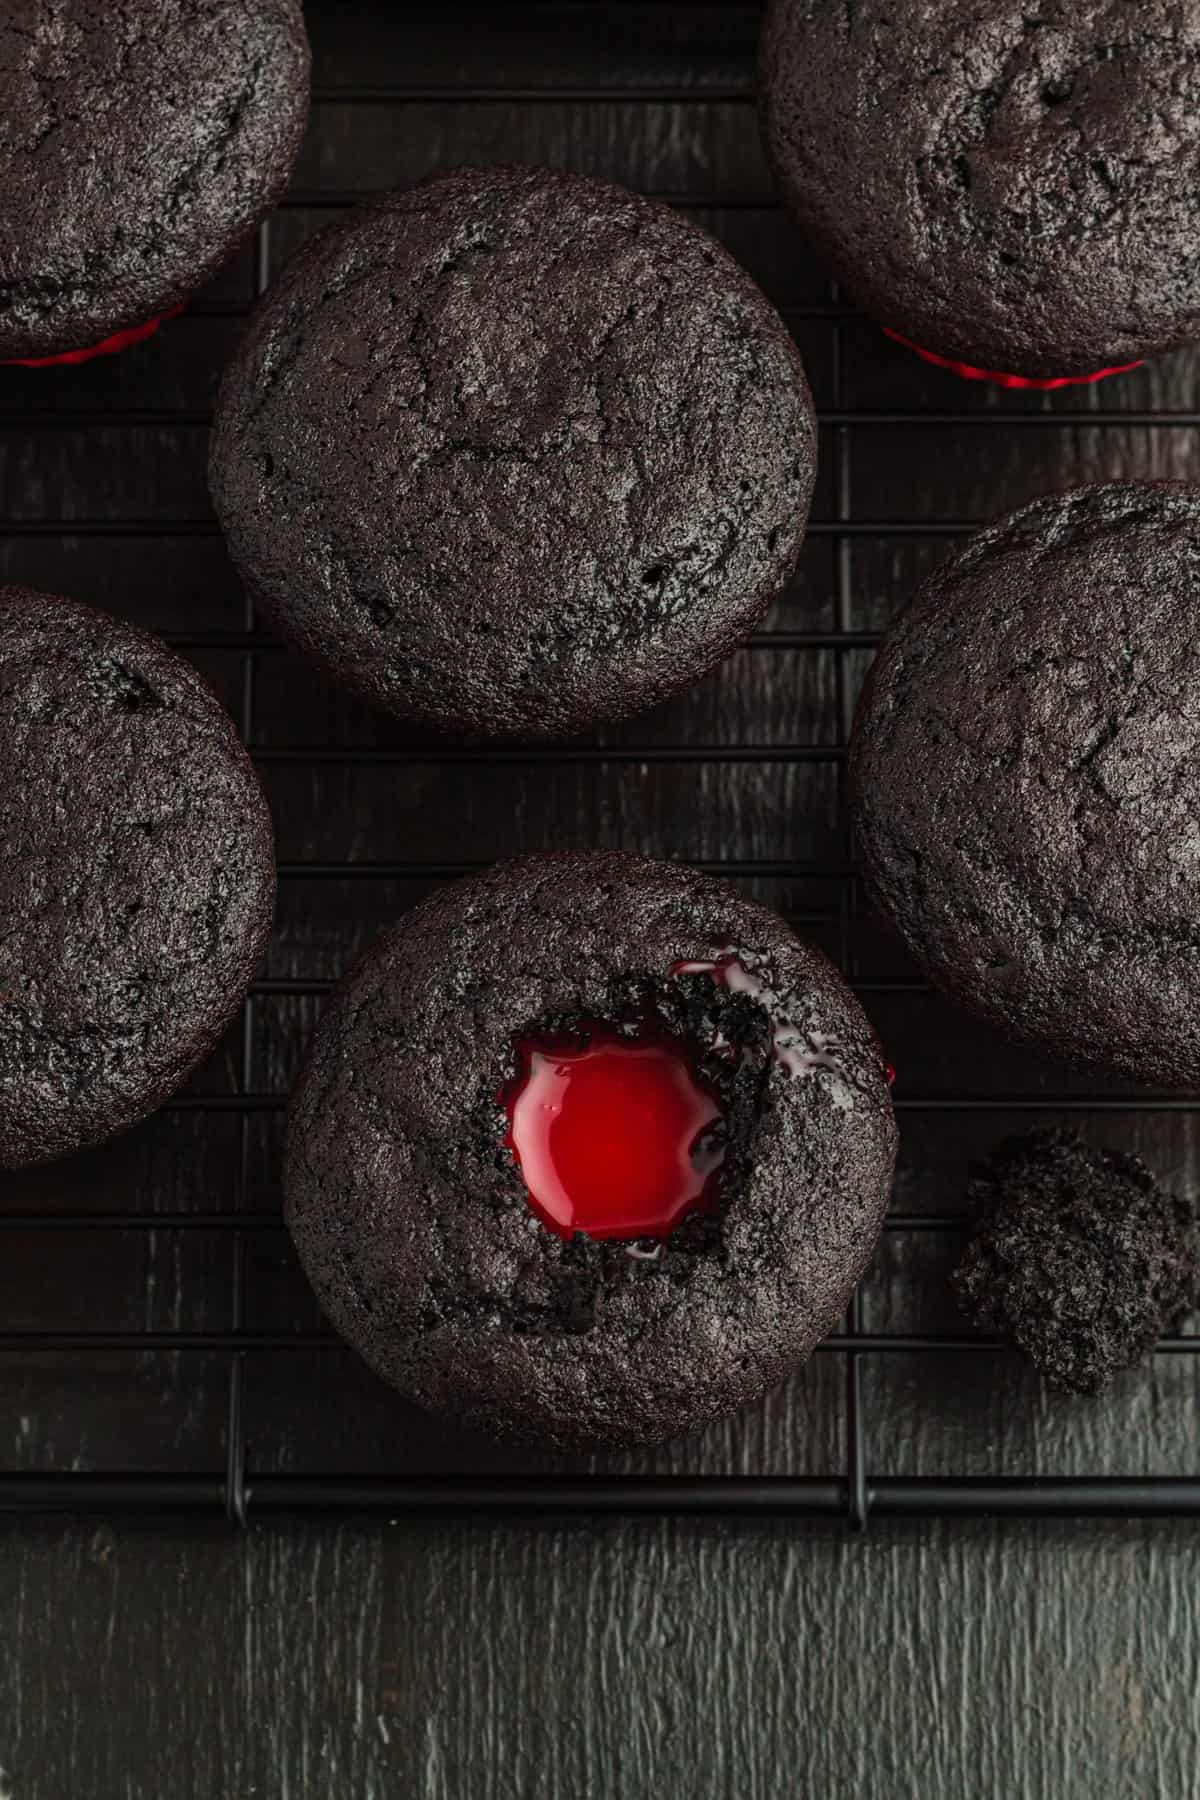
What’s Halloween without a little trick (or a vampire without a little blood?) that’s why these vampire cupcakes are not all they seem… *insert evil laugh*. Inside the midnight black chocolate cupcakes lies a hidden well of sweet white chocolate ganache, colored red for added freaky fun.
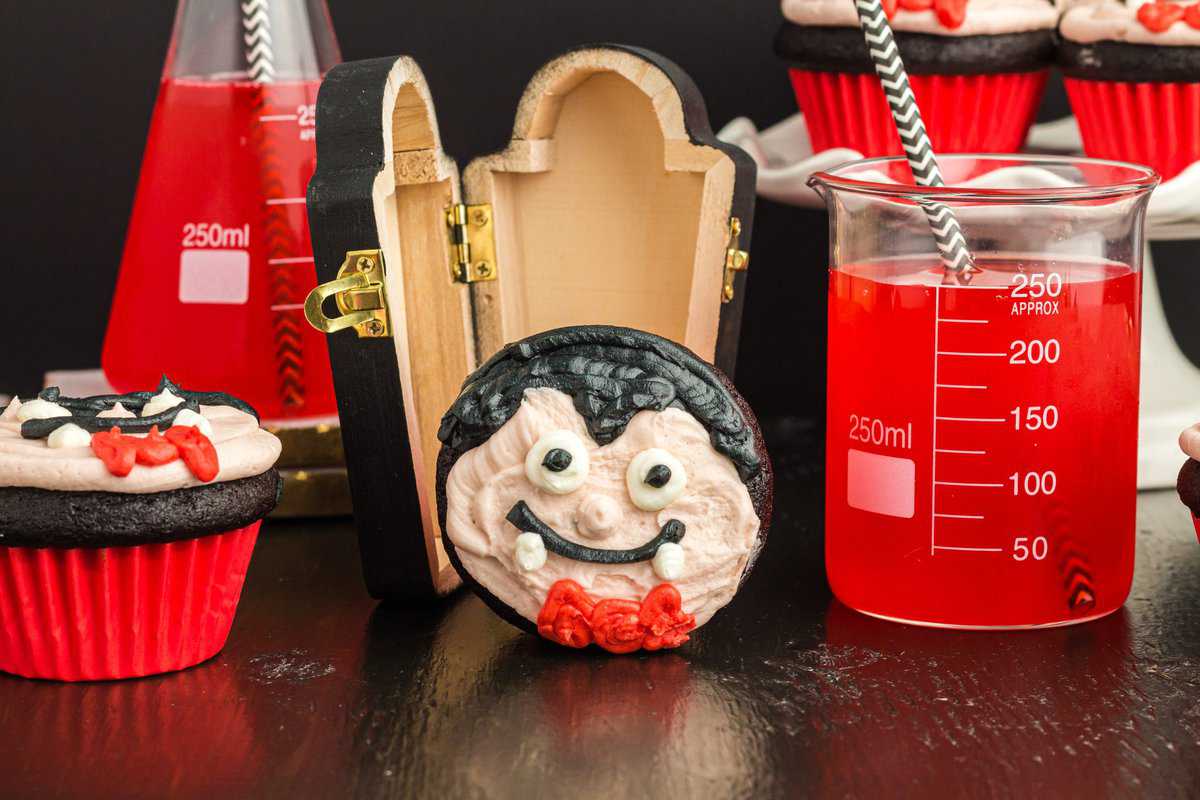
You’ll understand a vampire’s dilemma when it comes to resisting a bite of these baked beauties as they are the perfect sweet treat and Halloween craft all in one. Perfect for parties, spooky school events or brightening up buffet tables. Pair them with a Halloween cocktail or vampire milkshakes for added festive fun.
Not only are they easy to make and fun to bake but you can customize them as you please. Whether your vampire’s hair is black or blue, topped with glitter or gummy bears, if there’s a time of year you can go all out with the cupcake decorating it’s Halloween. If you're short for time and need a no-bake vampire treat, check out my Ding Dong Vampires.
WHY WE LOVE THIS VAMPIRE CUPCAKE RECIPE
- Imagination overload – I can’t decide whether it’s the striking black cupcakes, secret “blood” ganache or cheeky vampire faces that I like best, but these vampire bites allow your creativity to go wild. All ages will enjoy getting involved in decorating and devouring these tasty treats.
- It’s Easy – Fool family and friends into thinking you’ve spent hours sweating over the stove to make these handsome fellows when in fact these cupcakes are anything but complicated. My step-by-step instructions will convince even the most unskilled baker you are worthy of cupcake stardom.
- They taste as good as they look – There’s nothing more disappointing than a cupcake that is all drama and no flavor. These vampire cupcakes bring both to the party – they look and taste the part.
- Pantry Staples – Although it looks like a long list of ingredients don’t panic. The majority of these ingredients are probably already in your pantry – ideal if you’re planning a Halloween party on a budget and saves hunting down exotic ingredients in the store at one of the busiest times of year!
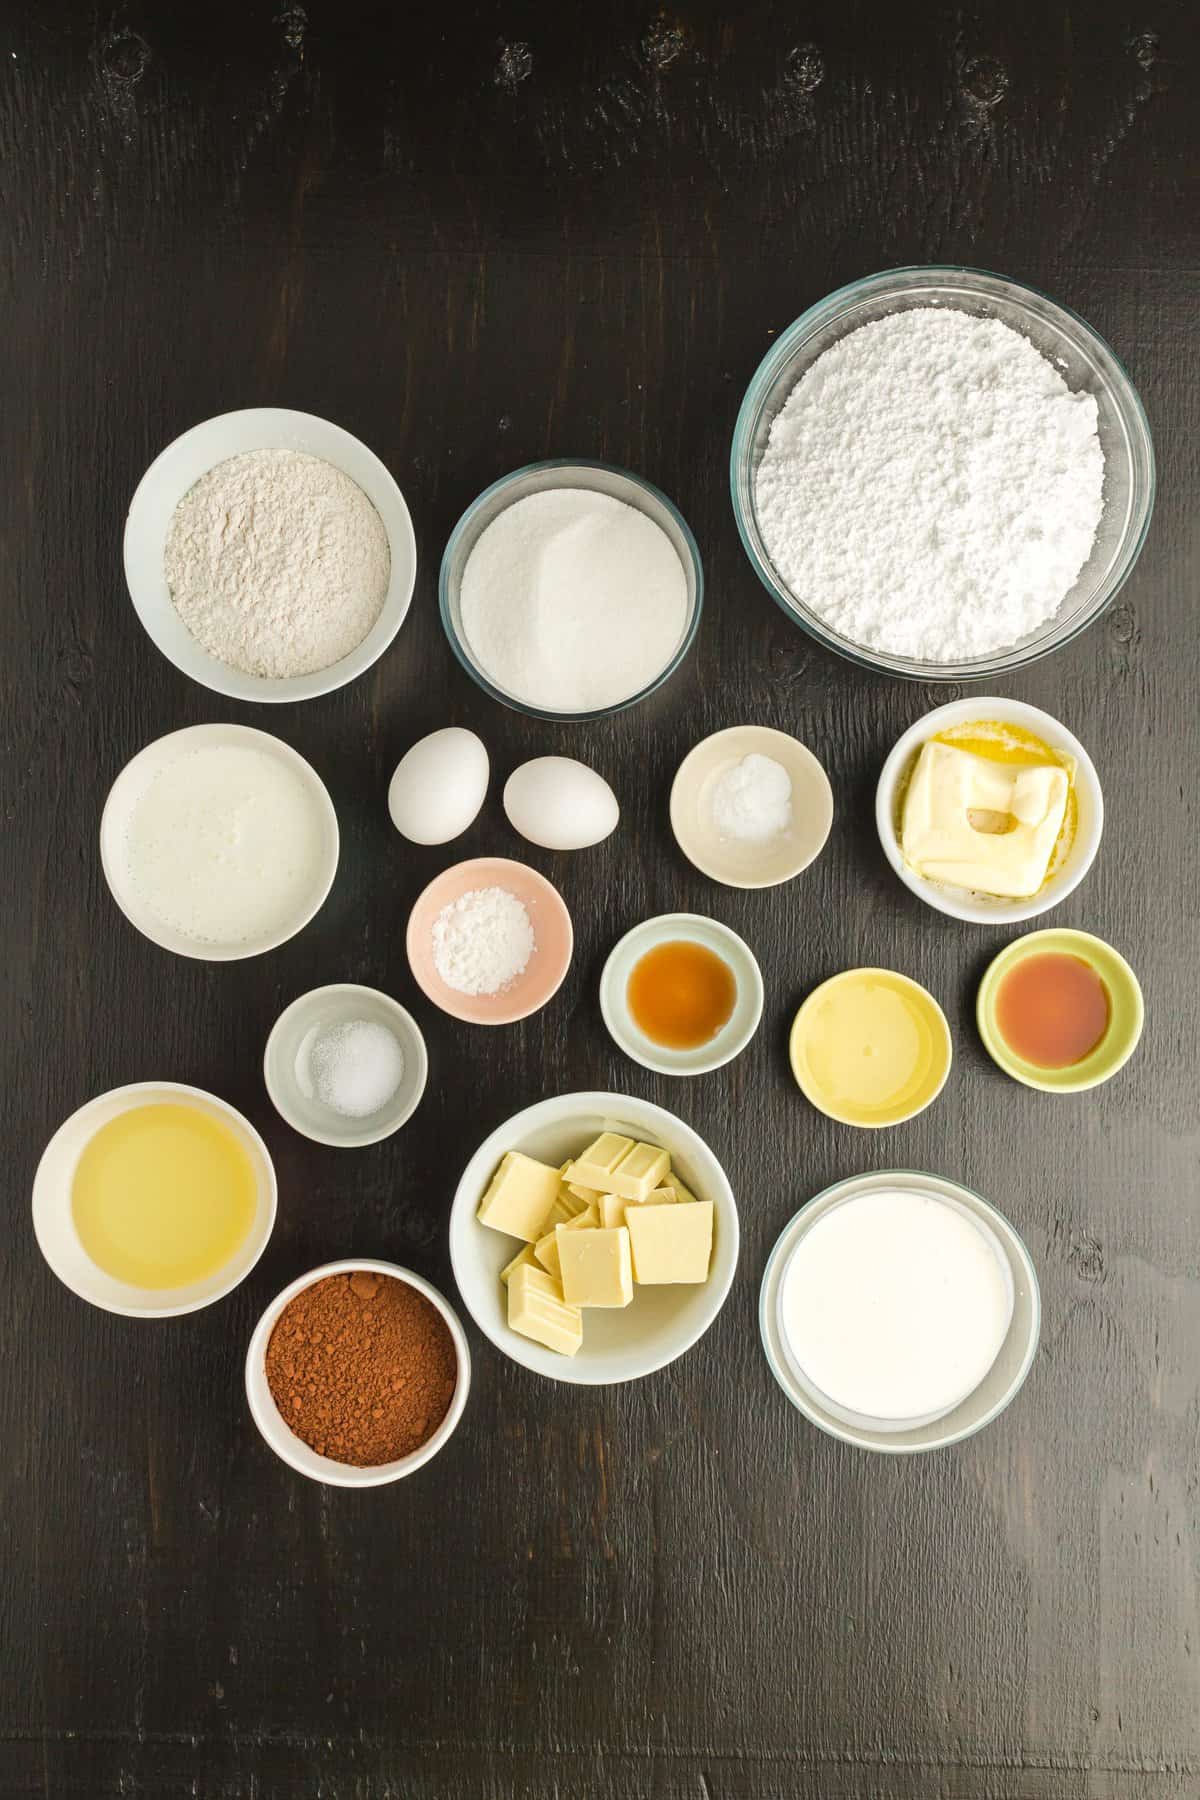
INGREDIENTS/SHOPPING LIST
- All-Purpose Flour or Cake Flour
- Granulated Sugar
- Unsweetened Cocoa Powder
- Baking Powder
- Baking Soda
- Salt
- Vegetable Oil
- Eggs
- Vanilla Extract
- Buttermilk- sour cream will work too
- Baker’s White Chocolate
- Heavy Cream
- Light Corn Syrup
- Confectioners’ Sugar- aka powdered sugar
- Unsalted Butter
- Food Coloring: Black, Red, Light Brown
SUBSTITUTIONS AND ADDITIONS
- Black Cupcakes – Red and black is the ultimate Halloween color scheme, which is why I used it for my Red Velvet Halloween Cake too. I recommend using gel food coloring for brilliant black cupcakes as it’s more concentrated so you need less. If you don’t have food coloring, substitute for dark cocoa powder or activated charcoal can also be used. Both will affect the flavor a little, and make sure the charcoal is food grade if using. If you would like to skip the homemade cake part, simply use a chocolate or red velvet cake mix.
- Buttermilk – For moist cupcakes, buttermilk is essential thanks to its high fat content. The acid in buttermilk also reacts with the baking soda and baking powder to help the cupcakes rise. If you’ve none to hand, don’t panic, it's super simple to make your own. Simply mix one cup milk with 1 teaspoon of lemon juice or vinegar. Let sit for up to 10 minutes for the flavor to develop and add to your recipe as normal.
- Frosted faced – I used frosting for the entire vampire face but at this time of year you’ll likely have LOTS of candy to hand so feel free to experiment. You can use candy eyes or chocolate chips for the eyes, the ends of candy corn for fangs or even Oreo crumbs for the black hair. Check out my Halloween Marshmallows for how we used candies and cookies to decorate. I used a traditional buttercream frosting for this recipe, however a cream cheese frosting would be fantastic as well.
- Frightening filling – Although white chocolate ganache is the ultimate crowd pleaser, you can substitute your “blood” filling for lemon curd and red food coloring, seedless raspberry jam or cherry pie filling.
RECOMMENDED TOOLS TO MAKE THIS RECIPE
- Measuring Cups And Spoons Of Various Sizes
- Mixing Bowls (Large And Small)
- Spatula
- Electric Mixer
- Muffin Pan
- Cupcake Liners
- Tipless Icing Bags- or regular pastry bags
- Microwave
HOW TO MAKE THIS VAMPIRE CUPCAKE RECIPE
There’s no magic sorcery required for these vampire cupcakes, instead just 3 simple steps – bake, fill, frost. So straightforward there’s no reason why the whole family can’t get involved with the decorating…and washing up mwahaha.
Chocolate Cupcakes:
1. Preheat the oven to 350 degrees F and line your muffin pan with 12 cupcake paper liners.
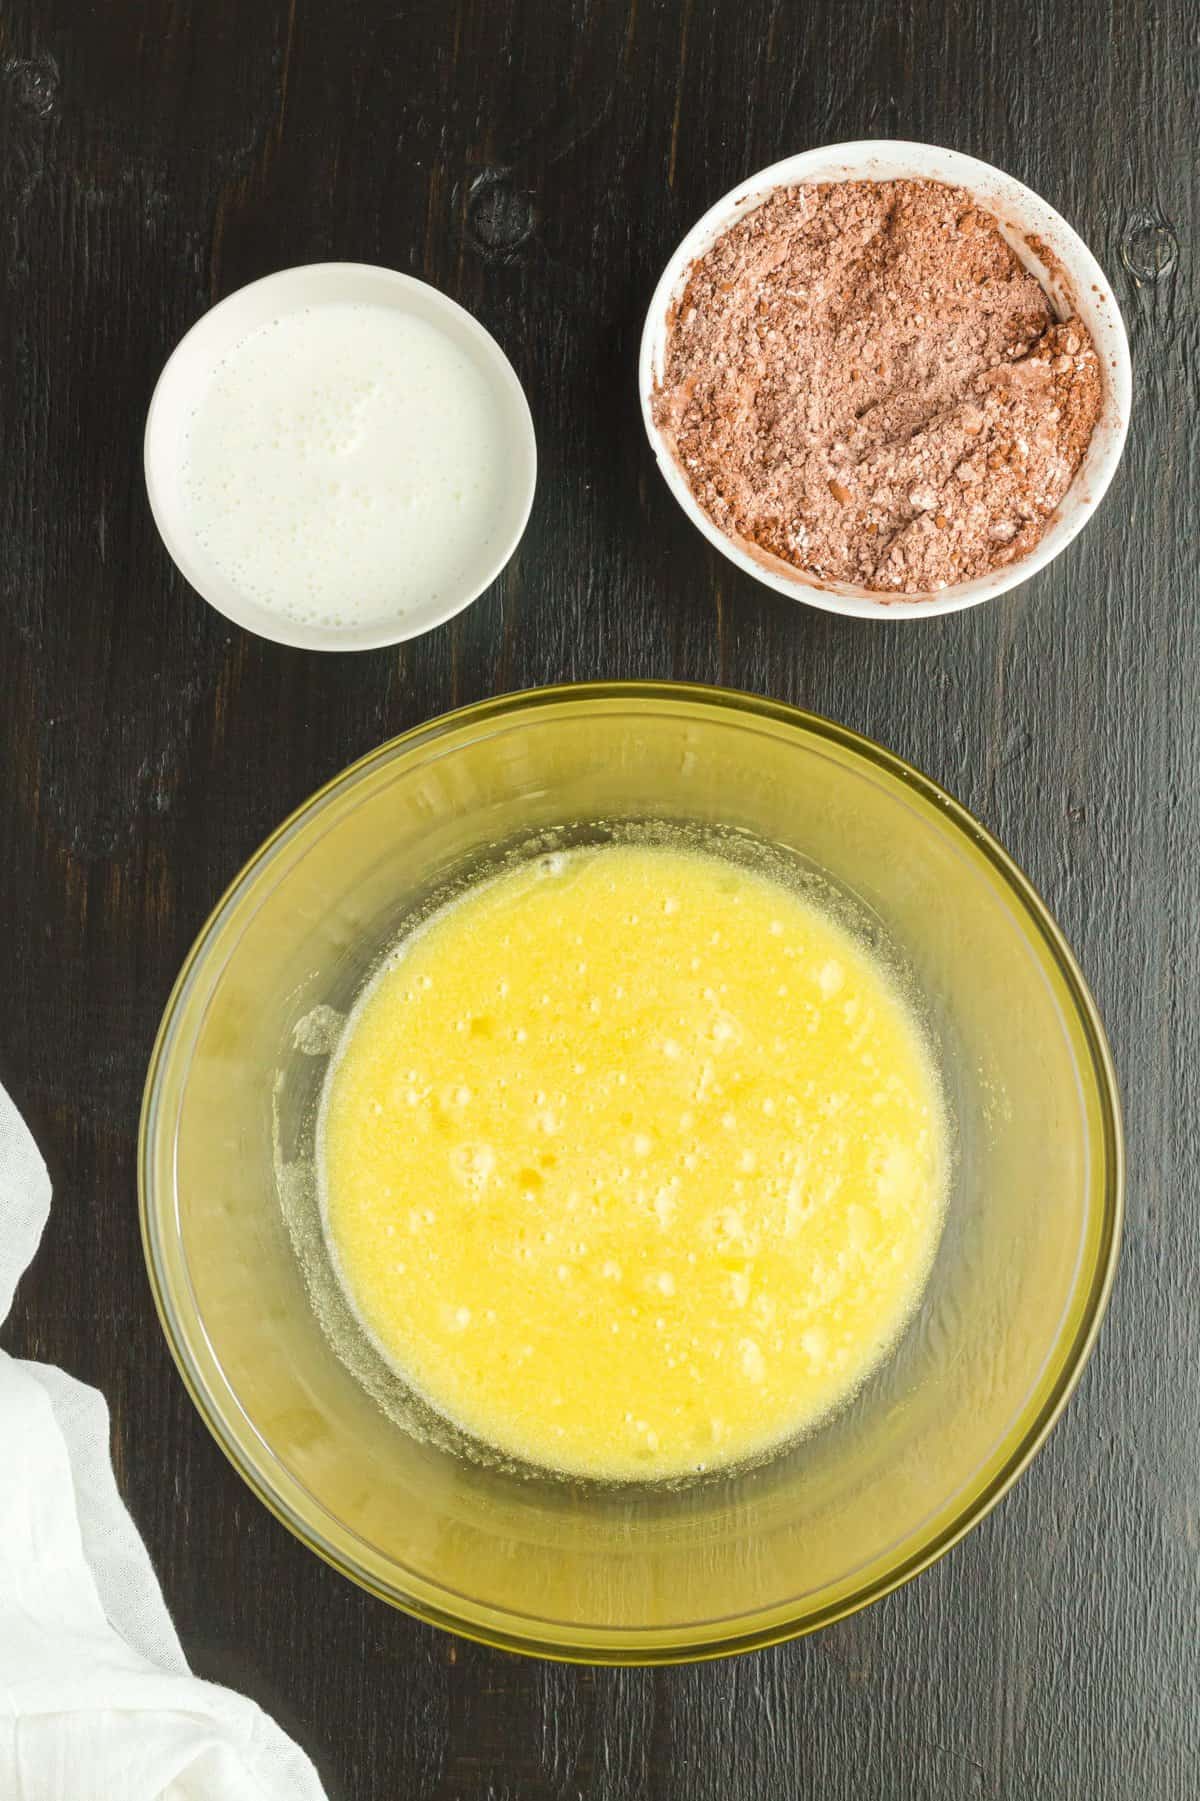
2. In a medium bowl, stir together the dry ingredients: granulated sugar, unsweetened cocoa powder, baking powder, baking soda, and salt. Set aside.
3. In a large bowl or the bowl of your stand mixer, whisk together the following wet ingredients: vegetable oil, eggs, and vanilla extract.
4. Scrap the sides of the bowl, then stir half the dry mixture into the wet mixture. Stir just until mixed. It’s important you do not over mix.
5. Next, add the buttermilk to the wet mixture. Stir until just combined.
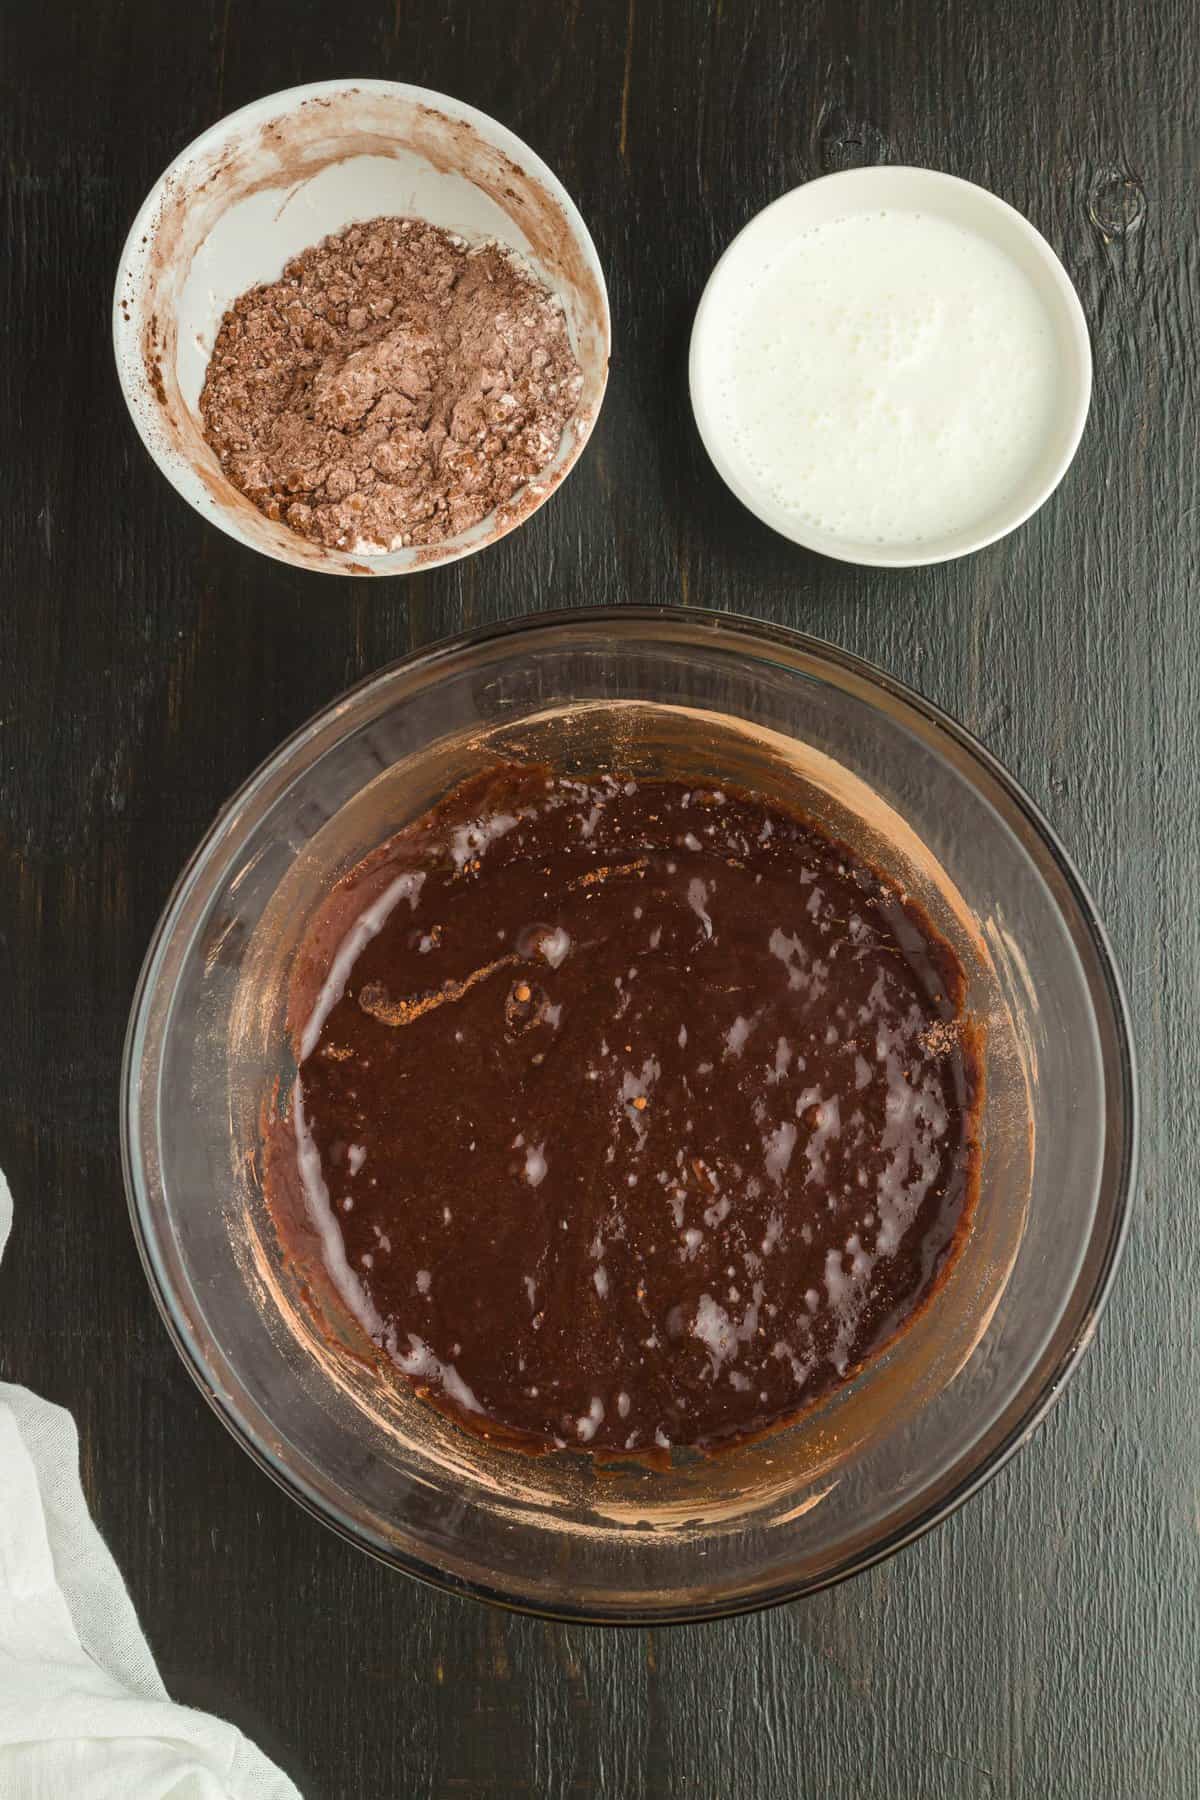

6. Pour the remaining half of the dry ingredients into the wet ingredients. Again, stir until just combined. This will ensure fluffy, moist cupcakes.
7. Add black food coloring to the cupcake batter. PRO TIP: The amount will depend on the type of food coloring you use. I recommend gel food coloring for best results but liquid also works fine. Add a few drops at a time, stirring in between as some food color can affect the flavor. Again, be sure not to over mix the batter.
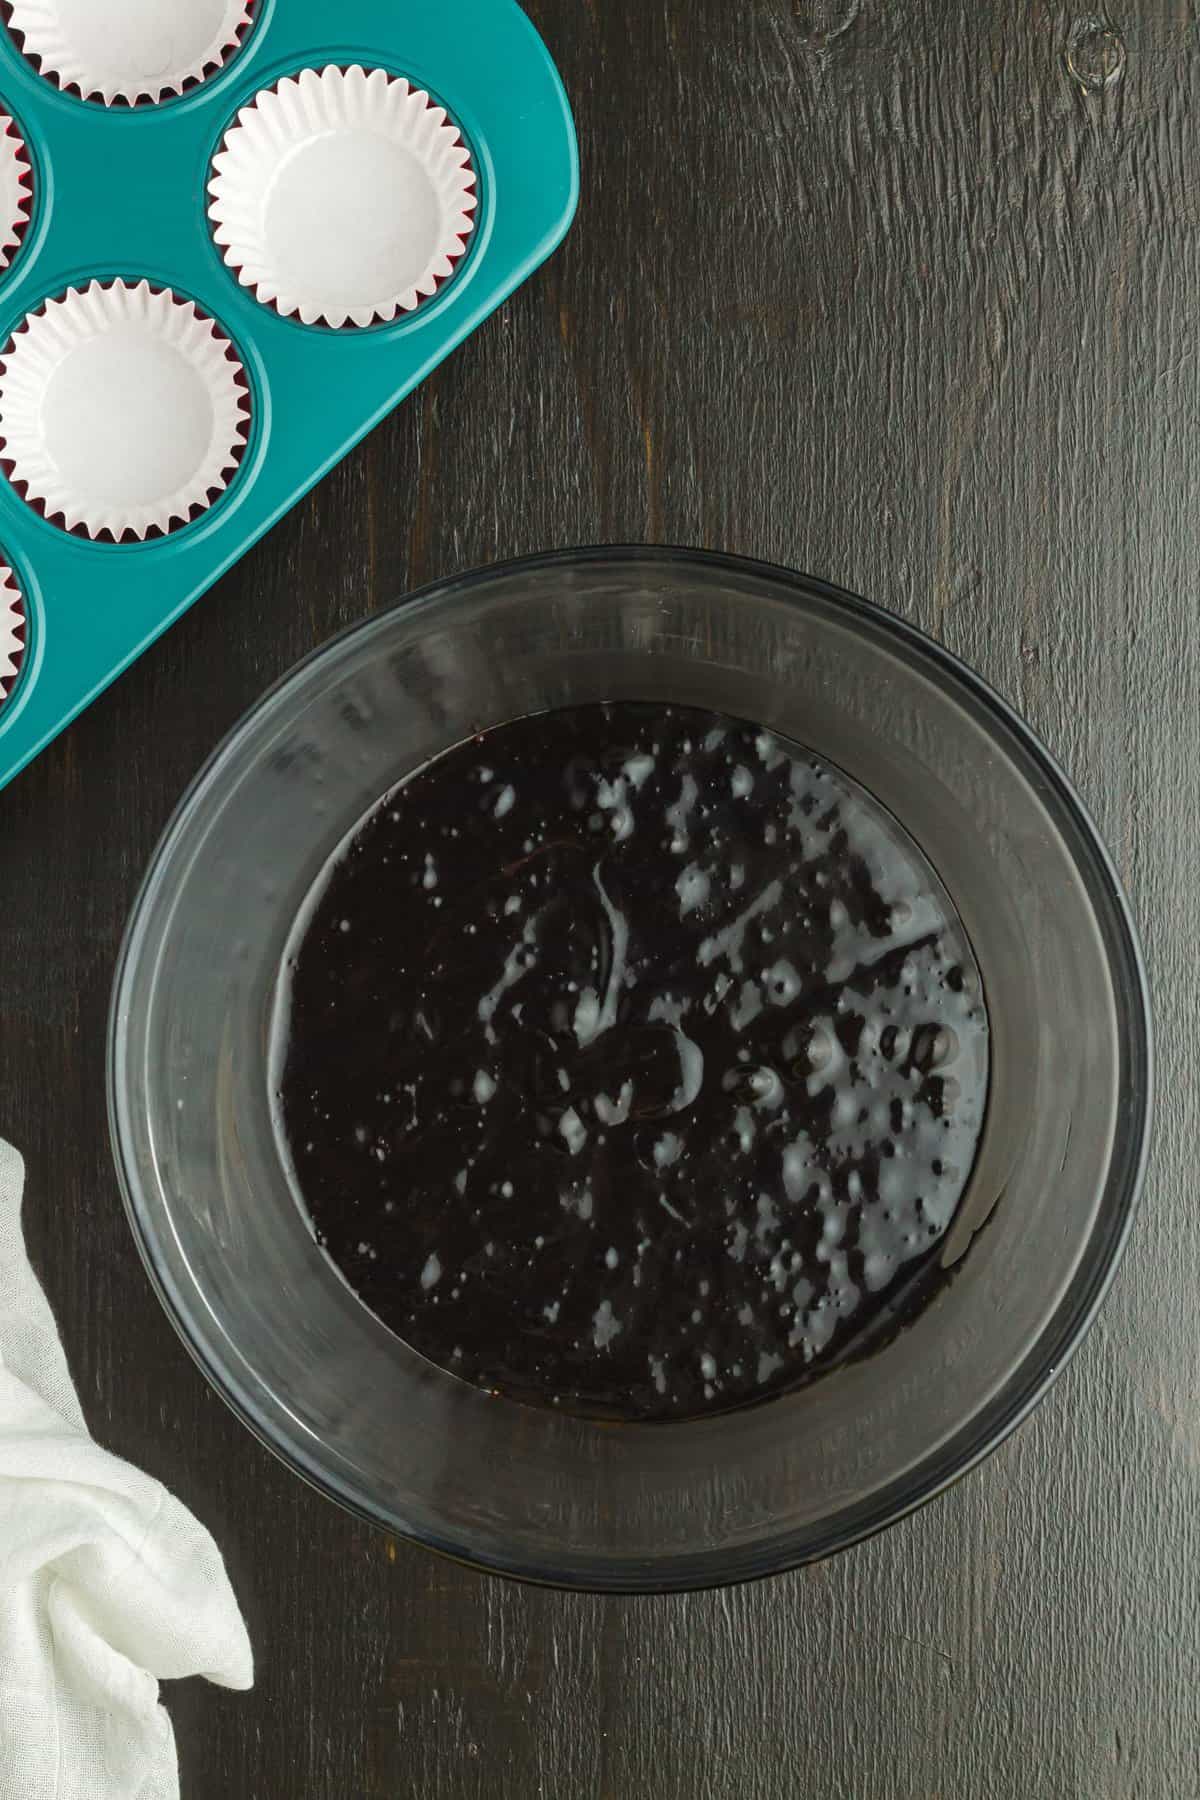

8. Fill the lined cupcake tin half full with cupcake batter. This recipe will make enough for 12 vampire cupcakes.
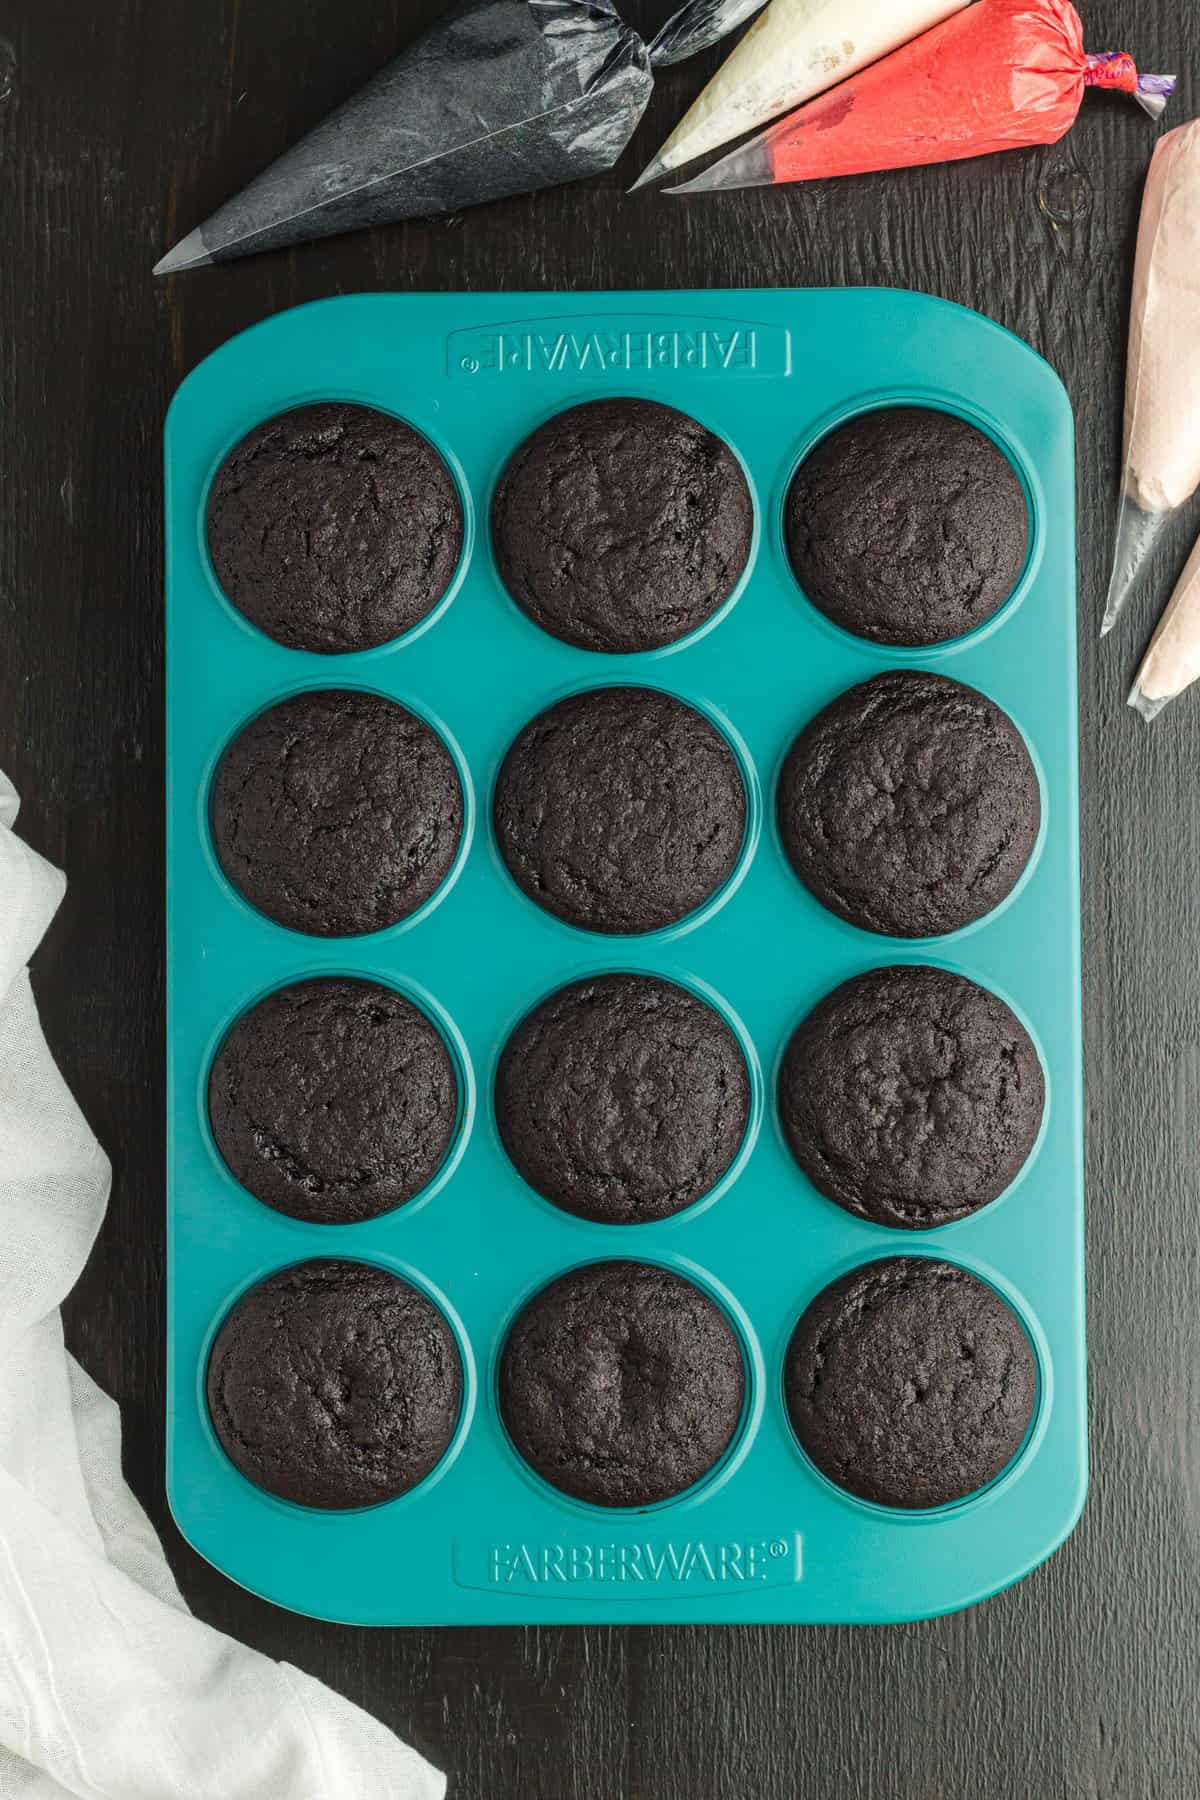
9. Add the cupcakes to the oven and bake for 16 to 18 minutes or until a wooden toothpick inserted in the center of a cupcake and comes out clean.
10. Remove cupcakes from the hot muffin pan and place on a wire rack to cool cupcakes completely.
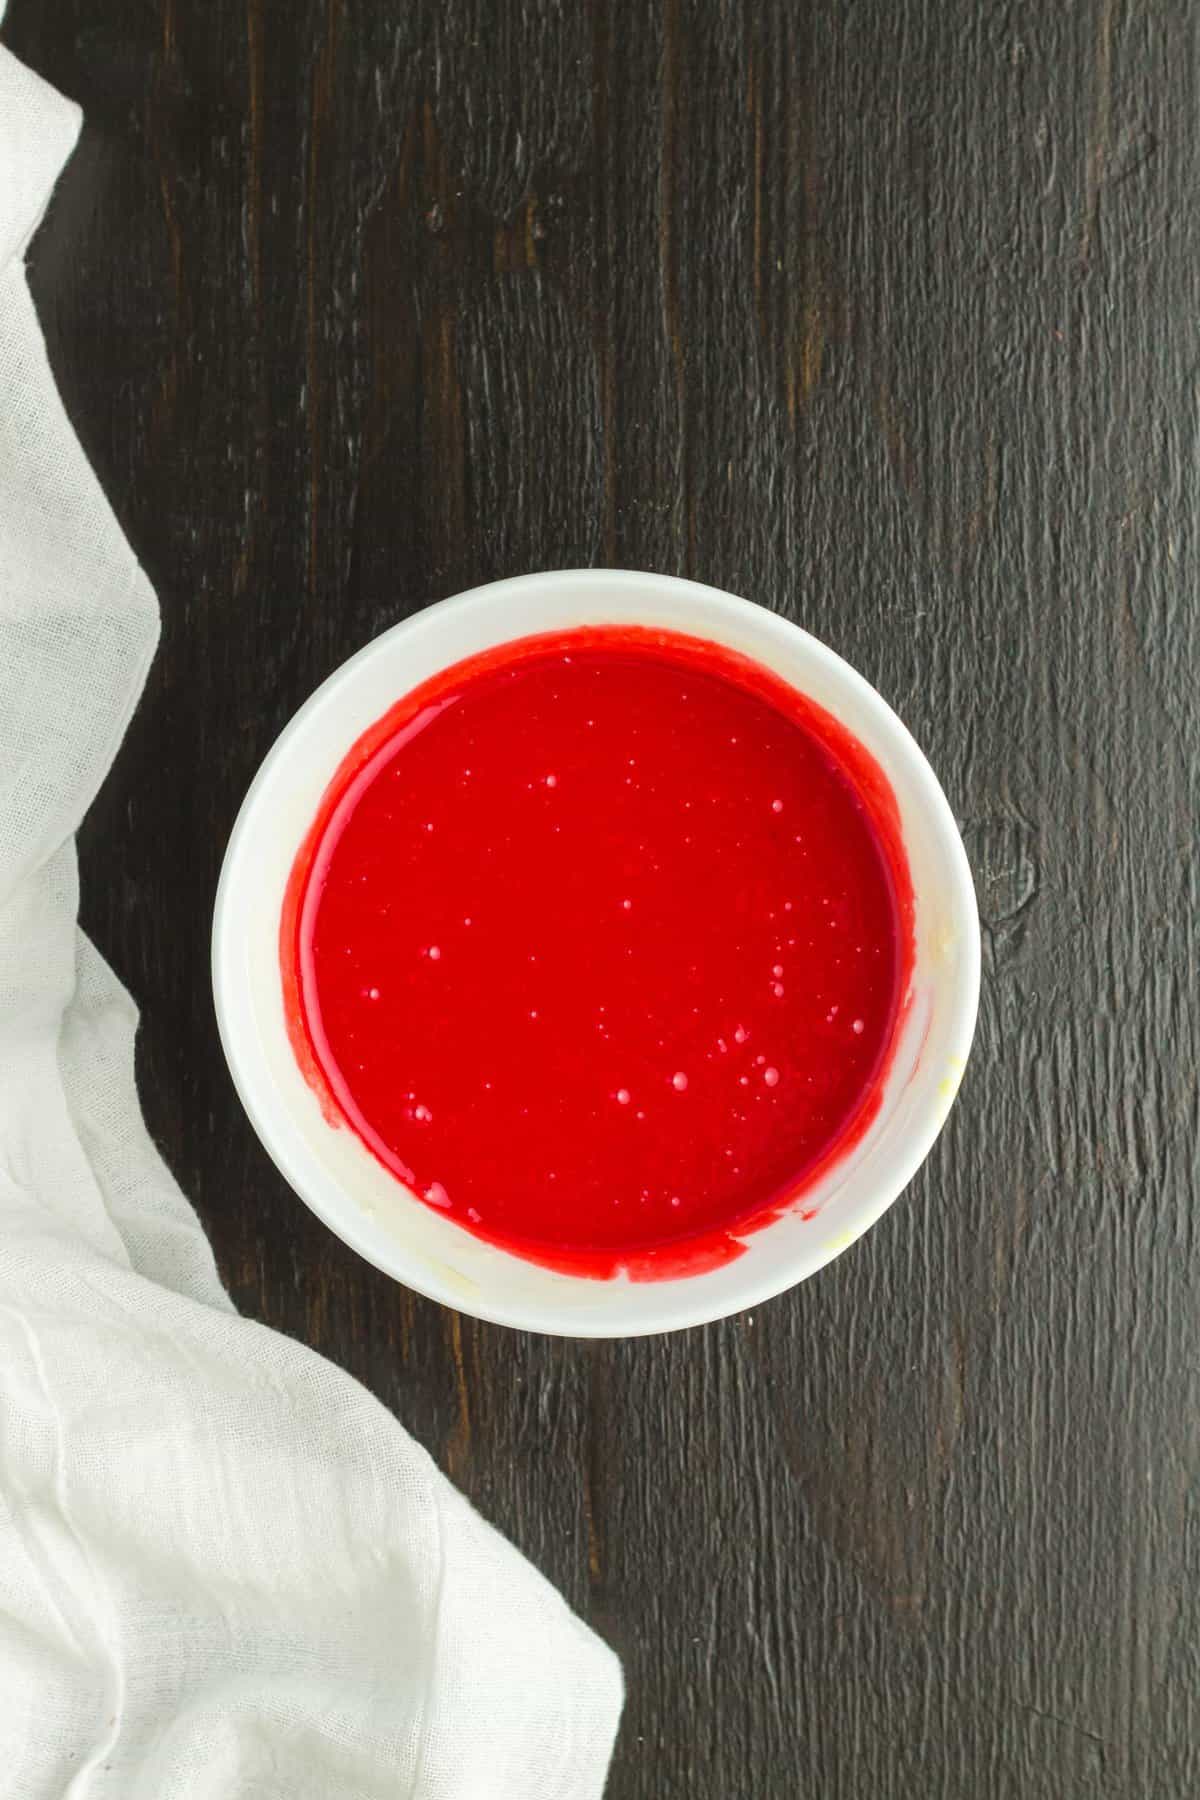
"Blood" Ganache:
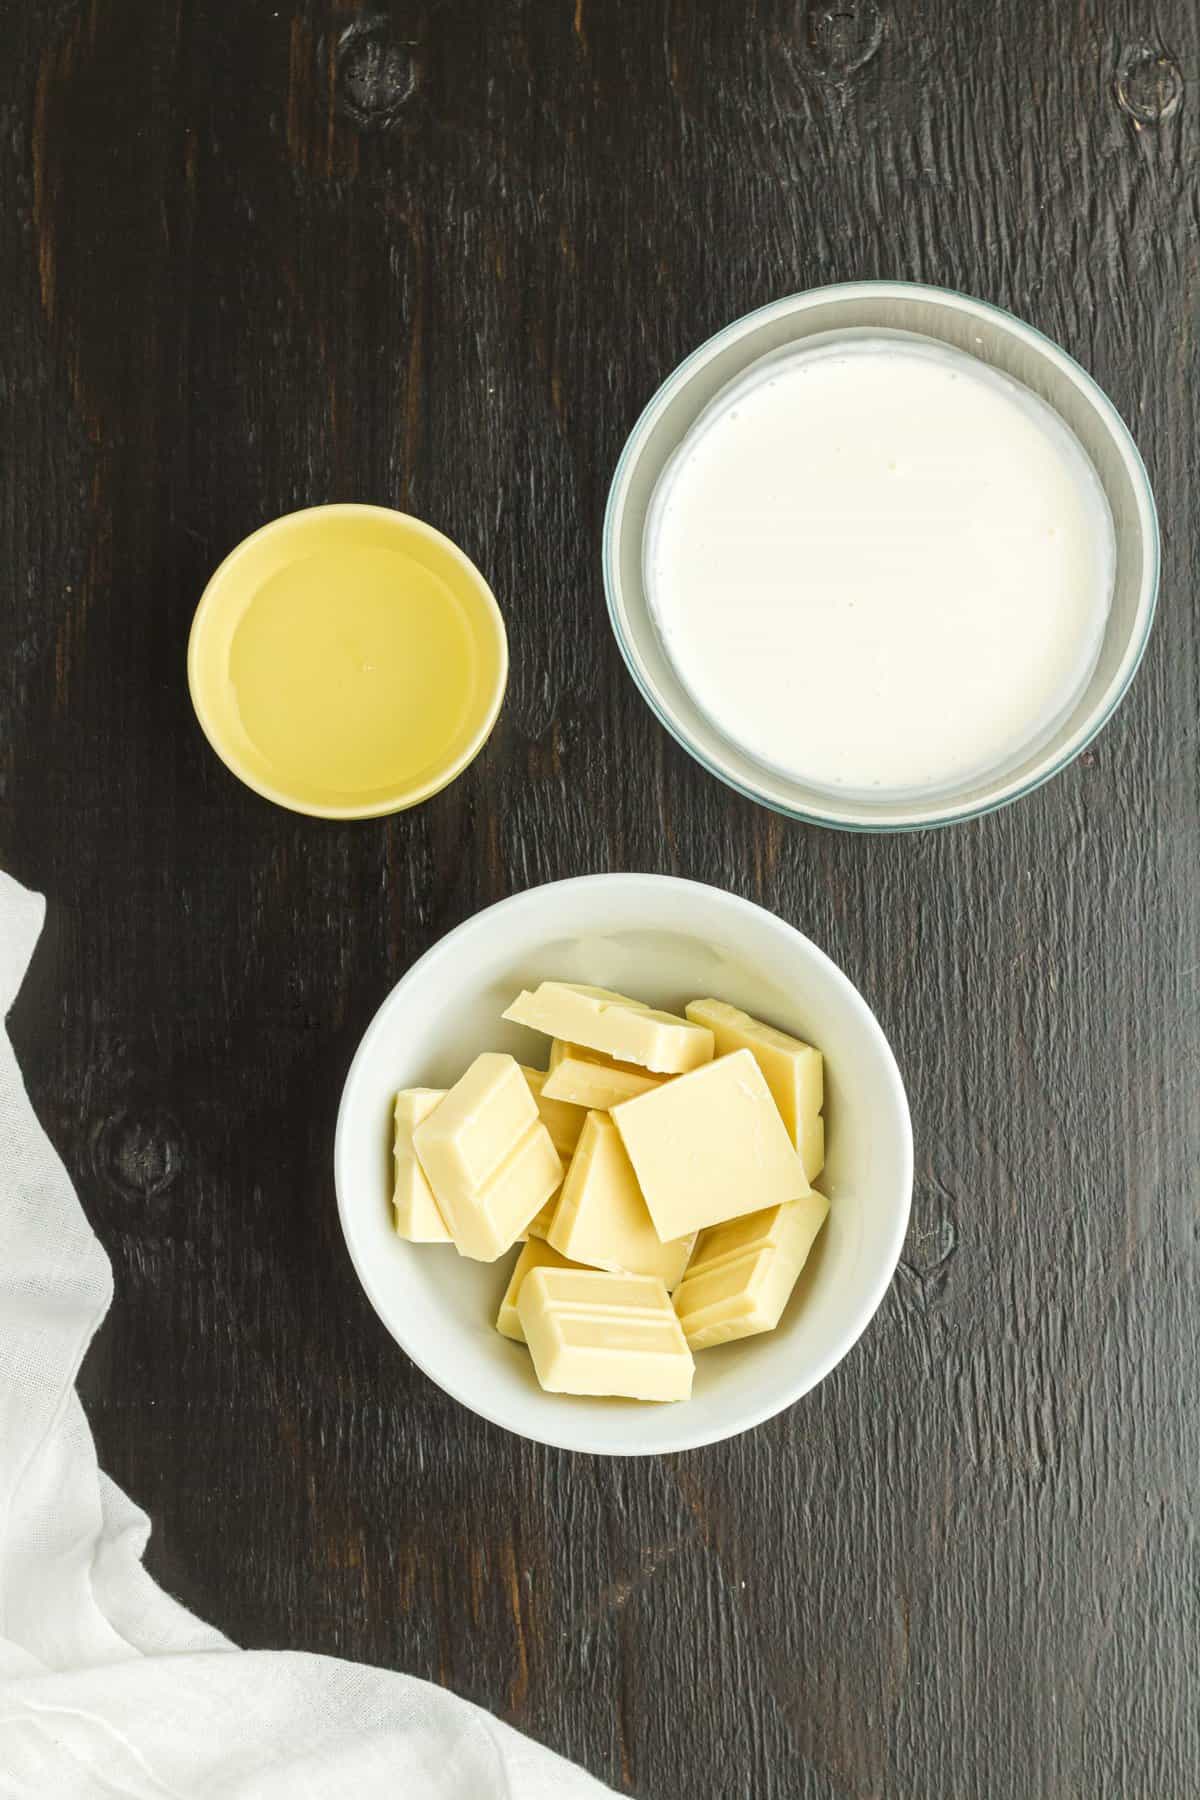
- In a medium microwave-safe bowl, heat heavy cream in the microwave until hot (about 1 minute).
- Immediately add the white chocolate to the hot heavy cream. Let it sit for 5 minutes before stirring.
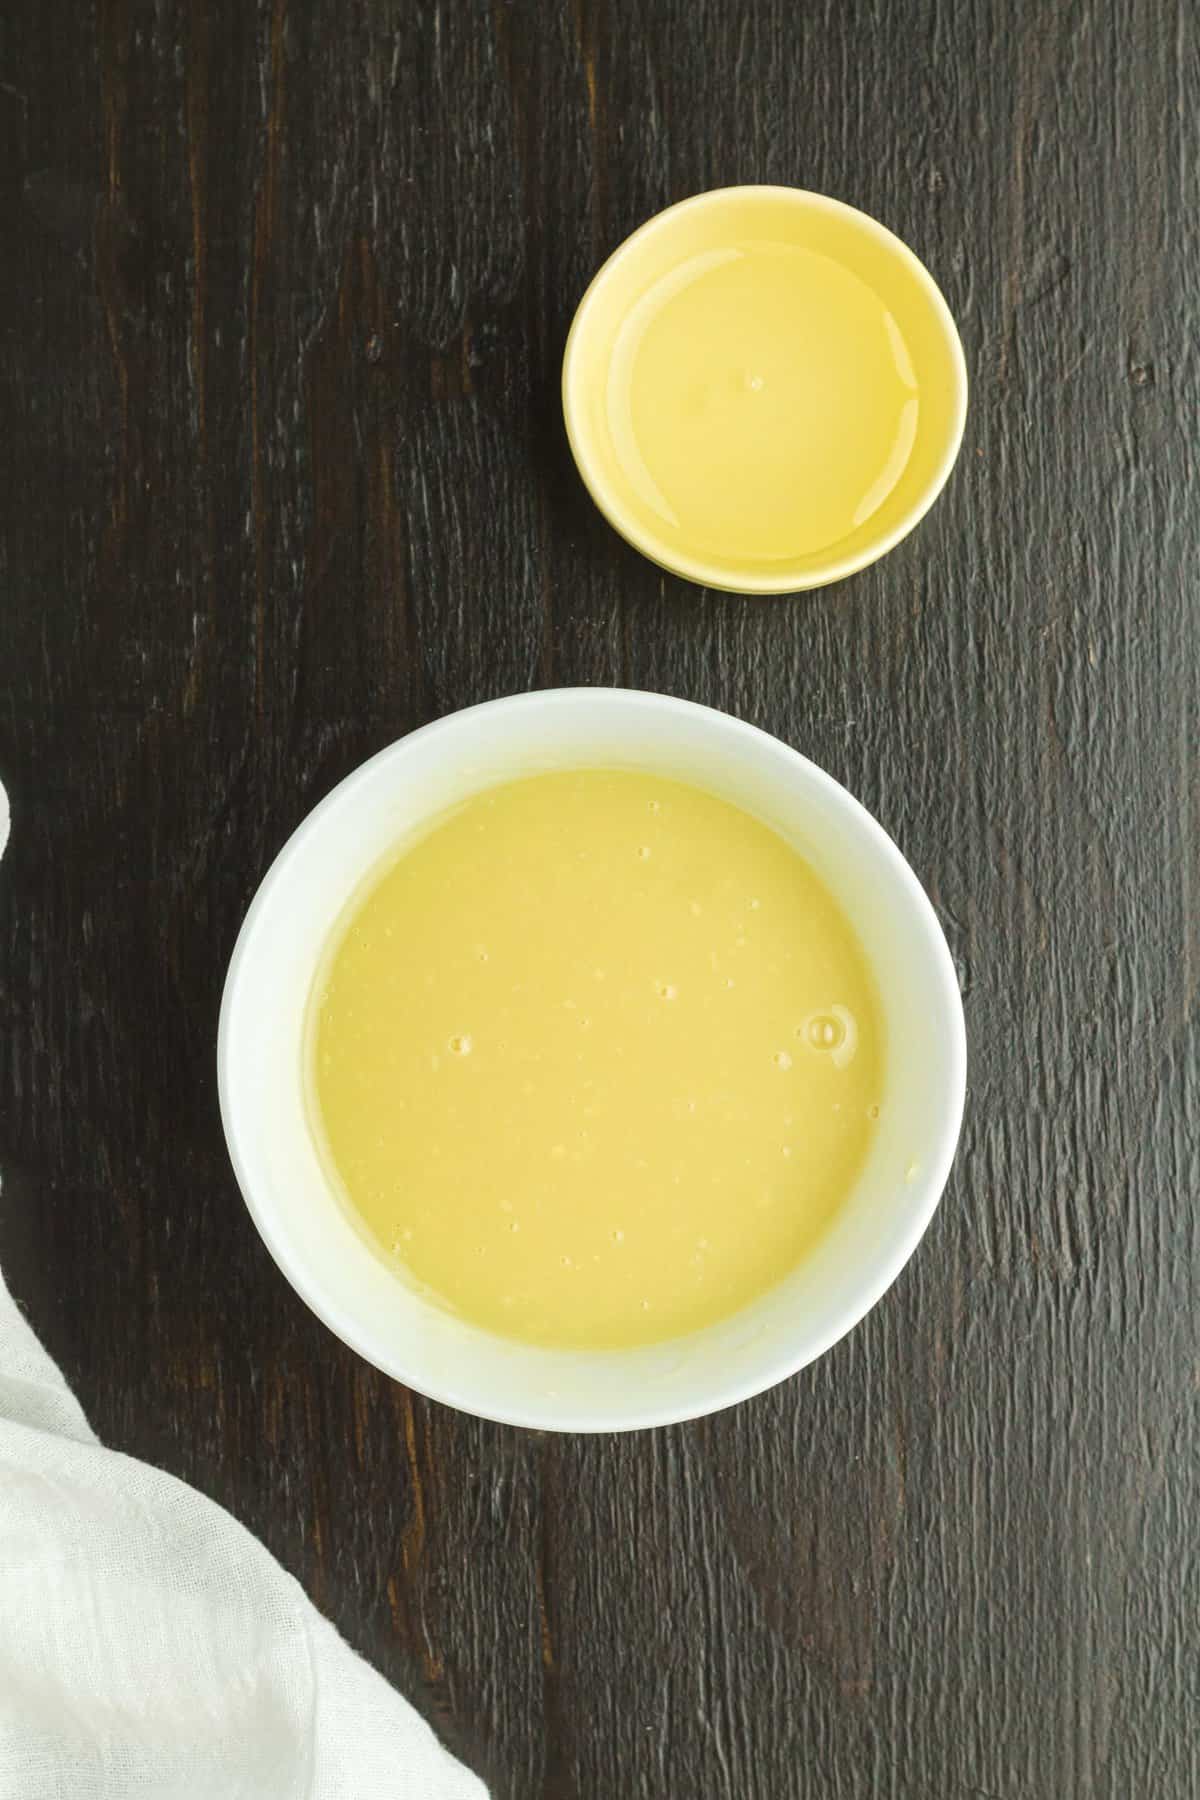
- After 5 minutes, stir until well mixed then add the corn syrup.
- Add a drop of red food coloring, add more if needed. Note a little goes a long way so stir well before adding more.
- Once the desired color is reached, place ganache in the fridge to chill for 30 minutes before using it to fill the cupcakes.
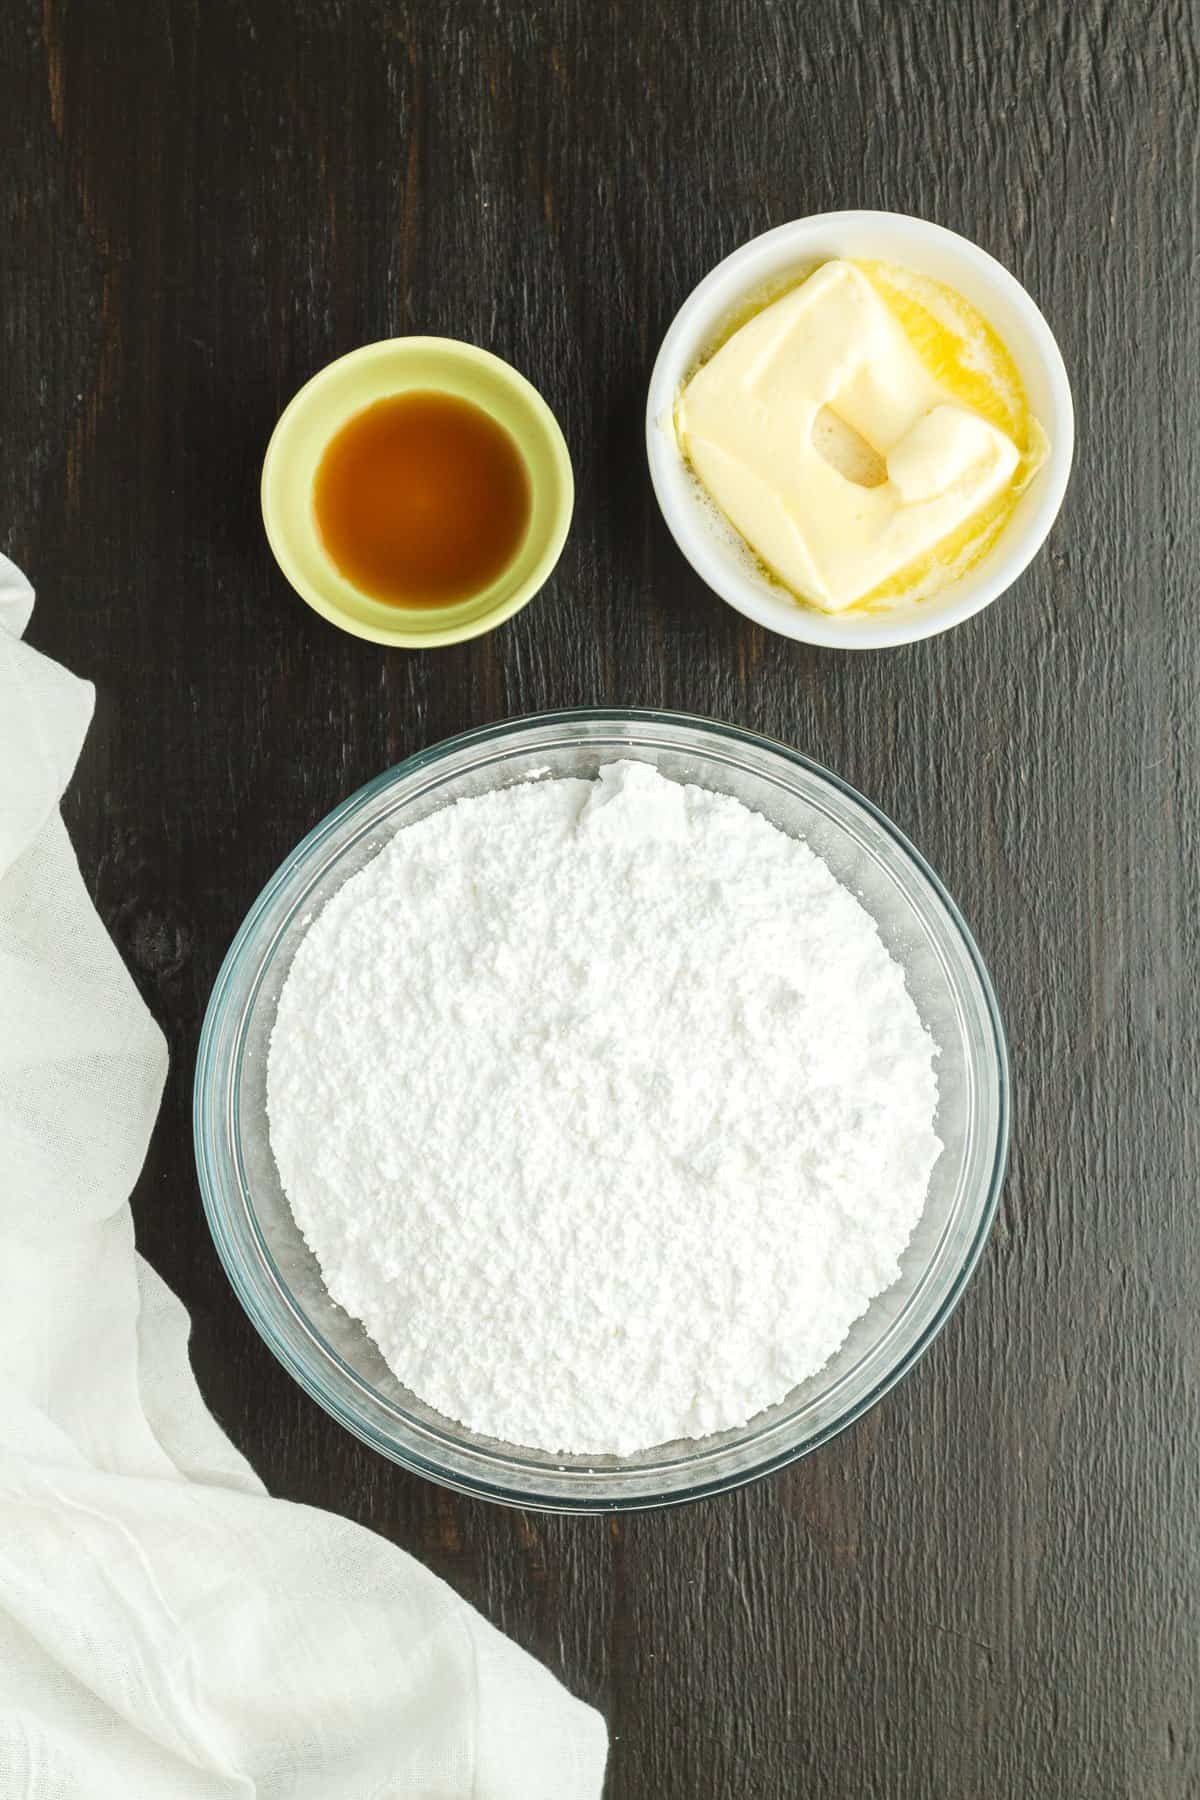
Vampire Frosting:
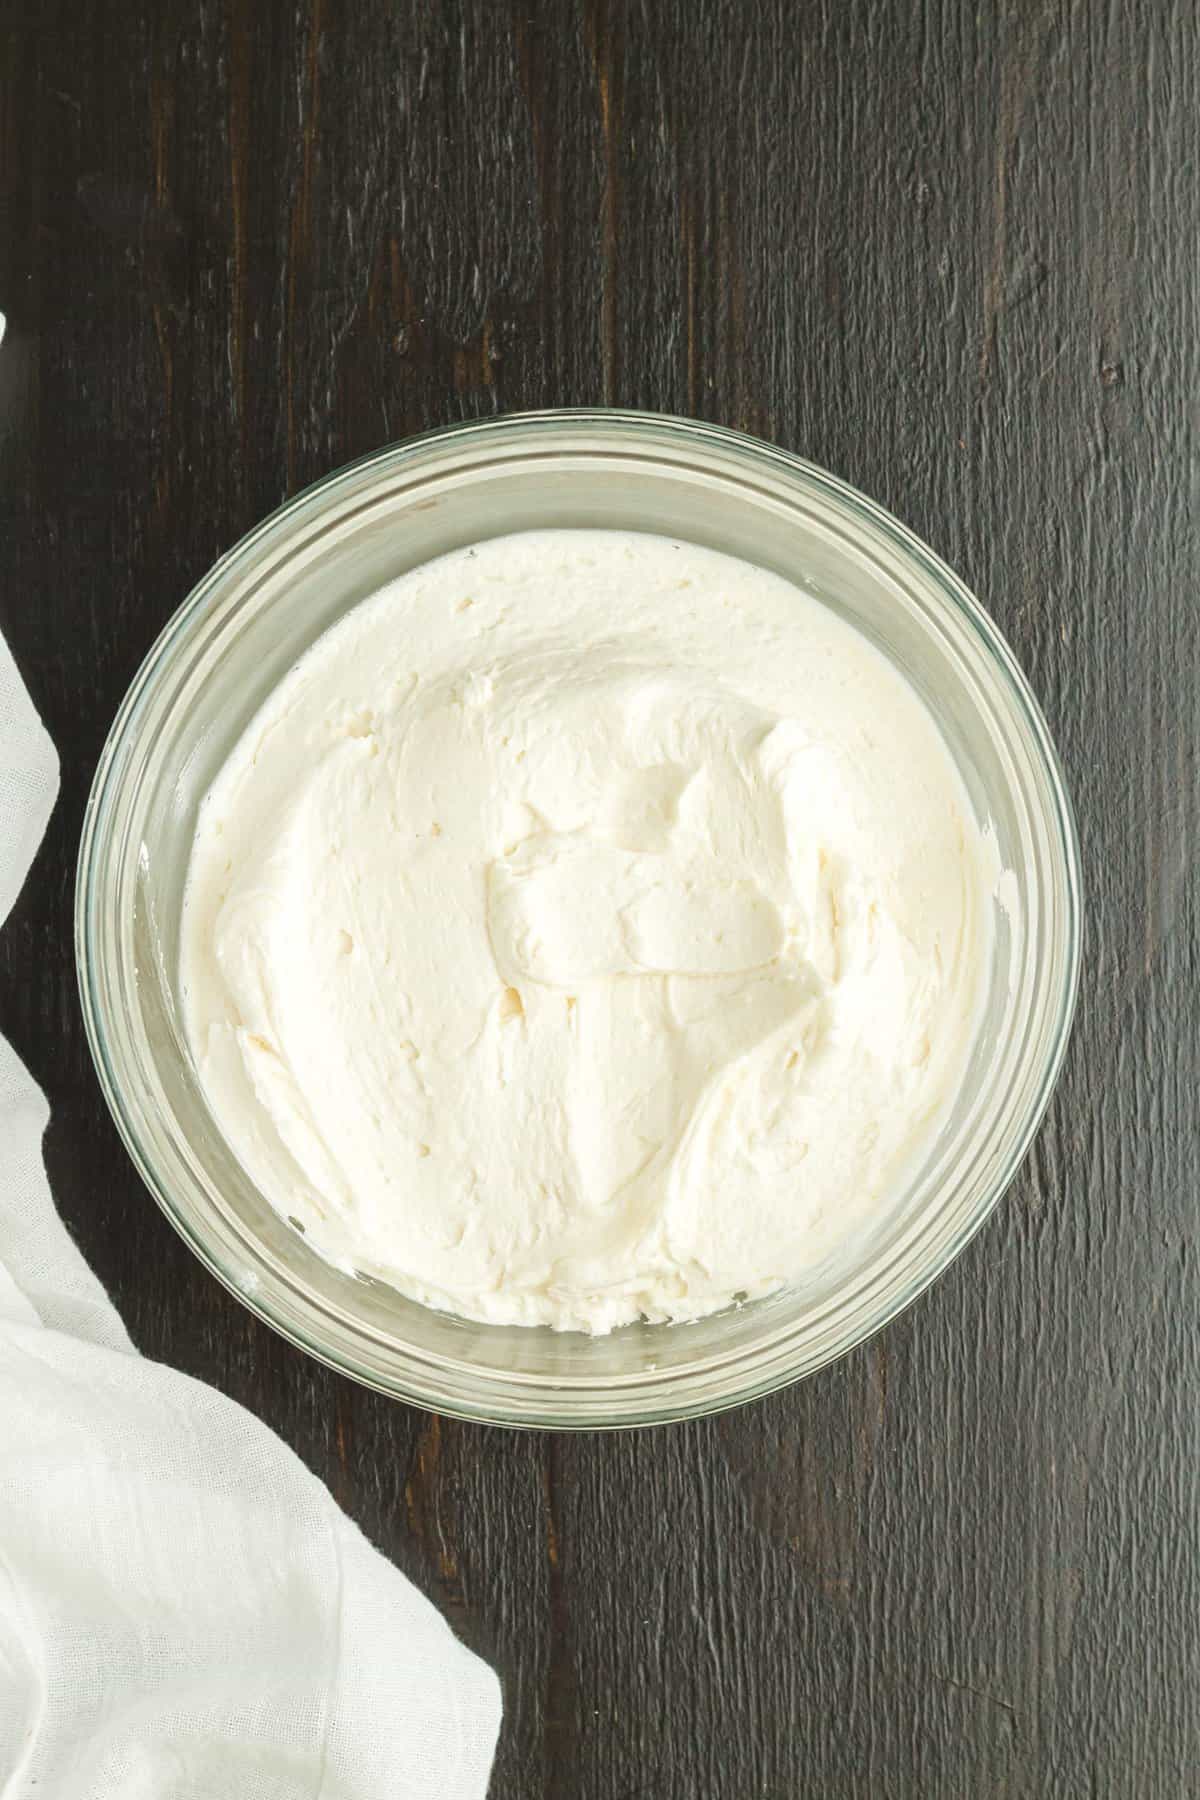
- In a large bowl or the bowl of a mixer, combine confectioners’ sugar, butter and vanilla extract. Beat on high until frosting is light and fluffy (about two minutes)
- Divide the frosting into four bowls – one for each color. The light brown/skin tone will need the largest amount, followed by the black. You will need just a small amount (around ⅓ of a cup each) for the red and white frosting. Add a drop of brown gel food coloring to the larger bowl, then the black and red to the two others. Mix until they are colored.
- Spoon the colored frostings into icing decorating bags.
- Snip off the corner of each bag. You will need a larger hole in the light brown icing bag but smaller holes for the black, red and white as the icing will be used for smaller details.
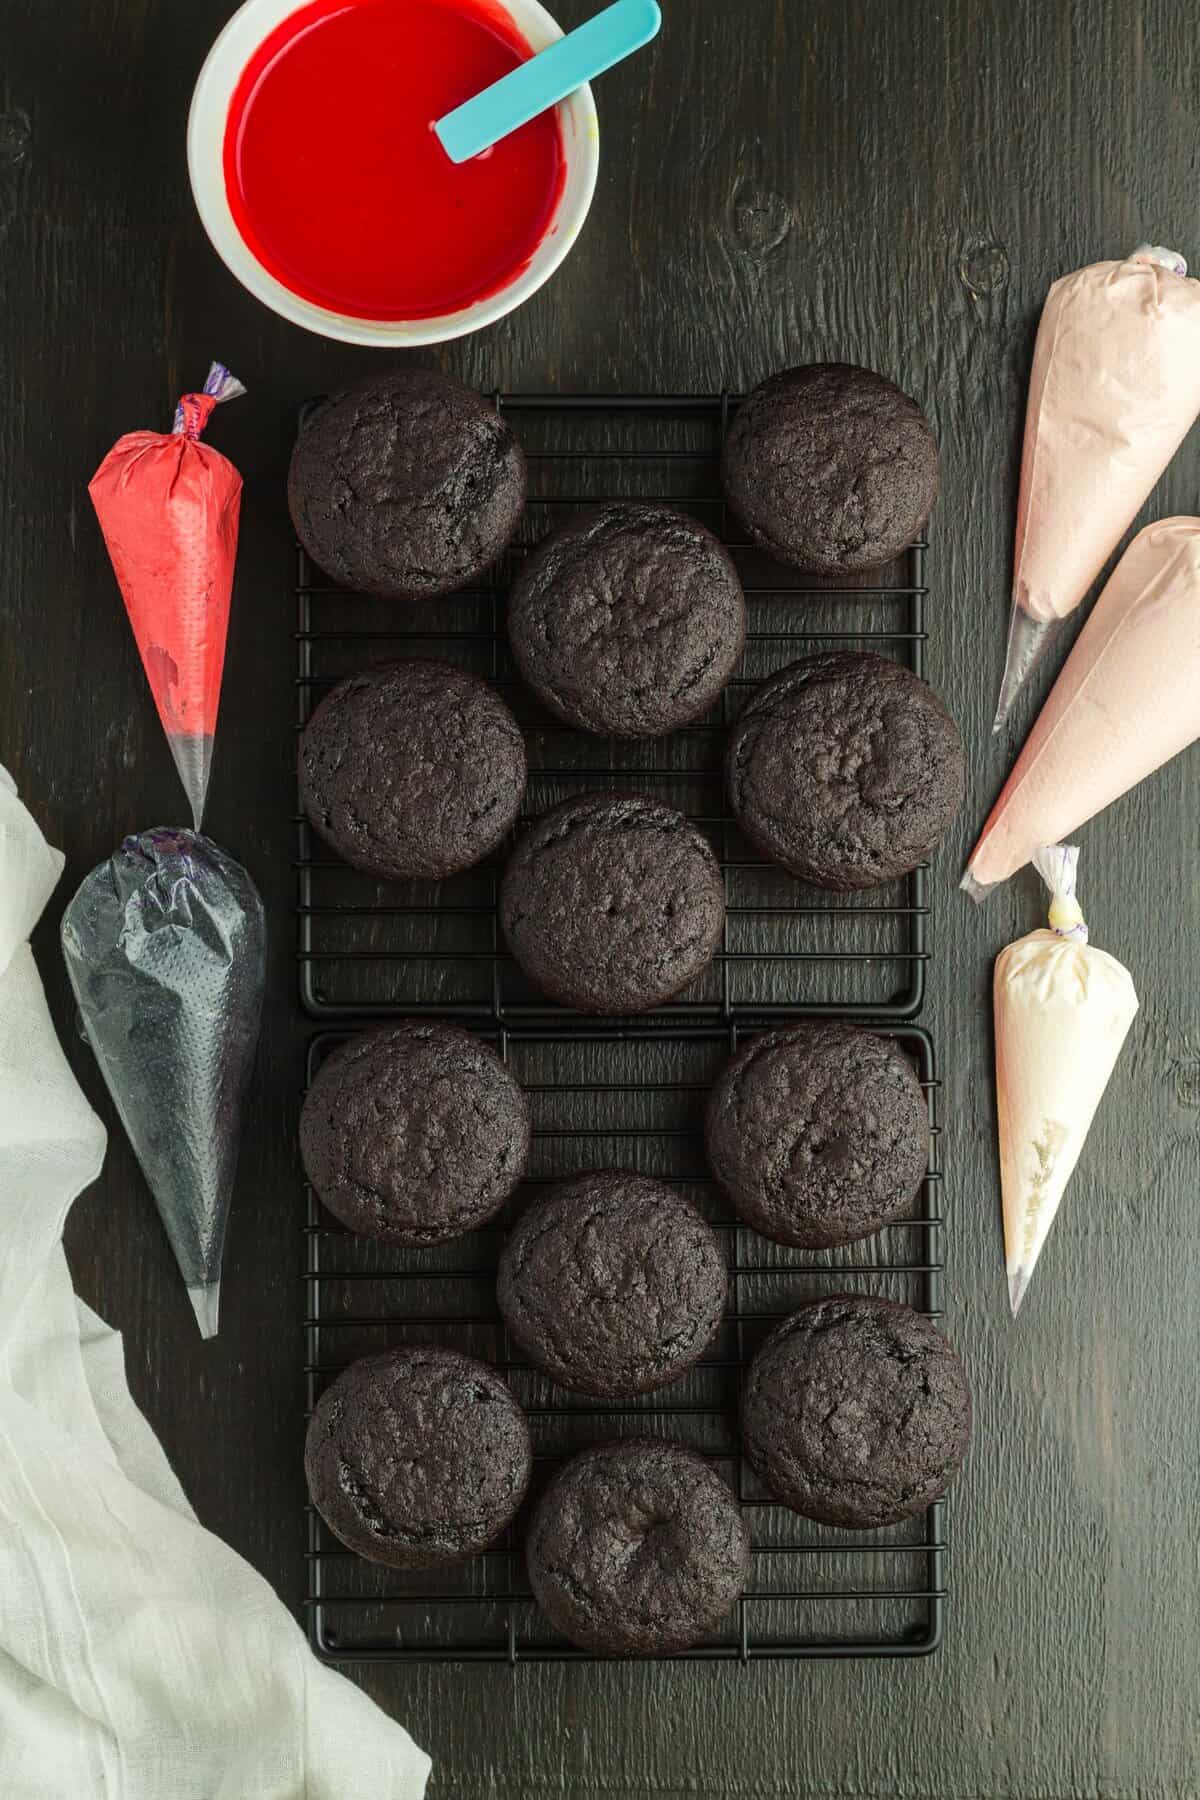
Halloween Cupcake Decorating:
- To fill the cupcakes you will need to “core” them to create a well for the ganache. I used a small pairing knife to do this, but there are other methods below. Cut out a small hole out of the center of the cupcake. Remove and set aside.
- Spoon about two teaspoons of ganache into each cupcake then place the cut circle of cupcake back on top to act as a lid for the ganache filling.
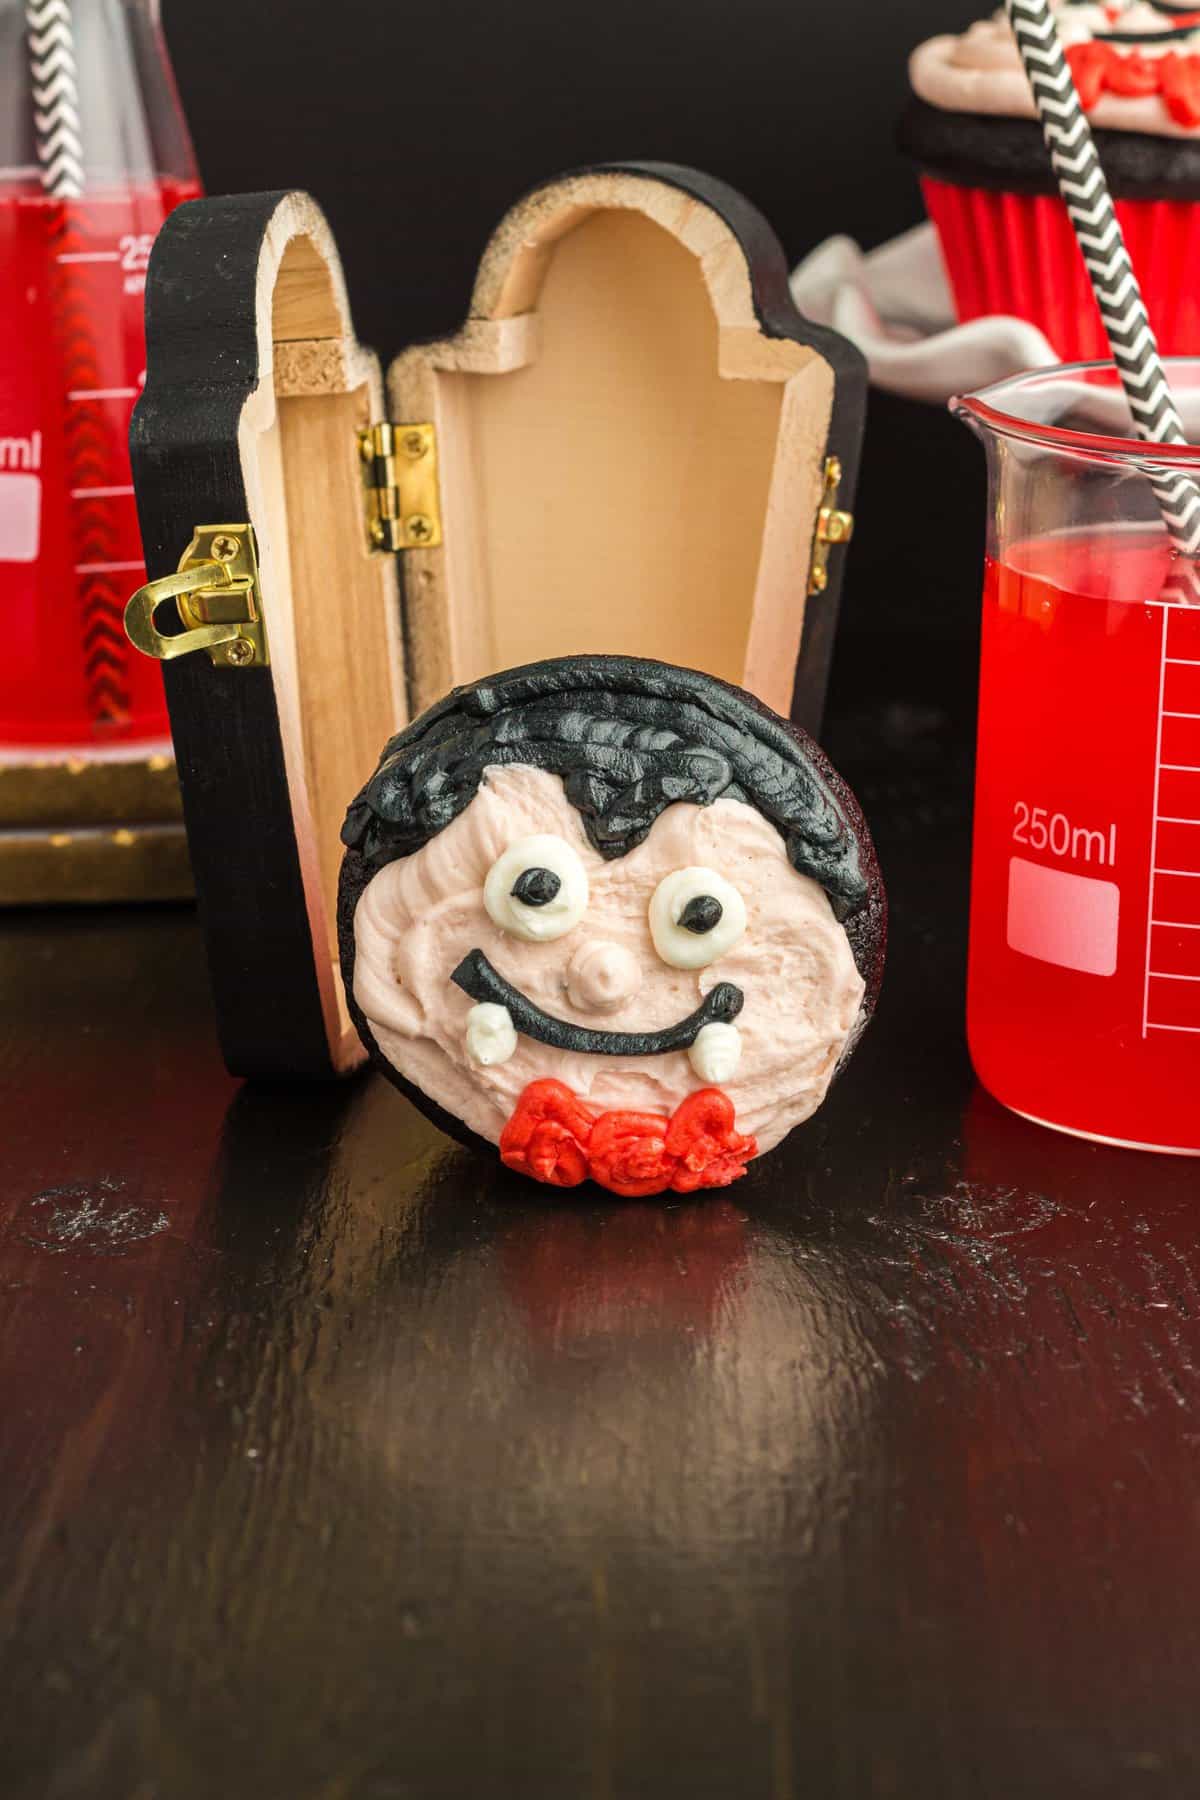
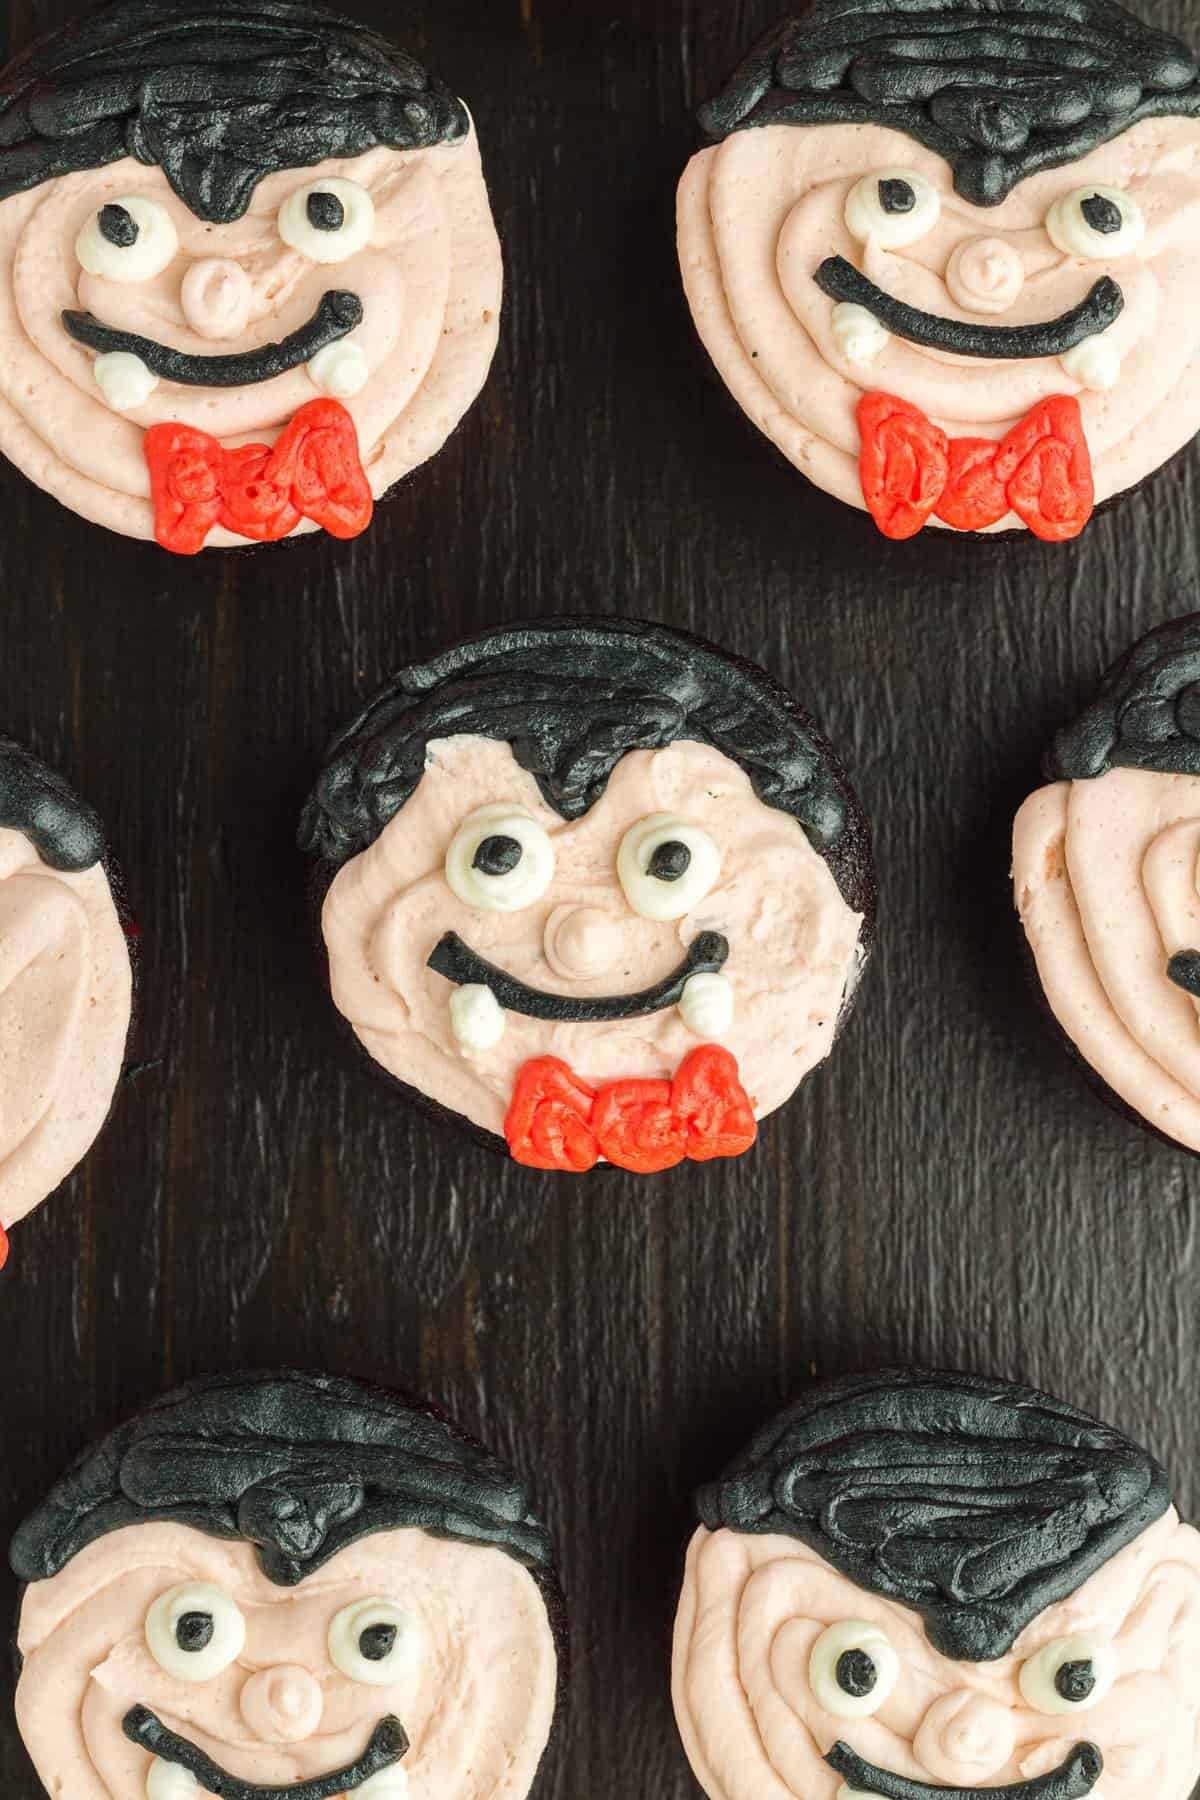
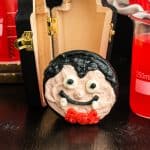
- To decorate the vampire's head cupcakes, place the different frostings into a pastry bag or a ziplock bag. Cut off the corner to allow piping. Start with the light brown color for the skin, then fill in the top with black frosting for the hair. If desired, use a small offset spatula to smooth out the face/skin. Add two white dots of frosting for eyes and place black icing pupils in each. Draw a large black smile then place two white icing vampire fangs at each side of the mouth. Add a little nose, then finish with a red frosting bow tie!
TIPS AND HALLOWEEN TRICKS
- Cool quick - It’s important to take the cupcakes out of the hot muffin pan as soon as they’re done baking. Otherwise, they will continue to bake in the pan which can result in dry cupcakes.
- Cool before frosting – I know decorating is the fun part, but don’t rush. If the cakes are still warm when you add the frosting, your vampire faces will be a melted mess. Wait until you have a cooled cupcake!
- For a Great Ganache - Baker’s white chocolate works better than white chocolate chips because the chocolate chips don’t melt as smoothly in comparison. Also, ensure you have enough time to make the ganache as it needs adequate time to cool and thicken before it’s ready to fill the cupcakes.
- Room temperature ingredients – This is such a simple tip that is actually backed by science. Bring the refrigerated ingredients to room temperature before you begin because once at room temperature, eggs and butter form an emulsion which helps to trap air. While the batter bakes, that trapped air will expand creating fluffy cupcakes. Usually leaving them out for around 1 hour does the trick. If you forget, you can place cold butter into the microwave for 40 seconds.
- Room to rise - Don’t be tempted to overfill the cupcake liners as they need enough room to rise properly. If you have leftover batter, create more cakes instead.
- Large Round Tip- if you would like a more even frosting, use a frosting tip in your piping bag for decorating the counts.
- Warn your guests – This tip might be controversial as you’ll need to spoil the surprise but you might want to warn your guests of the “blood” filling. An excited bite could result in a little ganache splatter that may stain clothing etc.
STORAGE TIPS
- Store these vampire cupcakes in a sealed, food-safe container to prevent them from drying out.
- They can be stored at room temperature for up to 2 days or in the fridge for up to a week.
- Note, ganache filled cupcakes shouldn’t be left at room temperature longer than 2 days before refrigerating.
FREQUENTLY ASKED QUESTIONS
What is the easiest way to create the well for these cupcakes?
Here are 4 ways to “core” your vampire cupcakes, ready for the ganache filling. Whichever method you choose, be sure to keep the removed pieces as you will need to place them back on top before adding the frosting.
1. A small, sharp knife – I used this method as it’s a utensil all kitchens will have. Insert the knife tip into the middle of the cupcake at a slight angle. Then remove a funnel-shaped piece of cupcake from the center.
2. Cupcake corer – This is a specialized tool that you can purchase for this exact process.
3. A melon baller – Another utensil that can be used to remove the center of the cupcakes although harder to replace the cake pieces as the lid.
4. Apple corer – Again, a common tool found in most kitchens that can be used to create a cavity in your cupcake. Just make sure you don’t go all the way to the bottom or your filling will ooze out.
Can I freeze these Vampire Cupcakes?
Yes, if sealed properly in a food-safe container these cupcakes can be frozen for up to 2 months. They should be wrapped well in food-safe wrap and stored in a food-safe container. Bring cupcakes back to room temperature before serving.
My cupcakes didn’t rise or overflowed – what went wrong?
Overflowing or flat cupcakes could be caused by a variety of reasons. Start by checking the expiry date on your leavening ingredients such as baking soda and baking powder. As mentioned, be sure to only fill the liners half full allowing adequate room to rise. Also, only stir the cupcake ingredients by hand with a spoon. You won’t need the electric mixer until you make the frosting.
OTHER HALLOWEEN RECIPES YOU MAY ENJOY
- 1 cup all-purpose flour
- 1 cup granulated white sugar
- ½ cup unsweetened cocoa powder
- 1 teaspoon baking powder
- ½ teaspoon baking soda
- ½ teaspoon salt
- ⅓ cup vegetable oil
- 2 large eggs room temperature
- 1 teaspoon vanilla extract
- ½ cup buttermilk room temperature
- Black food coloring
- 6 ounces Baker’s white chocolate*
- ½ cup heavy cream
- 1 tablespoon corn syrup
- Red food coloring
- 4 cups powdered sugar
- 1 cup unsalted butter slightly melted**
- 2 teaspoons vanilla extract
- Black light brown and red food coloring
-
Preheat oven to 350 degrees F.
-
Line muffin pan with 12 cupcake liners.
-
In a medium bowl, stir together flour, granulated sugar, unsweetened cocoa powder, baking powder, baking soda and salt. Set aside.
-
In a large bowl, whisk together the vegetable oil, eggs and vanilla extract.
-
Stir half the dry mixture into the wet mixture. Stir just until mixed – do not overmix.
-
Stir all the buttermilk into the wet mixture. Stir just until mixed.
-
Pour the remaining half of the dry ingredients into the wet ingredients and stir just until mixed. Be careful not to overmix or the cupcakes won’t bake up nice and fluffy.
-
Add black food coloring to the cupcake batter. The amount of black food coloring depends on how dark you want the cupcakes and how strong your food coloring is. Start by adding a little, then stir until blended and add more color if necessary. Again, be sure not to overmix the batter.
-
Fill cupcake liners half full with cupcake batter. This will be 12 cupcakes. Don’t overfill cupcake liners or the cupcakes won’t rise properly.
-
Place cupcakes into the oven and bake for 16 to 18 minutes or until a toothpick inserted in the middle comes out clean.
-
Remove cupcakes from hot muffin pan and place on wire rack to cool completely before frosting. It’s important to take the cupcakes out of the hot pan as soon as you can so they don’t continue baking and dry out.
-
In a medium microwave-safe bowl, heat heavy cream in microwave until hot (about 1 minute).
-
Immediately place white chocolate into hot heavy cream then let sit for 5 minutes before stirring.
-
After 5 minutes, stir white chocolate and heavy cream until well mixed.
-
Stir in corn syrup.
-
Add red food coloring (just a small drop goes a long way) until you reach the desired color for your ganache filling.
-
Set bowl in fridge to chill for 30 minutes before using to fill cupcakes.
-
In a large bowl, combine confectioners’ sugar, butter and vanilla extract. Beat on high until frosting is light and fluffy (about two minutes).
-
Separate icings into 4 bowls to mix 4 different colors. The light brown/skin tone will need the largest amount of icing, next is the black, then just a small amount (about ⅓ cup each) of frosting for the red and white.
-
Add colored frostings to tipless icing decorating bags.
-
Cut a larger hole in the light brown icing bag and just smaller holes at the tips of the bags for black, red and white (the icing you’ll be using for the smaller details).
-
To fill cupcakes with ganache, use a small knife to cut a small hole (well) into the top of each cupcake. Spoon about two teaspoons of ganache into each cupcake then place the cut circle of cupcake back on top to cover the ganache filling.
-
For decorating the cupcakes, start with the light brown color for the skin, then fill in the top with black for the hair. Add two white dots of frosting for eyes and place black icing pupils in each. Draw a large black smile then place two white icing fangs at each side of the mouth. Draw on a red frosting bow tie and add a light brown nose in the middle of the cupcake.
Cupcakes can be stored at room temperature for up to 2 days (sealed in a food-safe container to prevent them from drying out) or in the fridge up to a week. Ganache filled cupcakes shouldn’t be left at room temperature longer than 2 days before refrigerating.
* Baker’s white chocolate works better than white chocolate chips since the chocolate chips don’t melt as smoothly as the Baker’s chocolate does.
** For slightly melted butter, place cold butter from the fridge into the microwave on high for 40 seconds.
Leave a Reply