Looking for farm-themed cookies for a kids party, baby shower or Valentine’s Day? These Pig Sugar Cookies are absolutely adorable, soft, and delicious!

Whimsical and adorable, these hand decorated Pig Sugar Cookies are perfect for kids parties or the pig lover in your life! They are great year round but they make an adorable addition to your Valentine’s Day festivities. Classic sugar cookies are shaped to look like pigs and then glazed with colorful pink frostings to give you a delicious and adorable cookie.
Whether you are having a farm-themed birthday party, kids party, a baby shower, or you just love cute little piggies, these cookies won’t be going to market, but right into your mouth. Don’t worry, I’ll show you how to decorate these piggies to get the most oohs and ahhs.
If you love these Pig Sugar Cookies, check out these Pig Cupcakes, Owl Cookies, Teddy Bear Rice Krispie Treats, or these Valentine's Cookies!

WHY WE LOVE THIS PIG SUGAR COOKIE RECIPE
Sugar cookies with a little glaze are always a great afternoon snack, but these piggy cookies are sure to bring smiles to everyone's face. Here’s why we love them:
- They are so cute! These pig cookies are super adorable and ones that adults and kids alike will love.
- Perfect for kids’ parties. When you have kids over, you have to have something for them to snack on, and these pig sugar cookies are loved by kids of all ages.
- Holiday ready. These cookies make a great addition to your Valentine’s day events.
- Easy to make. You don’t have to be Martha Stewart with this recipe. With piggy cookie cutters, the decorating is a breeze!
INGREDIENTS/SHOPPING LIST
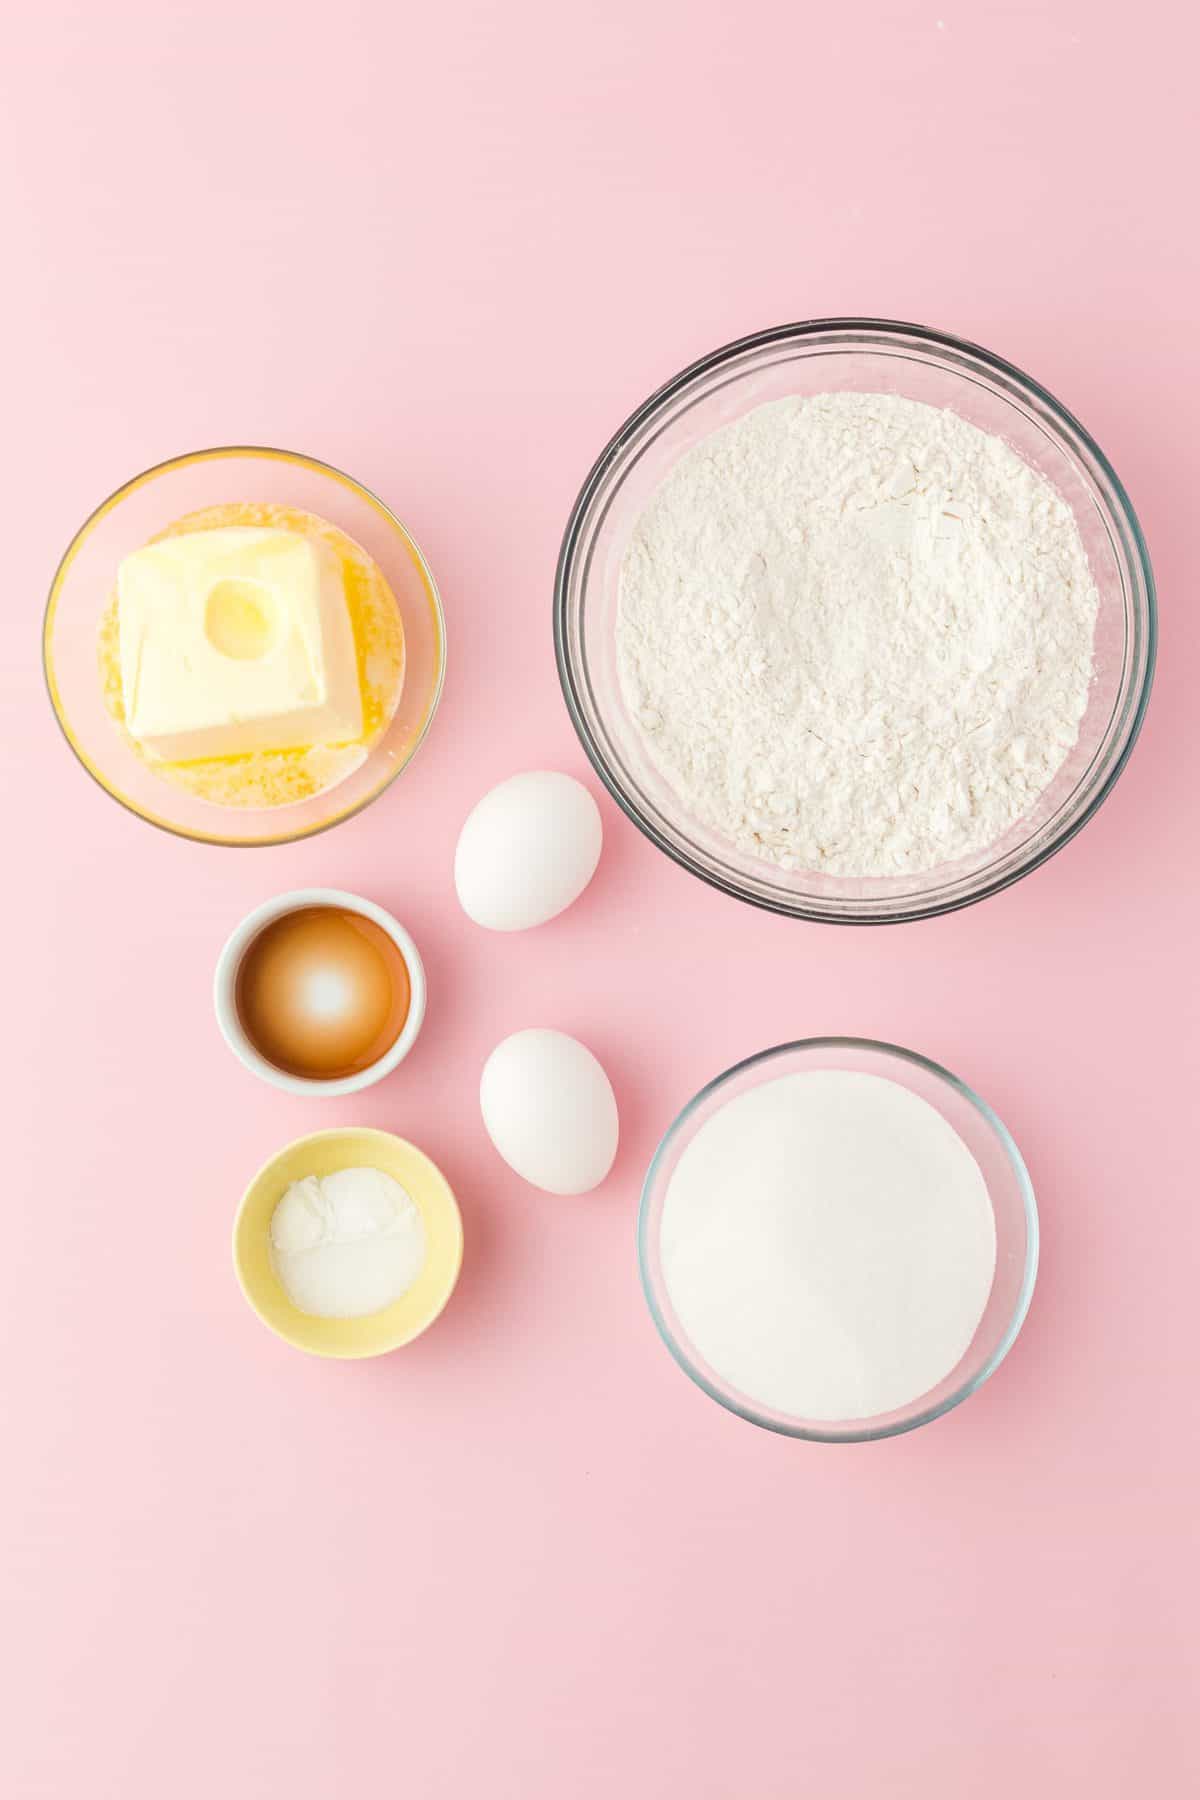
- Unsalted butter
- Granulated sugar
- Eggs
- Vanilla extract
- All-purpose flour
- Salt
- Baking powder
- Baking soda
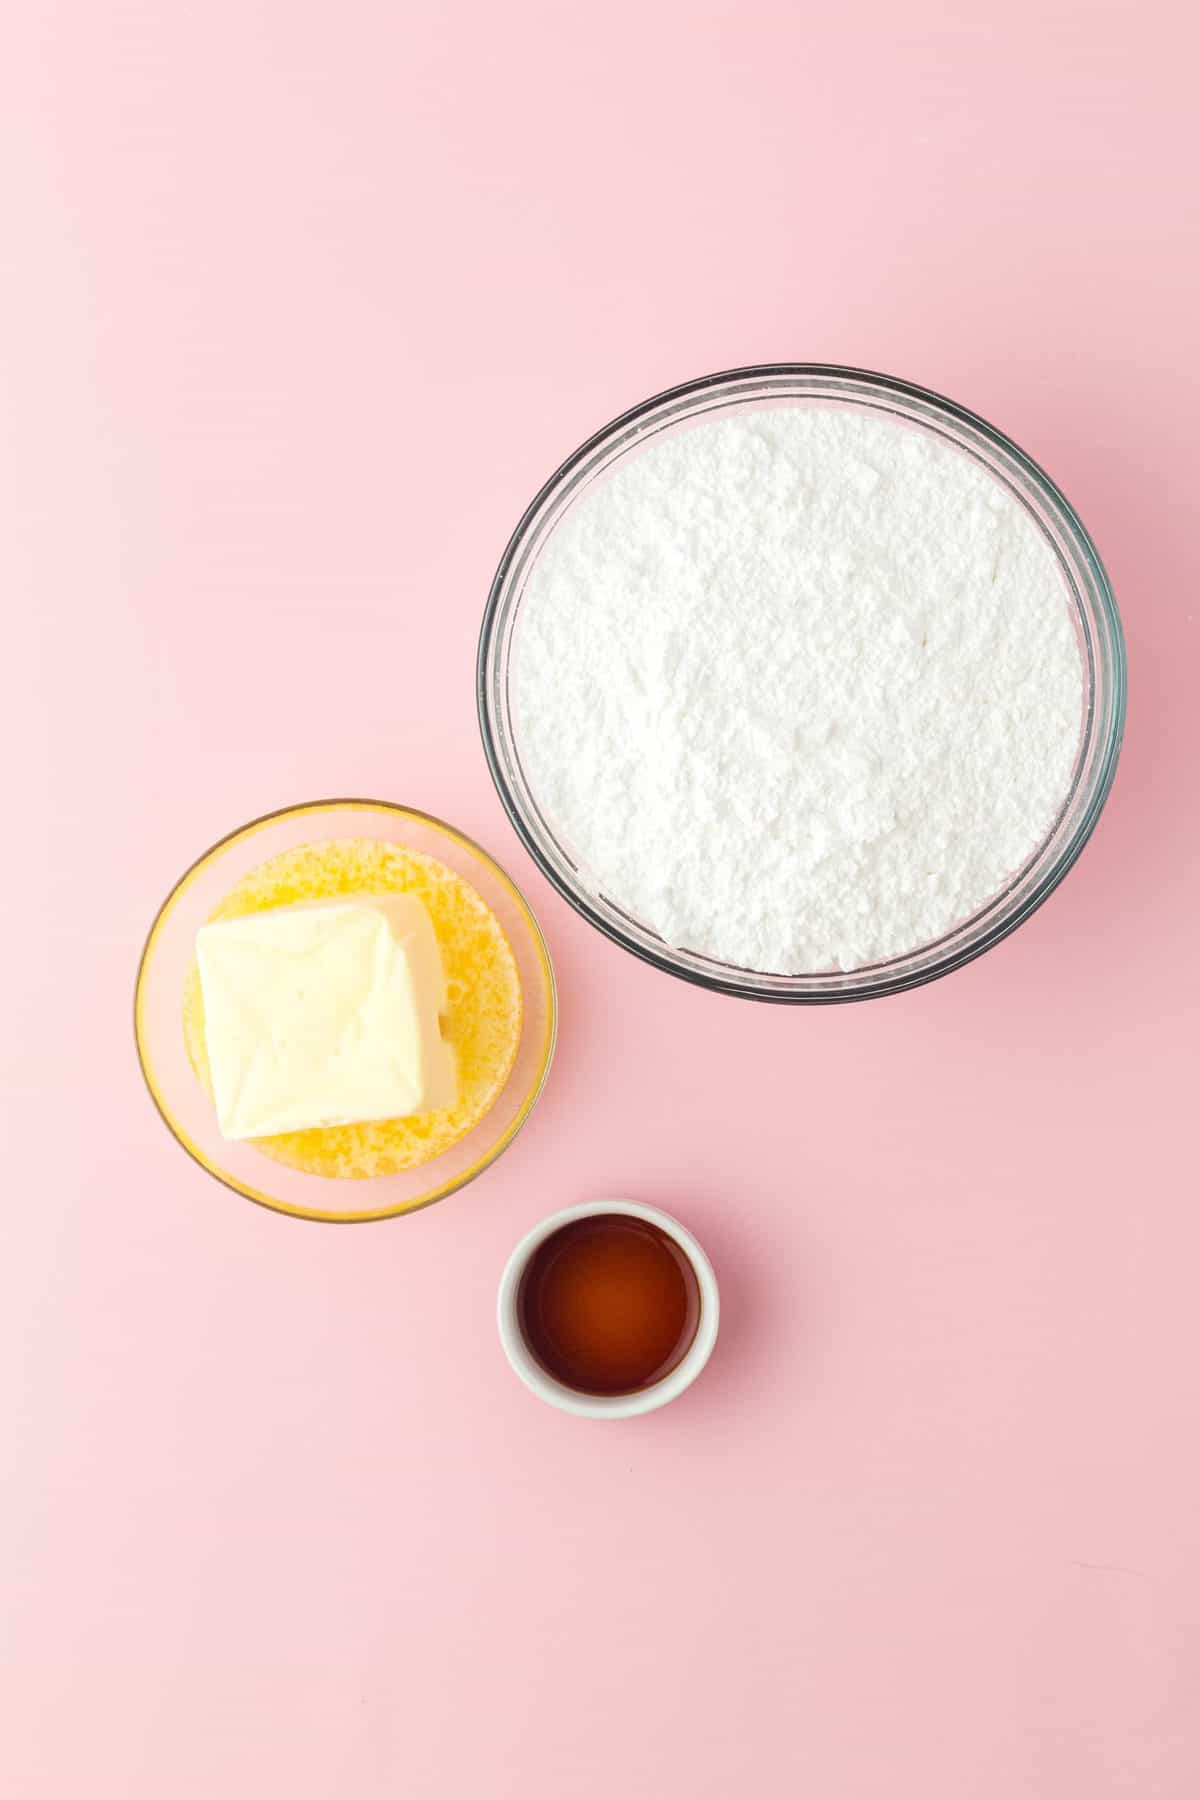
- Confectioners’ sugar
SUBSTITUTIONS AND ADDITIONS
- Butter- If you don’t have unsalted butter, you can use salted butter instead. However, I would use ¼ teaspoon of salt instead of ½ teaspoon.
- Frosting- You can use the homemade buttercream frosting below, or you can grab a container of white frosting and mix in the food coloring.
- Food coloring- I like to make pink piggys, but you can make brown or black piggys too. Choose the food coloring you want for your piggy color.

RECOMMENDED TOOLS TO MAKE THIS RECIPE
- Measuring cups and spoons of various sizes
- Mixing bowls (large and small)
- Electric mixer
- Spatula
- Rolling pin with thickness rings
- Pig-shaped cookie cutters
- Baking sheets
- Parchment paper
- Tipless piping bags
- Scissors
- Pink food coloring (2 shades)
HOW TO MAKE THIS PIG SUGAR COOKIE RECIPE
When it comes to making these sugar cookies, the hardest part is decorating them, and even that isn’t too challenging! Follow the steps below for super cute piggy cookies.
- Prep- First, preheat your oven to 350℉. Then, line two baking sheets with parchment paper and set to the side.
- Cream the butter- In a large bowl, beat the butter and sugar until smooth.
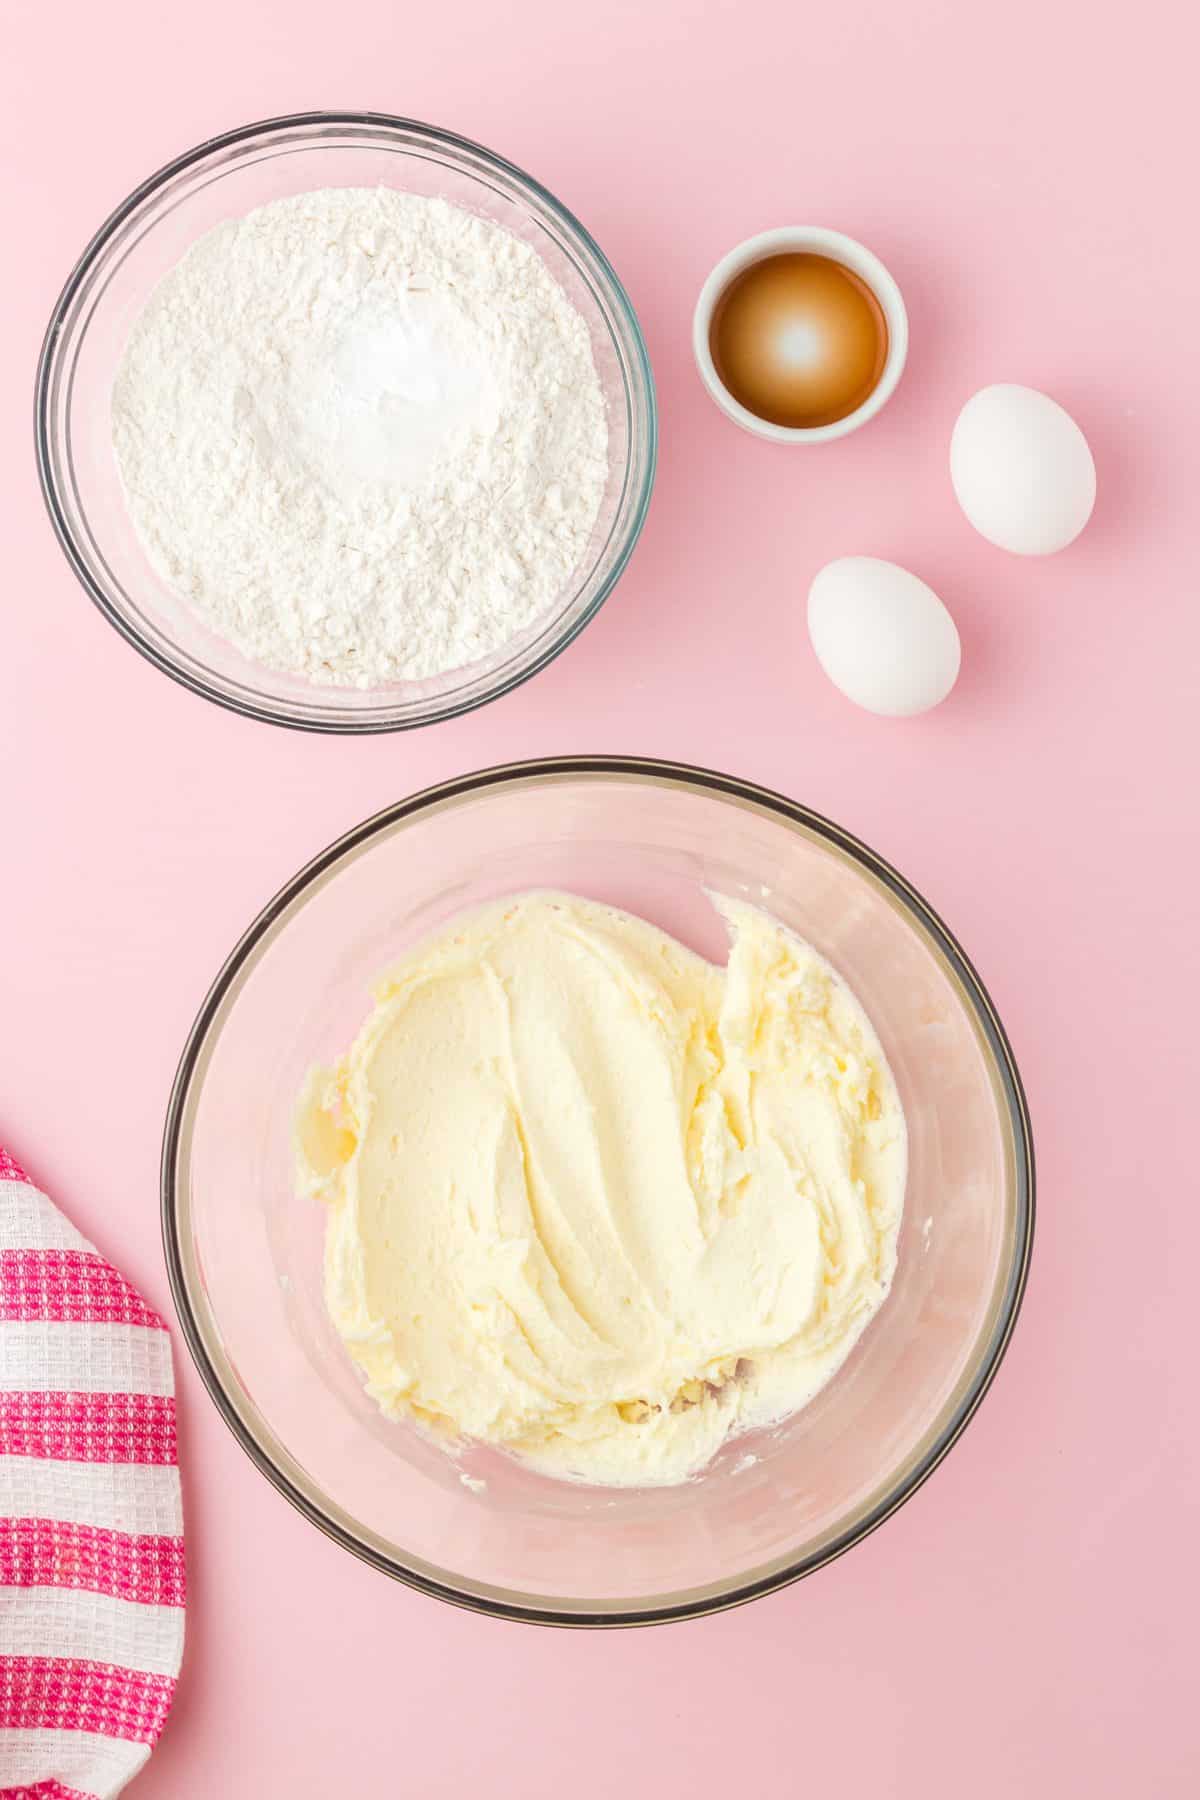
- Add the eggs and vanilla- Next, beat the eggs in and add the vanilla. Beat for about 2-minutes.
- Mix dry ingredients- In a separate bowl, mix your flour, salt, baking soda, and baking powder together.
- Add dry ingredients to the wet ingredients- Add your flour mixture to your butter and egg mixture and beat for about 1-2 minutes or until the dough starts to stick together.
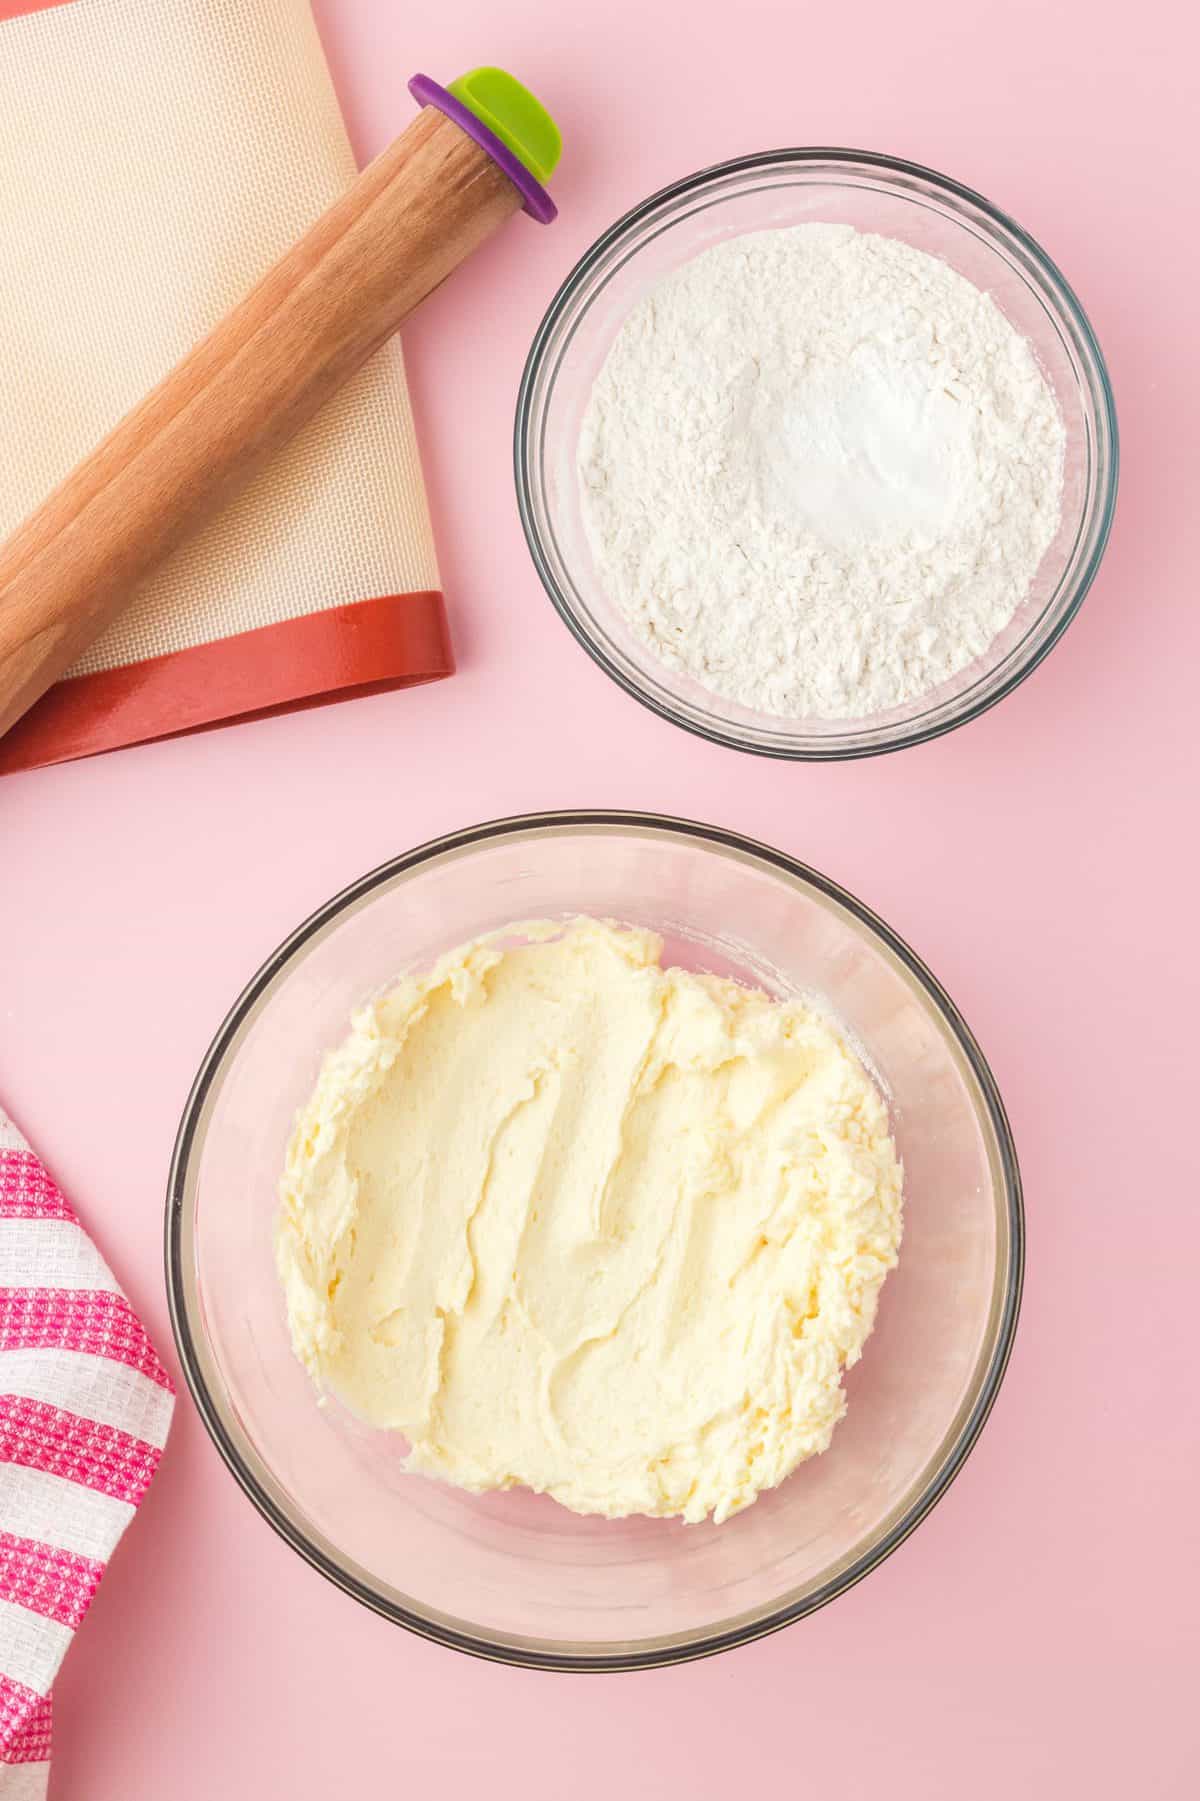
- Sprinkle flour- Sprinkle a flat surface with flour and then place the dough on the surface to roll out. Add some flour on the dough to prevent it from sticking to the rolling pin.
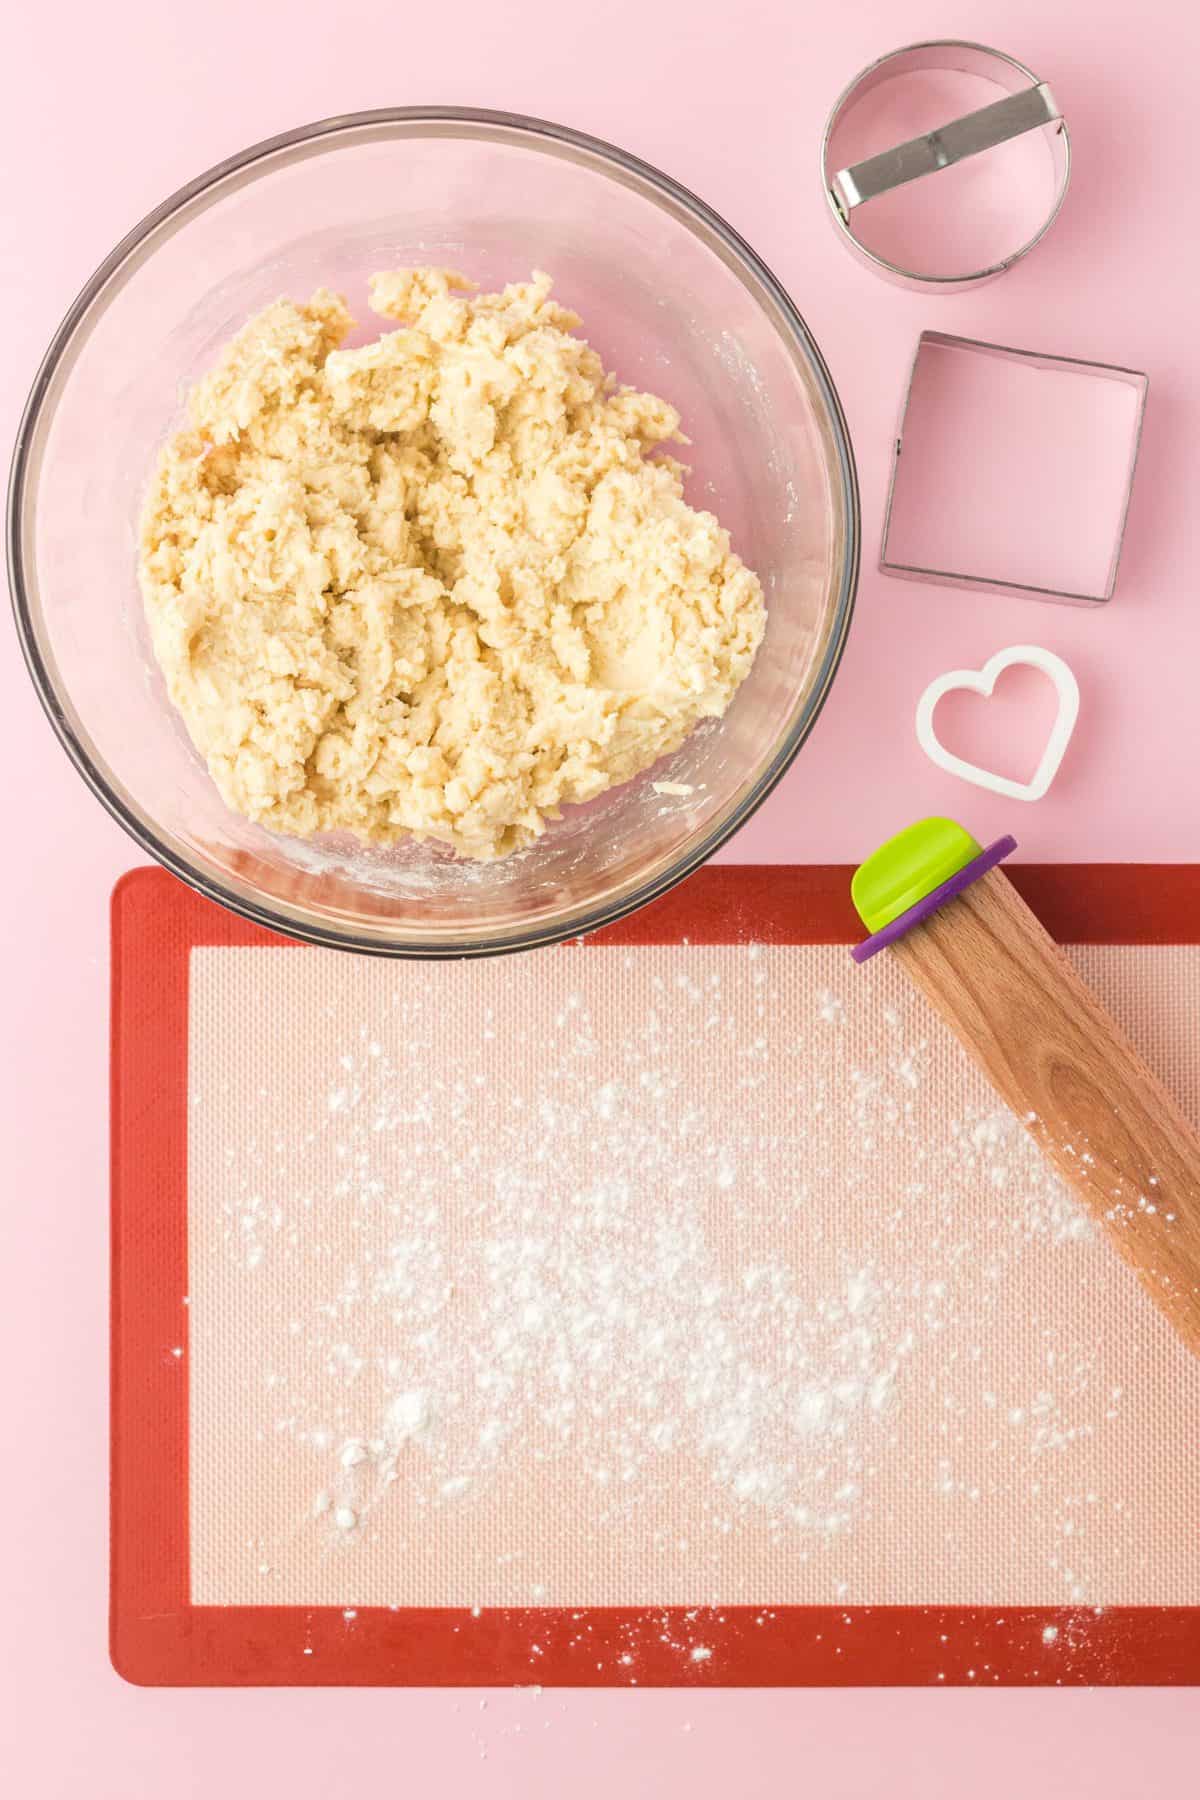
- Roll the dough- Roll out your sugar cookie dough to ⅜ inch thick. It is easier to use a rolling pin with thickness rings.
- Cut the cookies- For this recipe, it is easiest to use a pig-shaped cookie cutter to cut your pig shapes. Or, you can use circles, hearts and squares to make the pig shape.
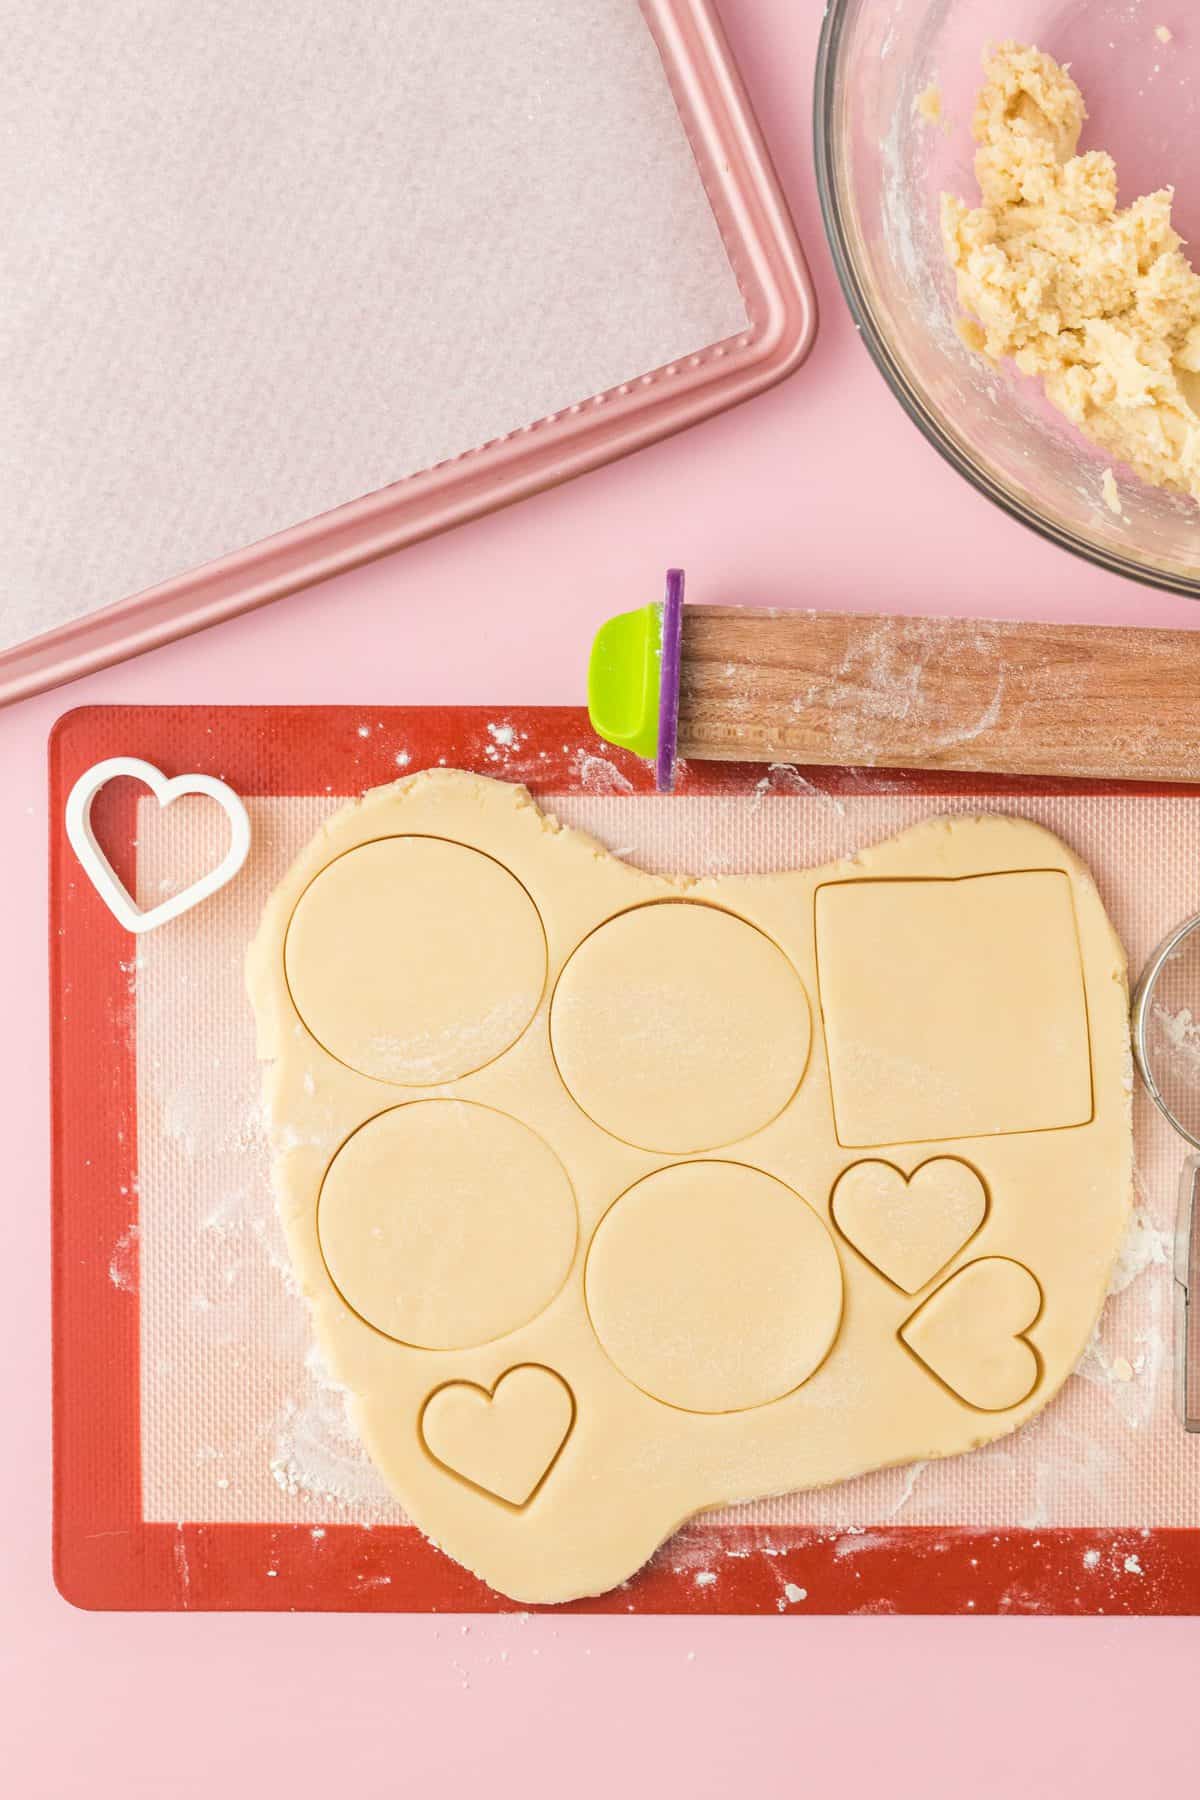
- Freeze the cookies- Put your pig-shaped cookies on the prepared baking sheets and place them in the freezer for 20-minutes.
- Bake- Make sure your cookies are about 2” apart. Then, bake one sheet at a time for 15-17 minutes.
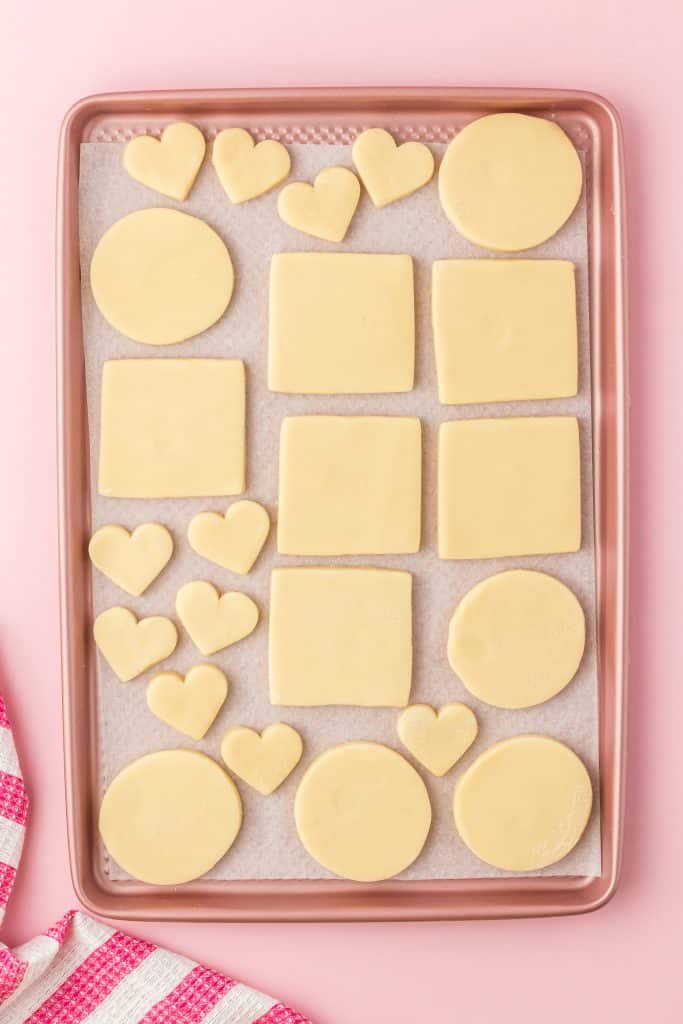
- Cool- Let your cookies cool completely before frosting them.
- Make the frosting- In a large bowl, beat together butter, confectioners’ sugar and vanilla until light and fluffy or about 5 minutes.
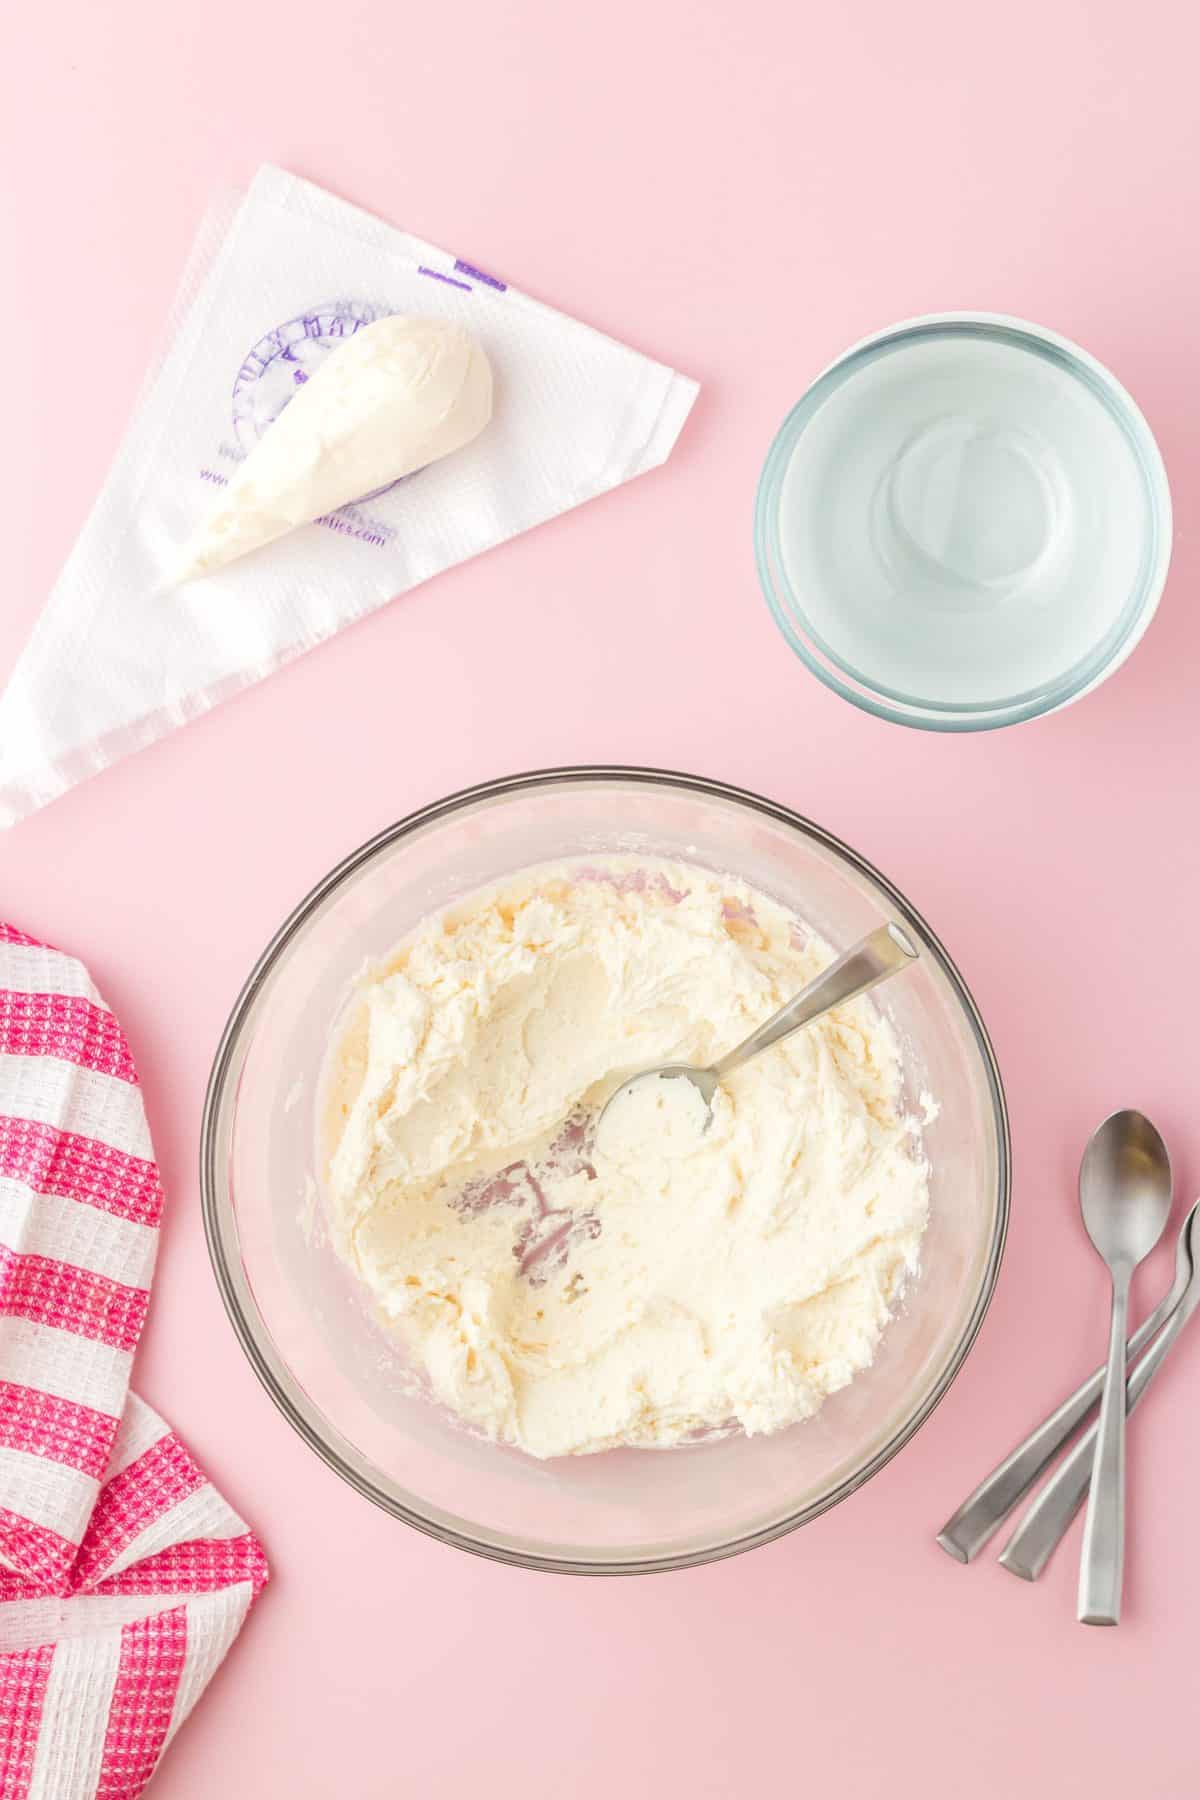
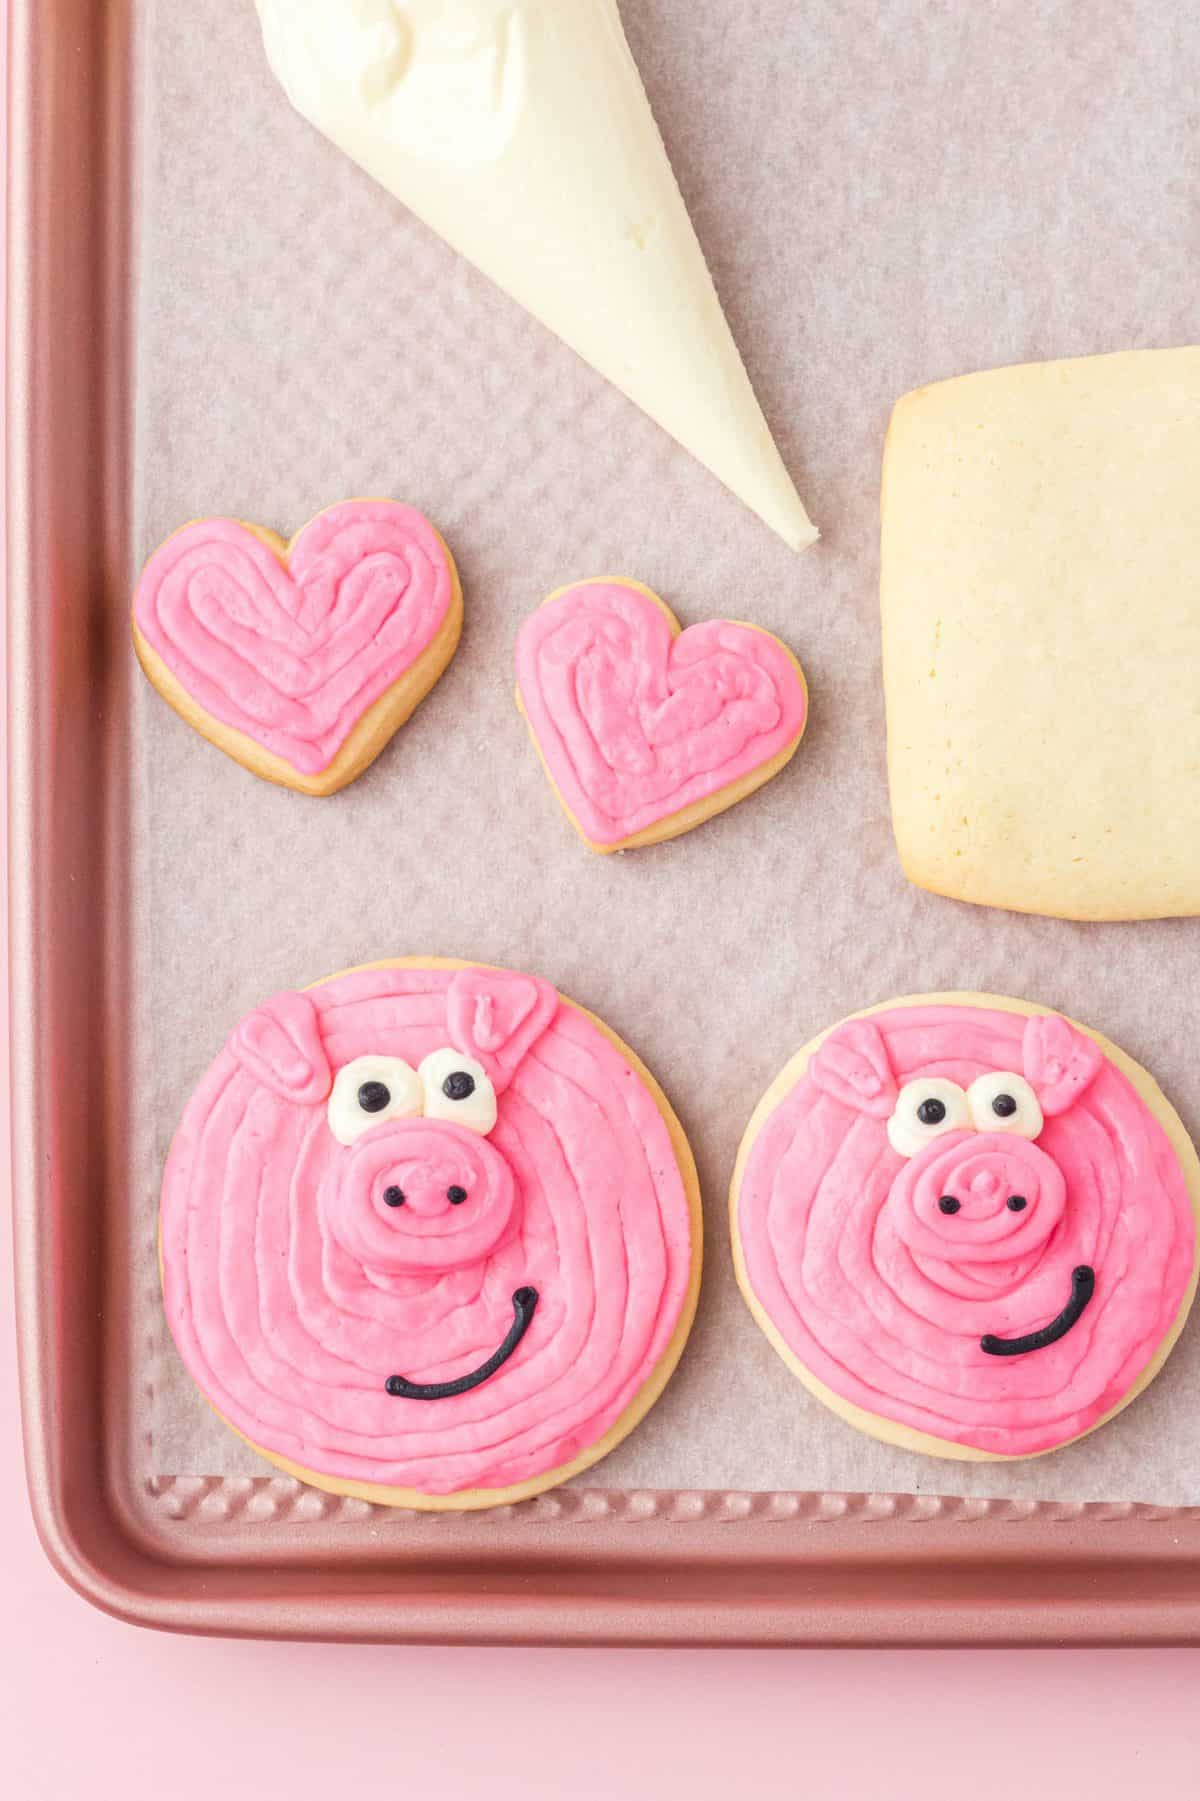
- Decorate your cookies- Using your food coloring and frosting, decorate your cookies to look like pigs.
HOW TO DECORATE PIG SUGAR COOKIES
Once your cookies are cool, it’s time to start decorating with your buttercream frosting. Follow the steps below to make cute little piggies.
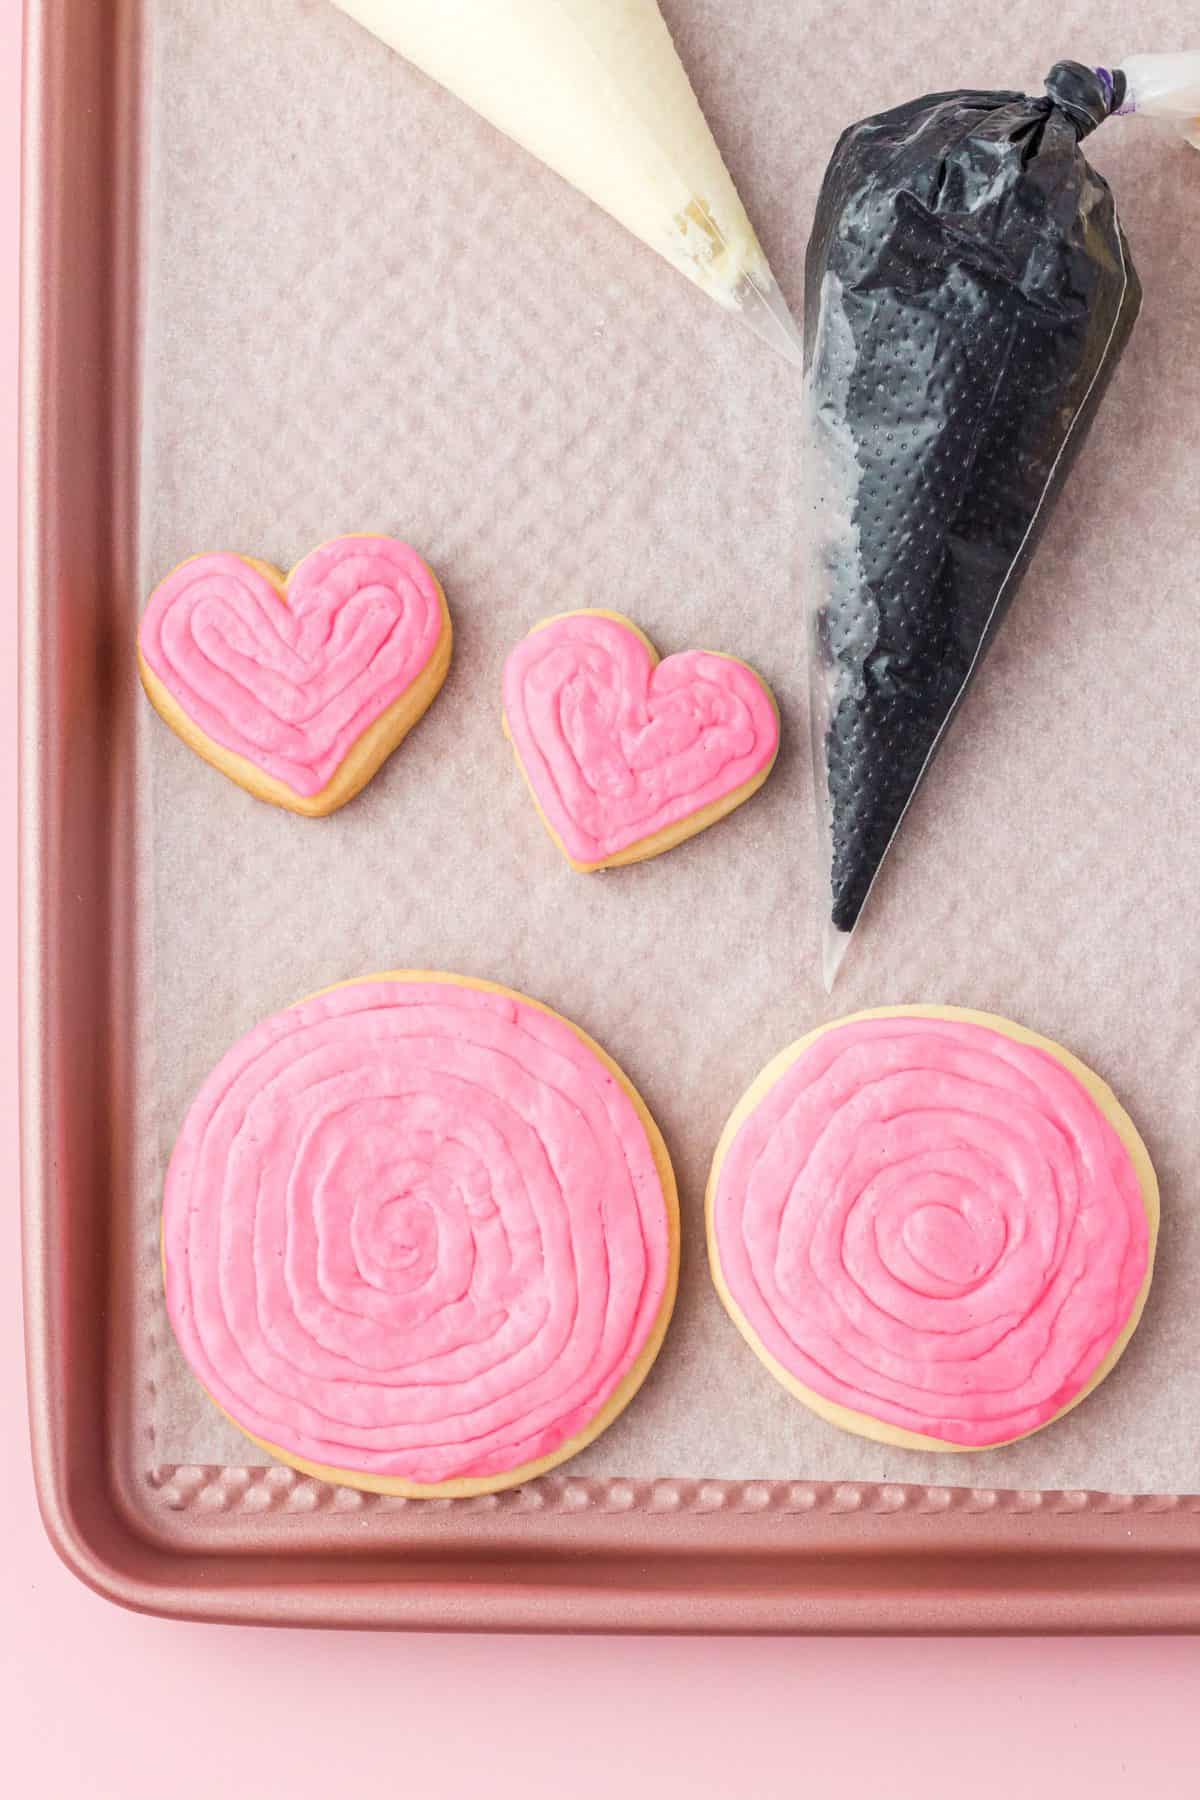
- Add food coloring- Separate your frosting into two bowls. Add your desired food coloring to each bowl. I like to make one a darker pink or a light red and the other a light pink. Mix to incorporate.
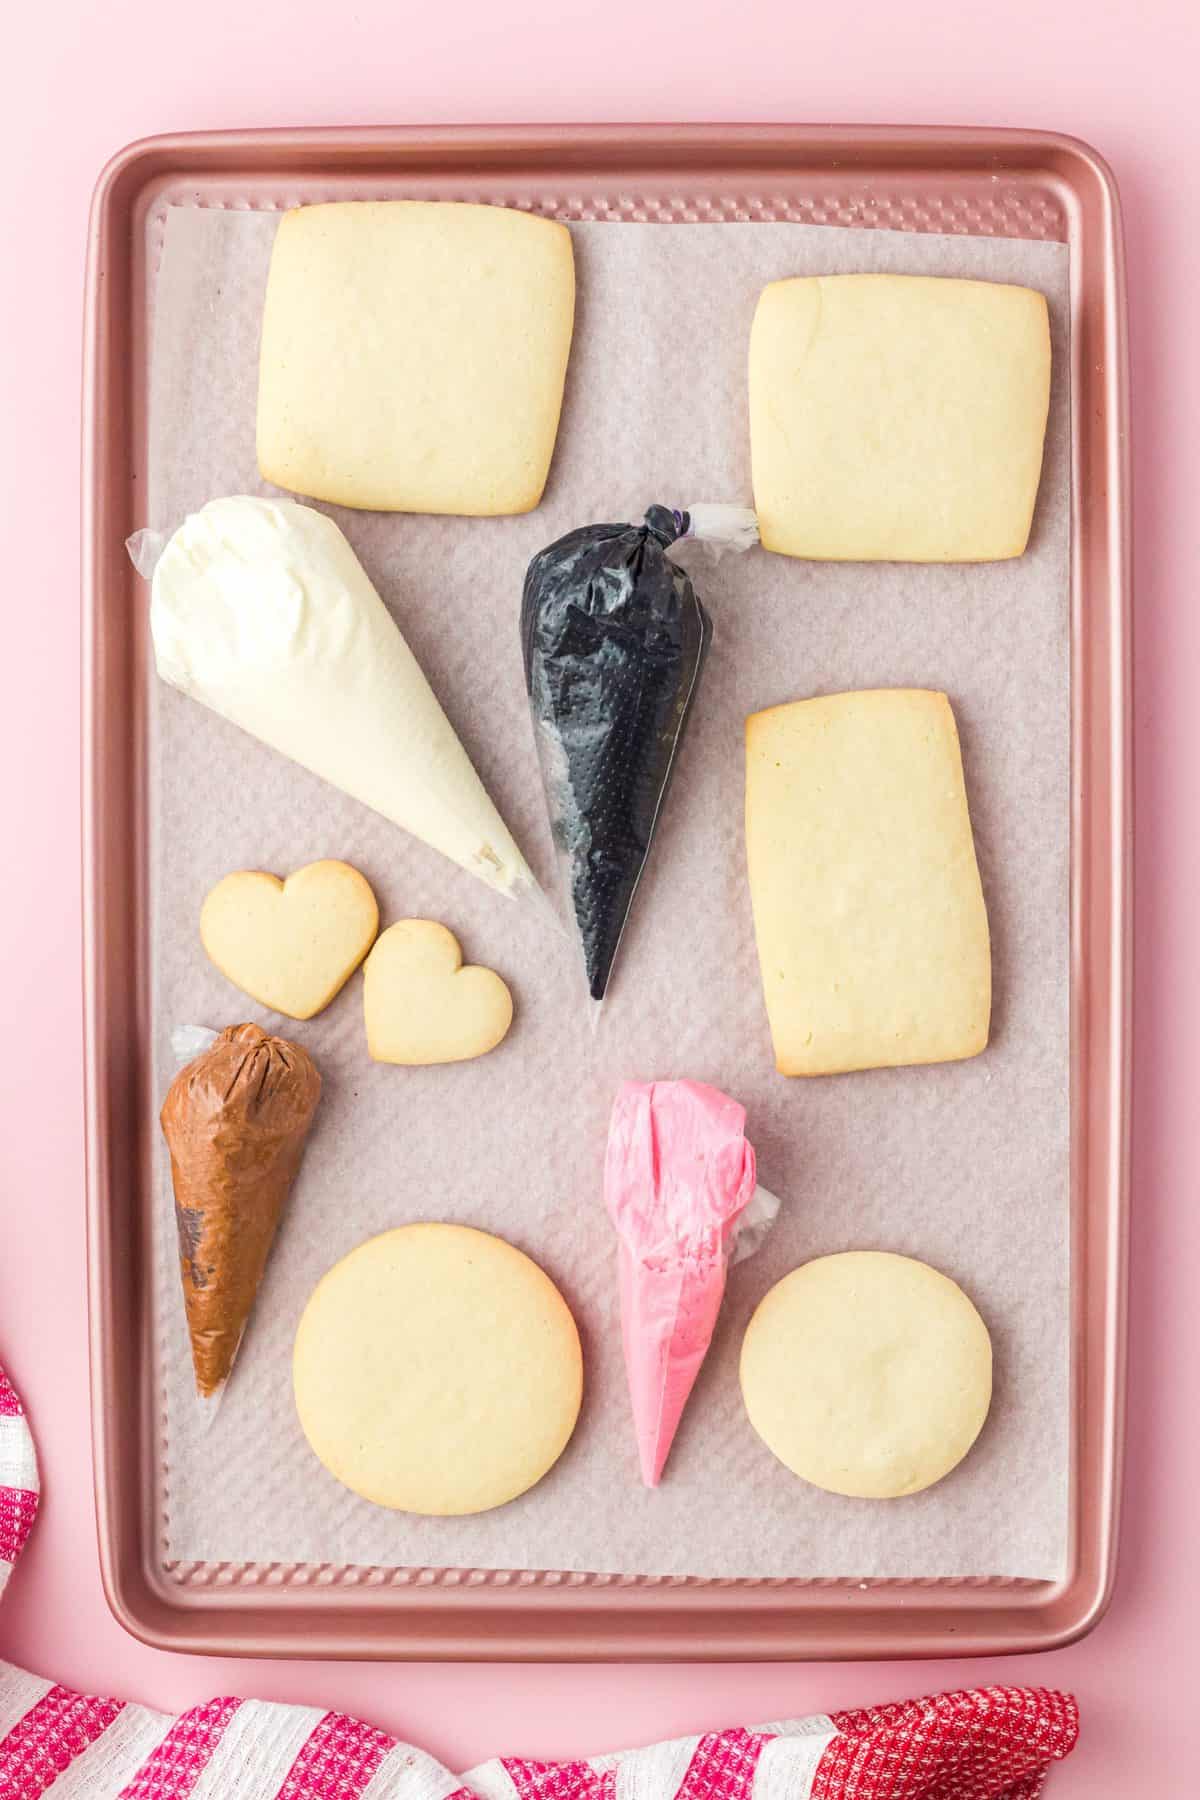
- Put icing in piping bags- Place your buttercream icing into tipless piping bags. Close the ends using clips or elastics.
- Cut openings in the piping bags- Then, cut small openings into the tips of each bag. For the background colors, you can cut a larger tip, but for the detail icing, keep the tip really small.
- Start with the background- Pipe out the background color for your pig. If you want, you can smooth the icing out a bit before printing on it. Then, place them in the fridge for about 15-minutes or until it slightly hardens.
- Add the details- Using your other color, add the details such as a different color for the nose, a piggy tail, ears or eyes.
SUGAR COOKIE BAKING TIPS
- Sprinkle dough with flour. You want to sprinkle the dough with flour before you begin rolling it so the dough doesn’t stick to the rolling pin. You can also add flour onto the rolling pin.
- Use a rolling pin with thickness rings. For soft and thick cookies, it is recommended to use a rolling pin with thickness rings, and to use the ⅜ inch thickness ring. Here is the rolling pin I use.
- Freeze the dough. To help prevent the cookies from spreading during baking, it’s important to freeze the cookies for at least 20 minutes before baking.
- Decrease cook time for thinner cookies. If you don’t make your cookies thick, you will want to reduce your baking time to reflect that.
- Bake one tray at a time. To ensure an even baking time, you will only want to bake one tray of cookies at a time.
- Cookies will be soft. After your cookies are done baking, they will still be slightly soft to the touch, but they will continue to cook after removed from the oven, so don’t worry.
- Warm the icing. If the icing is not squeezing out of the piping bags smoothly, roll the bags between your hands to warm the icing a bit. This will make it easier to squeeze out.

STORAGE TIPS
- Store cookies in an airtight container.
- Place cookies in a single layer so you don’t squish the icing details.
- Cookies can be stored at room temperature for 3-days.
- Store in the refrigerator for up to a week.
- You can put frosted sugar cookies in freezer bags and store in the freezer for up to 2-months.
- Bring to room temperature before serving.
FREQUENTLY ASKED SUGAR COOKIE QUESTIONS
What Do I Do If My Dough is Crumbly?
If your dough looks dry and crumbly, you can save it! Just add an additional ¼ cup of melted butter and mix until incorporated.

Why is My Dough Really Sticky?
If your dough is very sticky and getting stuck to your hands and rolling pin, you may have added too much butter or the butter has melted. Sprinkle extra flour on the table and knead the dough into the flour. Sprinkle more flour, and then, try to roll the dough out again.
Can I Freeze Cookie Dough to Use Later?
Absolutely! I recommend cutting the shapes first. Then, place the pig shapes in a single layer in a freezer safe container. Freeze until you are ready to bake the dough.

Can I Freeze Buttercream Frosting?
Yep! If you have leftover buttercream frosting, place it in a Ziploc freezer bag. You can store it in the freezer for up to 3-months. Bring it to room temperature before using.

Do these Sugar Cookies with Buttercream Frosting Need to Be Refrigerated?
Nope! They can be stored at room temperature for 3-days! After 3-days, it is recommended to refrigerate them to prevent the icing from getting smudged or melting.
OTHER COOKIE RECIPES YOU MAY ENJOY

- 1 cup unsalted butter melted the cooled
- 1 cup granulated sugar
- 2 large eggs
- 1 teaspoon vanilla extract
- 3 cups all-purpose flour
- ½ teaspoon salt
- ¼ teaspoon baking soda
- ¼ teaspoon baking powder
- 2 cups unsalted butter slightly melted
- 5 cups powdered sugar
- 1 tablespoon vanilla extract
-
In a large bowl, beat together butter and sugar until smooth (about 1 - 2 minutes).
-
Beat in eggs and vanilla until light & fluffy (about 2 minutes).
-
In a separate bowl, stir together flour, salt, baking soda and baking powder.
-
Add dry ingredients to wet ingredients and beat just until well combined and the dough starts to stick together (about 1 – 2 minutes).
-
Line a baking sheet with parchment paper. Set aside.
-
Sprinkle table or silicone baking sheet lightly with flour then place some dough onto the prepared surface to roll out. Sprinkle top of dough with flour to prevent dough from sticking to rolling pin.
-
For soft and thick cookies, it’s recommended to use a rolling pin with thickness rings and use the ⅜” thickness ring. If you aren’t cutting these cookies out thick, you’ll want to reduce your baking time to reflect that. This is the rolling pin I use.
-
For these cat sugar cookies, you’ll want to use cookie cutters in shapes of circles, hearts and squares. The circles and squares shown here are about 3.5” in size.
-
Place cut out cookies onto prepared baking sheet (they can be placed close together on the baking sheet for this step) and freeze for 20 minutes before baking.*
-
Preheat oven to 350 degrees F.
-
Line a second baking sheet with parchment paper. Place some cookies onto the baking sheet (about 2 inches apart) and bake for 15-17 minutes (for thick cut cookies) or until edges are slightly brown. The middle of cookies will still be slightly soft to the touch but will continue baking once removed from the oven. Only bake one tray of cookies at a time to ensure even baking time.
-
Repeat baking steps with remaining cookies.
-
Let cookies cool completely before frosting.
-
In a large bowl, beat together butter, confectioners’ sugar and vanilla until light and fluffy (about 5 minutes).
-
Separate icings into separate smaller bowls to color icings.
-
Use food coloring to color icings in desired colors. Stir completely to make sure all color is worked into the icing.
-
Place icings into tipless piping bags and close the ends using clips or elastics.
-
Cut small openings into the tips of each icing bags. For background colors, the tips can be cut larger. For icings you’ll be printing with, keep the tip cut small.
-
If icings are not squeezing out of the bags smoothly, roll piping bags between hands to warm icing a bit making it easier to squeeze out.
-
Start with background colors on all cookies (like the white for the squares you’ll be printing on). If you want to smooth this icing a bit before printing on it, place those cookies into the fridge for about 15 minutes then pat icing down lightly with either a spatula or using a piece of parchment paper over the top and smoothly down icing with your hand. Don’t smooth icing down once the finer details are added (like print) or the finer details will smudge.
-
Work on decorating cookies in layers – first the background color then ears, eyes, print, etc.
-
Cookies can be stored at room temperature (in a sealed food safe container) at room temperature for up to 3 days or in fridge for up to a week. Store cookies in a single layer to not squish icing details.
* To help prevent the cookies from spreading during baking, it’s important to freeze the cookies for at least 20 minutes before baking.

Leave a Reply