
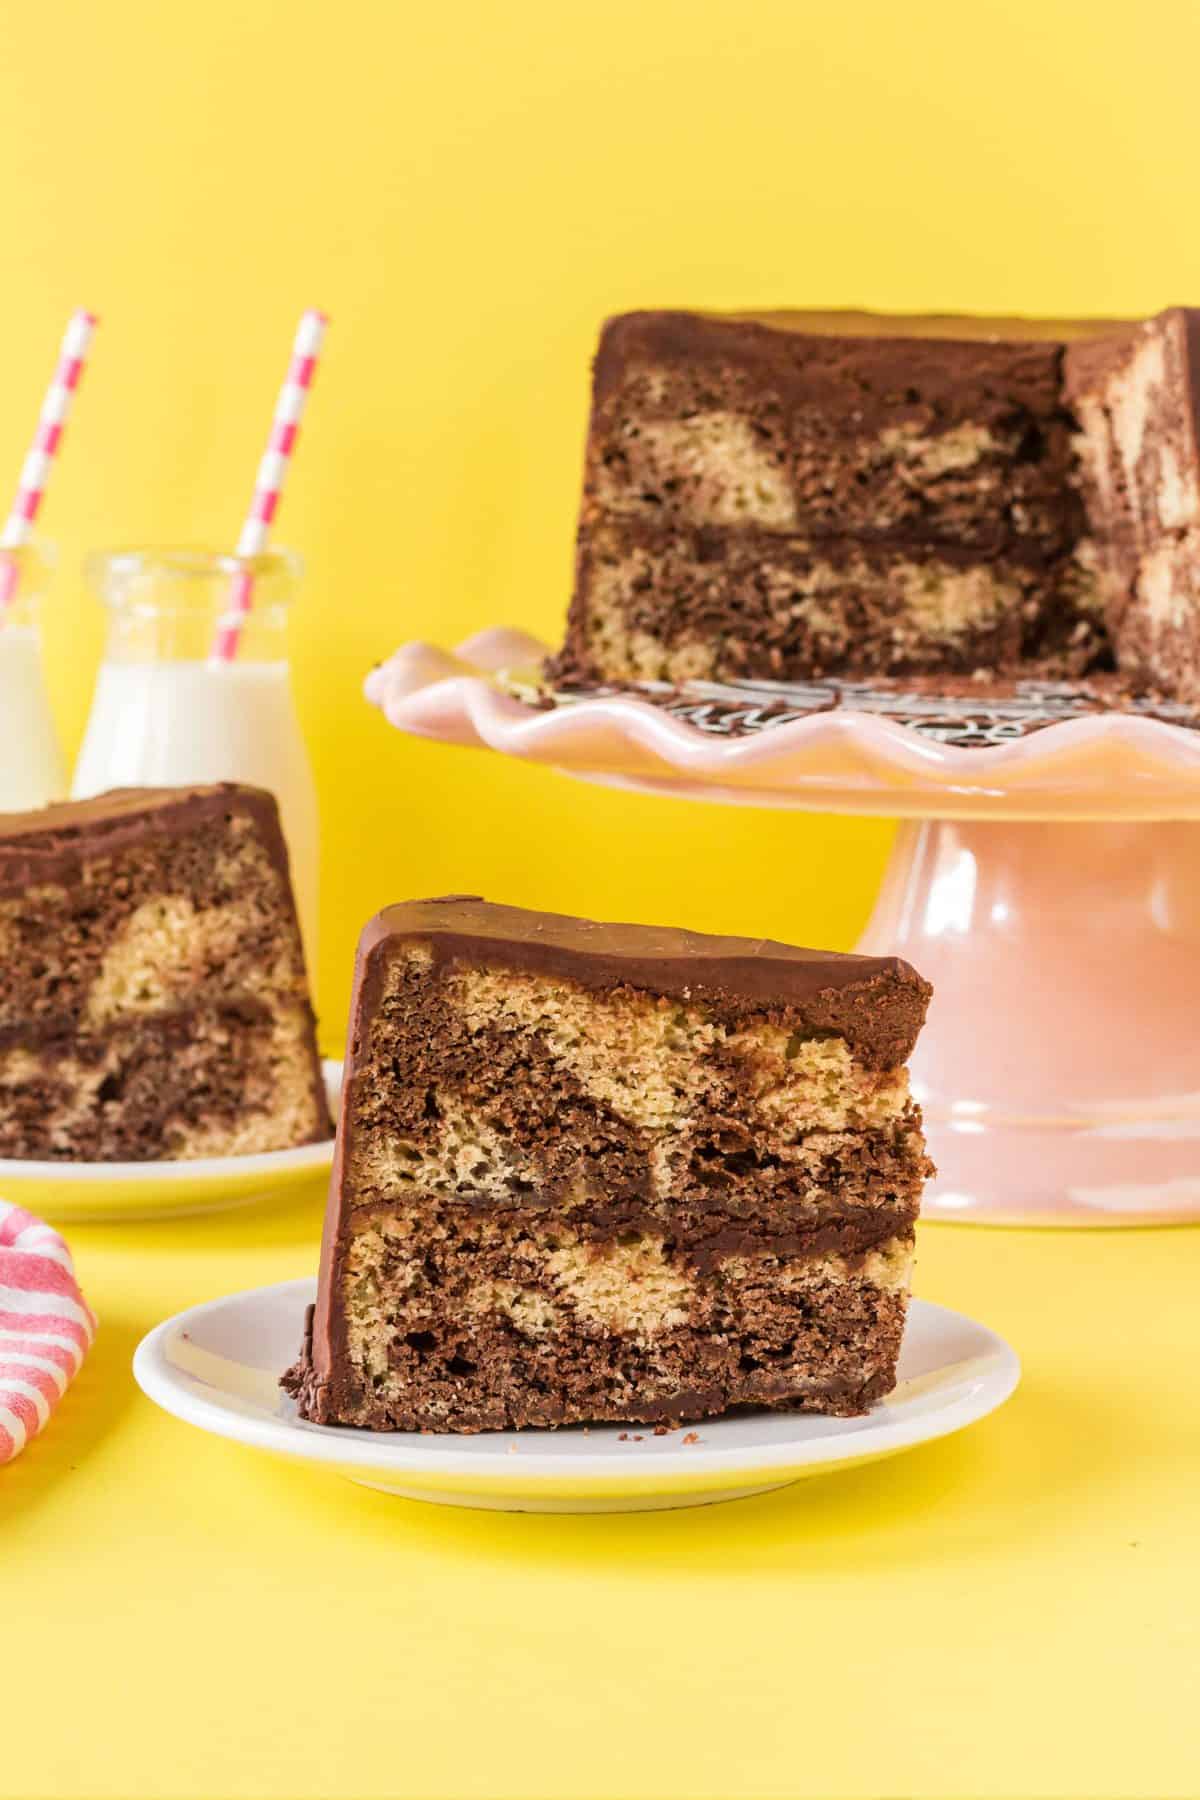
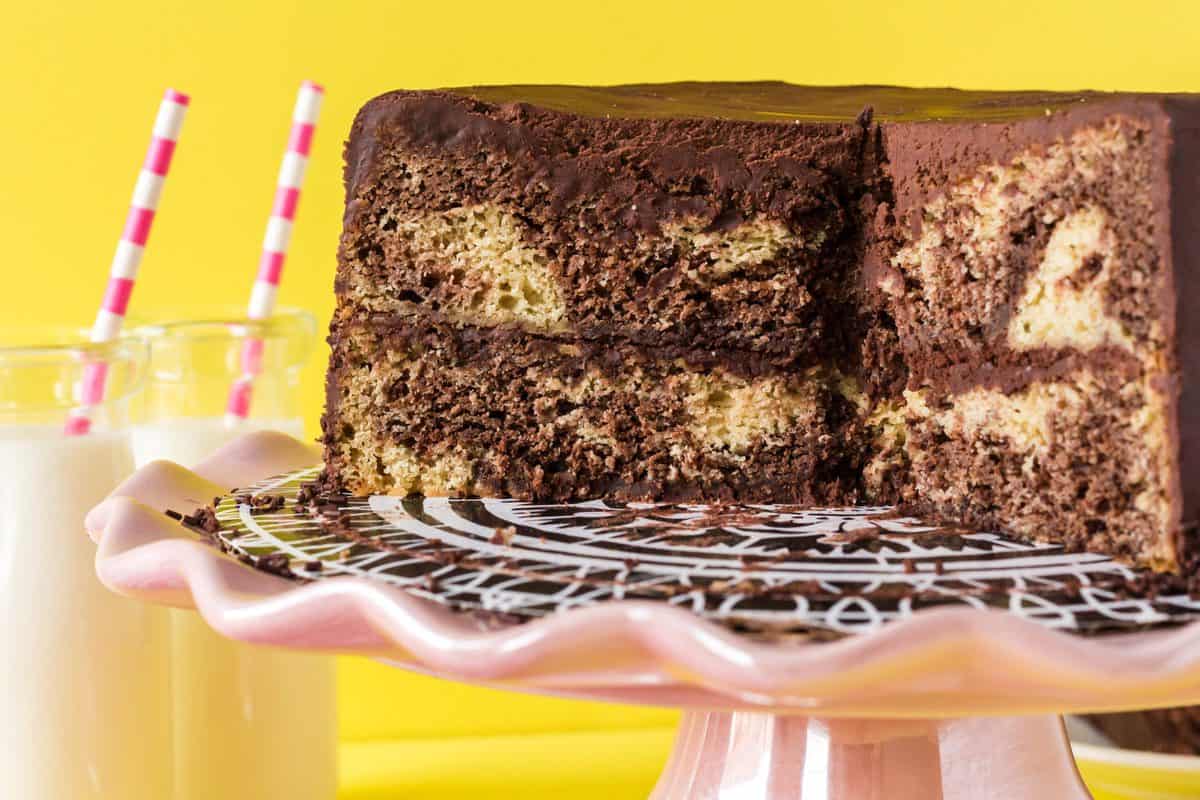
This marble cake recipe is an amazing old-fashioned baked good that is as pretty as it is delicious. It can easily be made for any occasion.
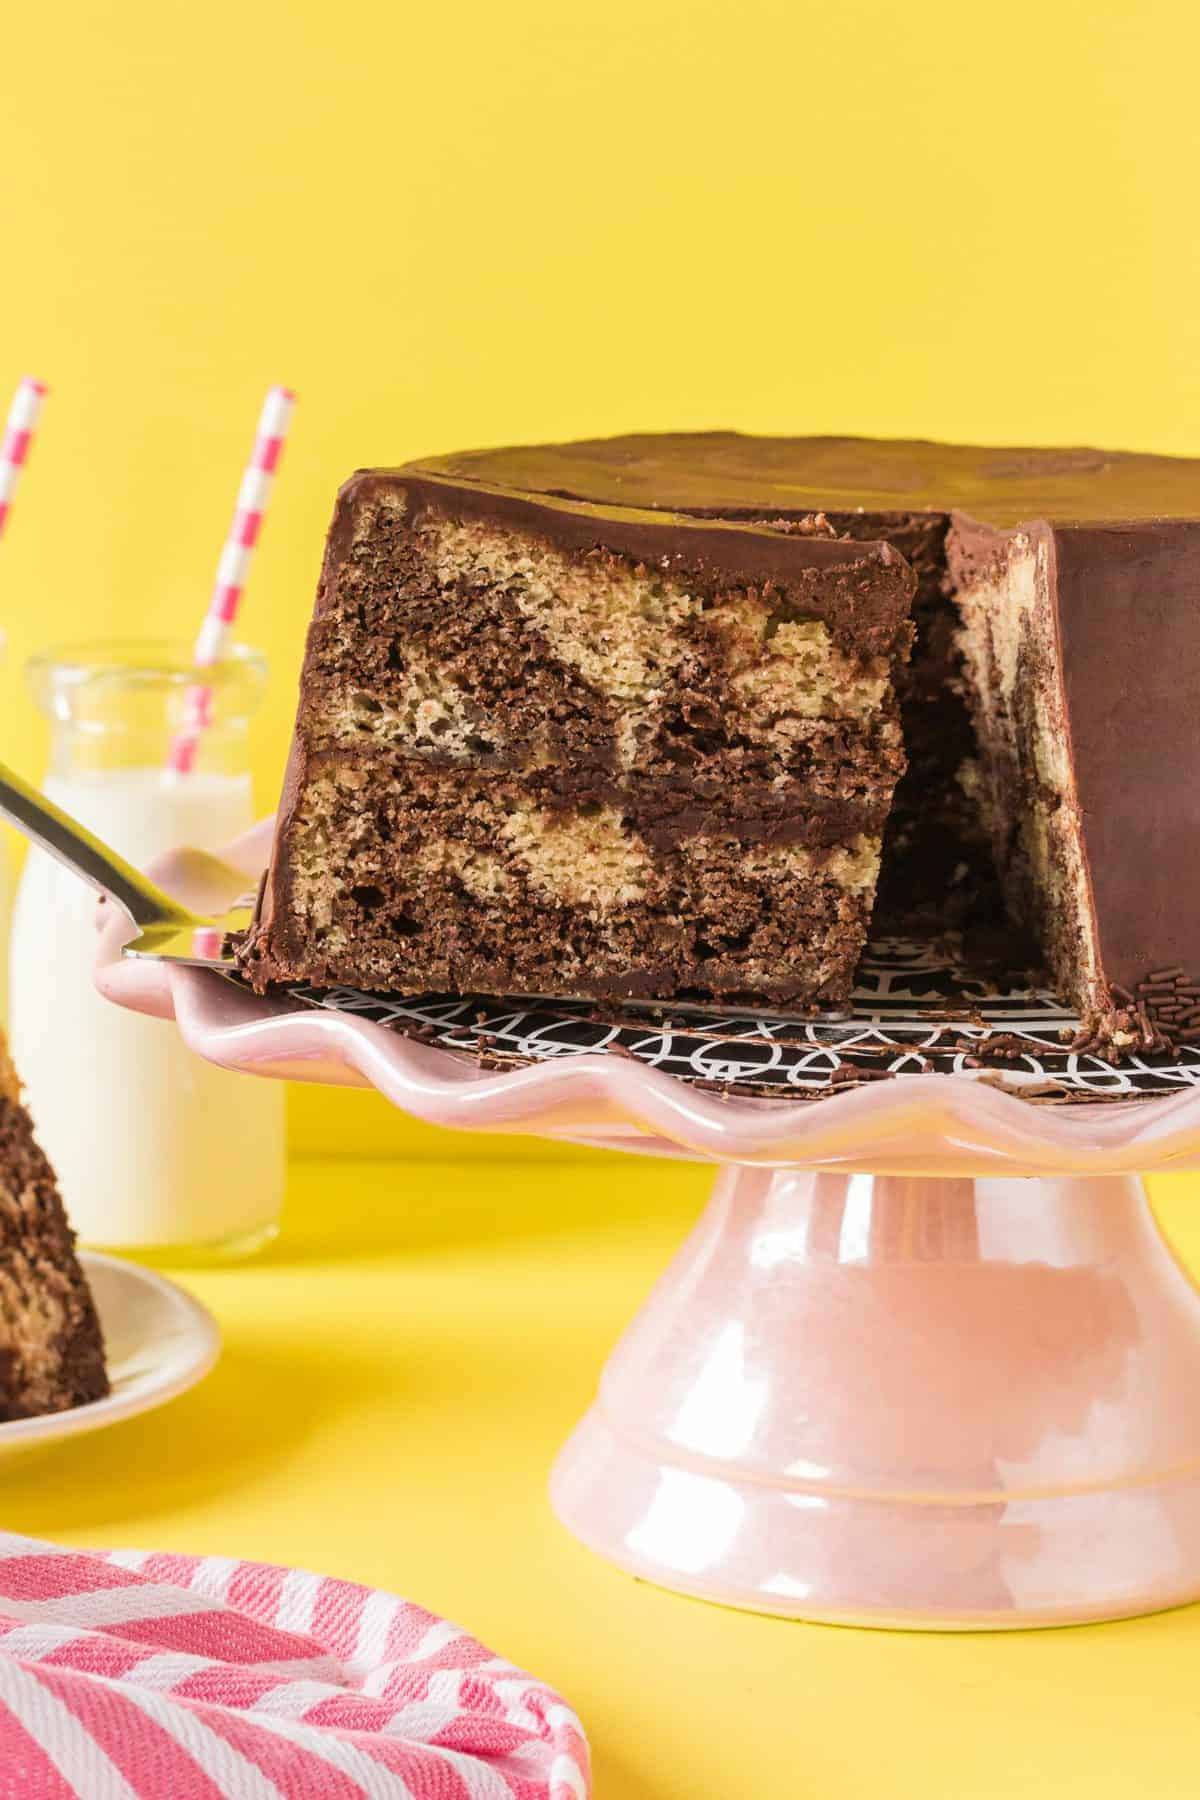
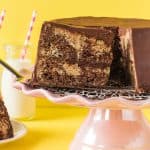
This delicious marble cake recipe uses only 1 batter to make both the chocolate and vanilla batter that is swirled together and frosted with decadent chocolate buttercream frosting.
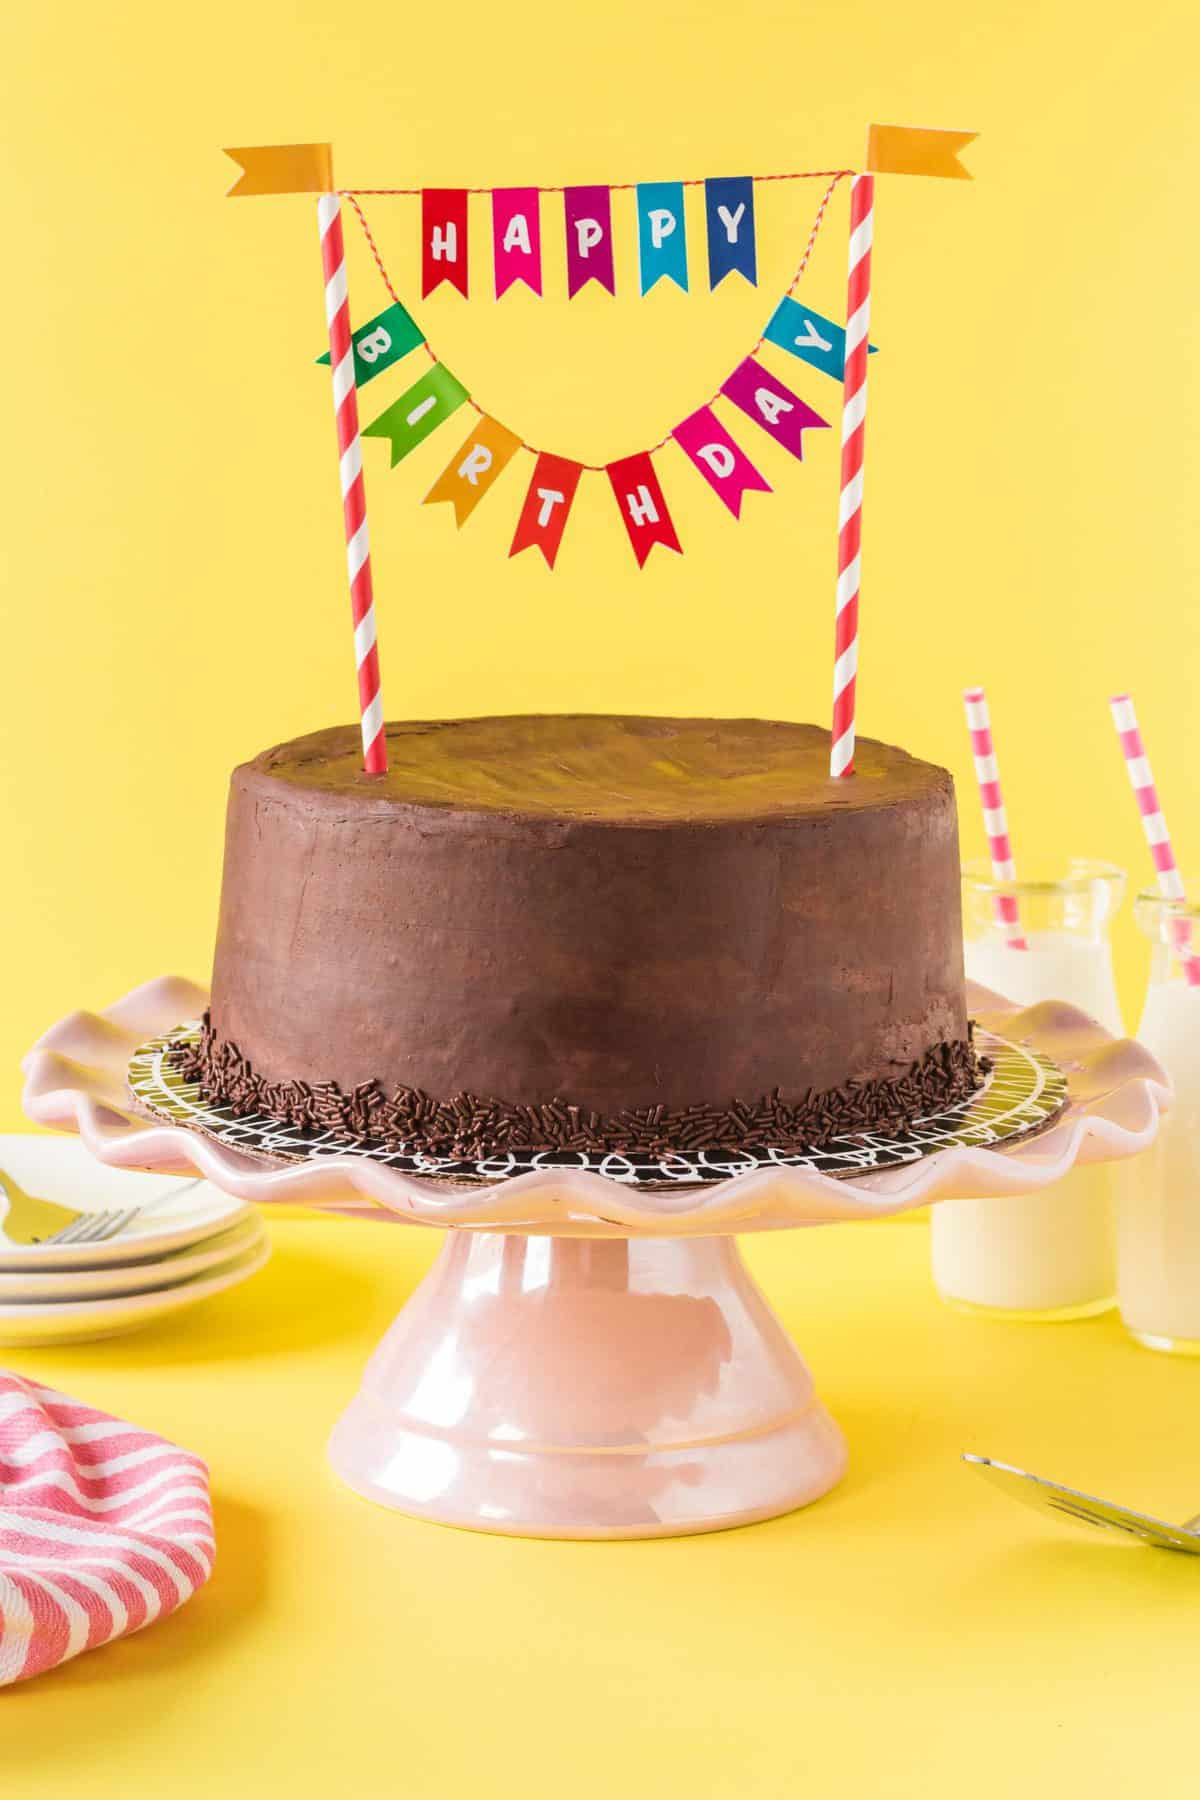
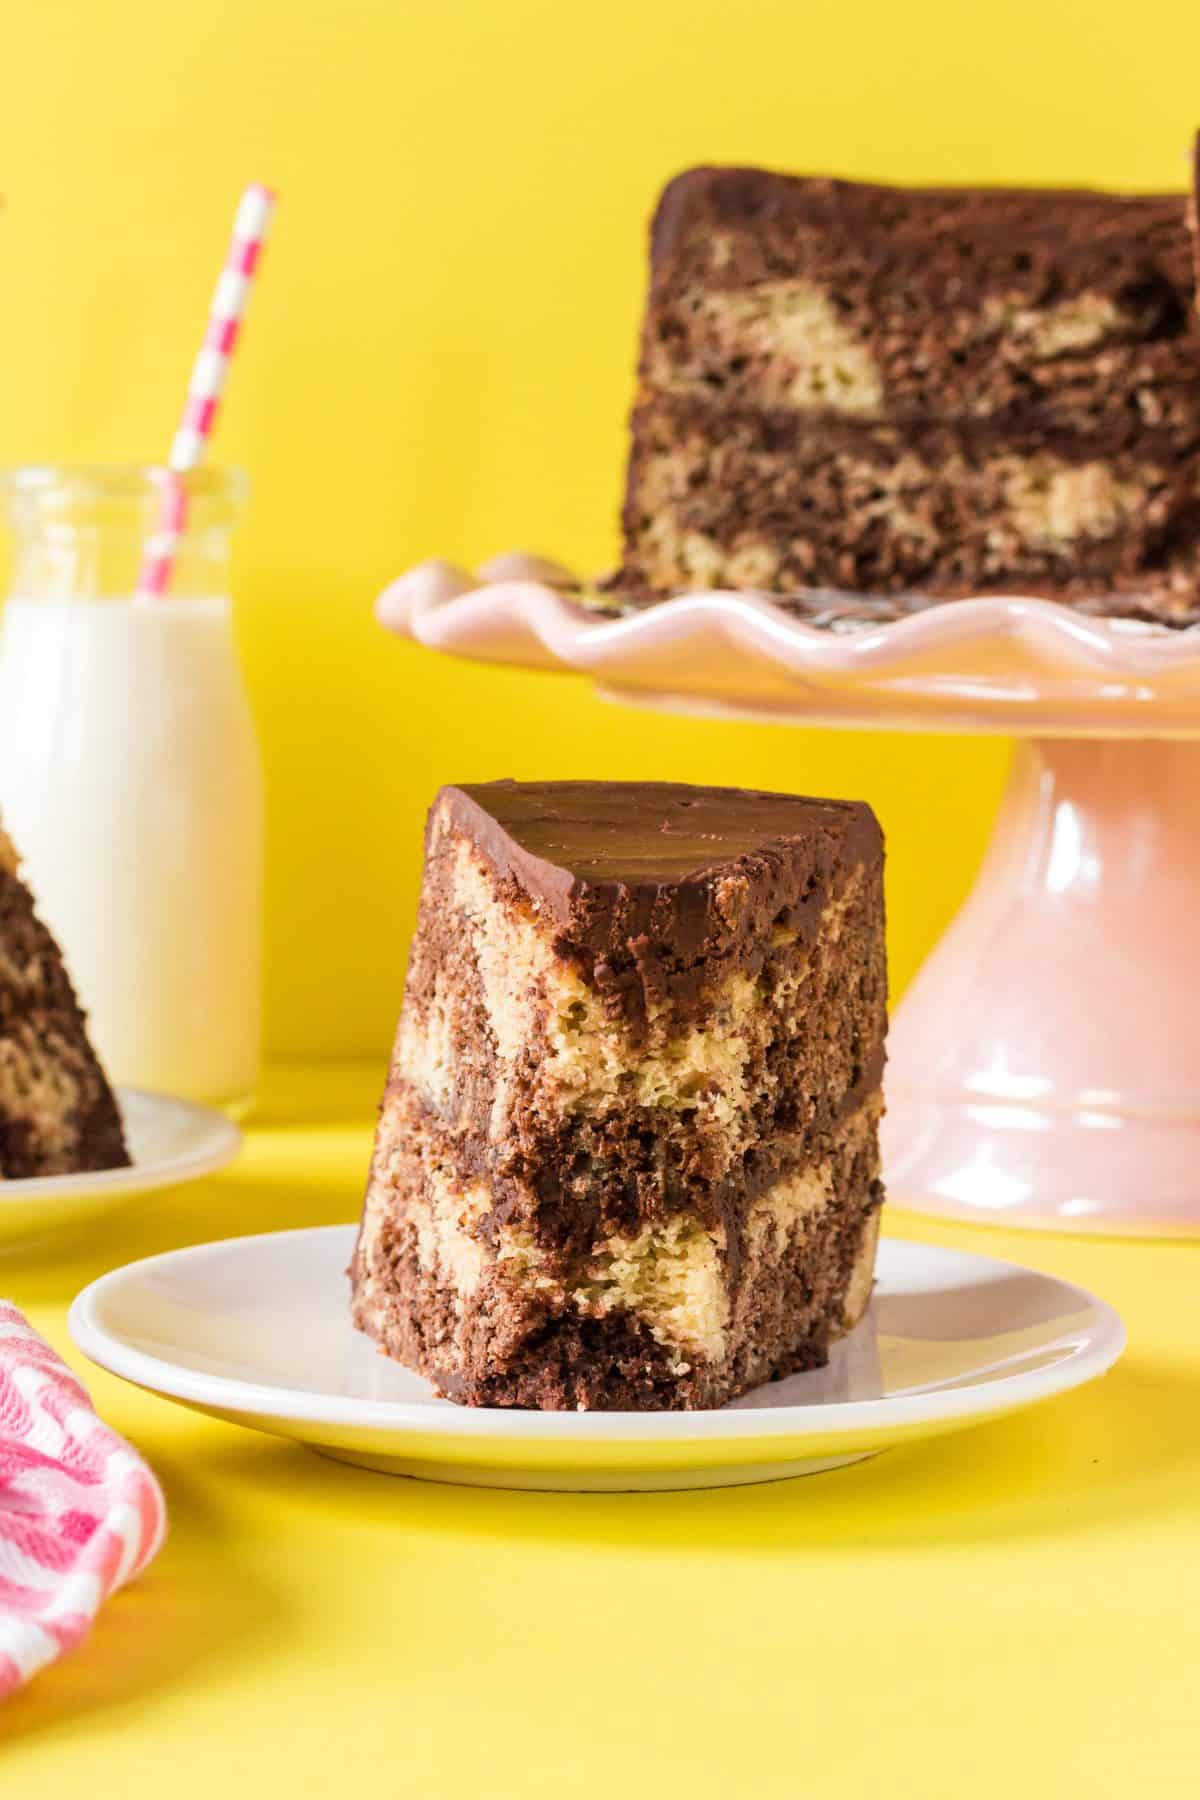
Marble cake is a deliciously wonderful old-fashioned baked good that can be made for birthdays, anniversaries, parties, or just because. If you’ve been following The Seaside Bake for awhile, you know how much we love cake. From our Strawberry Layer Cake to our S'mores Dessert Layer Cake, we’ve got it all.
WHY WE LOVE THIS MARBLE CAKE RECIPE
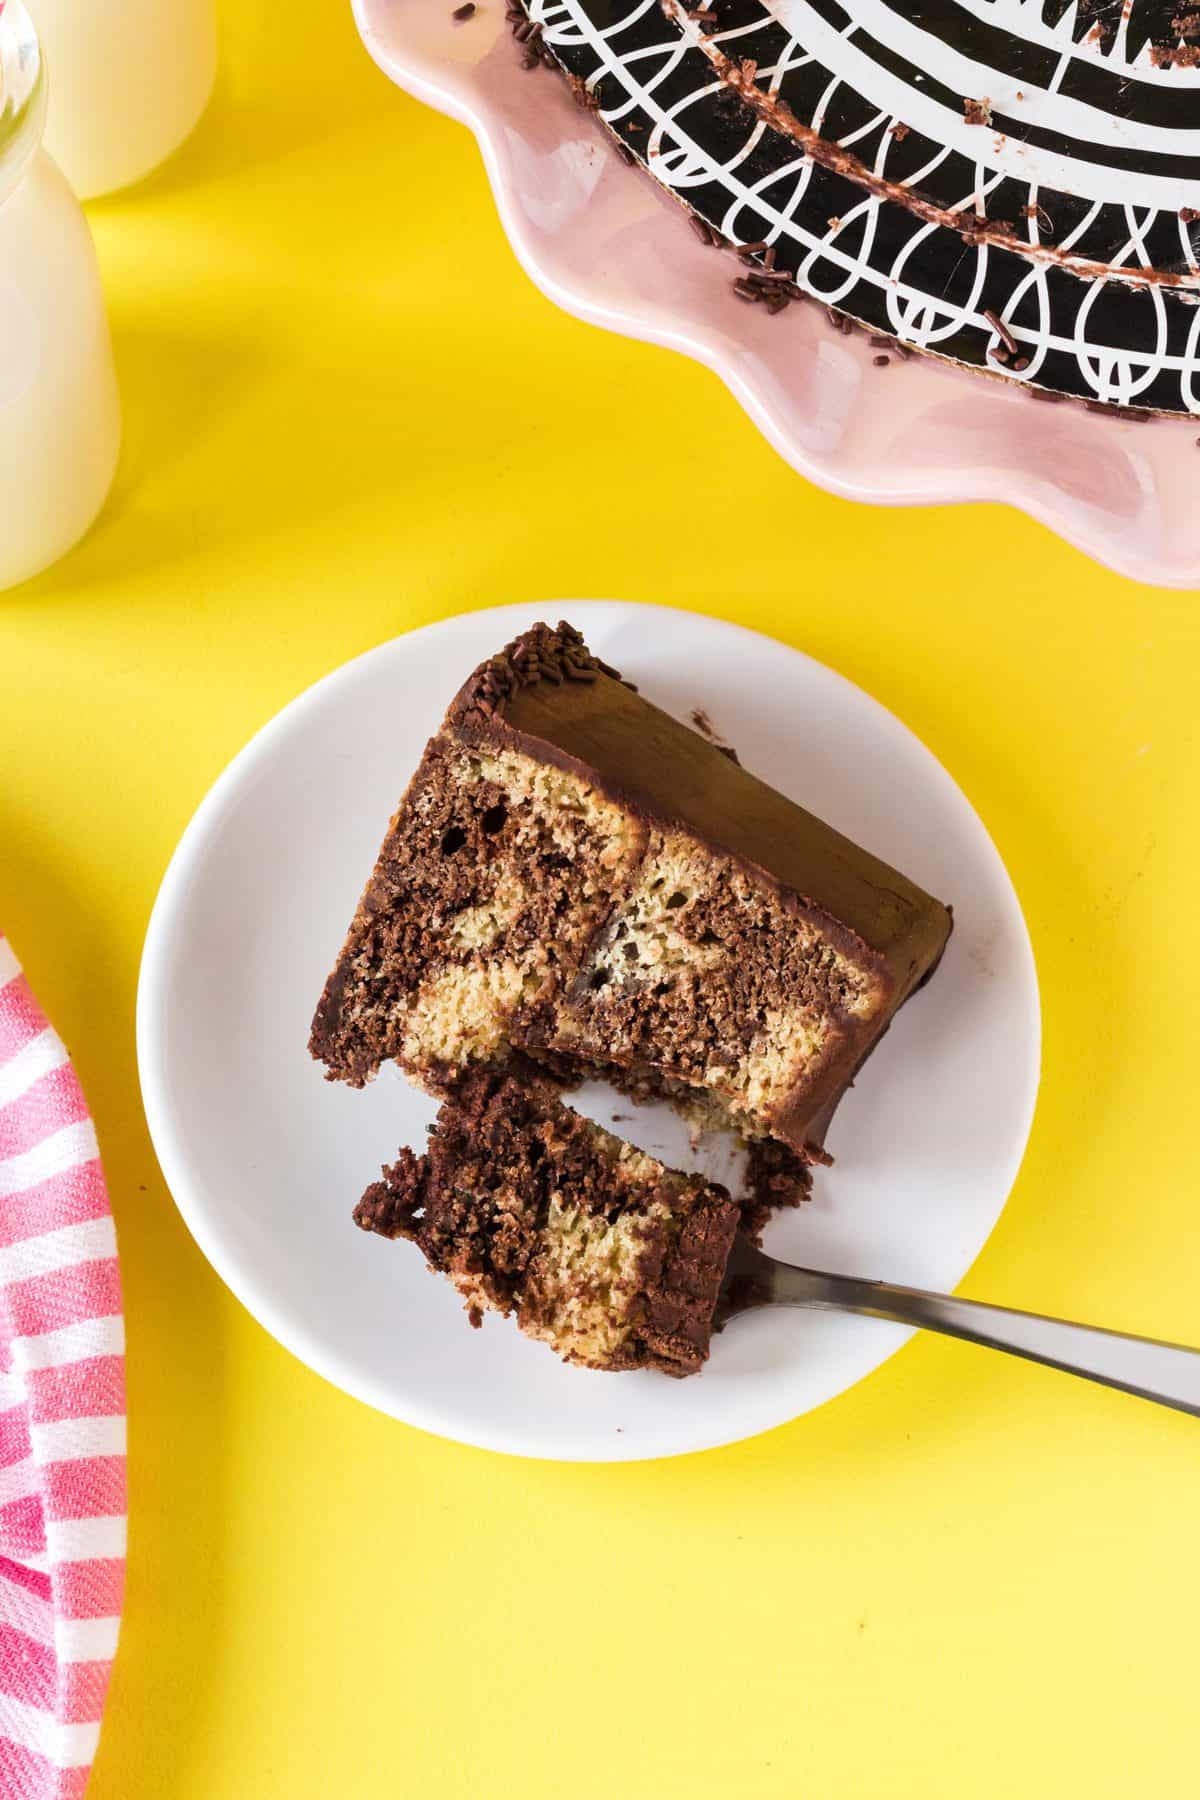
Sweet, moist and decadent, there’s nothing better than a slice of marble cake after dinner. Whether you need an after dinner dessert or a cake for a special occasion, you can easily whip up a beautiful marble cake with minimal effort. Here’s why we love this recipe:
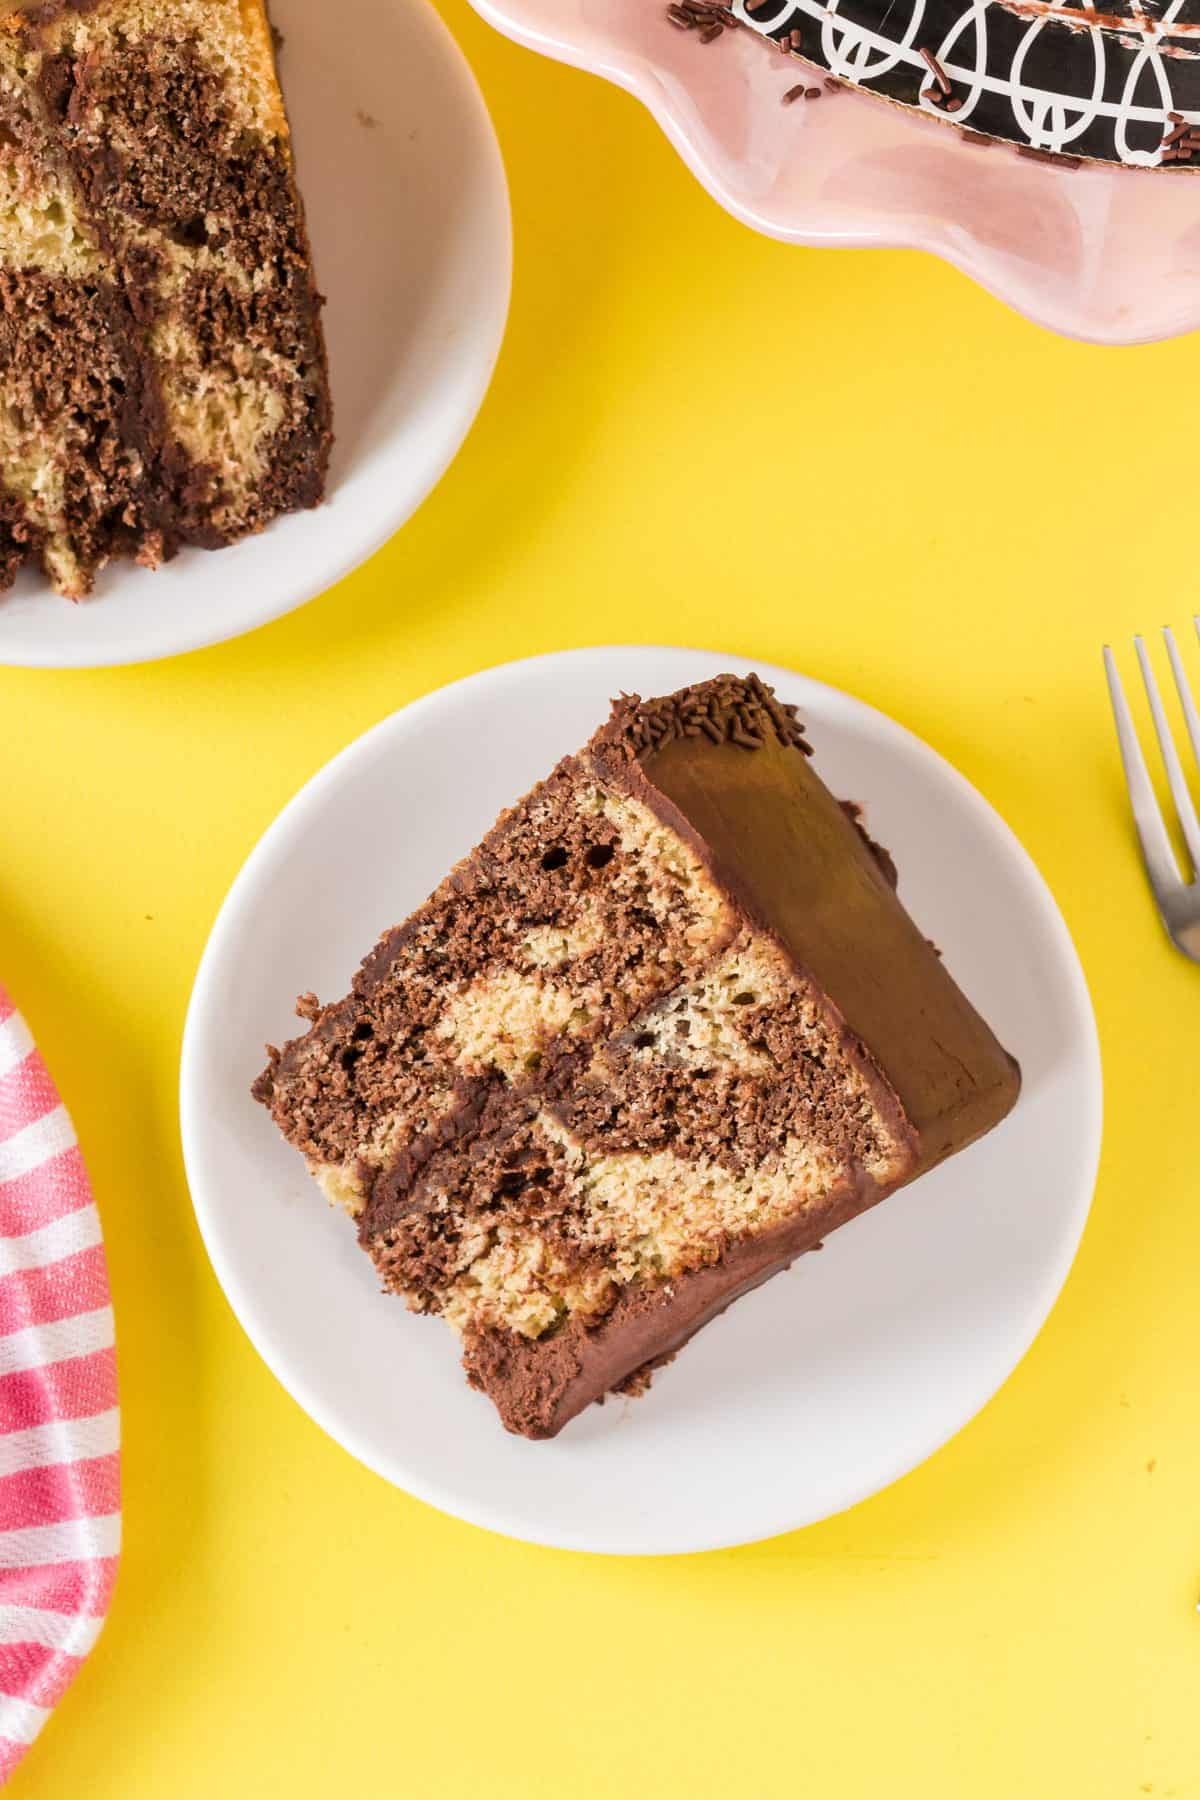
- It’s elegant. The result of artfully blending two contrasting colors of cake batter is pure elegance in every slice.
- It’s easy to make. Although you are blending two colors, this recipe is just as easy to make as making a cake with only 1 color.
- Moist and delicious. This cake is made with buttermilk which makes it super moist. Top it with chocolate buttercream frosting and you’ll find it melts in your mouth with every bite.
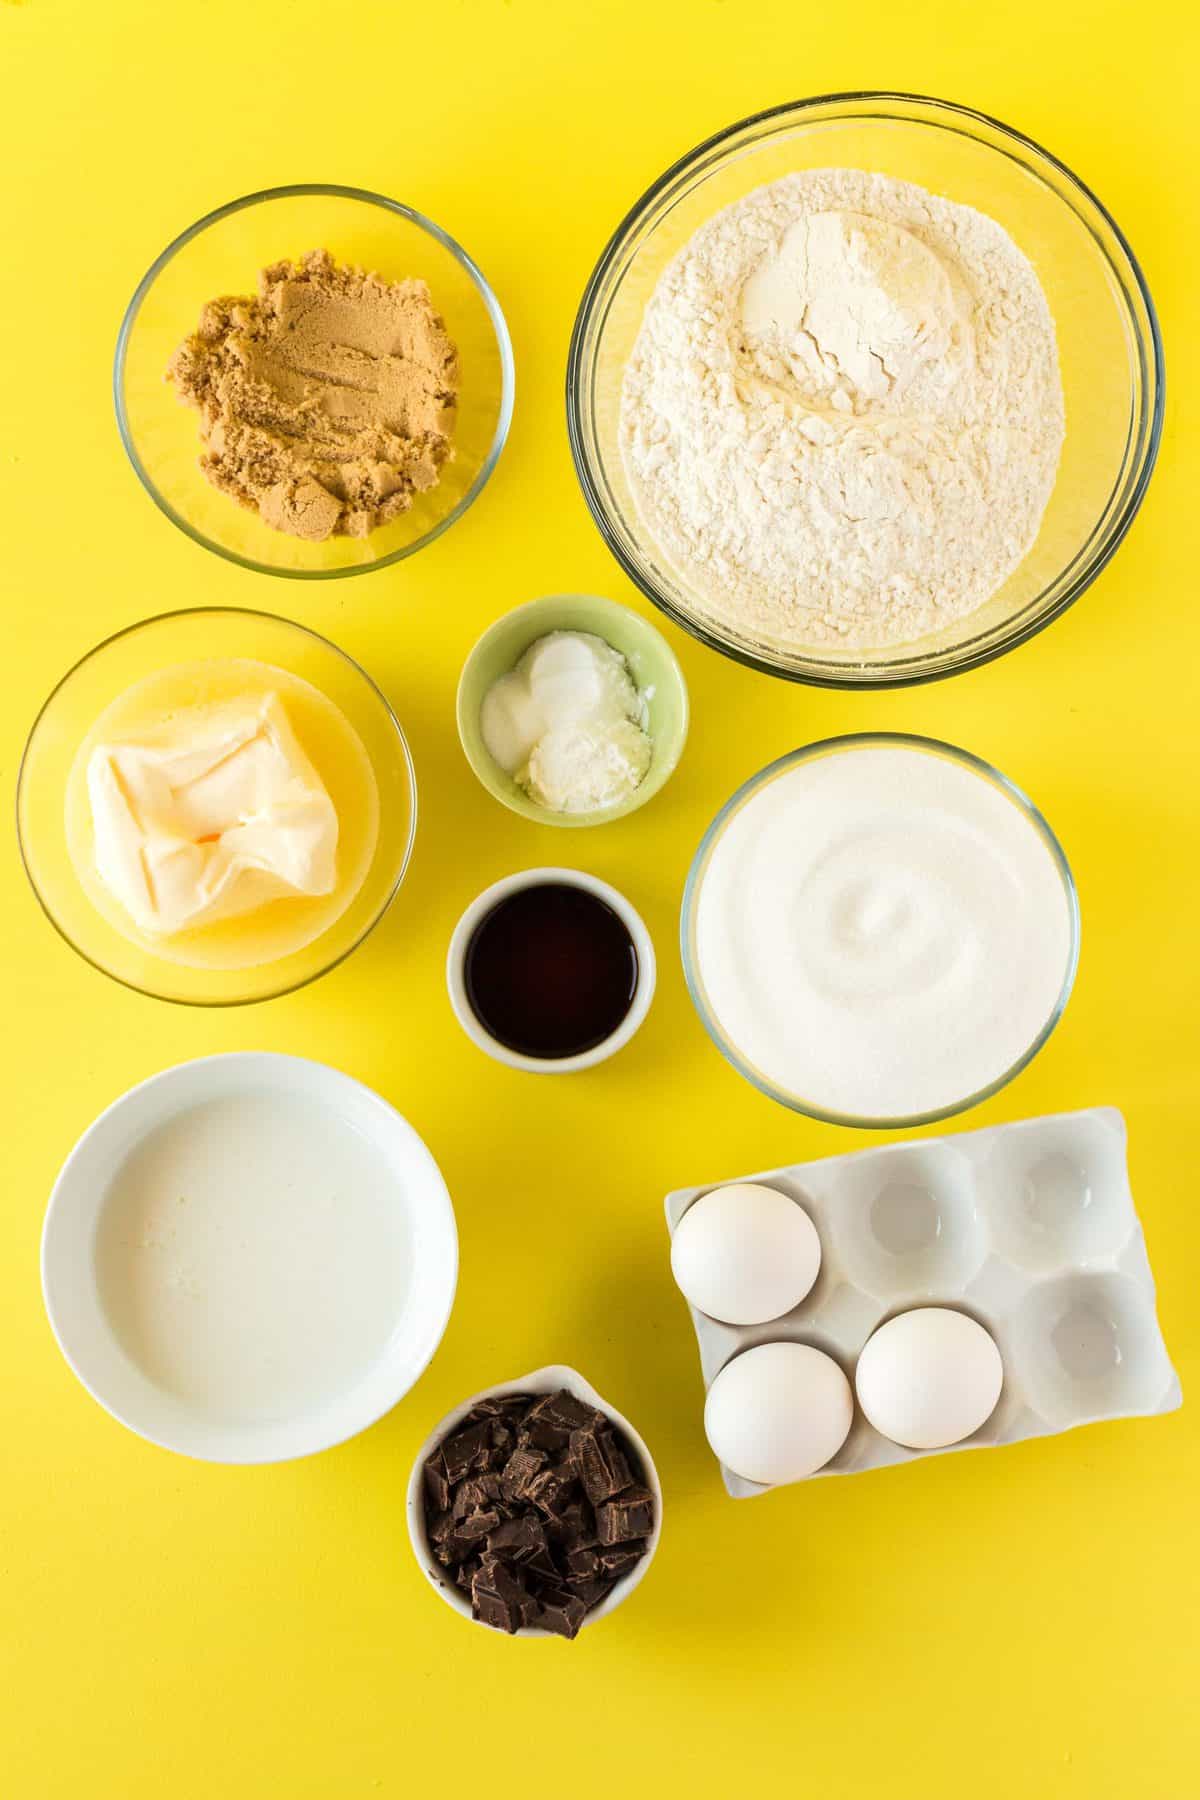
INGREDIENTS/SHOPPING LIST
- Flour- all-purpose or cake flour works well
- Granulated sugar
- Light brown sugar
- Baking powder
- Baking soda
- Salt
- Unsalted butter
- Eggs
- Buttermilk-see notes below.
- Vanilla extract
- Semi sweet chocolate (not chips)-Baker's Chocolate works well.
- Cocoa powder
- Heavy cream
- Confectioners’ sugar- also known as powdered sugar
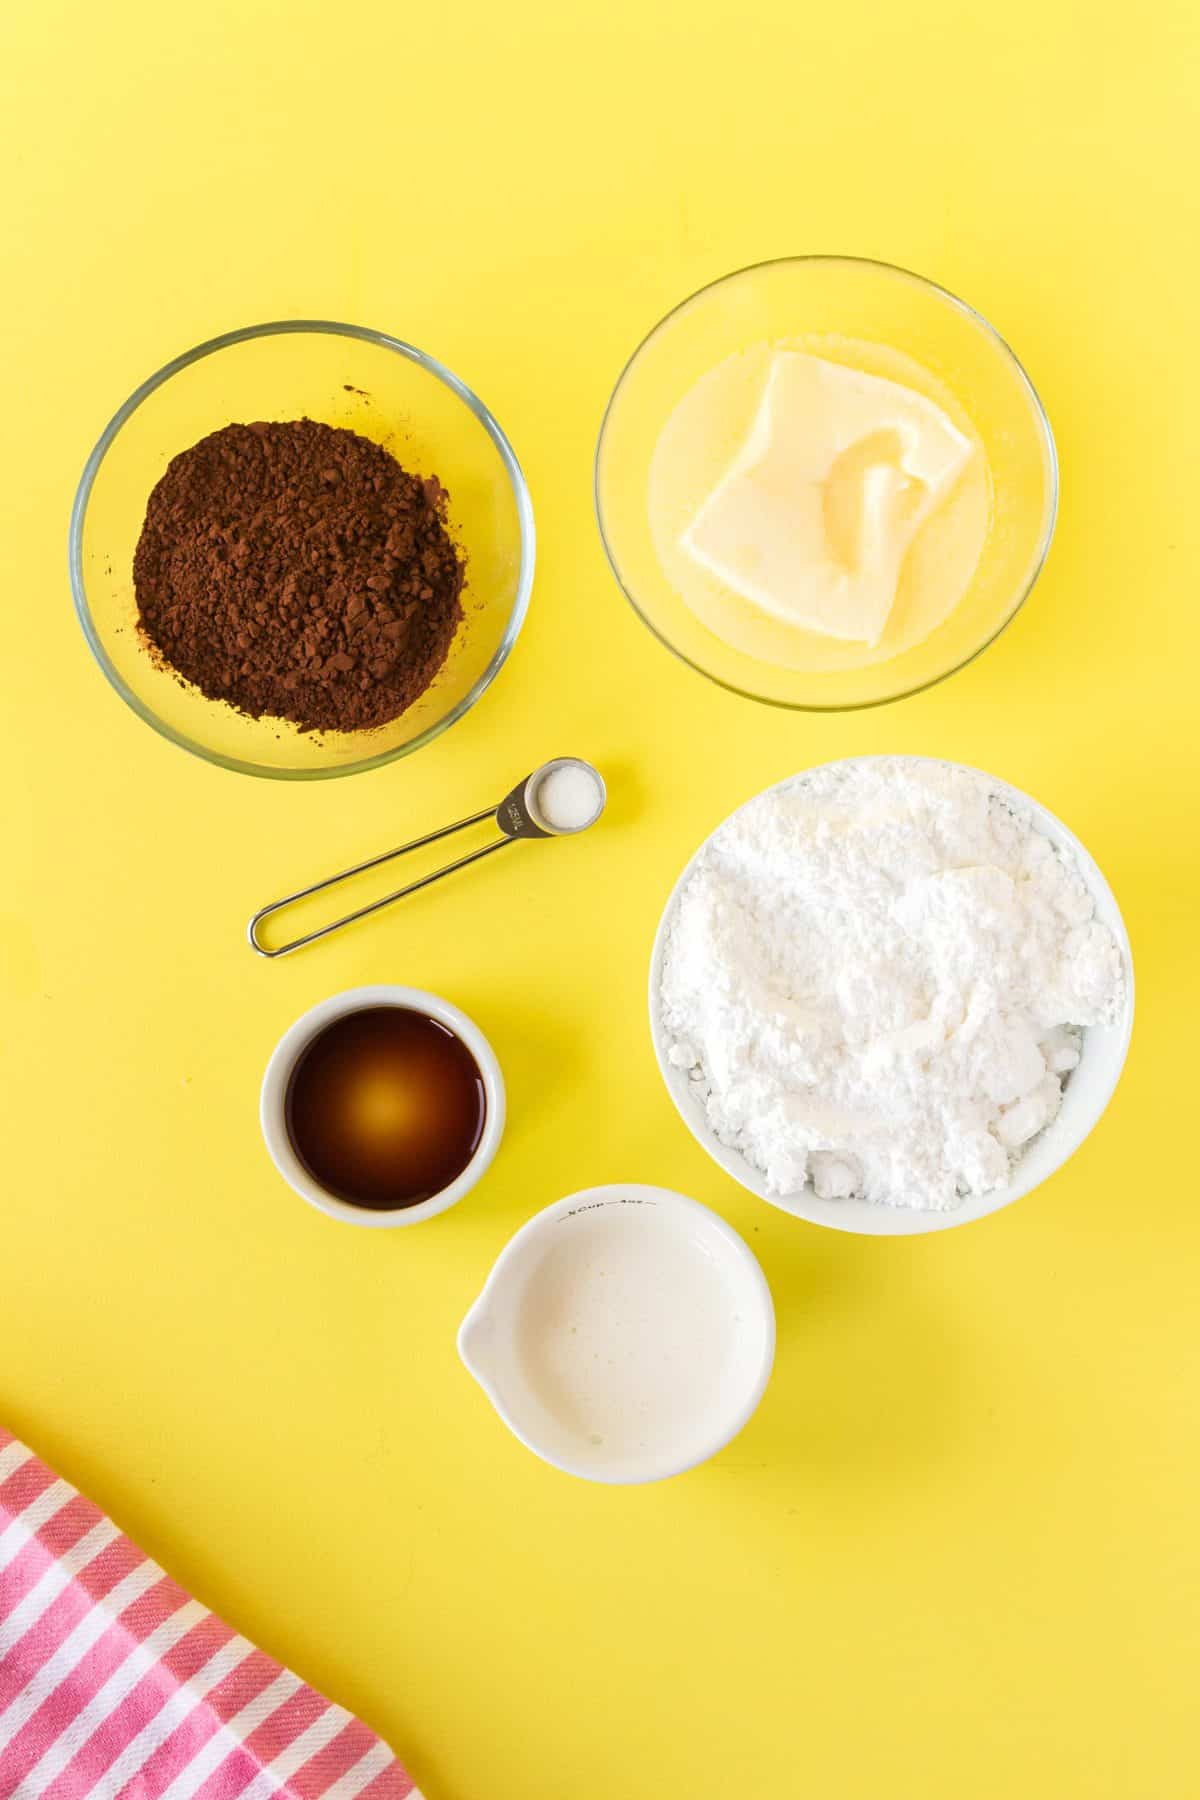
Ingredients to make the Chocolate Frosting
SUBSTITUTIONS AND ADDITIONS
- Make your own buttermilk: To make 1 cup of buttermilk, add 1 tablespoon of lemon juice to the measuring cup. Then, fill the rest of the measuring cup with milk and stir.
- Brown sugar substitution: If you don’t have light brown sugar, you can use dark brown sugar as well. Keep in mind that the cake will have more of a robust flavor, look darker, and may slightly alter the texture.
- Make your own heavy cream: To make 1 cup of heavy cream, mix ⅔ cup of whole milk with ⅓ cup of melted butter.
RECOMMENDED TOOLS TO MAKE THIS MARBLE CAKE
- Measuring cups and spoons of various sizes
- Mixing bowls (large and small)
- Electric mixer
- Two - 8” round cake pans
- Spatula
- Table knife
- Aluminum foil
- Serrated knife for cutting top domes off cakes
- Parchment paper
- Icing scraper tool (optional)
HOW TO MAKE THIS MARBLE CAKE RECIPE
This cake is fairly simple to whip up! Even if your artistic abilities are lacking, you can still whip up a beautiful marble cake. But, honestly, it’s all about the flavor and everyone is sure to love it.
- Prep- First, preheat your oven to 350℉. Then, line the bottom of your 8” round cake pans with parchment paper and spray them with non-stick cooking spray.
- Mix dry ingredients- Whisk your flour, baking powder, baking soda, and salt in a medium mixing bowl and set to the side.
- Beat the butter and sugars- In another large bowl, beat the butter, sugar, and brown sugar until light and fluffy.
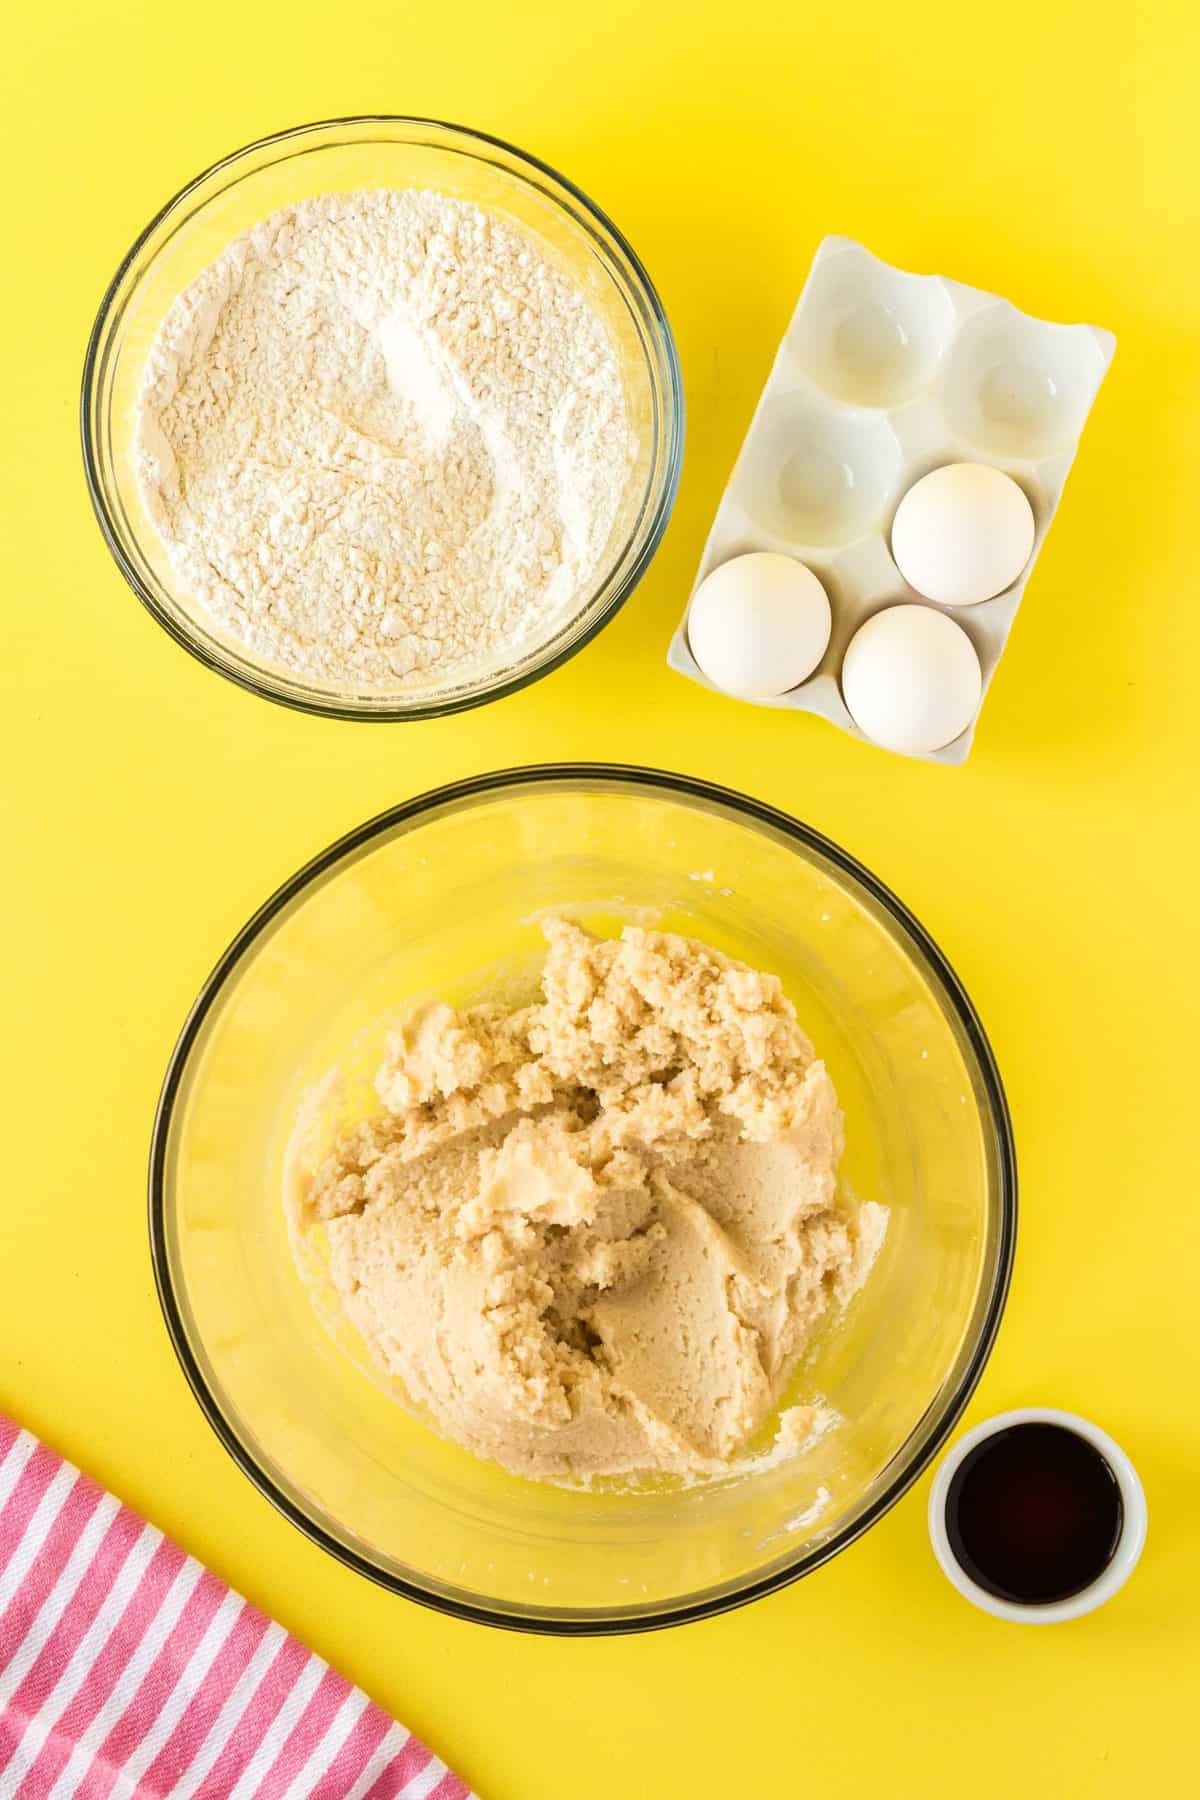
- Add eggs and vanilla- Mix the eggs and vanilla into the sugar mixture.
- Combine dry ingredients and wet ingredients- Dump half of the flour mixture into the wet mixture and stir until combined.
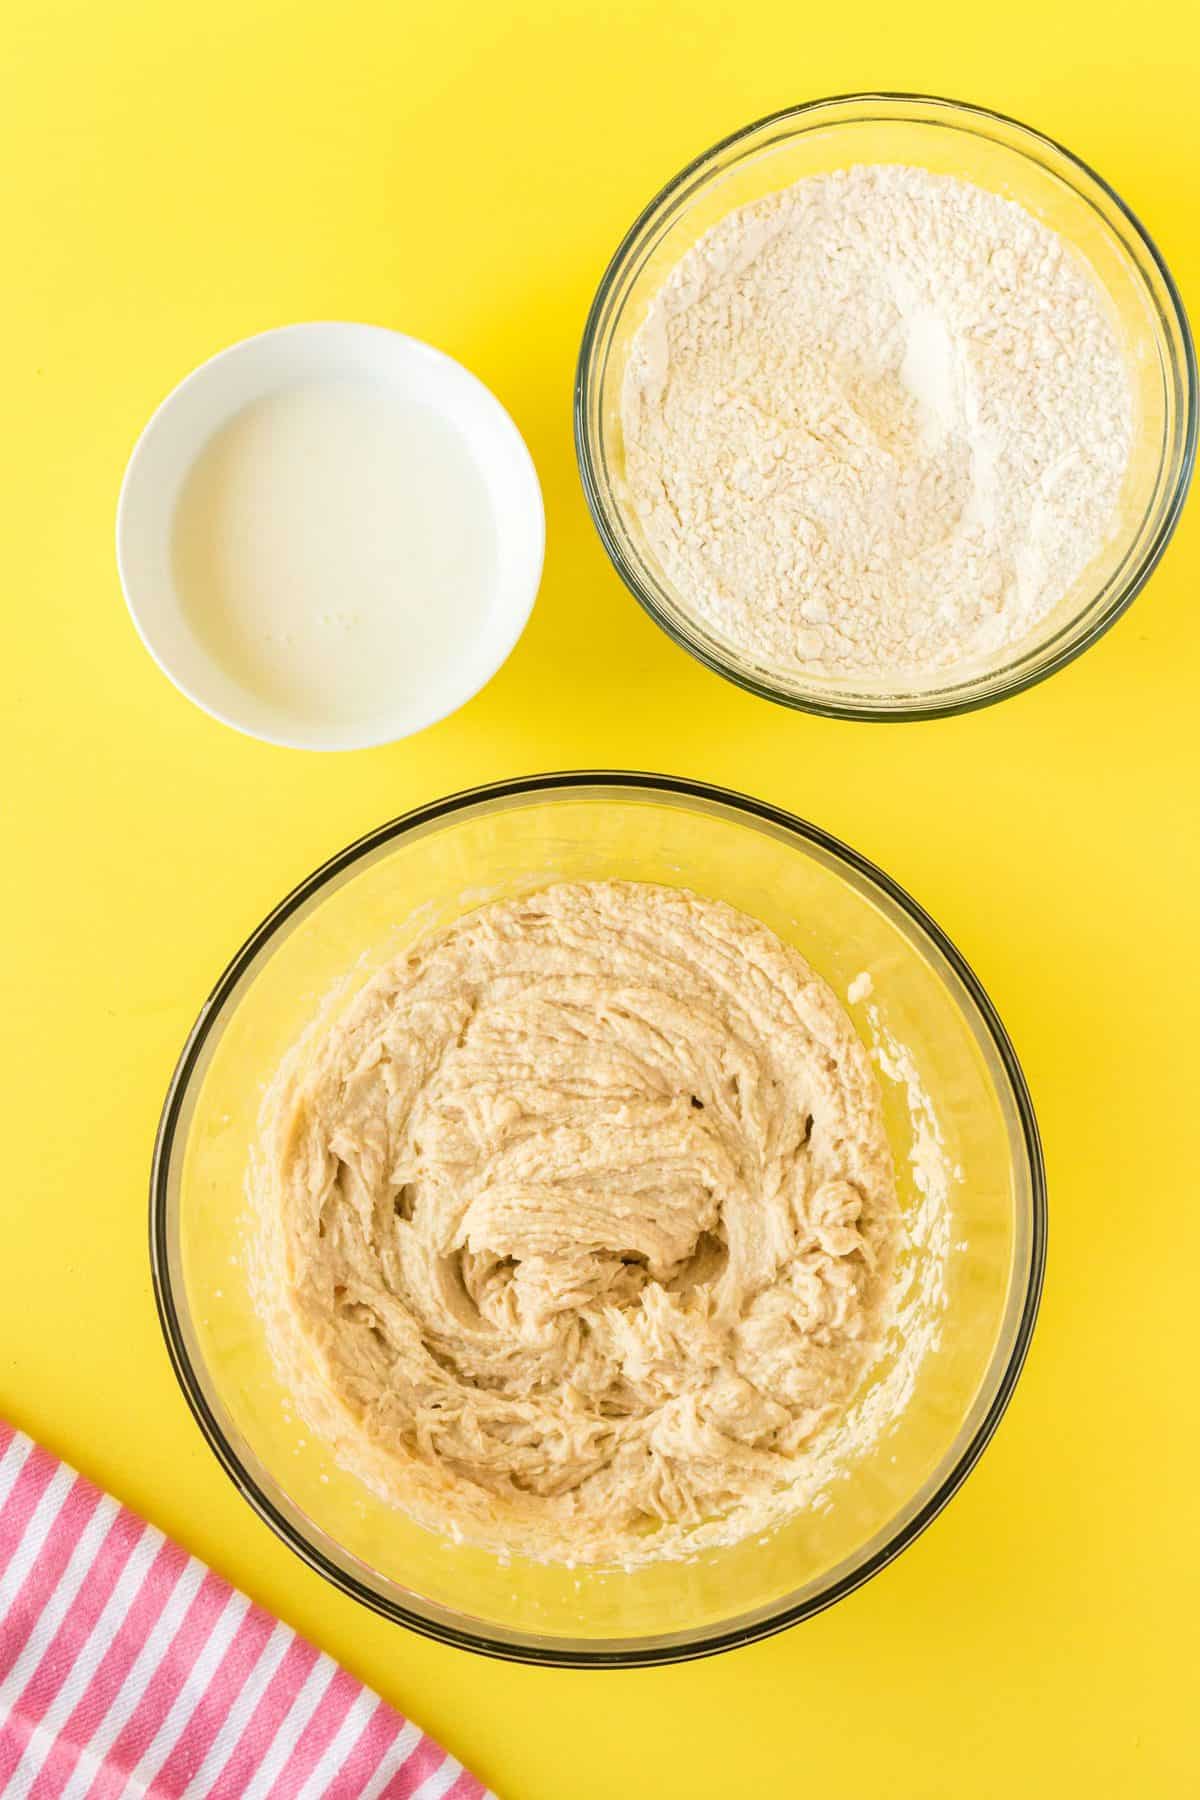
- Add buttermilk- Then, add your buttermilk and stir with the spatula until combined.
- Use the rest of the dry ingredients- Add the other half of the flour mixture to your bowl. Beat until just combined, but don’t overmix.
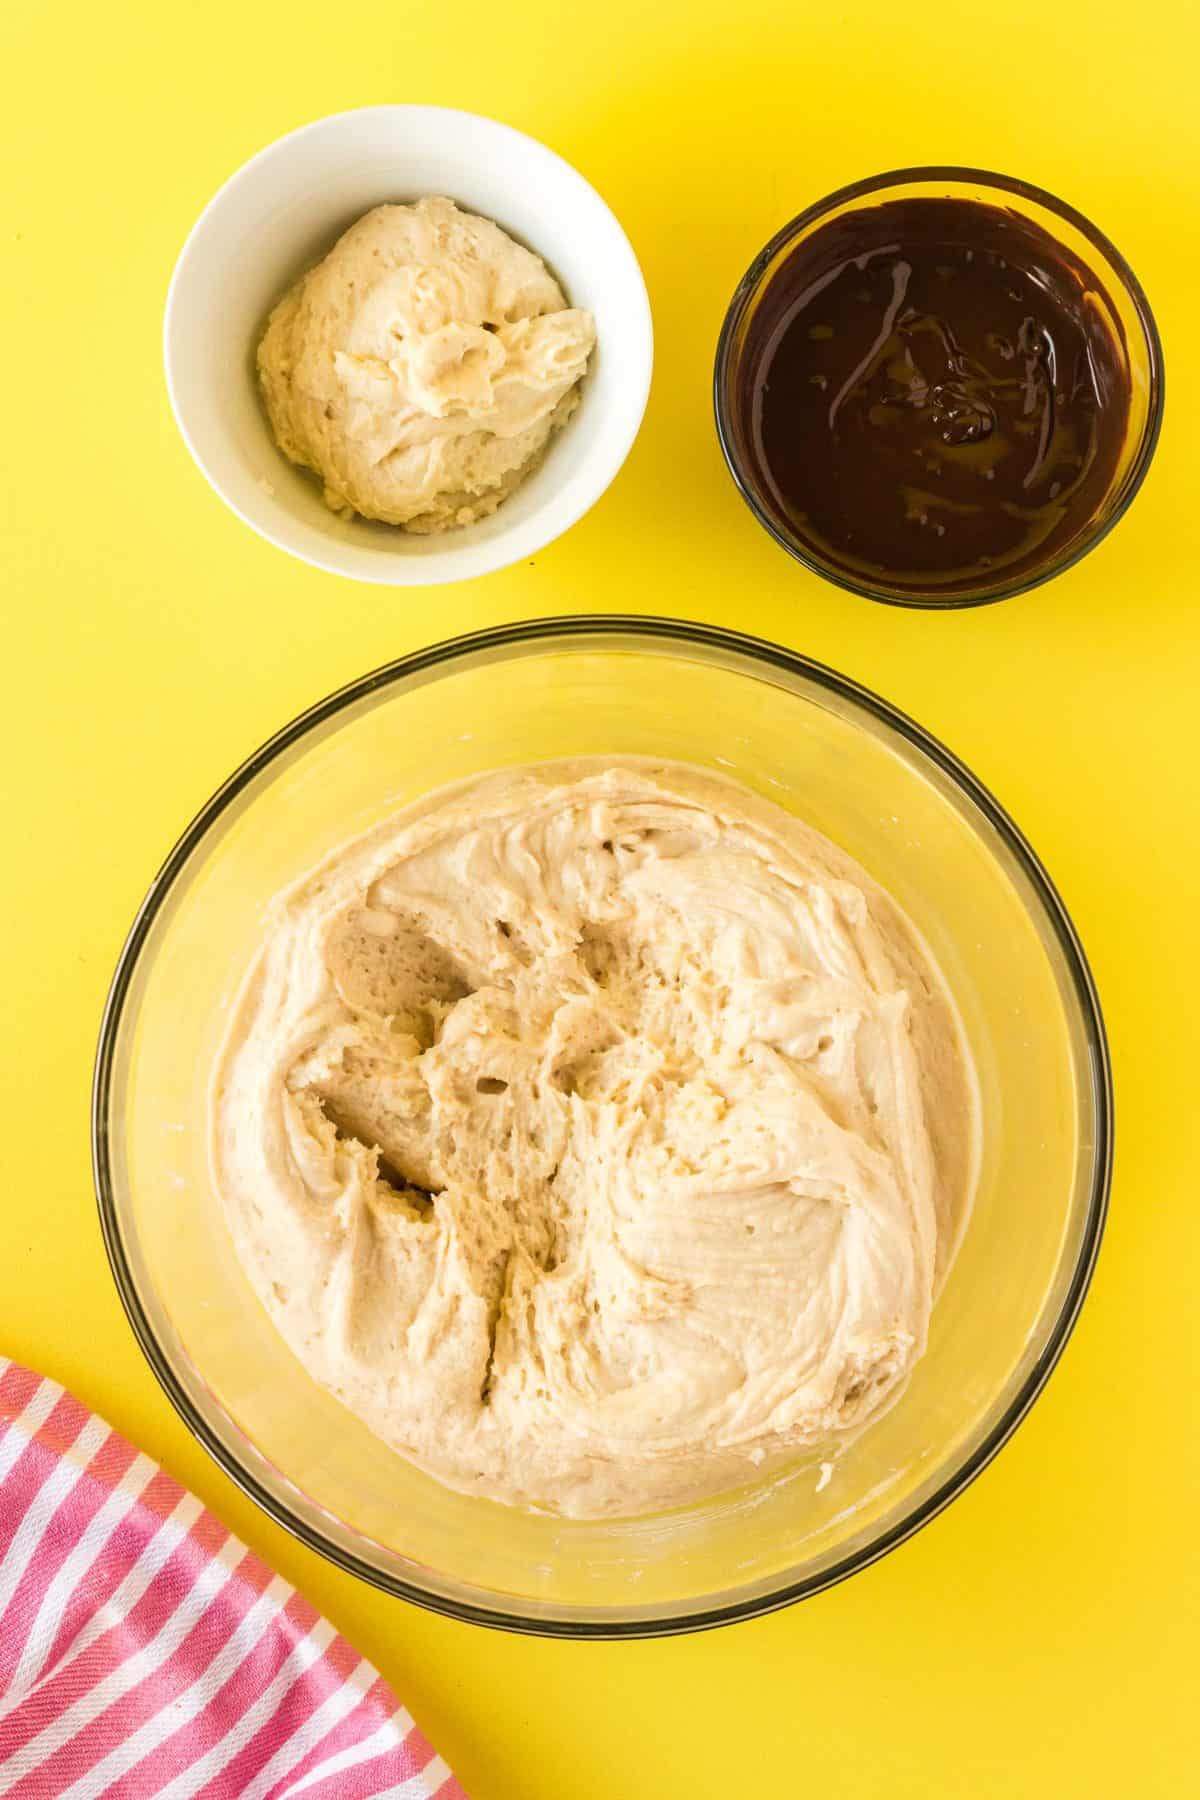
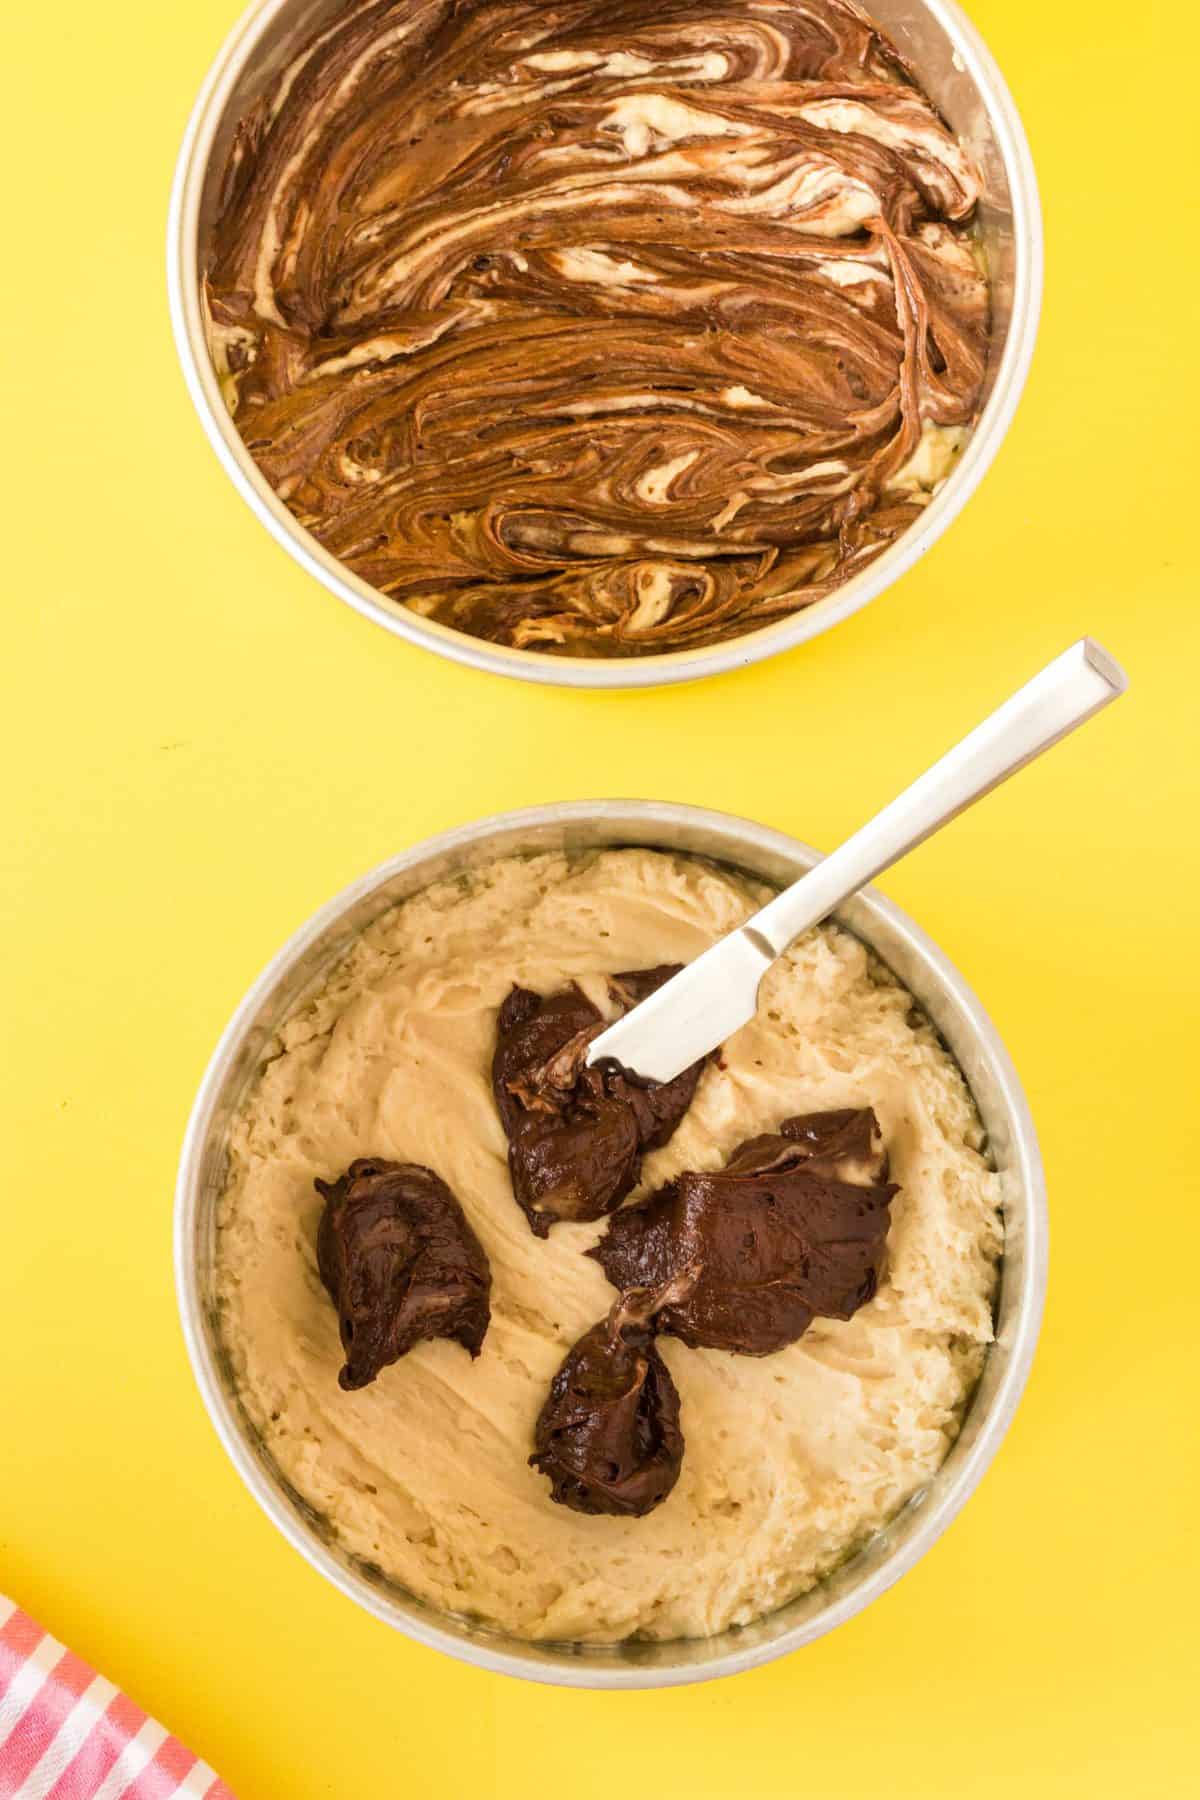
- Separate the batter- Remove 1 cup of the cake batter and put it in a separate bowl. Then, add the melted chocolate to it and mix it completely.
- Pour white batter- Next, pour half the white mixture into each of the cake pans. Use a scale to measure the batter evenly if you like.

- Swirl the cake- Drop tablespoons of the chocolate batter into both of the pans. Then, take a butter knife and swirl the chocolate batter into the white batter. Don’t stir it completely, just lightly swirl the two together.
- Bake- Bake your cakes for 30 minutes. Test the cakes with a toothpick to see if they are done. If not, cover them with aluminum foil and bake for another 5-minutes or until the cakes are set.
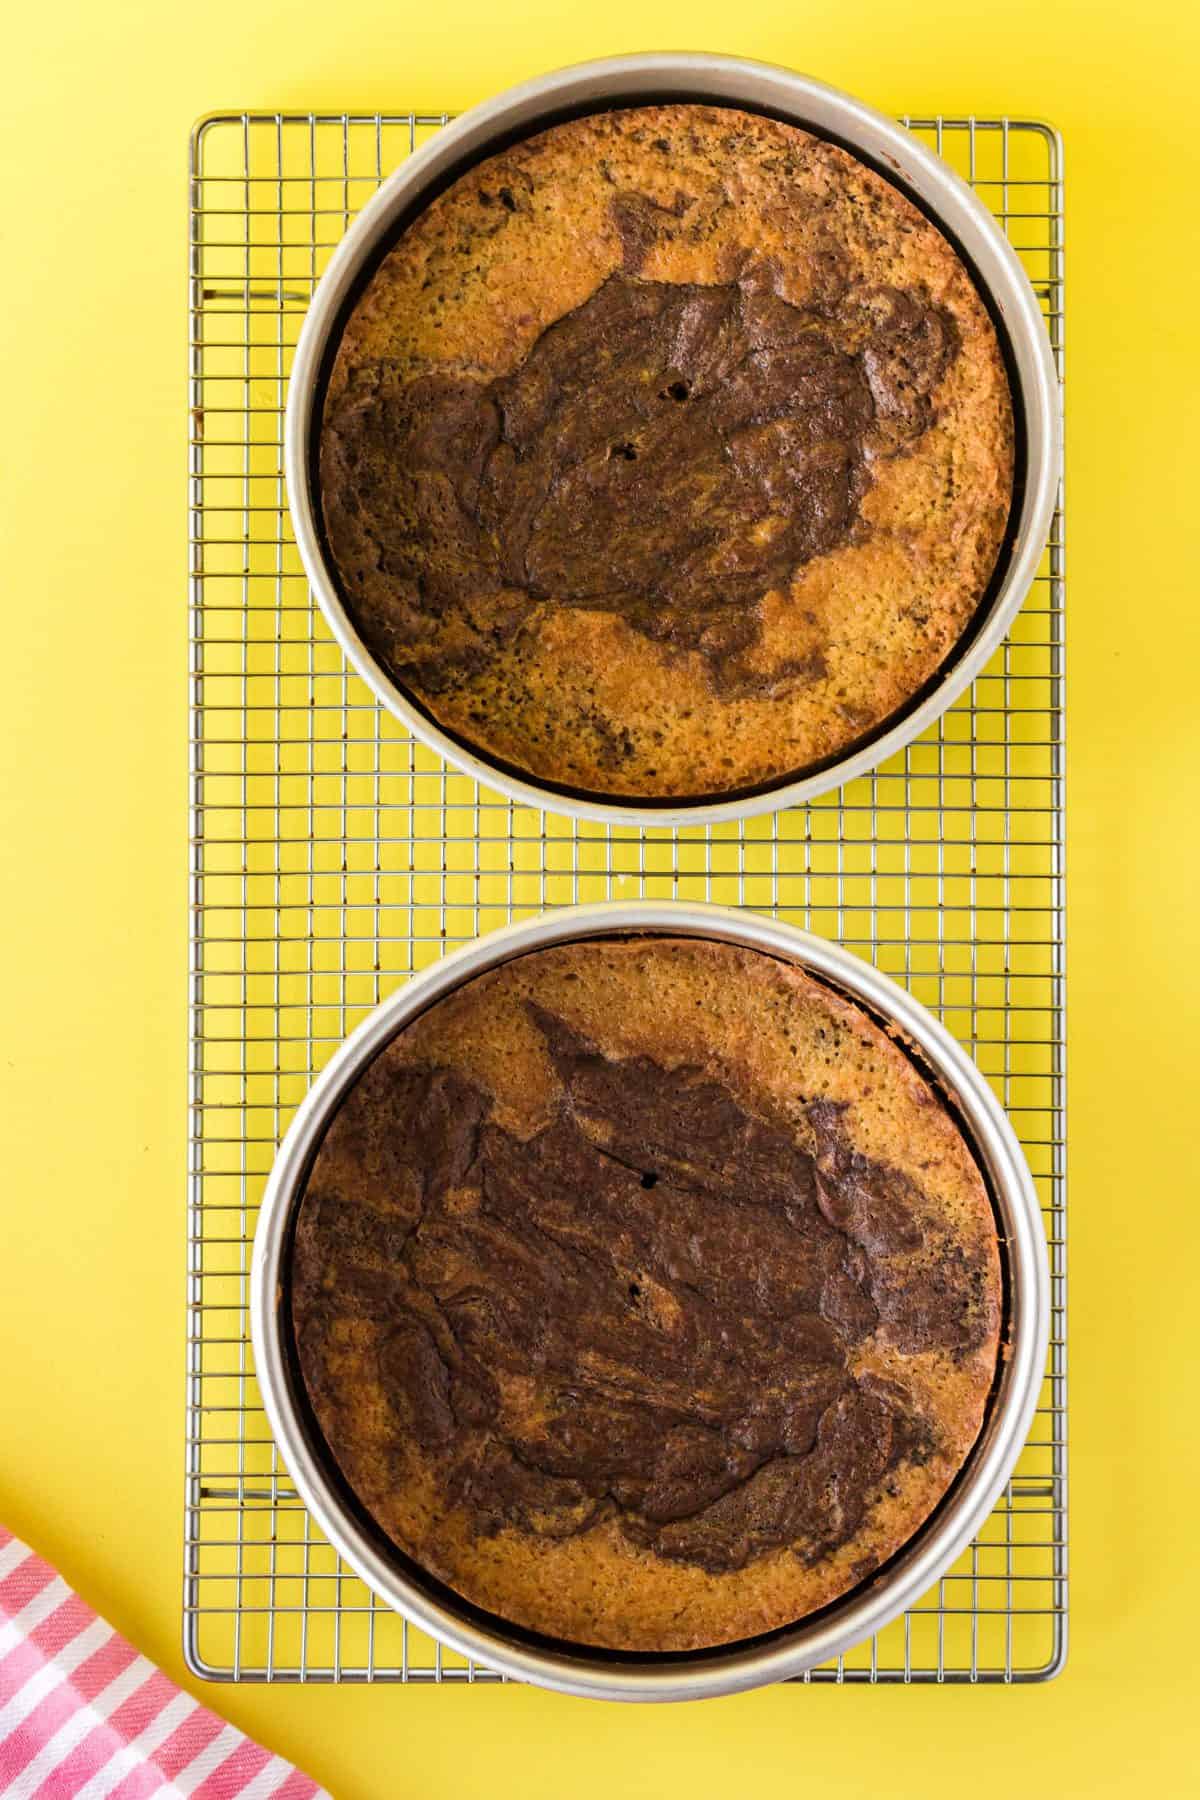
- Let them cool- Allow your cakes to cool completely. Once cooled, cut off the top domes of the cakes with a serrated knife so you have a flat surface.
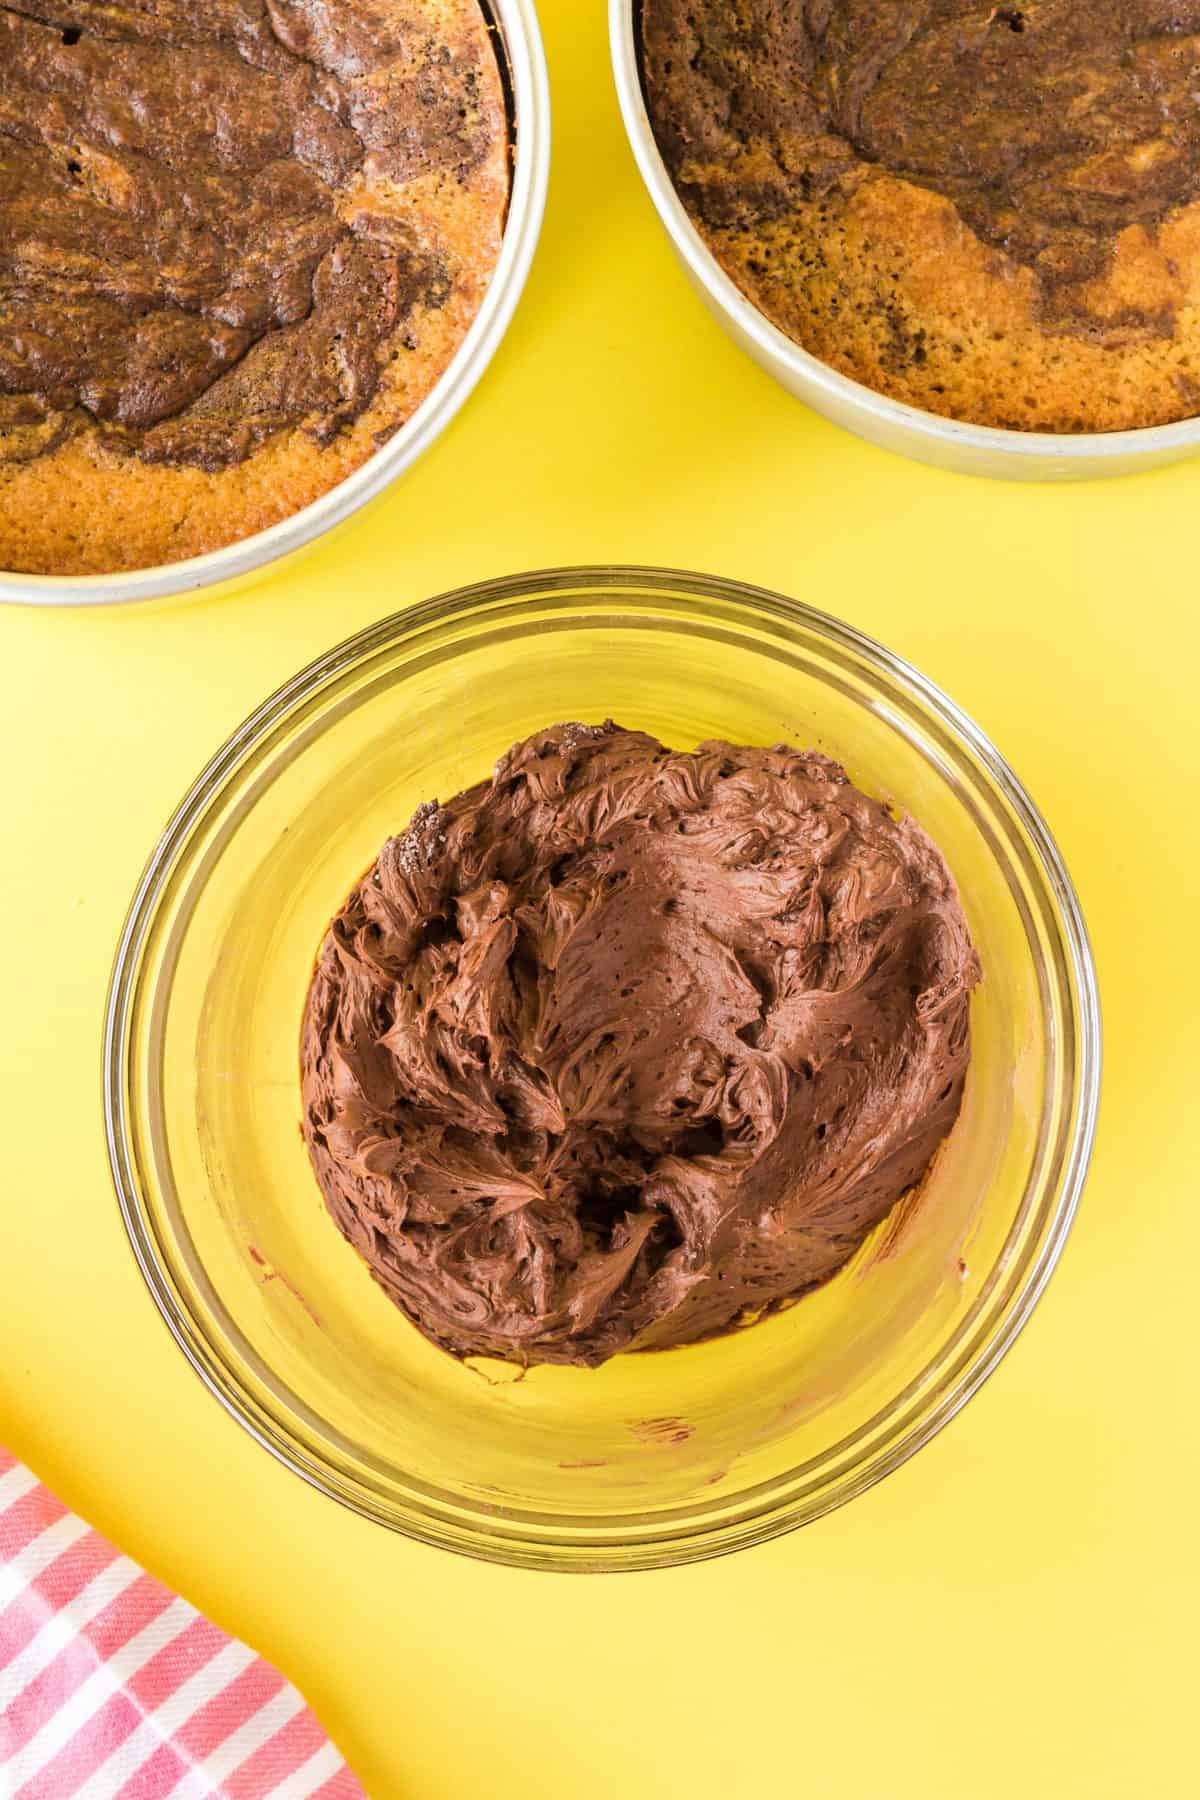
- Make the frosting- Beat all the frosting ingredients together on high speed for about 5-minutes or until light and fluffy.
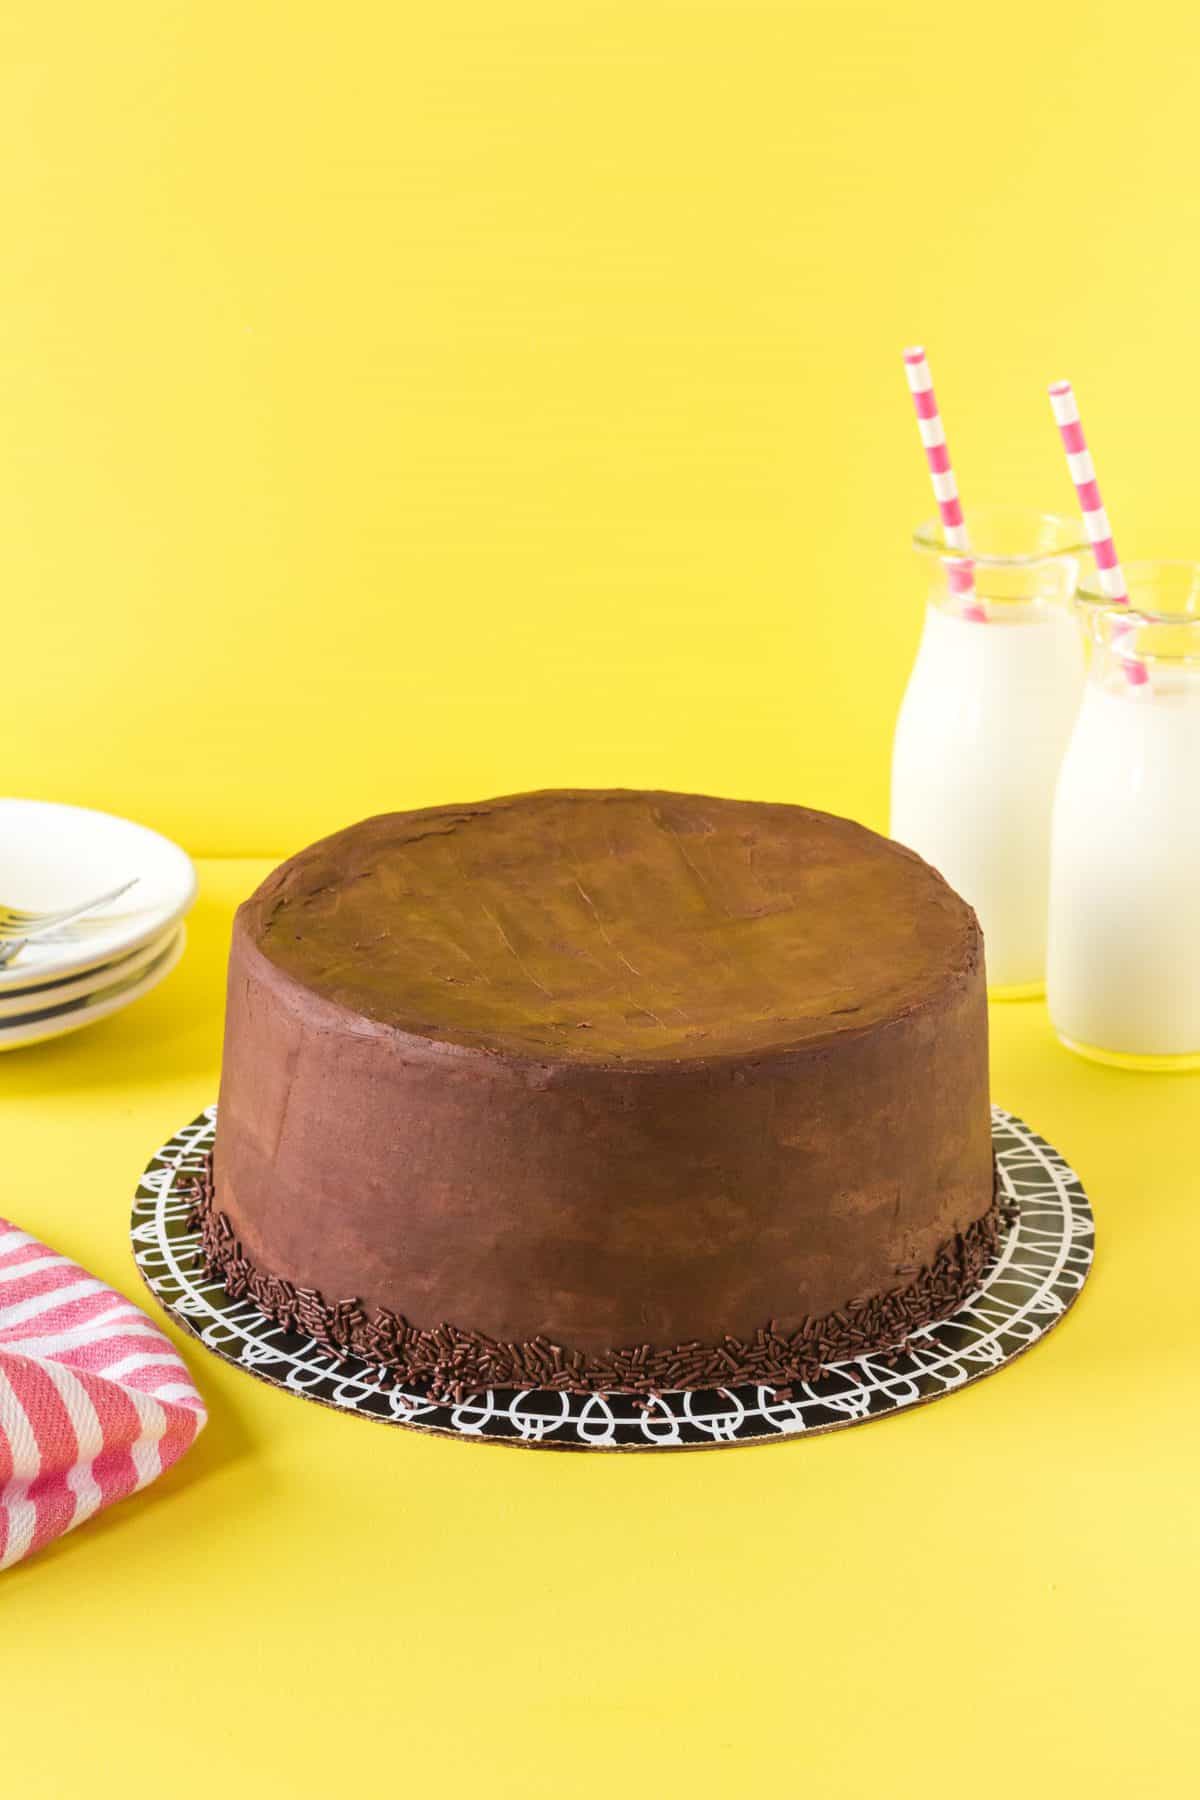
- Frost the marble cake- Frost the first cake, place the second cake on top with the bottom of the cake facing up, and then frost the entire cake in chocolate buttercream frosting. Pro Tip- If you want a smoother look, use an icing scraper to smooth the icing on the sides and top.
TIPS
- Don’t overmix the batter- Overmixing will lead to a stiff, dense crumb cake instead of a moist cake.
- Make large swirls-The key to this marbled cake is making large swirls. Try for 3 curling passes, leaving distinct sections of each batter.
- Try loaf cake- The marble effect works in pound cake format, too. And, it pairs perfectly with a steaming cup of coffee for breakfast.
- Prepare the frosting ahead of time- You can save some time by making the frosting ahead of time and storing it in an airtight container in the fridge.
STORAGE TIPS
You can store your frosted marble cake at room temperature for about a day. If you need to store it longer, place it in an airtight container and put it in the refrigerator. You can store it in the fridge for 3-4 days.
FREQUENTLY ASKED QUESTIONS
WHY IS IT CALLED A MARBLE CAKE?
It’s called marble cake because you combine two different colored cake batters and swirl them together, giving the cake a marble look. The marble cake made its way to America with the German immigrants before the civil war.
WHAT FLAVORS ARE IN THIS CAKE?
This cake has a combination of chocolate and vanilla with a chocolate buttercream frosting.
WHAT SIZE CAKE PANS DO I NEED?
For this recipe, I used two 8” round cake pans. You want to use round cake pans so that they can easily be stacked and frosted. You can bake it in a 9x13 for a single layer cake. However, the times may vary, so you should check it at 25-minutes.
 CAN THIS BE MADE INTO A 3-LAYER CAKE
Yes, it can. You will want to use smaller 6” round cake pans to do this. Additionally, you should check the cakes in 25-minutes.
CAN I SKIP THE PARCHMENT PAPER LINING ON THE BOTTOM?
No! The parchment paper ensures that the cake doesn’t stick to the bottom of the pan, so you can easily remove it to frost the layers. You need to use parchment paper that is sprayed with non-stick cooking spray.
OTHER CAKE RECIPES YOU MAY ENJOY
- White Cupcakes
- Black Forest Cake
- Peach Layer Cake
 Marble Cake RecipePrep Time20 minsCook Time35 minsCourse: DessertCuisine: AmericanKeyword: birthday cake recipe, chocolate vanilla cake recipeServings: 14 servingsIngredientsCake:
- 2 ½ cups all-purpose flour
- 2 teaspoons baking powder
- 1 teaspoon baking soda
- ½ teaspoon salt
- 1 cup unsalted butter softened
- 1 ½ cups granulated sugar
- ¼ cup light brown sugar packed
- 3 large eggs
- 1 tablespoon vanilla extract
- 1 cup buttermilk
- 4 ounces semi sweet chocolate chopped and melted (not chocolate chips)
Chocolate Buttercream:- 1 cup unsalted butter softened
- 3 ½ cups confectioners’ sugar
- ½ cup unsweetened cocoa powder
- ¼ cup heavy cream
- 2 teaspoons vanilla extract
- ⅛ teaspoon salt
InstructionsCake:-
Preheat oven to 350 degrees F.
-
In a medium-sized bowl, whisk together flour, baking powder, baking soda and salt. Set aside for now.
-
In a large bowl, beat together butter, granulated sugar and brown sugar until light and fluffy (about 3 – 4 minutes).
-
Beat in eggs and vanilla extract until well mixed.
-
Add ½ the flour mixture to the wet mixture and stir with spatula just until combined.
-
Add in all the buttermilk and stir with spatula until mixed.
-
Add in the last ½ of the flour mixture and beat just until combined. Do not overmix.
-
Remove 1 cup of the cake batter and put in a separate small bowl. Add the melted chocolate to that separate small bowl and stir to mix completely.
-
Line the bottoms of two 8” round cake pans with parchment paper. Spray insides of cake pans with non-stick cooking spray.
-
Pour half the white mixture into each of the two 8” cake pans. If you can, use a scale to make sure you add the same amount of batter to each.
-
Drop tablespoons of the chocolate mixture into both the 8” pans and use a table knife to swirl the chocolate mixture into the white mixture. Don’t stir completely in (you don’t want the whole cake to be chocolate) – just lightly swirl the two together.
-
Bake for 30 minutes then test with toothpick to see if when inserted in the middle it still has batter stuck to it. If so, lightly cover pans with aluminum foil and bake for an additional 5 minutes until middles of cakes are set.
-
Let cool completely before frosting.
-
Before layering the cake, cut off the top domes to the cakes so you have two flat layers. A serrated knife works best for this.
Chocolate Buttercream:-
Beat all ingredients together (on high) until light and fluffy (about 5 minutes).
-
Frost cooled cake by frosting the bottom layer first, then add the second layer on top (the second top layer should have the bottom of the cake facing up as it will be the more flat side) and cover the whole cake in chocolate frosting. If you want a smoother look to the cake, use an icing scraper to smooth the icing on the sides and top.
Recipe NotesCan I bake this as a single layer 9 x 13 cake instead?
Yes, but the baking time (start checking the cake at 25 minutes) will vary and you’ll likely need only half the amount of chocolate buttercream.
Can this be made into a 3-layer cake?
Yes but you’ll need to use smaller diameter cake pans like 6” pans. This will also alter the baking time so start checking the cakes at 25 minutes.
Can I skip the parchment paper lining on the bottom and just use extra non-stick cooking spray?
No, the parchment paper is highly recommended so the cake doesn’t stick to the bottom of the pan. You’ll still use non-stick cooking spray inside both pans but over top of the parchment paper lining on the bottom.
Leave a Reply