These no-bake Christmas treats are an adorable addition to your Christmas dessert table. Transform Oreo cookies into cute characters including Santa, Mrs Claus, a Christmas tree, an Ornament and Snow Globe in just a few simple steps thanks to delicious Belgian chocolate.

Why do we put so much pressure on ourselves at Christmas? We spend hours on complex recipes to impress family and friends, only for the day to whizz by and we’ve barely had time away from the kitchen. This year, let’s spend more time with the ones we love and less time sweating over the oven to bake cookies. Thankfully, I have the perfect recipe.
These no-bake Christmas treats still bring the wow factor, but they can be whipped up in minutes using simple ingredients. Better yet, make them with your little ones so you can spend time together making treats and memories. Isn’t that what Christmas baking is all about?

It's no secret I love no-bake treats. From no bake smores in Summer to chocolate dipped marshmallows at Halloween, I love finding ways to still create delicious desserts when life gets pretty crazy. And during the Christmas season, life can sure get crazy! 'Tis the holiday season!
This recipe begins with the family favorite – Oreos. Chances are, you may even have a pack or two already in your pantry. Then using the microwave, melt Belgian chocolate for an irresistibly easy coating. You simply need to dip and decorate! Start with the delightful duo Mr & Mrs Claus before festive favorites including an ornament, snow globe and a colorful Christmas tree. Pair them with our rice krispies treats cutouts or no bake rum balls and you have a wonderful tray of easy no bake Christmas cookies.
They are the perfect edible activity for little ones to get involved in and the sweetest homemade treats to gift cookie trays to family and friends. Although once you’ve crafted these fun festive fellows, they can be too irresistible to share! So grab your aprons, pour a cup of hot cocoa, and lets make a batch of these easy Christmas treats! Just don't forget to save a few for Santa Claus.
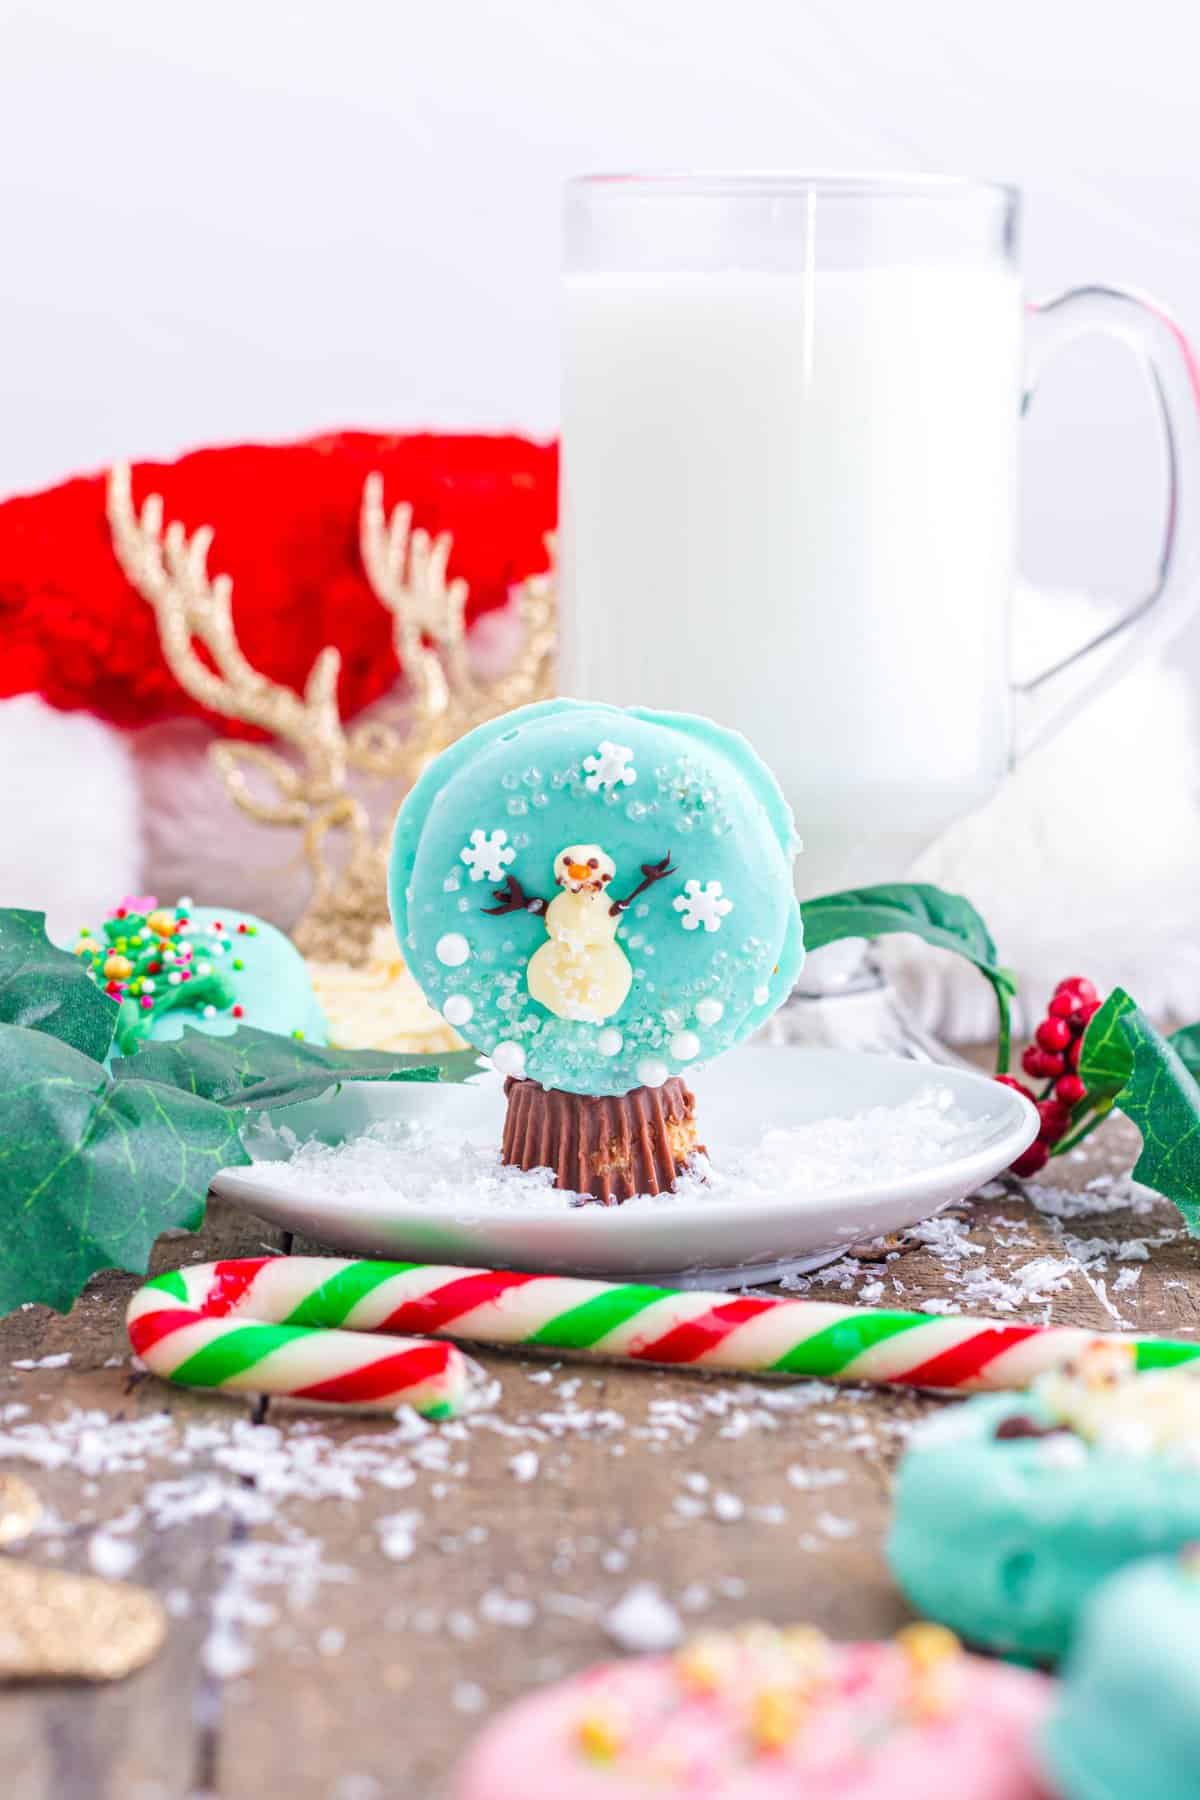
WHY WE LOVE THESE NO BAKE CHRISTMAS TREATS RECIPE
- Make ahead - One of the many joys with these chocolate dipped Oreos is that they last up to 2 weeks. This means if necessary, you can be super prepared and make them far in advance. Great for cookie swaps!
- Fuss Free Fun – No cookie cutters, heavy mixers, rolling pins or sharp knives needed. With minimal equipment and ingredients, these no-bake Christmas treats are the perfect fuss free fun for all ages.
- The sweetest gift – Whether you’re stumped on what to buy that one person who has everything, or you want a thoughtful hostess gift, who wouldn’t be grateful for Belgian chocolate dipped Oreos? This recipe makes a batch of 10 Christmas cookies, perfect for wrapping in treat bags and giving to loved ones at your next holiday party. Perfect for the chocolate lover in your life.
- It’s quick – With 30 minutes of prep and 10 minutes of cool time you can be devouring these divine desserts in under an hour. This festive treat is perfect for a last minute gift idea, as it gives you more time to focus on important festive tasks like sipping cranberry mimosas.
- No Bake – Two of my favorite words at this time of year not only because they mean I’ll save time but it means the kids can get involved too without the risk of hot ovens or sizzling stove tops. If you’re craving more kid friendly recipes, you’ll also love my No Bake Christmas Wreath Marshmallow Treats. Perfect for those last minute cookie exchanges.
- Customizable – While I’ve provided instructions for each character, feel free to get creative! These No bake Christmas treats can be tweaked to your own tastes using any candy or colors you please. They can also be adapted for different holidays like my Halloween dipped mint Oreos.
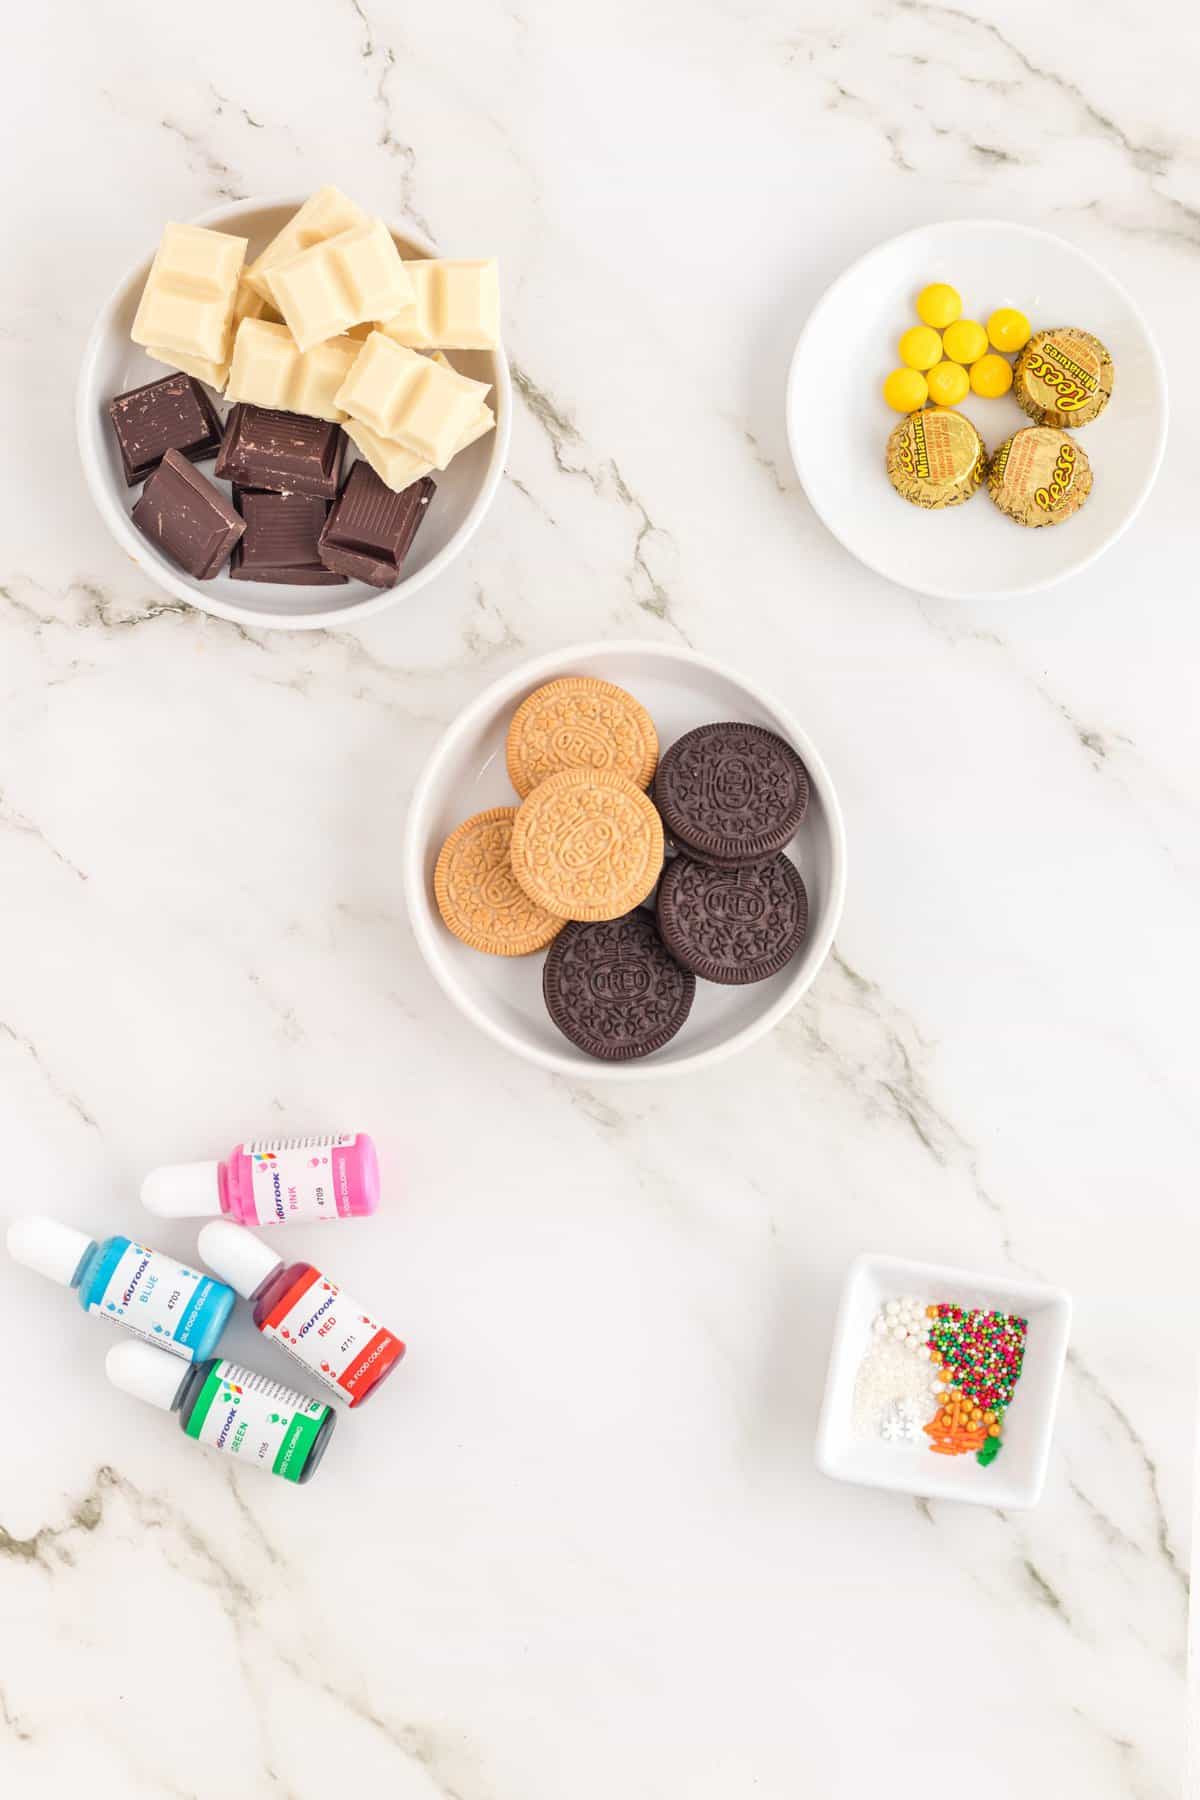
INGREDIENTS/SHOPPING LIST
- Cinnamon Bun Oreos or Golden Oreos
- Original Oreos
- Oil-based candy color in blue, pink, green, red
- Belgian dark chocolate- or milk chocolate chips or almond bark
- Belgian white chocolate- or white chocolate chips or almond bark.
- Assorted sprinkles
- white sanding sugar and/or edible glitters
- M&M’s candies
- Mini Reese's Peanut Butter Cup
- Hot chocolate-for sipping while you make these no bake Christmas desserts.

SUBSTITUTIONS AND ADDITIONS
- Chocolate – If you wish, you can substitute the Belgian chocolate for candy melts instead. They offer similar taste and texture, but come already colored so will save you adding food color. A candy coating will set a little quicker than chocolate so make sure you’re quick with any sprinkles before it sets!
- Adding Oil – depending on the brand you choose, some chocolate may turn out thicker than others. As we need to use the chocolate for both dipping and piping you don’t want it too thick. To thin it a little, add vegetable shortening or coconut oil.
- Oreo flavors – These no bake Christmas treats will work with any kind of Oreos. Favorites include cinnamon bun or Golden Oreos but original, mint, double stuffed or even the limited edition Gingerbread Oreos will work well.
- Decorating – Experiment with different candies and characters. For example, create Rudolph using pretzel pieces as antlers, snowman with candy corn nose, or edible glitter for sparkling snowflakes. The options are endless! Make a peppermint bark version with a dash of peppermint extract and some crushed candy canes!
RECOMMENDED TOOLS
- Microwave safe bowls
- Measuring spoons
- Piping bags
- Fork
- Parchment paper
- Plate
- Toothpicks
- Parchment paper or silpat lined cookie sheets

HOW TO MAKE THESE NO BAKE CHRISTMAS TREATS
This no bake holiday treat recipe is essentially two steps – dip then decorate. However, I’ve provided detailed instructions for each bite-sized treats character to ensure your no bake Christmas treats look and taste incredible.
Prepare The Chocolate
Add the Belgian chocolate to microwave-safe bowls and melt it in the microwave. To avoid burning, use 20-second increments with stirring in between. Then add the coloring as follows. You can make all four characters or focus on one at a time, depending on how quickly you can dip and decorate:
· Bowl 1 – ¼ cup dark chocolate
· Bowl 2 – ¾ cup white chocolate
· Bowl 3 – ¾ cup white chocolate tinted blue
· Bowl 4 – ½ cup white chocolate tinted pink
· Bowl 5 – ¼ cup white chocolate tinted green
· Bowl 6 – ¼ cup white chocolate tinted red
Mrs. Claus:
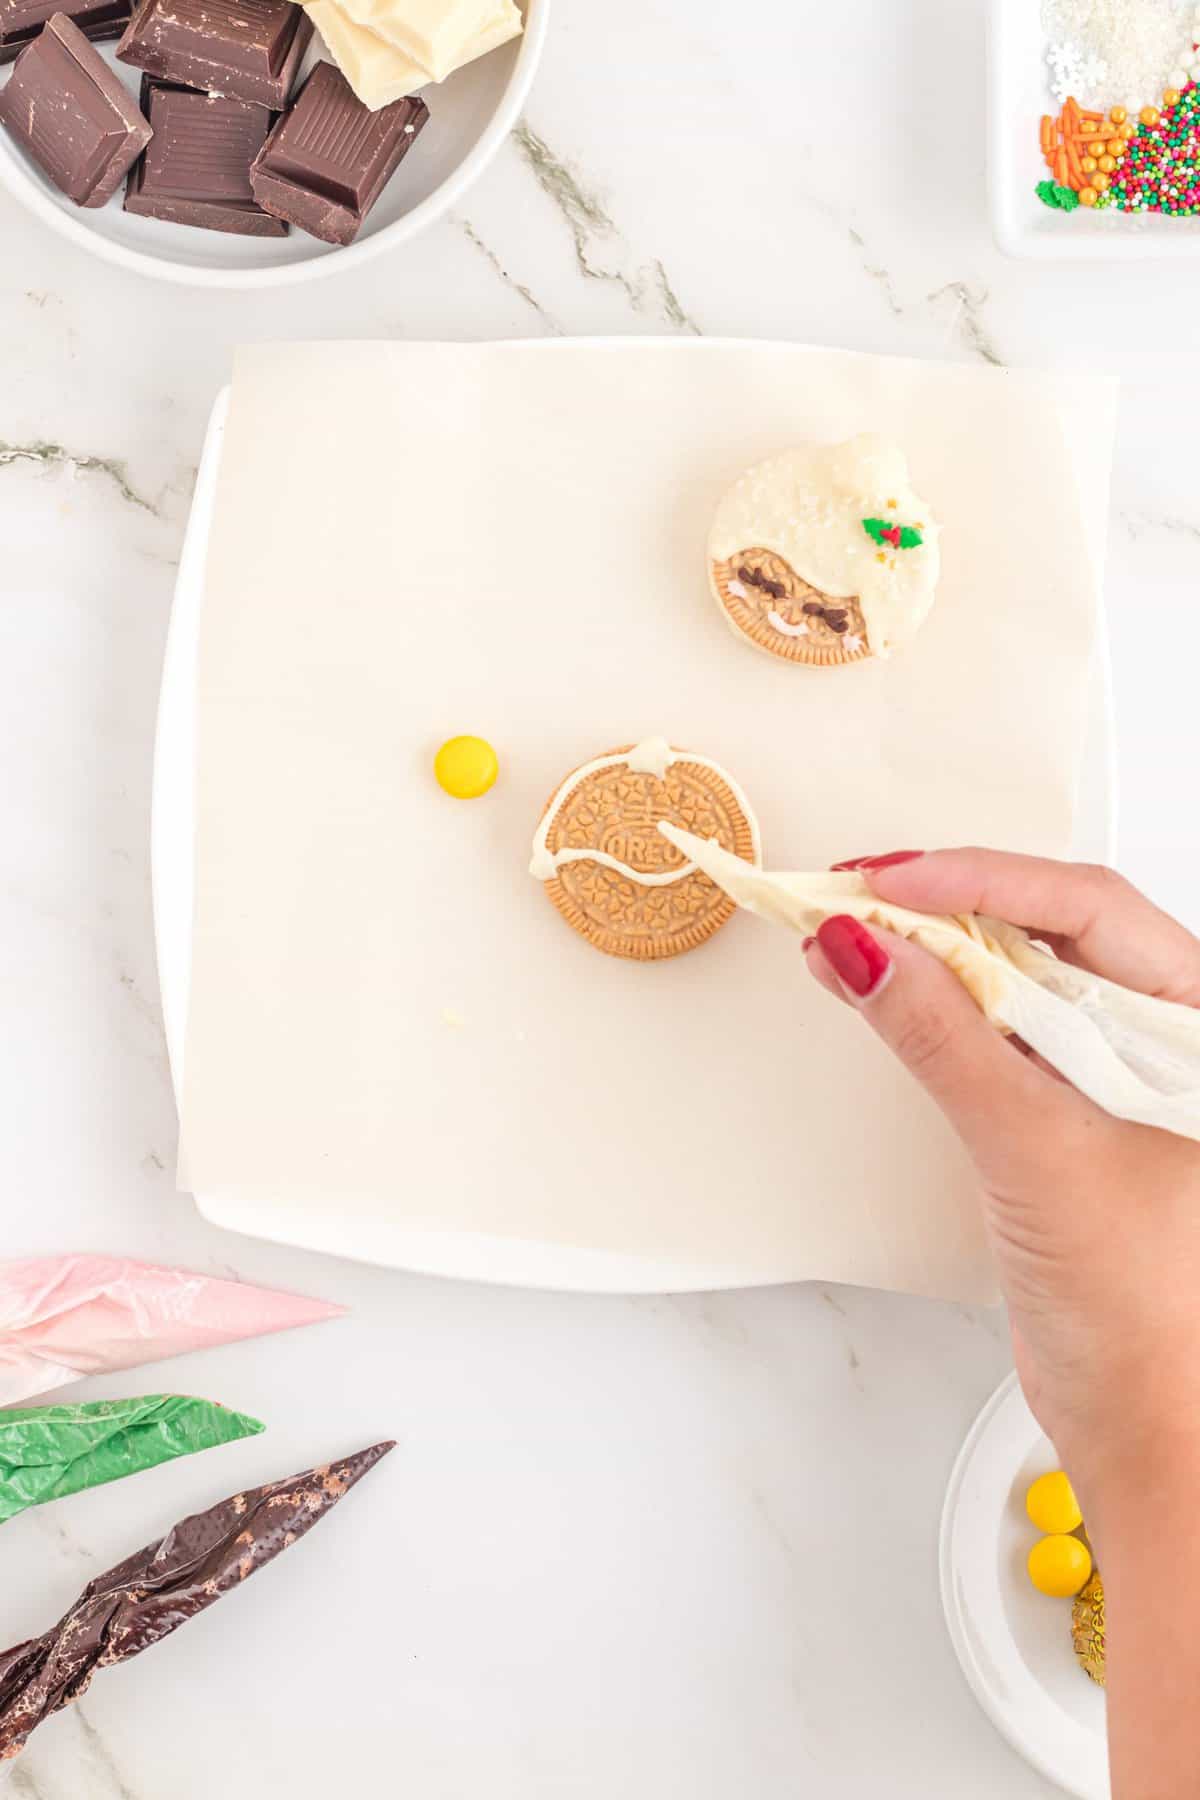
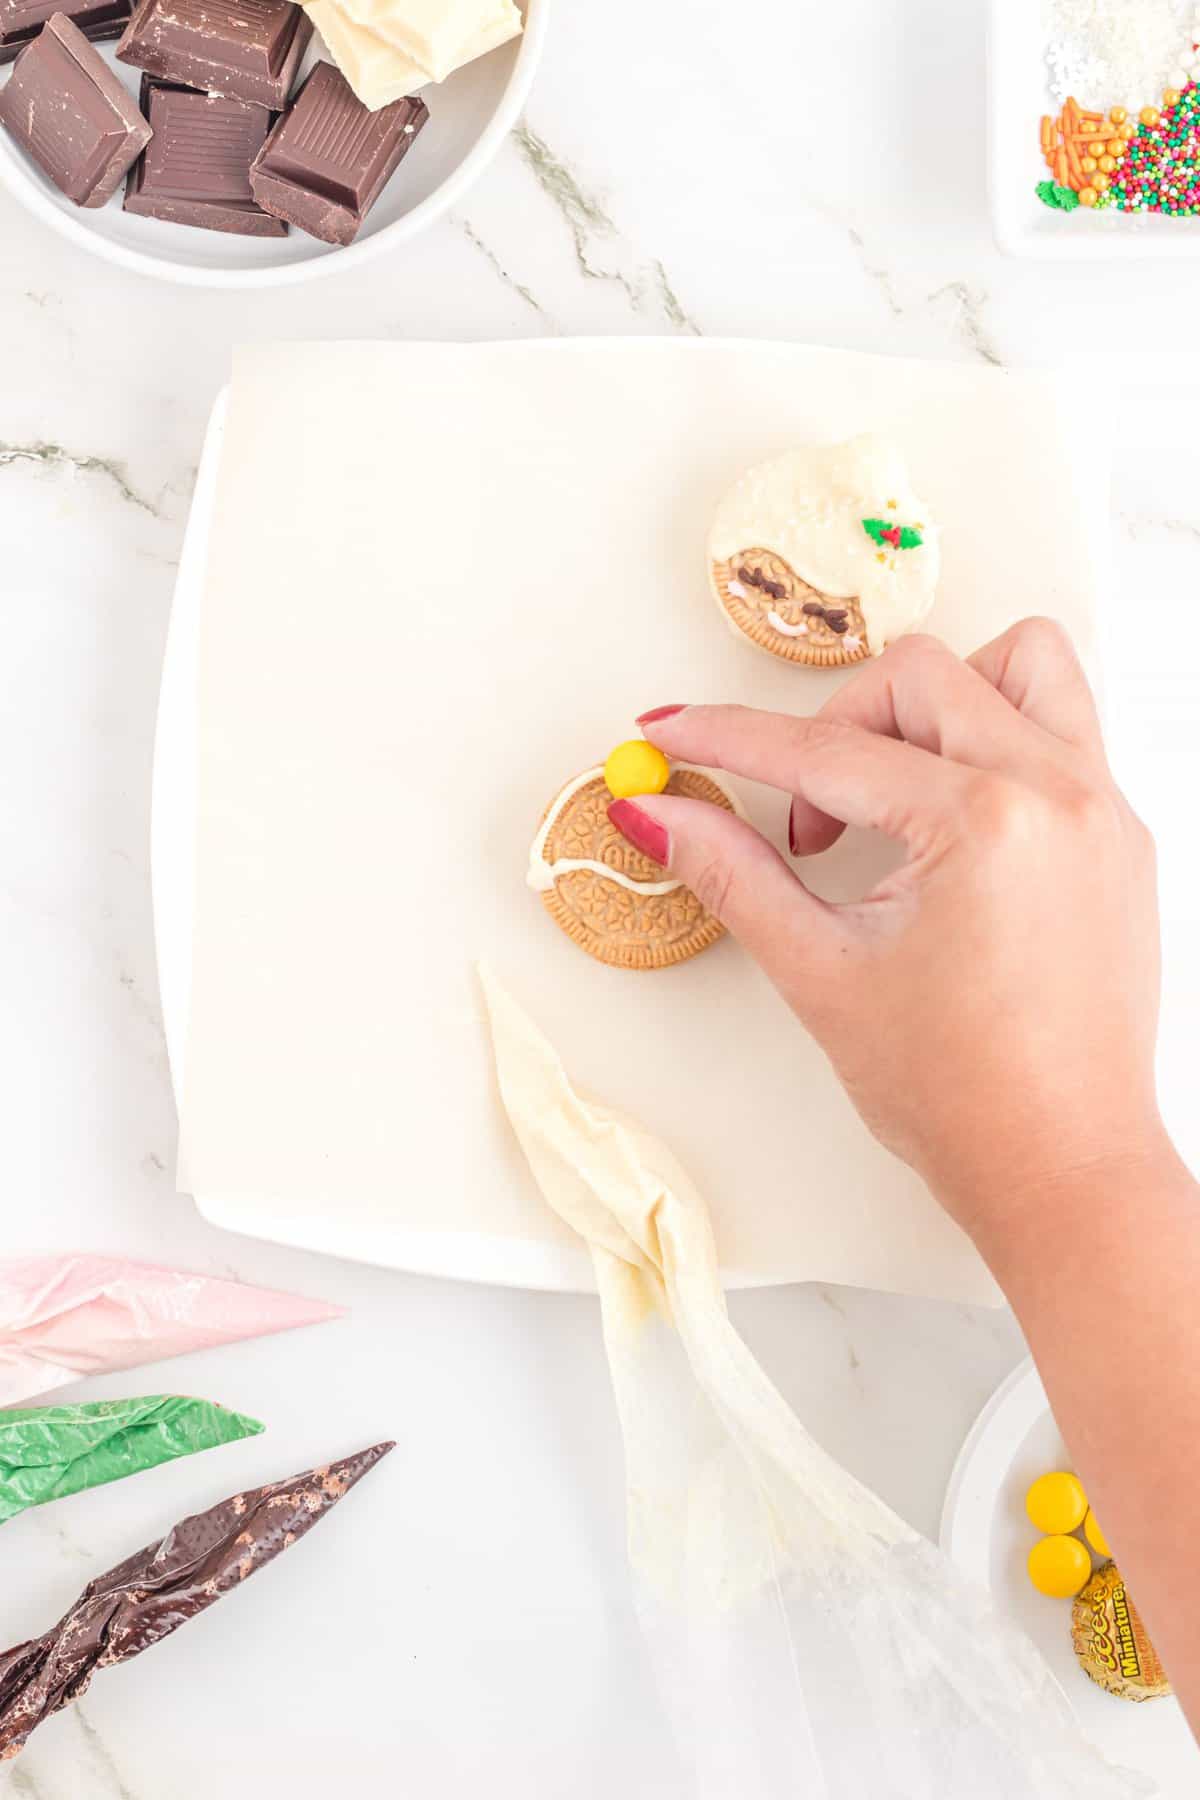
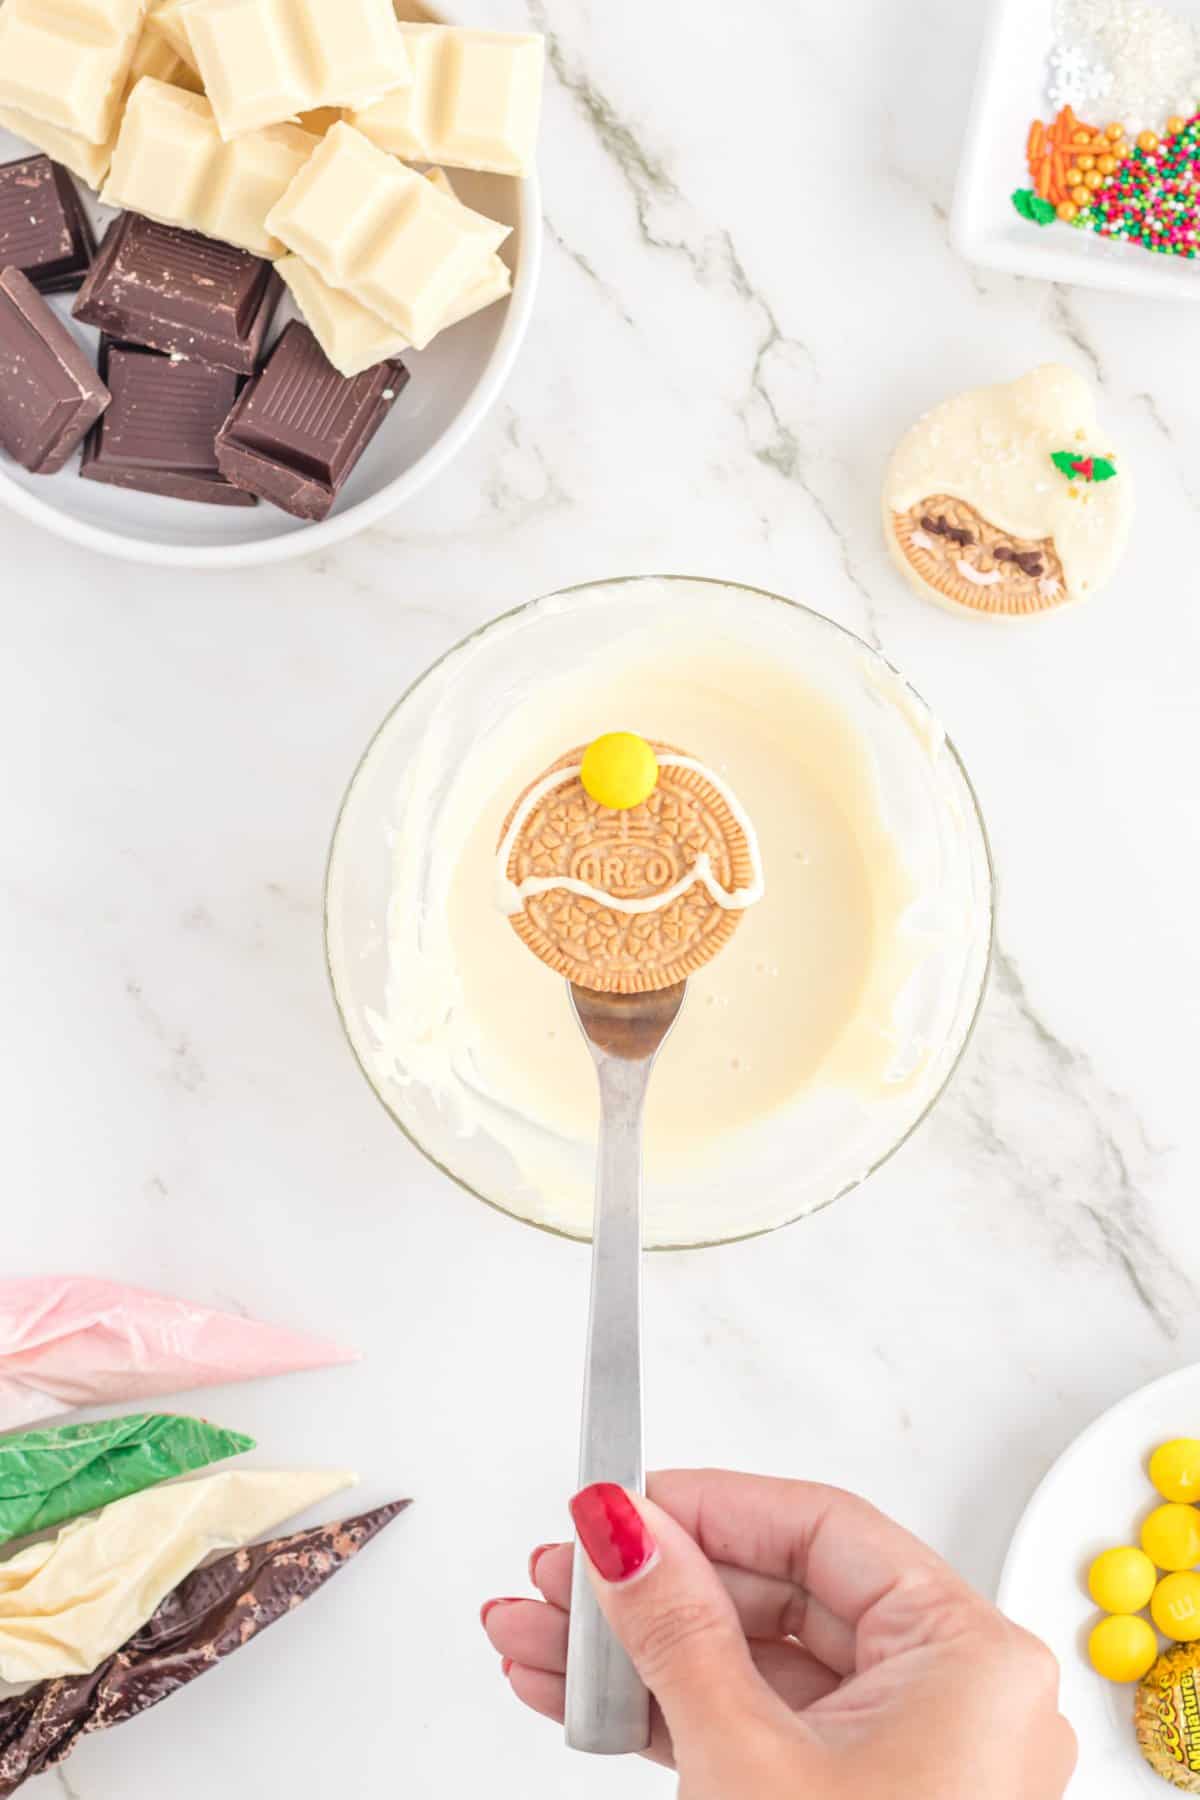
- To make Mrs. Claus, add 1 tablespoon of white chocolate to a piping bag and start by outlining her hair. Add a dot of white chocolate at the top of the Oreo and add an M&M for her bun. Chill the cookie in the freezer for a few minutes until the chocolate outline is set.
- While the chocolate is setting, add 1 tablespoon of the dark chocolate to a piping bag, add 1 tablespoon of the pink chocolate to another piping bag, add 1 tablespoon of the green chocolate to another piping bag, and reserve for the next steps.
- Using a fork, dip Mrs. Claus in white chocolate, being careful to only cover Mrs. Claus’ bun, hair, and the back side of the cookie. Gently shake to allow excess chocolate to drip back into the bowl.
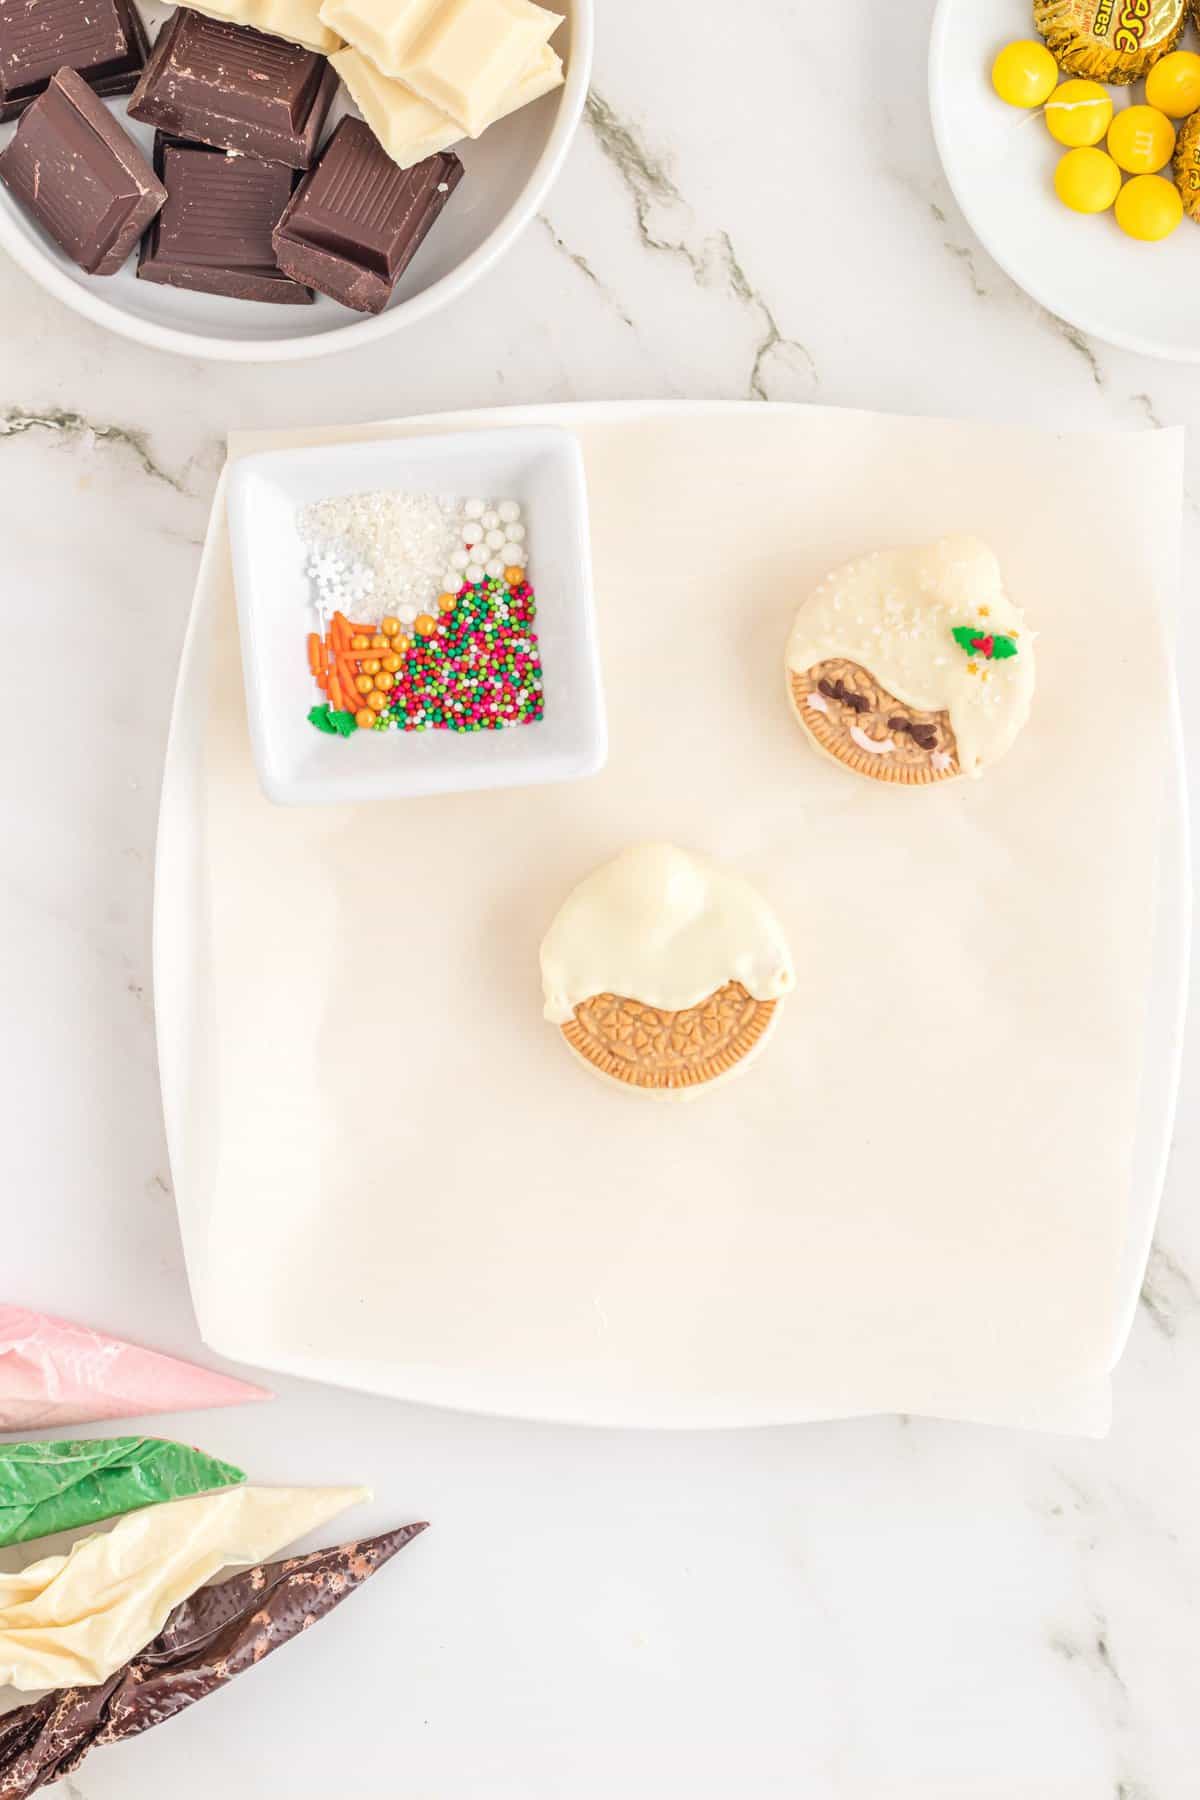
- Lay the cookie on a parchment-lined plate. Sprinkle Mrs. Claus' hair with white sanding sugar.
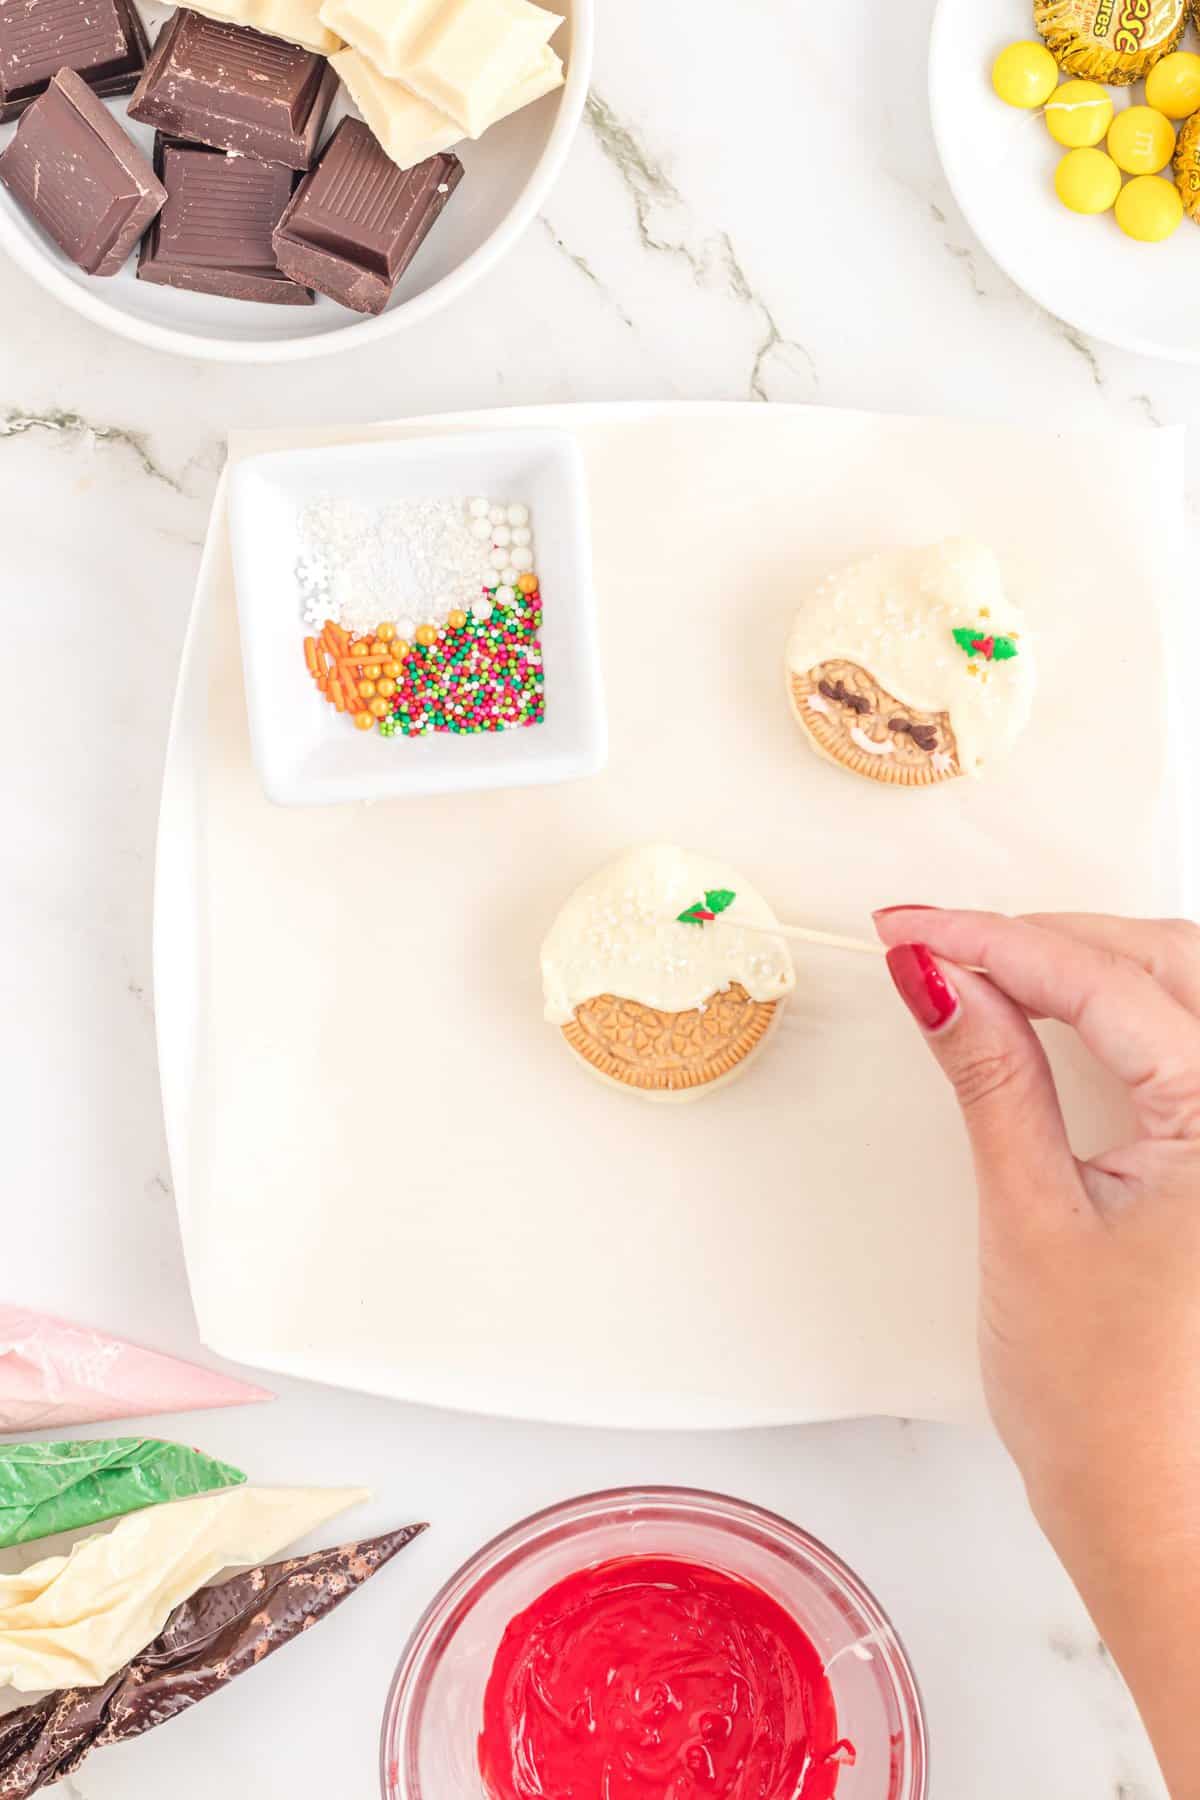
- Add leaf sprinkles to Mrs. Claus’ bun and dip a toothpick in the red chocolate to make holly berries. PRO TIP: You will need to act quickly to ensure your chocolate hasn’t set and the sprinkles will stick.
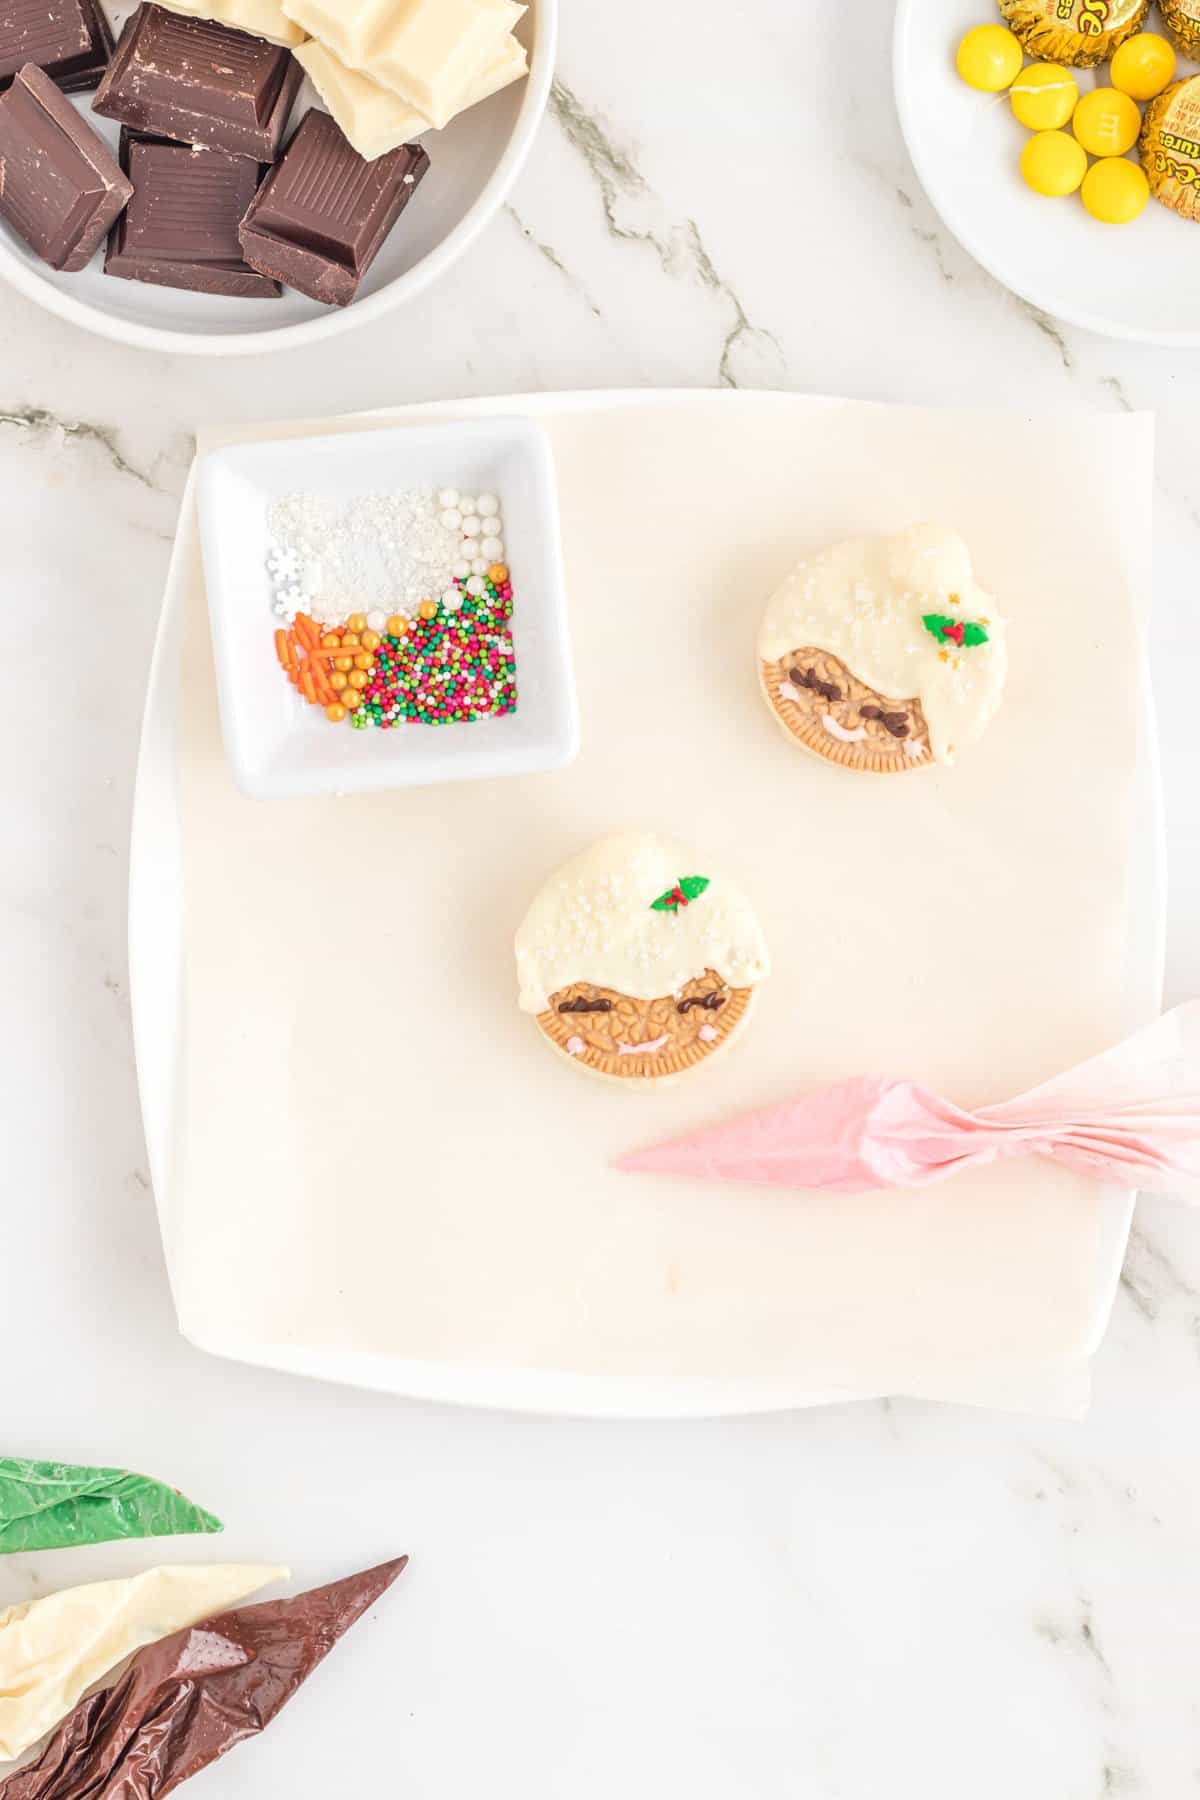
- Pipe eyes for Mrs. Claus using the dark chocolate.
- Next pipe a mouth and cheeks using the pink chocolate.
- Allow to set.
Santa:
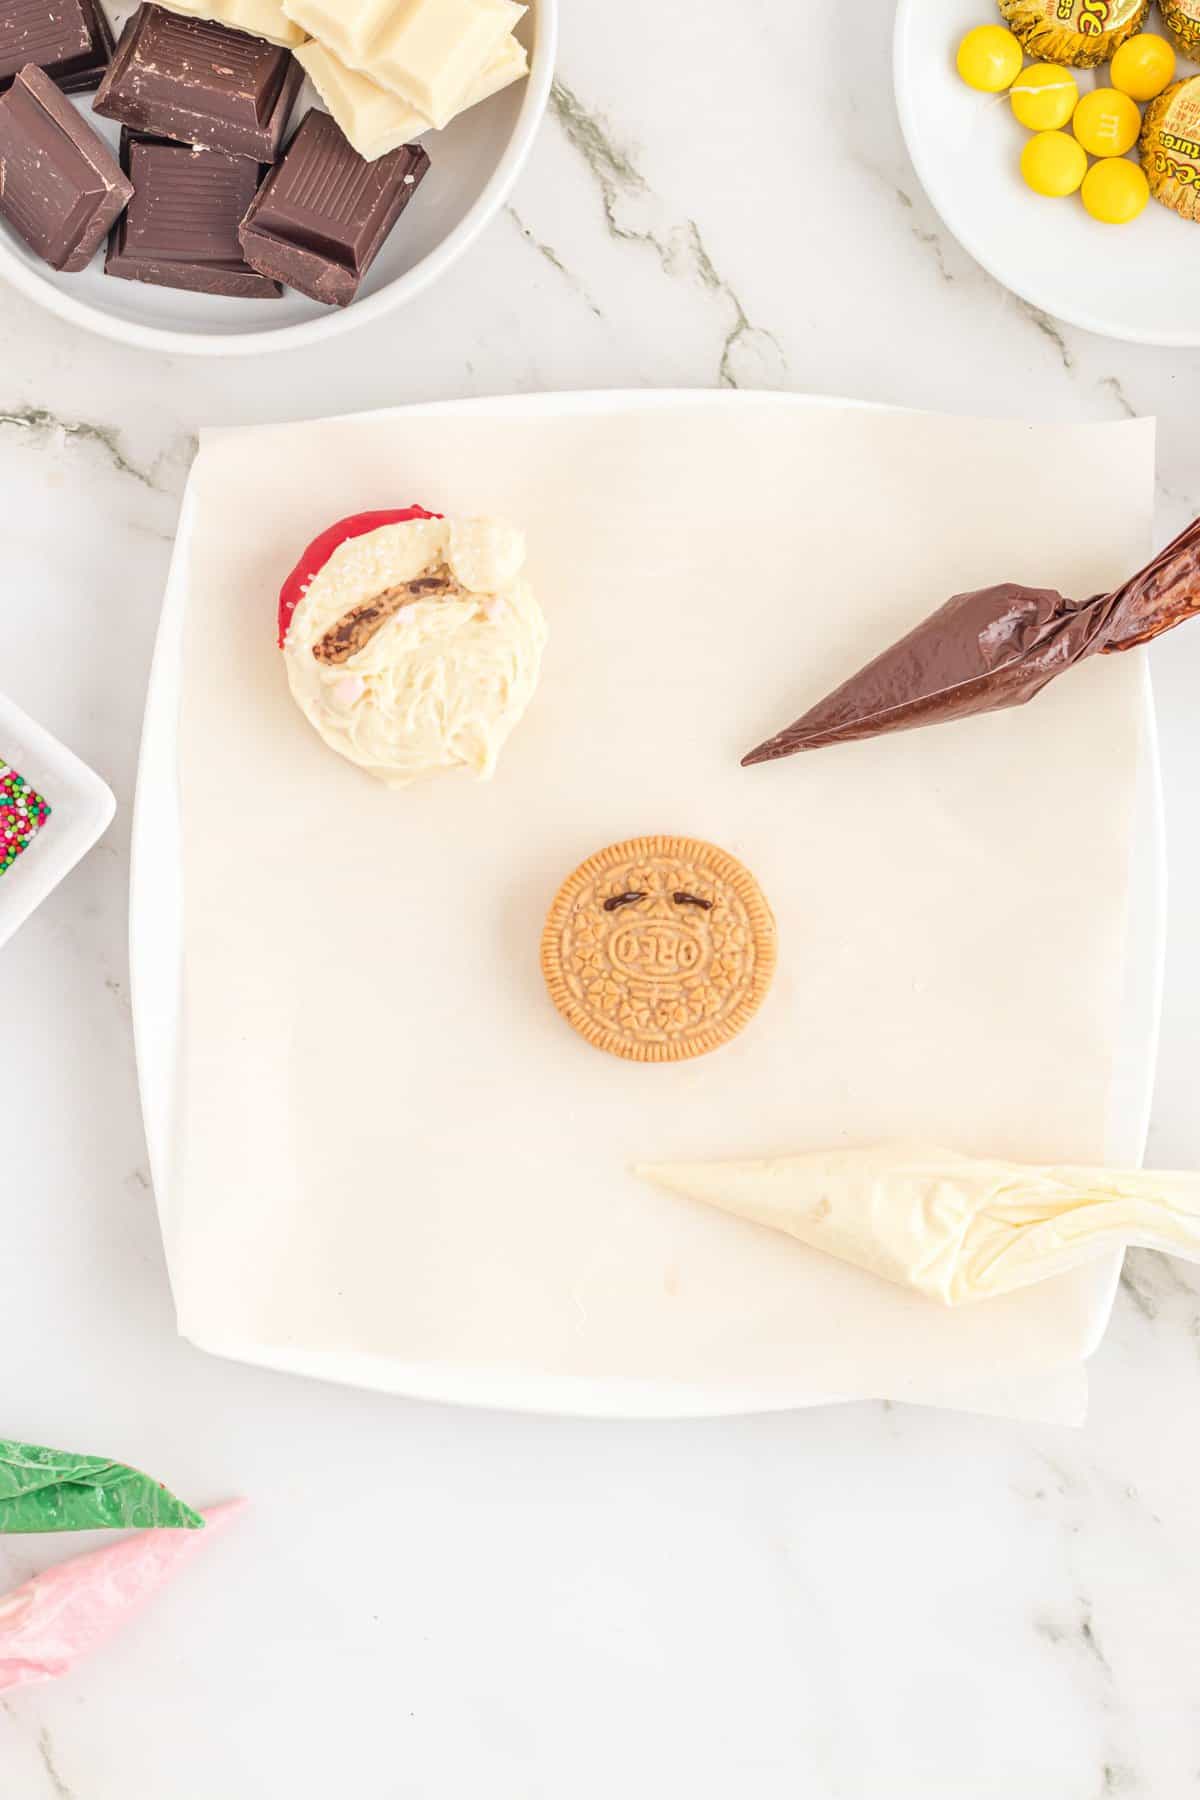
- To make Santa, start by piping eyes at the top third of the cookie with dark chocolate.
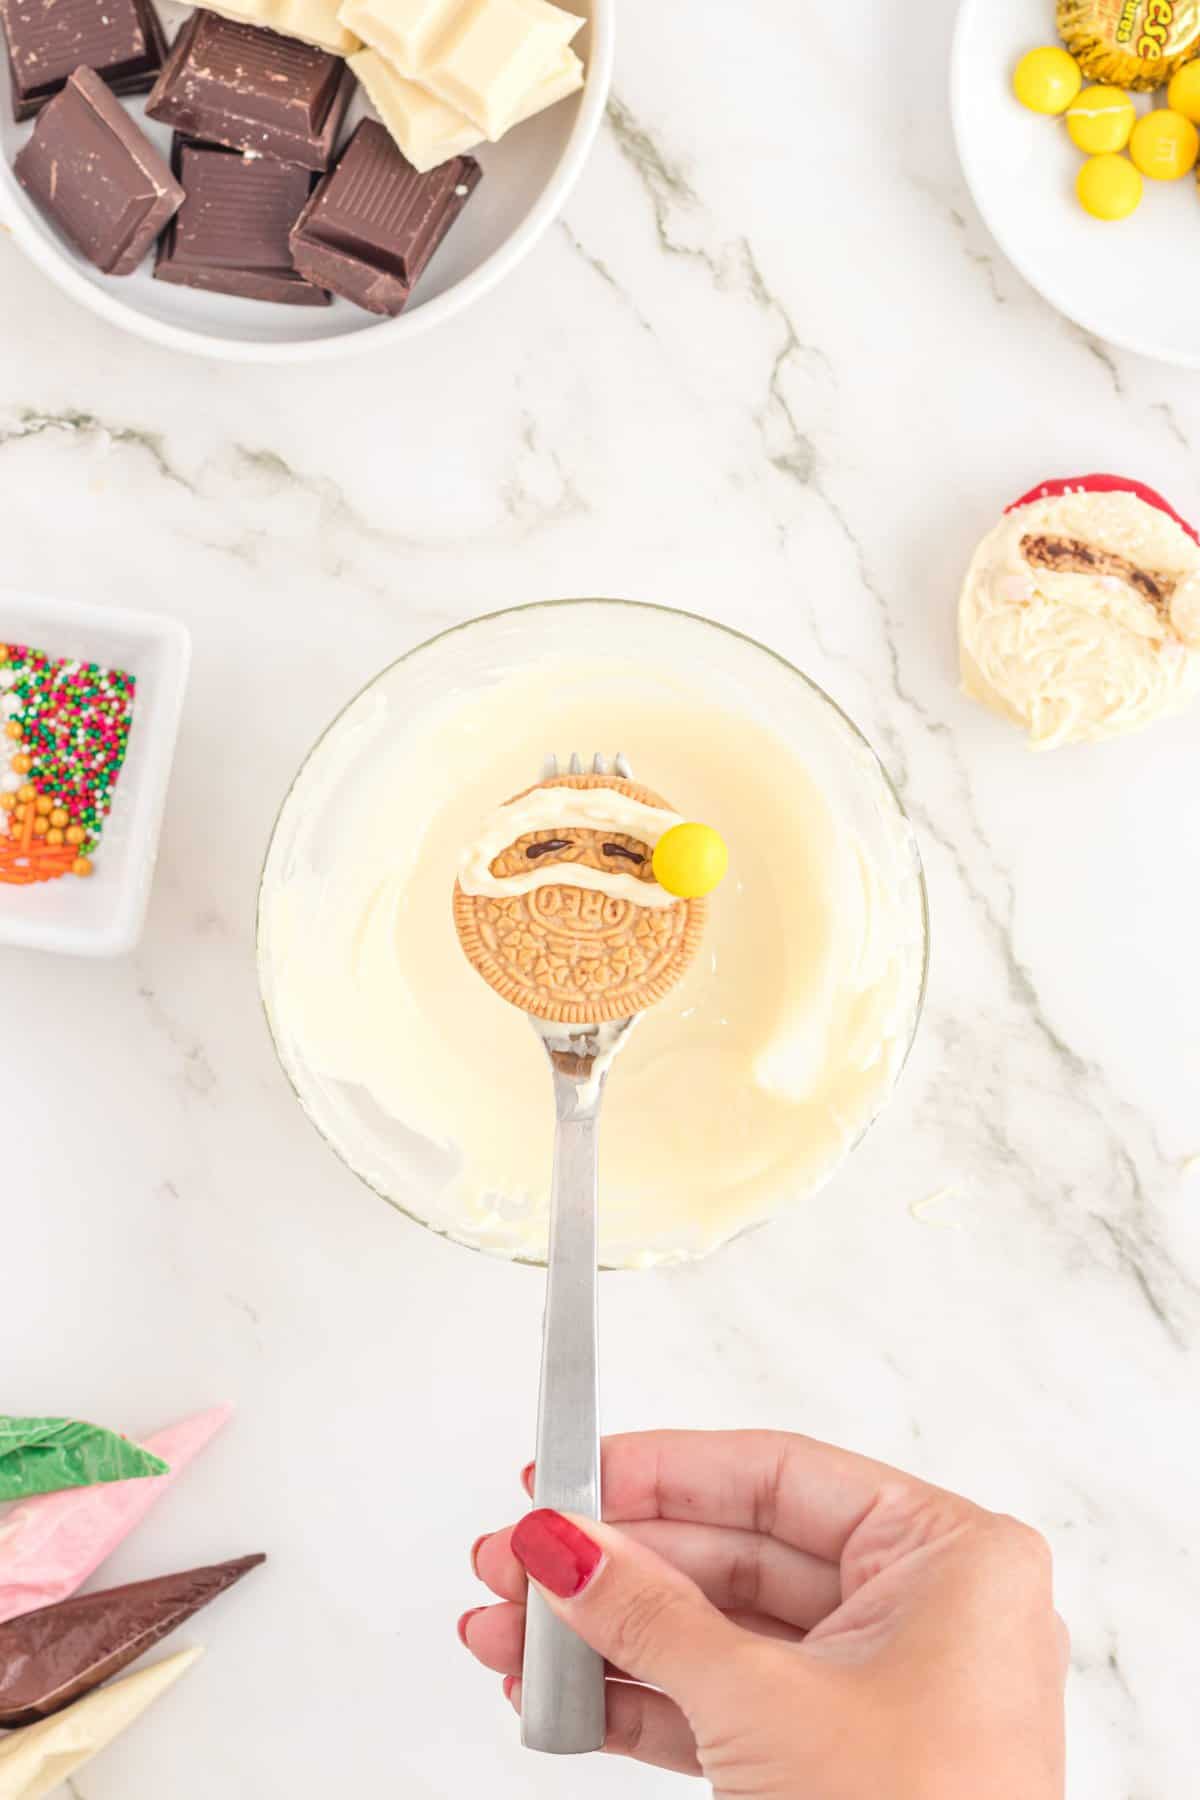
- Next outline around Santa’s eyes and the furry part of his hat. For the pom pom on his hat, add an M&M.
- Chill the cookie in the freezer for a few minutes until the chocolate outline is set.
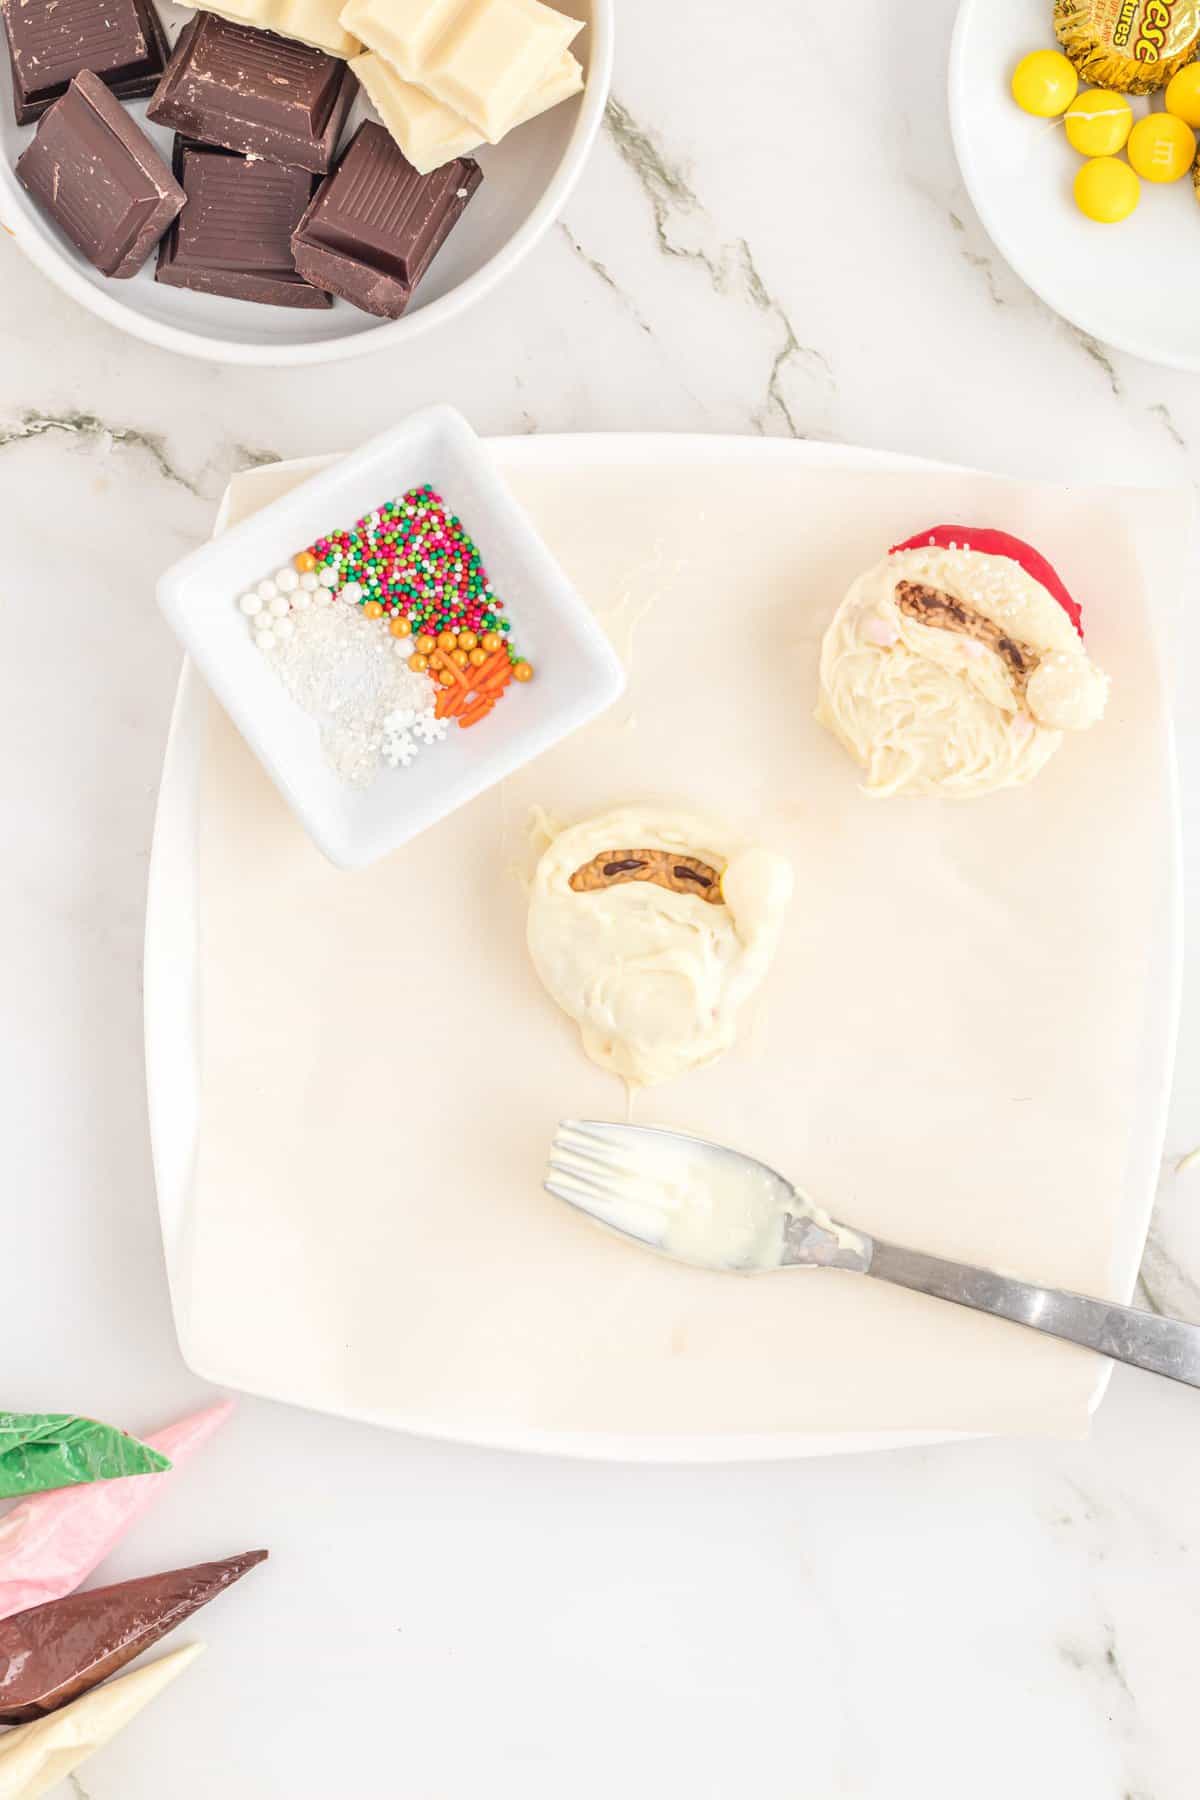
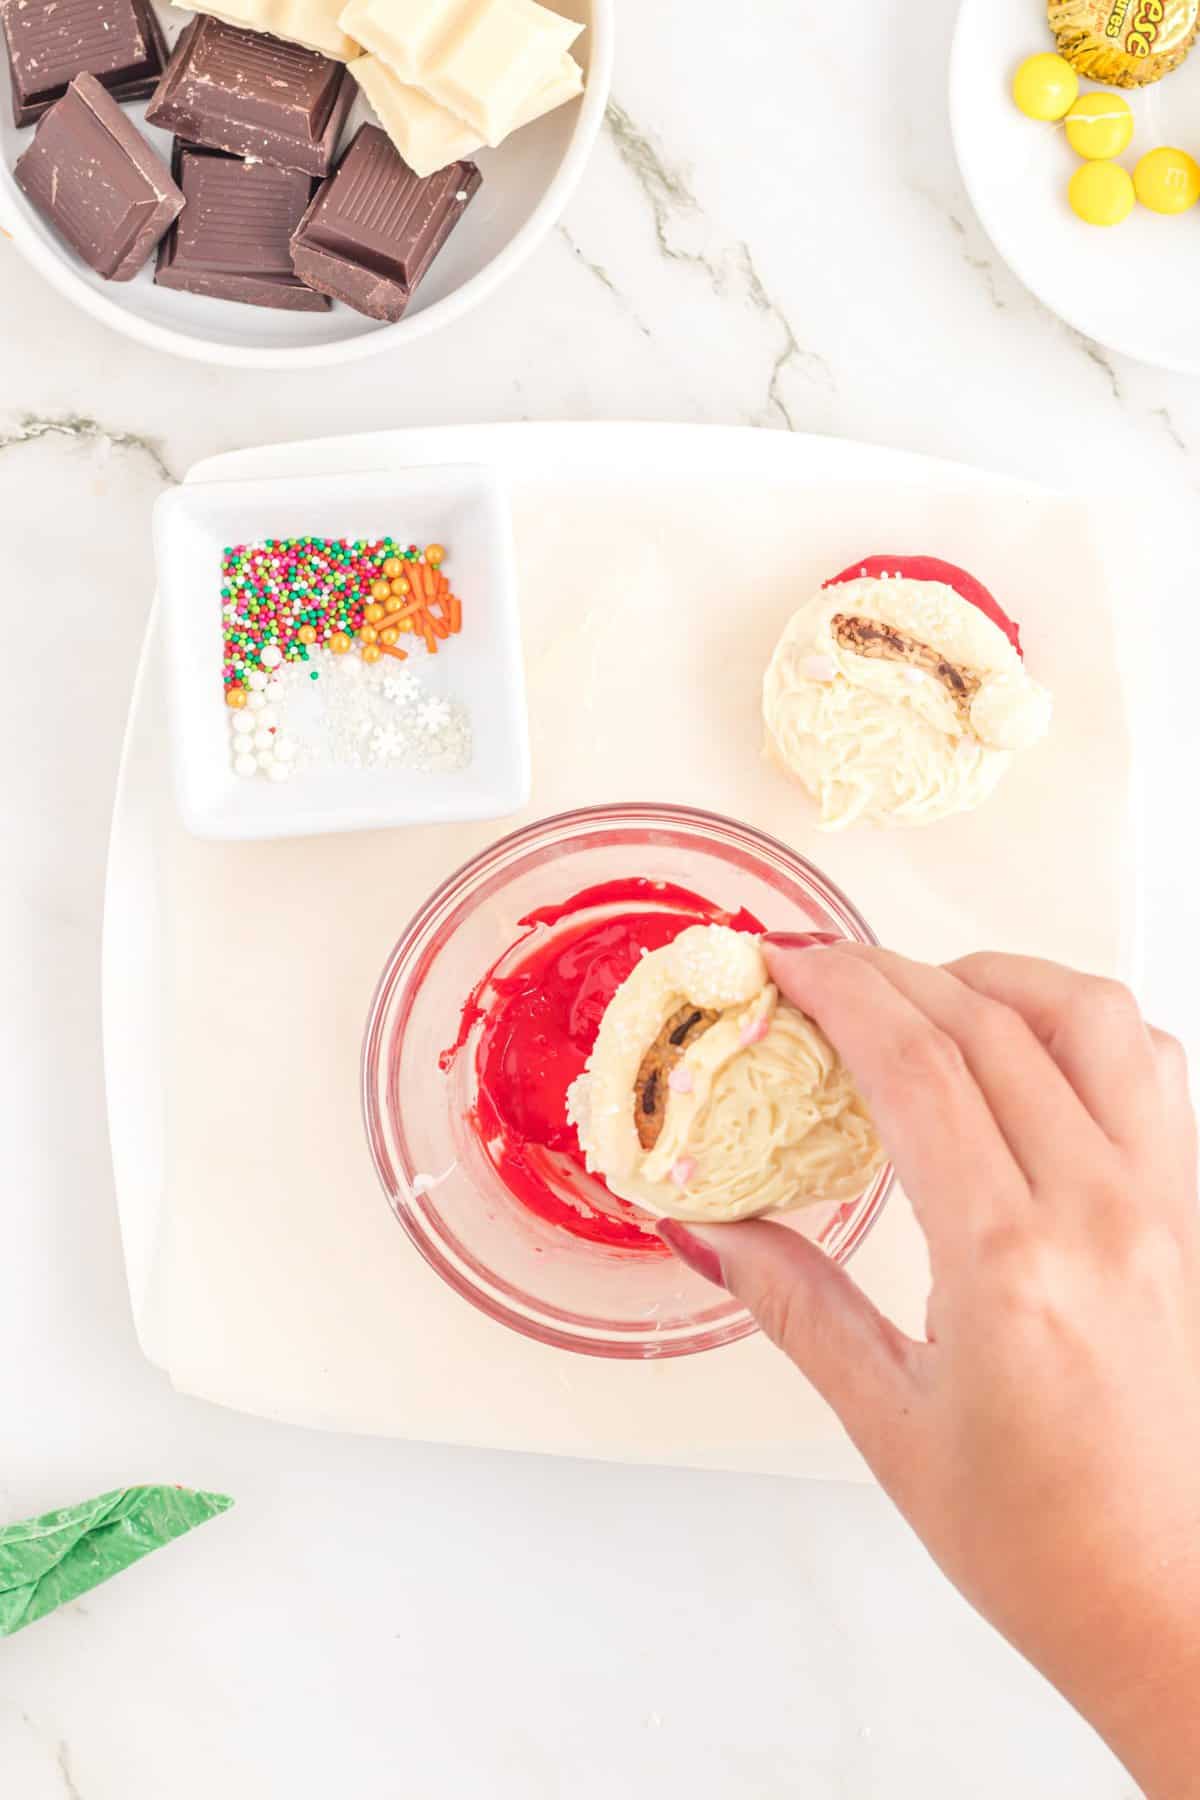
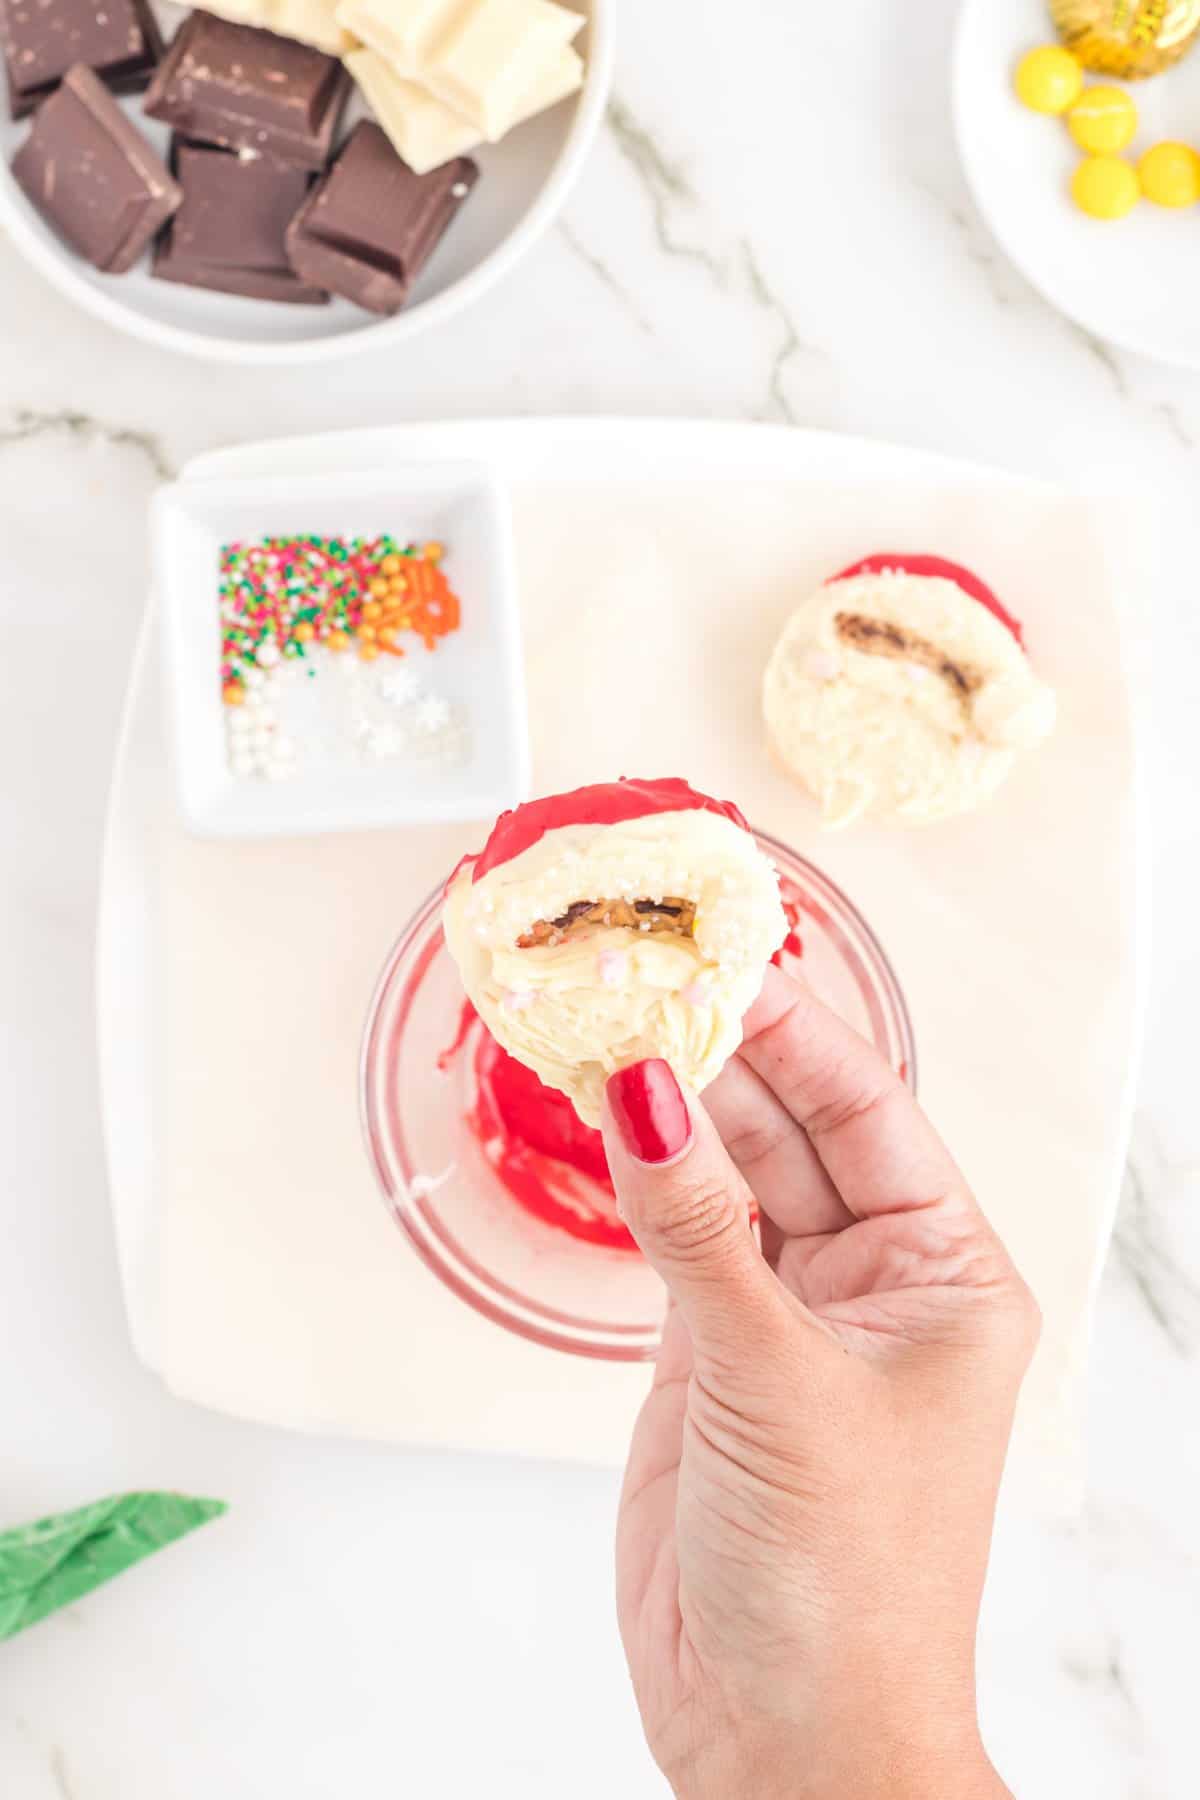
- Using a fork, dip Santa in white chocolate being careful to not cover his eyes. Allow excess chocolate to drip back into the bowl. And be sure the pom pom is covered.
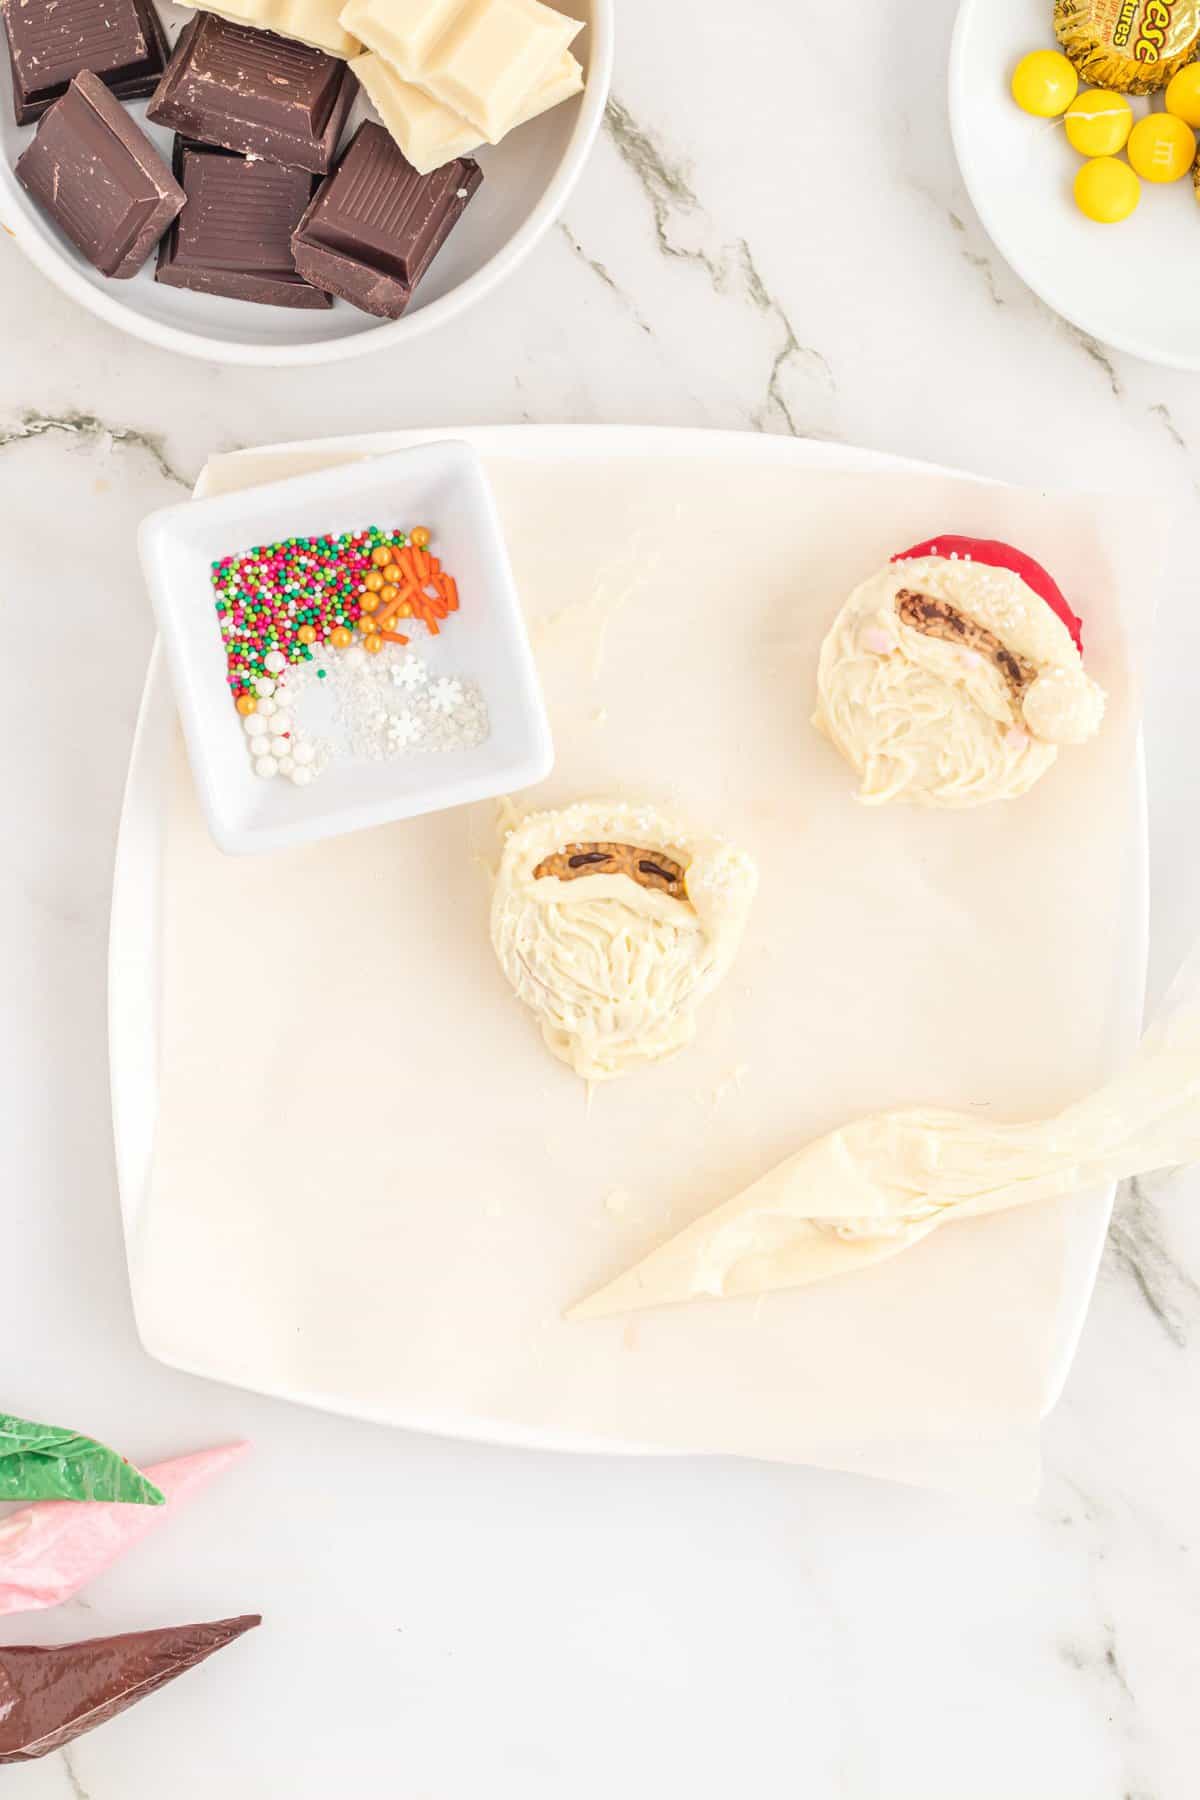
- Lay the cookie on a parchment-lined plate. Then quickly sprinkle Santa's beard, the brim of his hat and pom pom with white sanding sugar.
- Use a fork to create some texture on his beard after the chocolate has set a little.
- Pipe a mustache for Santa with some white chocolate.
- Next pipe a nose and cheeks using the pink chocolate.
- When Santa has fully set, finish his hat by carefully dipping just the top of his head in the red chocolate.
- Allow to set.
Ornament:
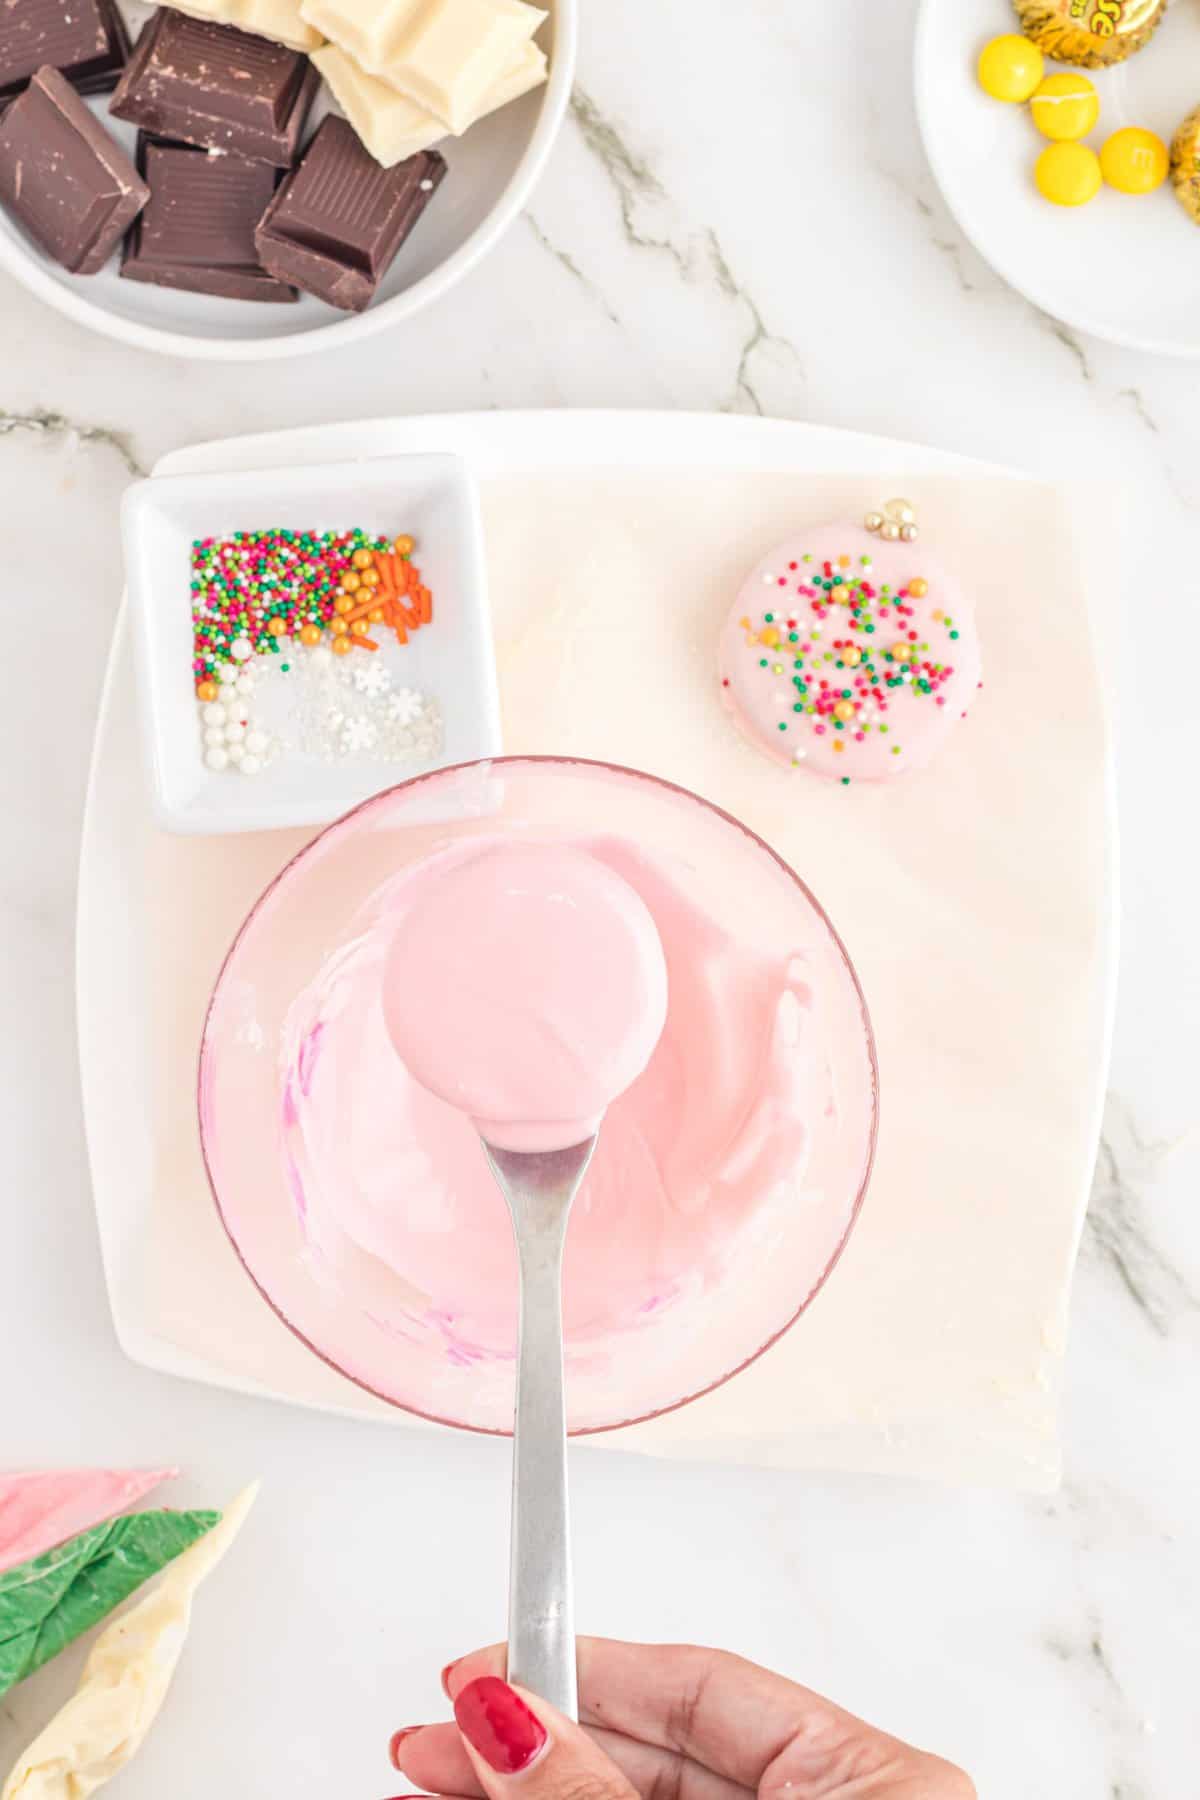
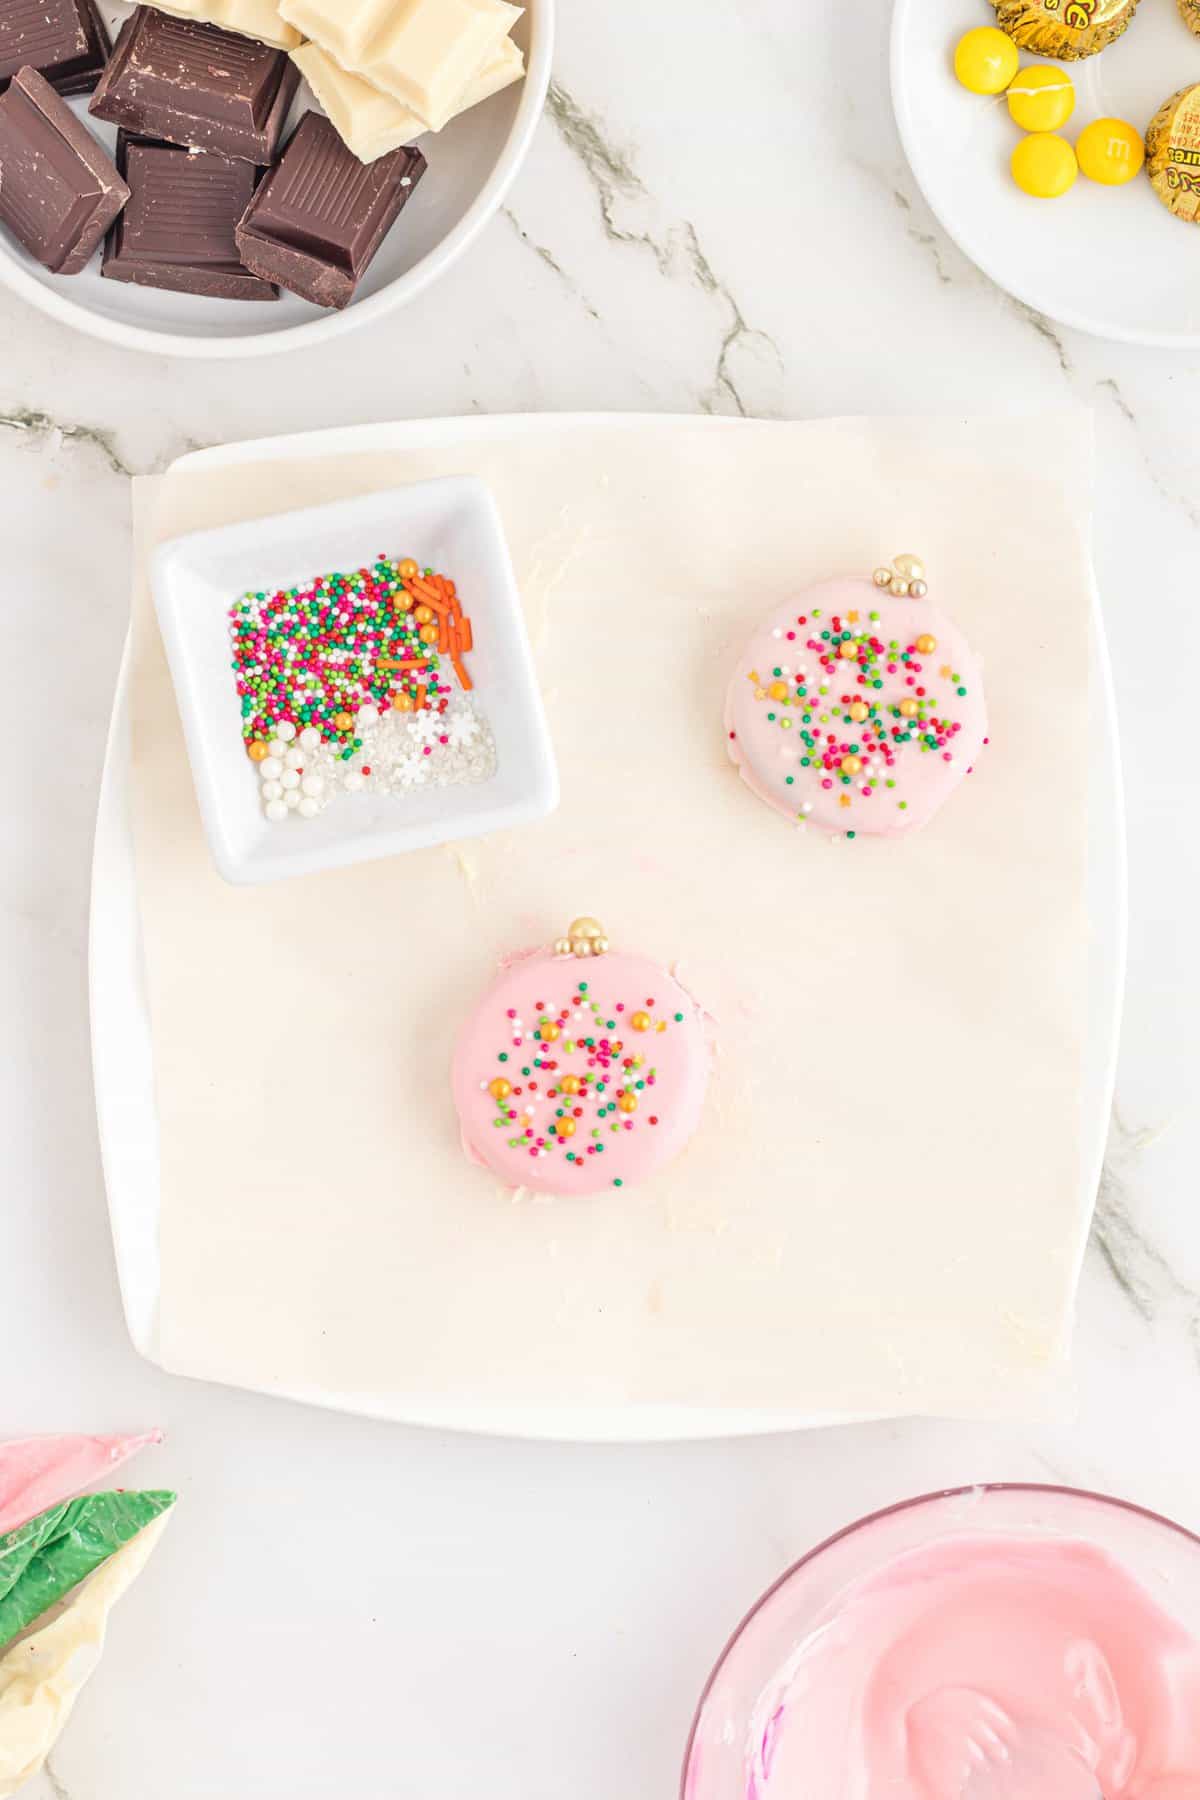
- To make the Ornament , start by dipping the Oreo in the pink chocolate using a fork. Gently shake the Oreo to allow any excess chocolate to drip back into the bowl.
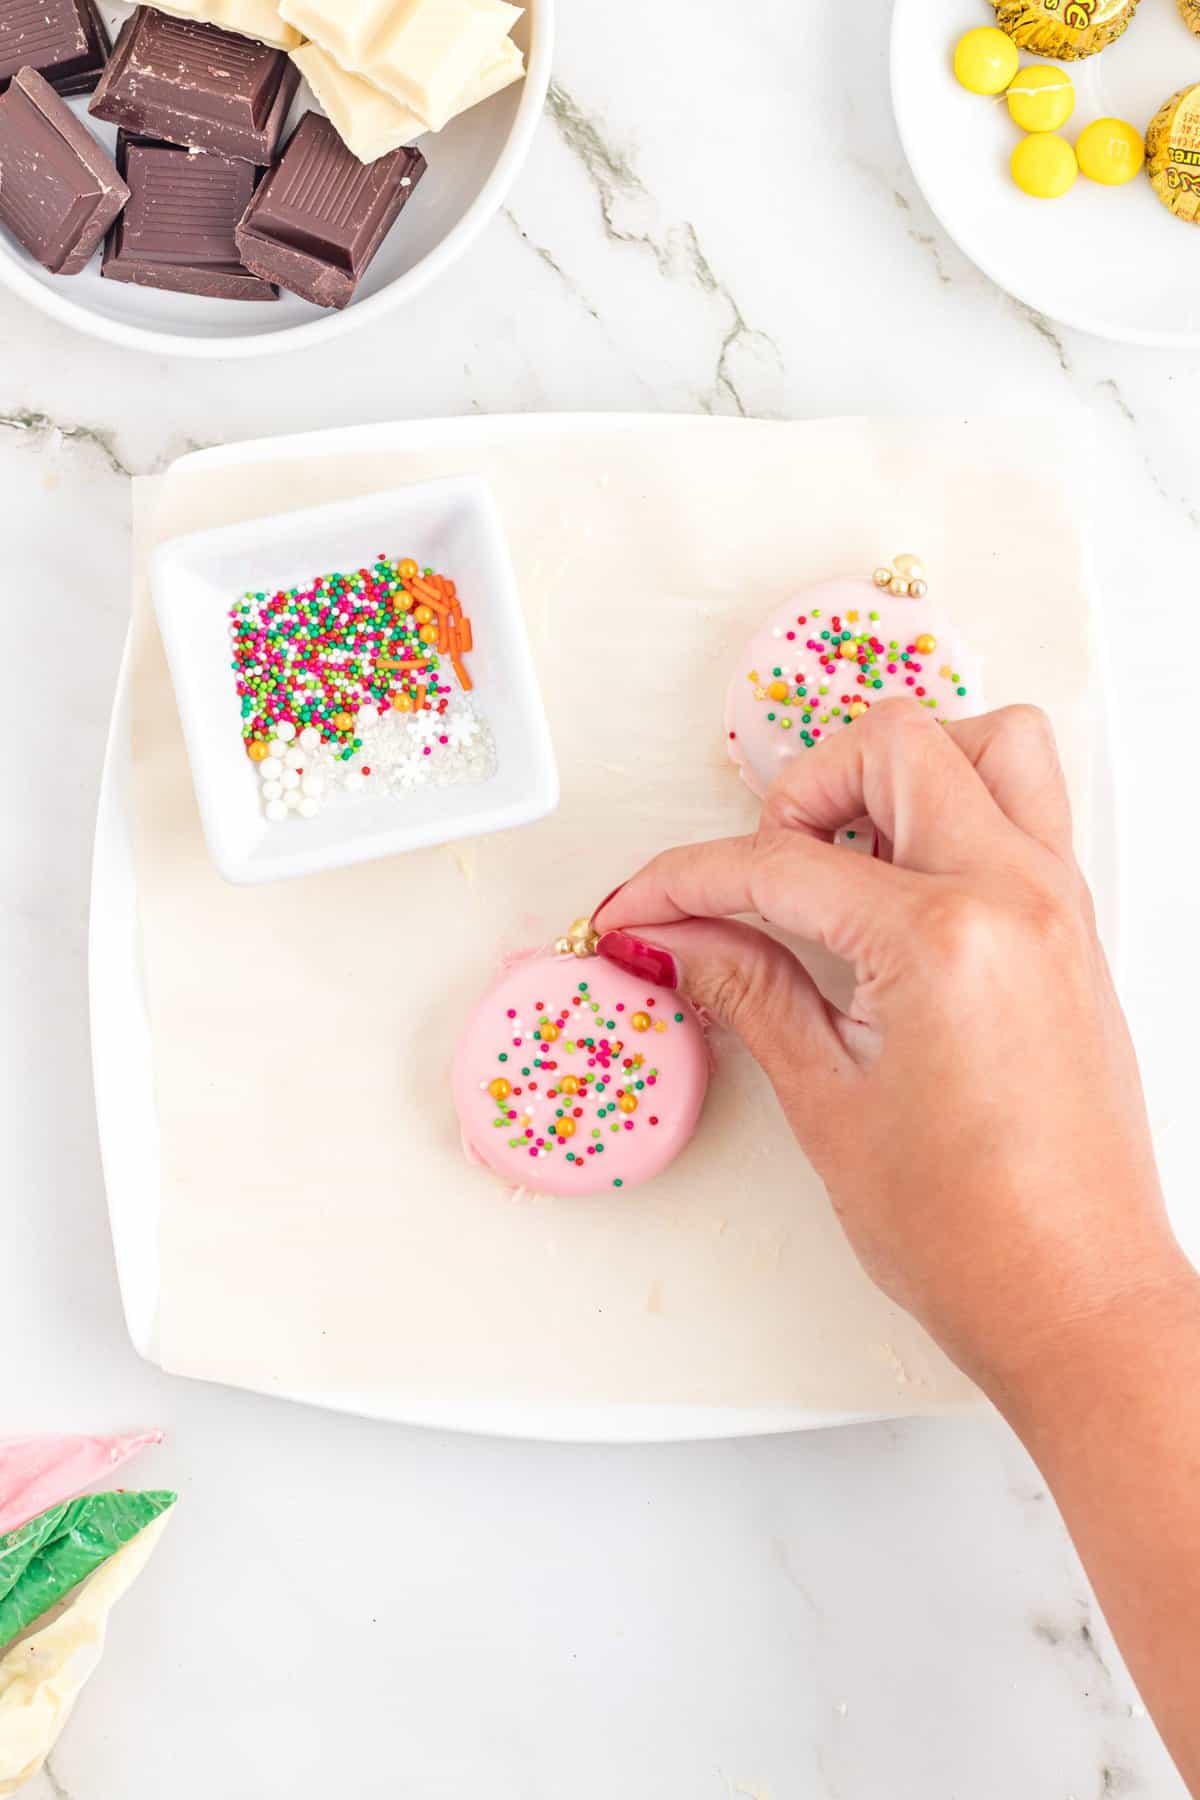
- Garnish with desired sprinkles.
- Chill the cookie in the freezer for a few minutes until the chocolate is set.
- Add the metallic sprinkles to form the ornament top using a bit of melted chocolate.
- Allow to set.
- Christmas Tree:
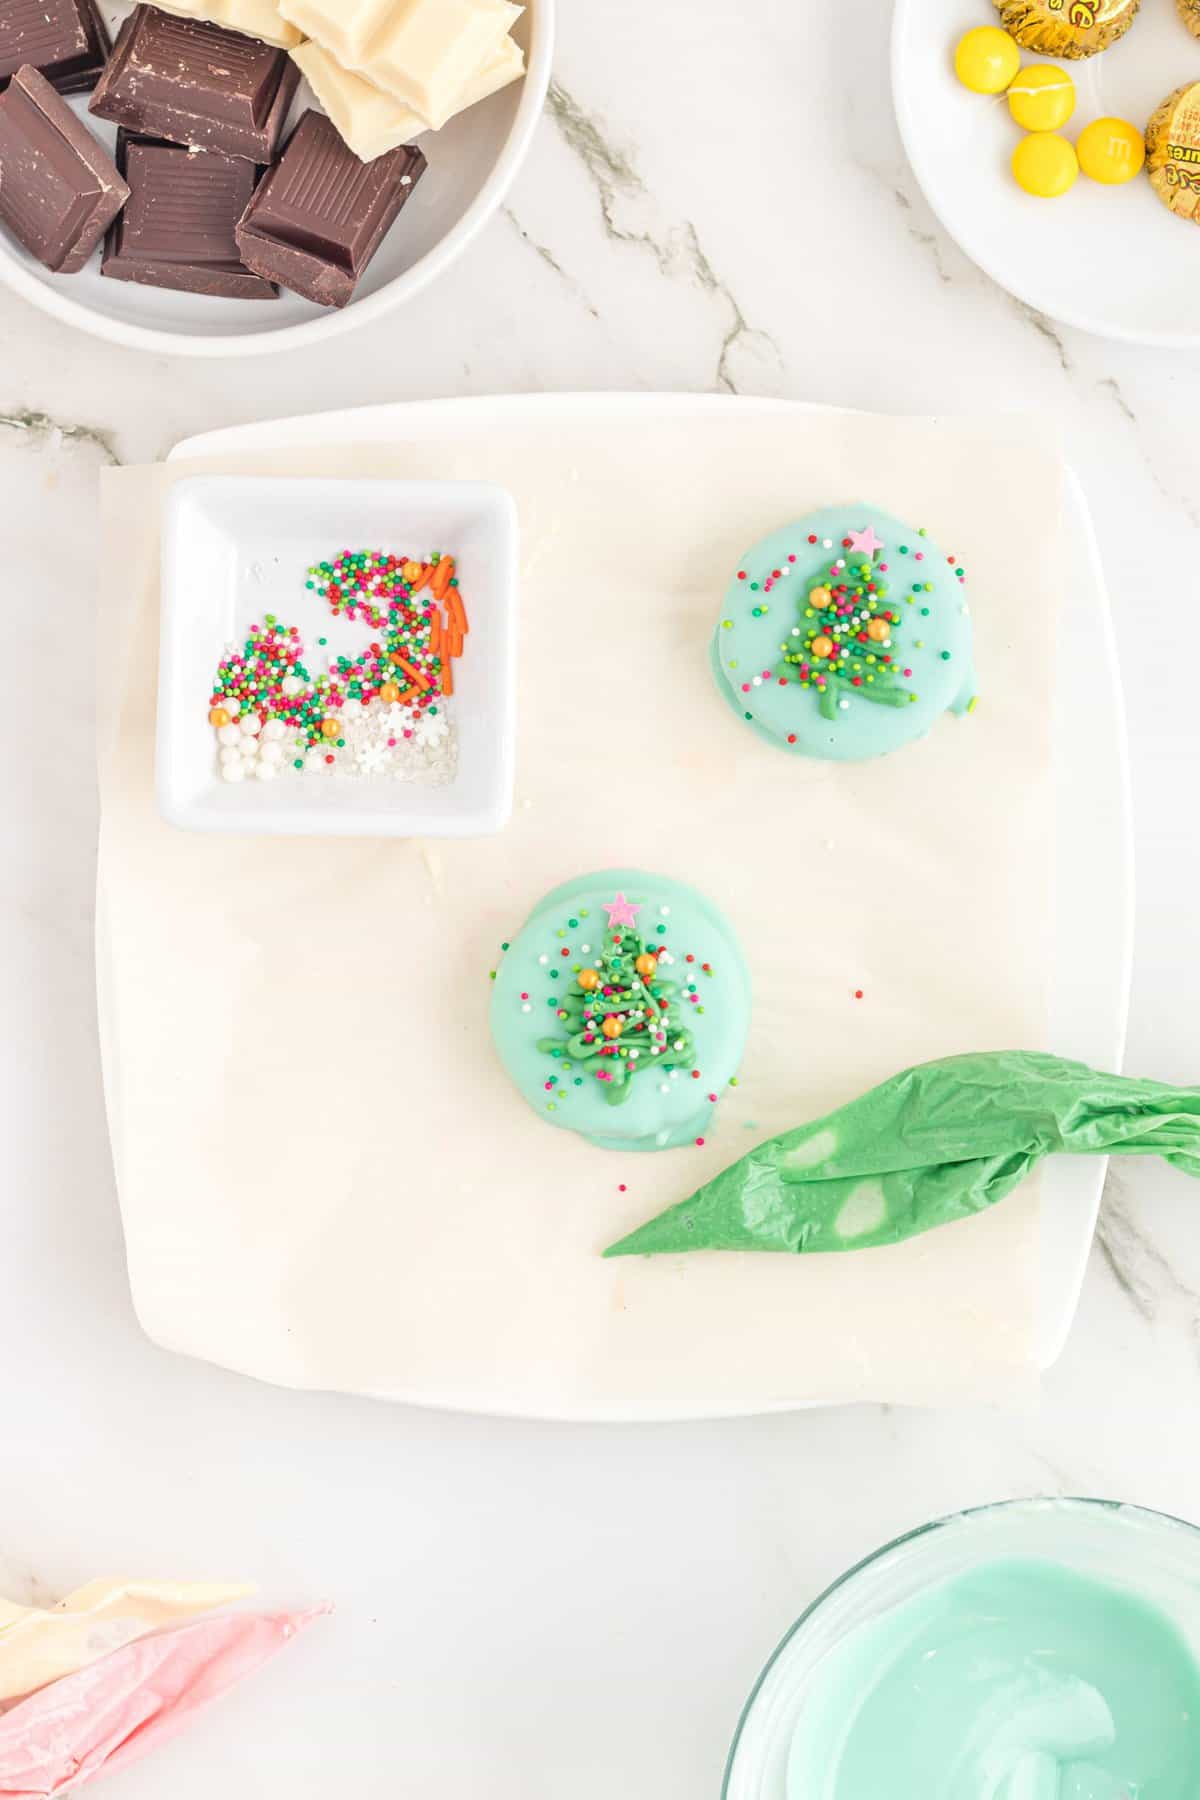
- To make the Christmas Tree, start by dipping the Oreo in the blue chocolate. Allow excess chocolate to drip back into the bowl.
- Chill the cookie in the freezer for a few minutes until the chocolate is set.
- Pipe a zig-zag Christmas tree with the green chocolate.
- Garnish with desired sprinkles. Add a sprinkle star to the top of the tree.
- Allow to set.
Snow Globe:
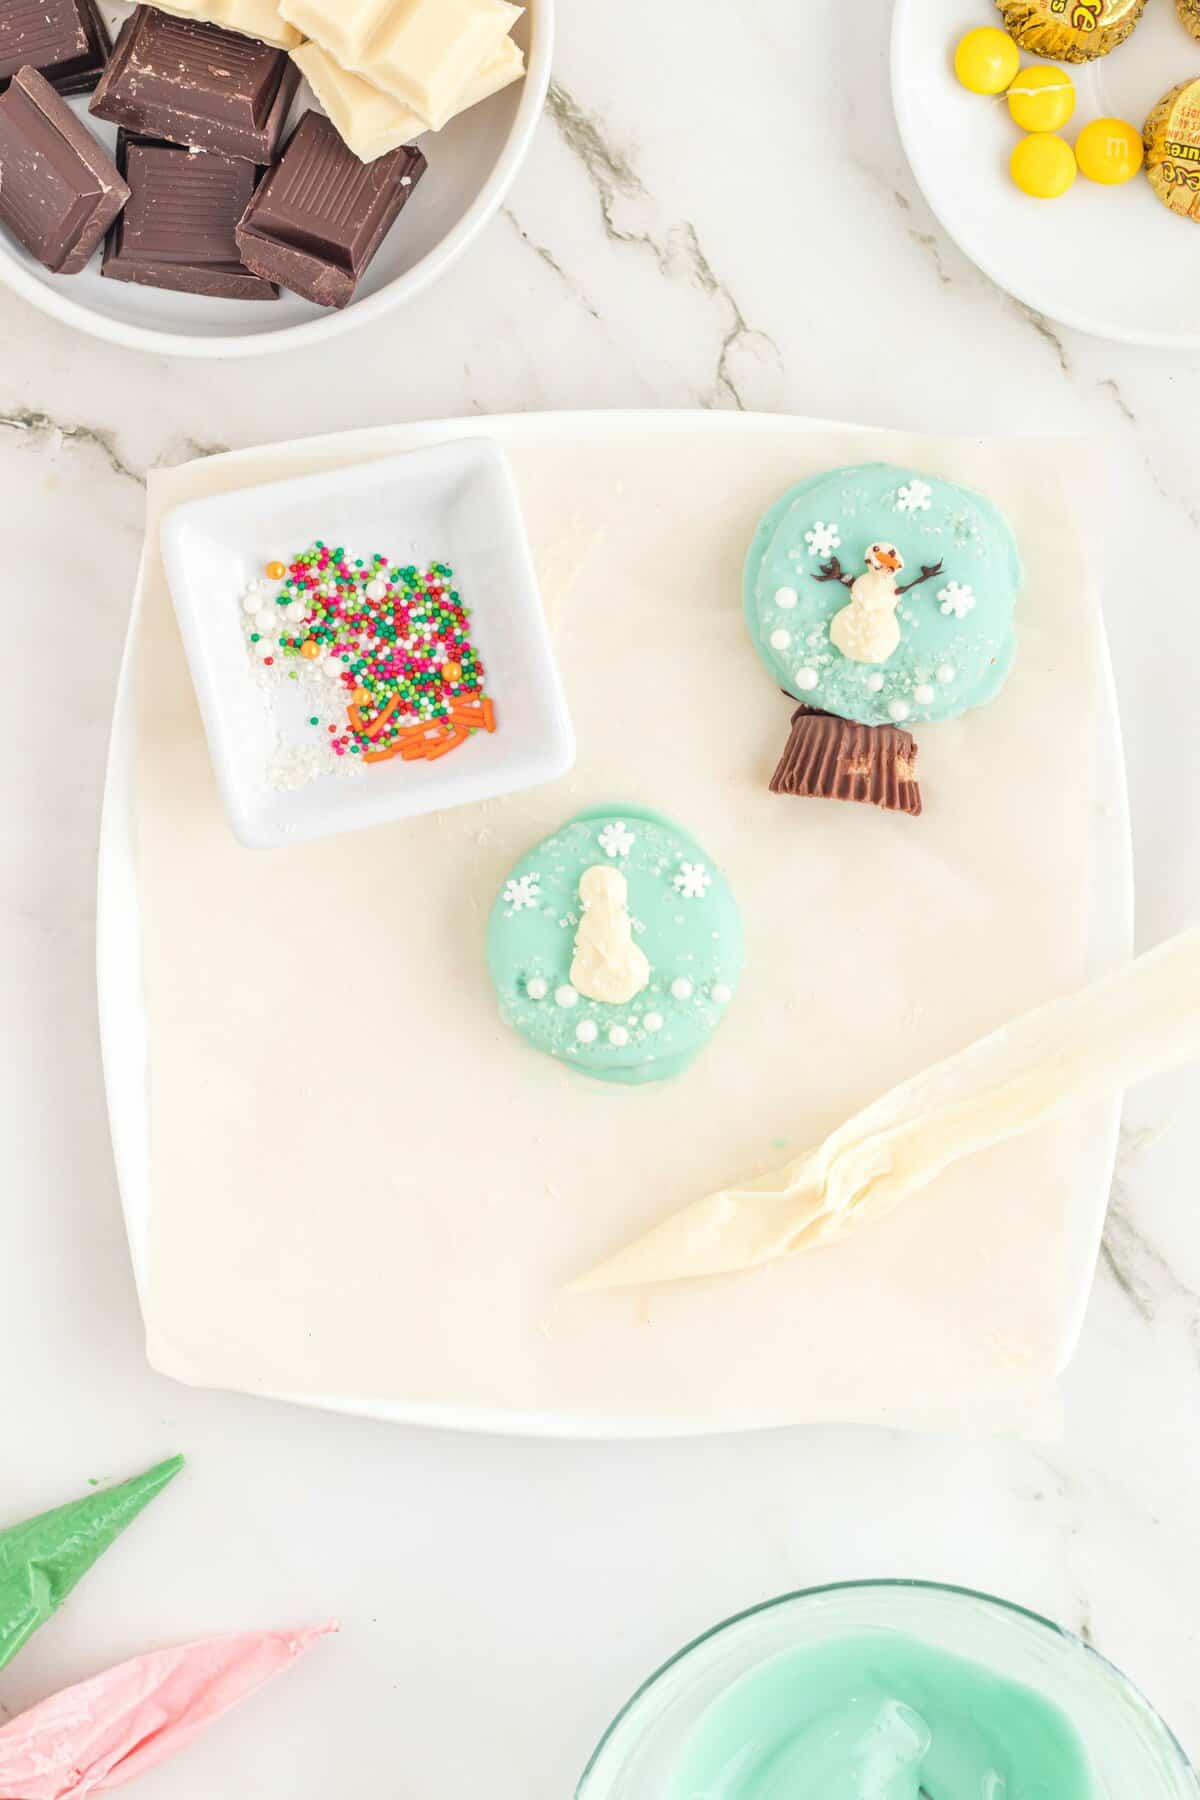
- To make the Snow Globe, start by dipping the Oreo in the blue chocolate. Allow excess chocolate to drip back into the bowl.
- Add white sanding sugar to the top and bottom parts of the Oreo. Add snowflakes to the top and white pearl sprinkles to the bottom
- Chill the cookie in the freezer for a few minutes until the chocolate is set.
- Pipe a snowman to the center of the cookie. Sprinkle white sanding sugar over it.
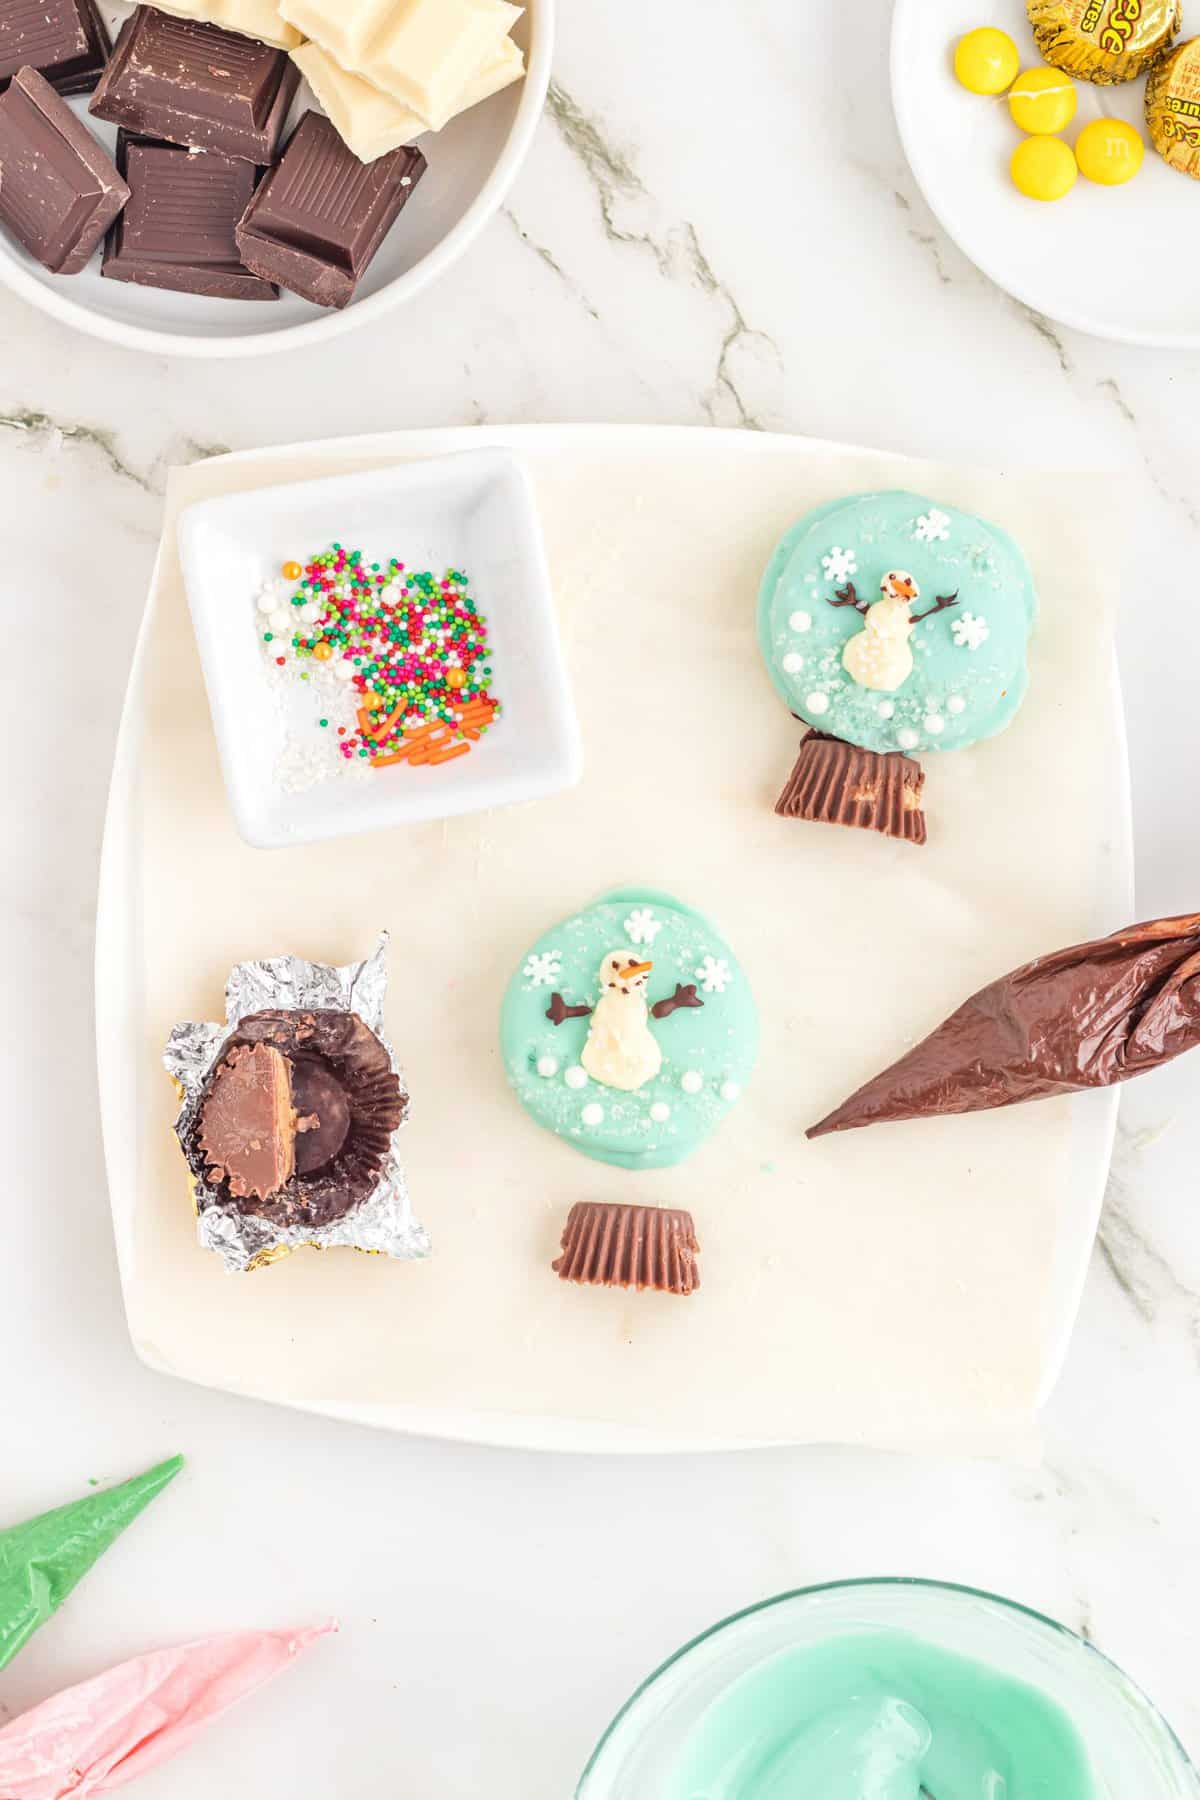
- Pipe the eyes and mouth with dark chocolate. Next pipe branches for arms.
- Add an orange Jimmie for the nose.
- Cut a mini Reese Buttercup in half and adhere it to the bottom of the snow globe with dark chocolate to form the base.
- Allow to set.
CHRISRTMAS TREATS WITH OREOS TIPS
- Melt in short bursts – When melting your chocolate in the microwave, do so in short increments to avoid scorching (around 10-20 seconds.) Stir in between to help any lumps disappear.
- Piping Tips – As the melted chocolate will set quickly, I recommend keeping your piping bags warm on a plate over a bowl of hot water. Otherwise, you will waste the chocolate as it will set inside the piping bag before you get a chance to use it.
- Bright colors – For the most vibrant results, stick to oil-based food coloring for the chocolate..
- Fork Marks – If you find that the fork leaves some indentions on your dipped cookie use a toothpick to smooth out the area.
- Prep the sprinkles – When working with melted chocolate you need to act quickly so make sure to have your sprinkles or any candy ready to go so that you can decorate as soon as they are dipped.
- Avoid refrigerating – I know It can be torture waiting for the chocolate to set, we all want chocolate dipped Oreos ASAP. However, I recommend allowing your cookies to set at room temperature and being a little bit more patient. If you place the cookies in the fridge, the drop in temperature can sometimes make the chocolate cloudy or the moisture may make the details run.
- Kids involved – these no bake Christmas treats would make such a fun edible activity to tire out little ones on Christmas Eve. It’s also so special coming up with fun designs together and watching your ideas come to life.

STORAGE TIPS
- If you can resist eating them immediately, store the no bake Christmas treats in an airtight container at room temperature for up to 2 weeks. To store, place in single layers with parchment paper between so they don’t stick on top of each other affecting the decoration.
- I would recommend avoiding the refrigerator as the moisture can cause your decorations to run.
- Alternatively, wrap these cookies in treat bags and give them out to family and friends as gifts.·

FREQUENTLY ASKED QUESTIONS
How to prevent my cookies from looking messy and uneven?
When “free dipping” Oreos, there is the risk they will turn out uneven with chocolate thicker or thinner in some areas. While I agree this is part of the charm with homemade treats, there are a few tips for a more elegant appearance:
- Use a mold – Instead of dipping, use a mold (or cupcake tray) if you have one to hand as it will ensure uniform cookies. Pop your Oreo in and fill with the melted chocolate then wait until it sets.
- Wear latex gloves – This will prevent fingerprints from ruining your cookie
- Remove the excess - Either scrape the bottom of the cookies on the edge of the bowl or wait for the excess to drip off fully before leaving your cookies to chill. This avoids the excess chocolate creating a pool around the cookies as they set.
- Chocolate is too thick – If your chocolate is too thick, it won’t apply smoothly. You can add vegetable shortening or coconut oil to the chocolate to thin it out.

What is the difference between using white chocolate and candy melts?
In baking, chocolate and candy melts are often used interchangeably as a coating. Candy melts are discs made to emulate white chocolate. However, the main difference is cocoa butter. White chocolate contains cocoa butter, while candy melts replace it with vegetable oil or similar. This gives candy melt coating more of a shine. Candy melts also come already colored which can save time, but they do set much quicker and don’t bring the same flavor as rich Belgian chocolate does.
Can you melt chocolate in the instant pot?
Whether you don’t have a microwave, or you’re whipping up a big batch, melting your chocolate in the instant pot will save you so much time and effort. As the chocolate sets again so quickly, the instant pot will help keep it warm and melted until you need it.
- Start by adding 2 cups of water to the Instant Pot
- Place a glass bowl on top and press saute mode
- As the instant pot heats up, your chocolate/candy melts will melt due to the steam from the boiling water
- Stir using a spatula until fully melted then press cancel
- Set to “Keep Warm” and this will keep your chocolate melted as you work through all the Oreos.
We have some many delicious Christmas cookie recipes that are perfect for holiday parties, gifting, or just to share with family! Check them out in the search bar or let us know if you're looking for something in particular.

MORE FESTIVE SWEET TREATS YOU MAY ENJOY
- Grinch Fudge
- No Bake Fudge Stripe Christmas Cookies
- Chocolate Rice Krispie Treat Gingerbread Men
- Stained Glass Cookies

- 4 Cinnamon Bun Oreos or Golden Oreos
- 6 Original Oreos
- oil-based candy color for coloring chocolate
- 1 ⁄4 cup Belgian dark chocolate
- 3 ⁄4 cup Belgian white chocolate for Santa and Mrs. Claus
- 3 ⁄4 cup Belgian white chocolate tinted blue for Christmas tree Oreo and Snow Globe Oreo
- 1 ⁄2 Belgian white chocolate tinted pink for Ornament Oreo and details
- 1 ⁄4 Belgian white chocolate tinted green for Christmas Tree Oreo
- 1 ⁄4 Belgian white chocolate tinted red for Santa’s hat and Mrs. Claus Holly Berries
- assorted sprinkles
- white sanding sugar
- 4 M&M’s candies for Mrs. Claus’ bun and Santa’s pom pom
- 1 mini Reeses Peanut Butter Cup cut in half for the base of the snow globe.
- * you can substitute candy melts for the Belgian chocolate if desired.
-
Start by melting chocolate as per the ingredient list above in small deep microwave-safe bowls in the microwave in 20-second increments. Once your chocolates are all melted and tinted with candy color you can begin decorating and reheat chocolate as needed.
-
To make Mrs. Claus, add 1 tablespoon of white chocolate to a piping bag and start by outlining her hair. Add a dot of white chocolate at the top of the Oreo and add an M&M for her bun. Chill the cookie in the freezer for a few minutes until the chocolate outline is set.
-
While the chocolate is setting add 1 tablespoon of the dark chocolate to a piping bag, add 1 tablespoon of the pink chocolate to another piping bag, add 1 tablespoon of the green chocolate to another piping bag, and reserve for the next steps.
-
Using a fork, dip Mrs. Claus in white chocolate being careful to only cover Mrs. Claus’ bun, hair, and the back side of the cookie. Allow excess chocolate to drip back into the bowl.
-
Lay the cookie on a parchment-lined plate. Sprinkle Mrs. Claus' hair with white sanding sugar.
-
Add leaf sprinkles to Mrs. Claus’ bun and dip a toothpick in the red chocolate to make holly
-
berries.
-
Pipe eyes for Mrs. Claus using the dark chocolate.
-
Next pipe a mouth and cheeks using the pink chocolate.
-
Allow to set.
-
To make Santa, start by piping eyes at the top third of the cookie with dark chocolate.
-
Next outline around Santa’s eyes and the furry part of his hat. Add an M&M to make a pom
-
pom on his hat.
-
Chill the cookie in the freezer for a few minutes until the chocolate outline is set.
-
Using a fork, dip Santa in white chocolate being careful to not cover his eyes. Allow excess
-
chocolate to drip back into the bowl. And be sure the pom pom is covered.
-
Lay the cookie on a parchment-lined plate. Sprinkle Santa's beard and the brim of his hat and
-
pom pom with white sanding sugar.
-
Use a fork to create some texture on his beard after the chocolate has set a bit.
-
Pipe mustache for Santa with some white chocolate.
-
Next pipe a nose and cheeks using the pink chocolate.
-
When Santa has fully set, finish his hat by carefully dipping just the top of his head in the red
-
chocolate.
-
Allow to set.
-
To make the Ornament , start by dipping the Oreo in the pink chocolate. Allow excess chocolate to drip back into the bowl.
-
Garnish with desired sprinkles.
-
Chill the cookie in the freezer for a few minutes until the chocolate is set.
-
Add the metallic sprinkles to form the ornament top using a bit of melted chocolate.
-
Allow to set.
-
To make the Christmas Tree, start by dipping the Oreo in the blue chocolate. Allow excess chocolate to drip back into the bowl.
-
Chill the cookie in the freezer for a few minutes until the chocolate is set.
-
Pipe a zig-zag Christmas tree with the green chocolate.
-
Garnish with desired sprinkles. Add a sprinkle star to the top of the tree.
-
Allow to set.
-
To make the Snow Globe, start by dipping the Oreo in the blue chocolate. Allow excess chocolate to drip back into the bowl.
-
Add white sanding sugar to the top and bottom parts of the Oreo. Add snowflakes to the top and white pearl sprinkles to the bottom
-
Chill the cookie in the freezer for a few minutes until the chocolate is set.
-
Pipe a snowman to the center of the cookie. Sprinkle white sanding sugar over it.
-
Pipe the eyes and mouth with dark chocolate. Next pipe branches for arms.
-
Add an orange Jimmie for the nose.
-
Cut a mini Reese Buttercup in half and adhere it to the bottom of the snow globe with dark
-
chocolate to form the base.
-
Allow to set.
Recipe Success Tips
- Be careful not to overheat your chocolate to avoid burns and scorching.
- Substitute colored candy melts for the Belgian chocolate if you wish.
- You can double the recipe to make more Oreos if you like.
- Keep piping bags warm on a plate over a bowl of hot water.
- Use only oil-based candy coloring for chocolate it will provide the most vibrant results.
- Avoid storing these Oreos in the refrigerator as they will sweat andthe designs can run. These cookies can last in an airtight container for up to 2 weeks.
- Make this recipe with kids and have them add the sprinkles and details.

Leave a Reply