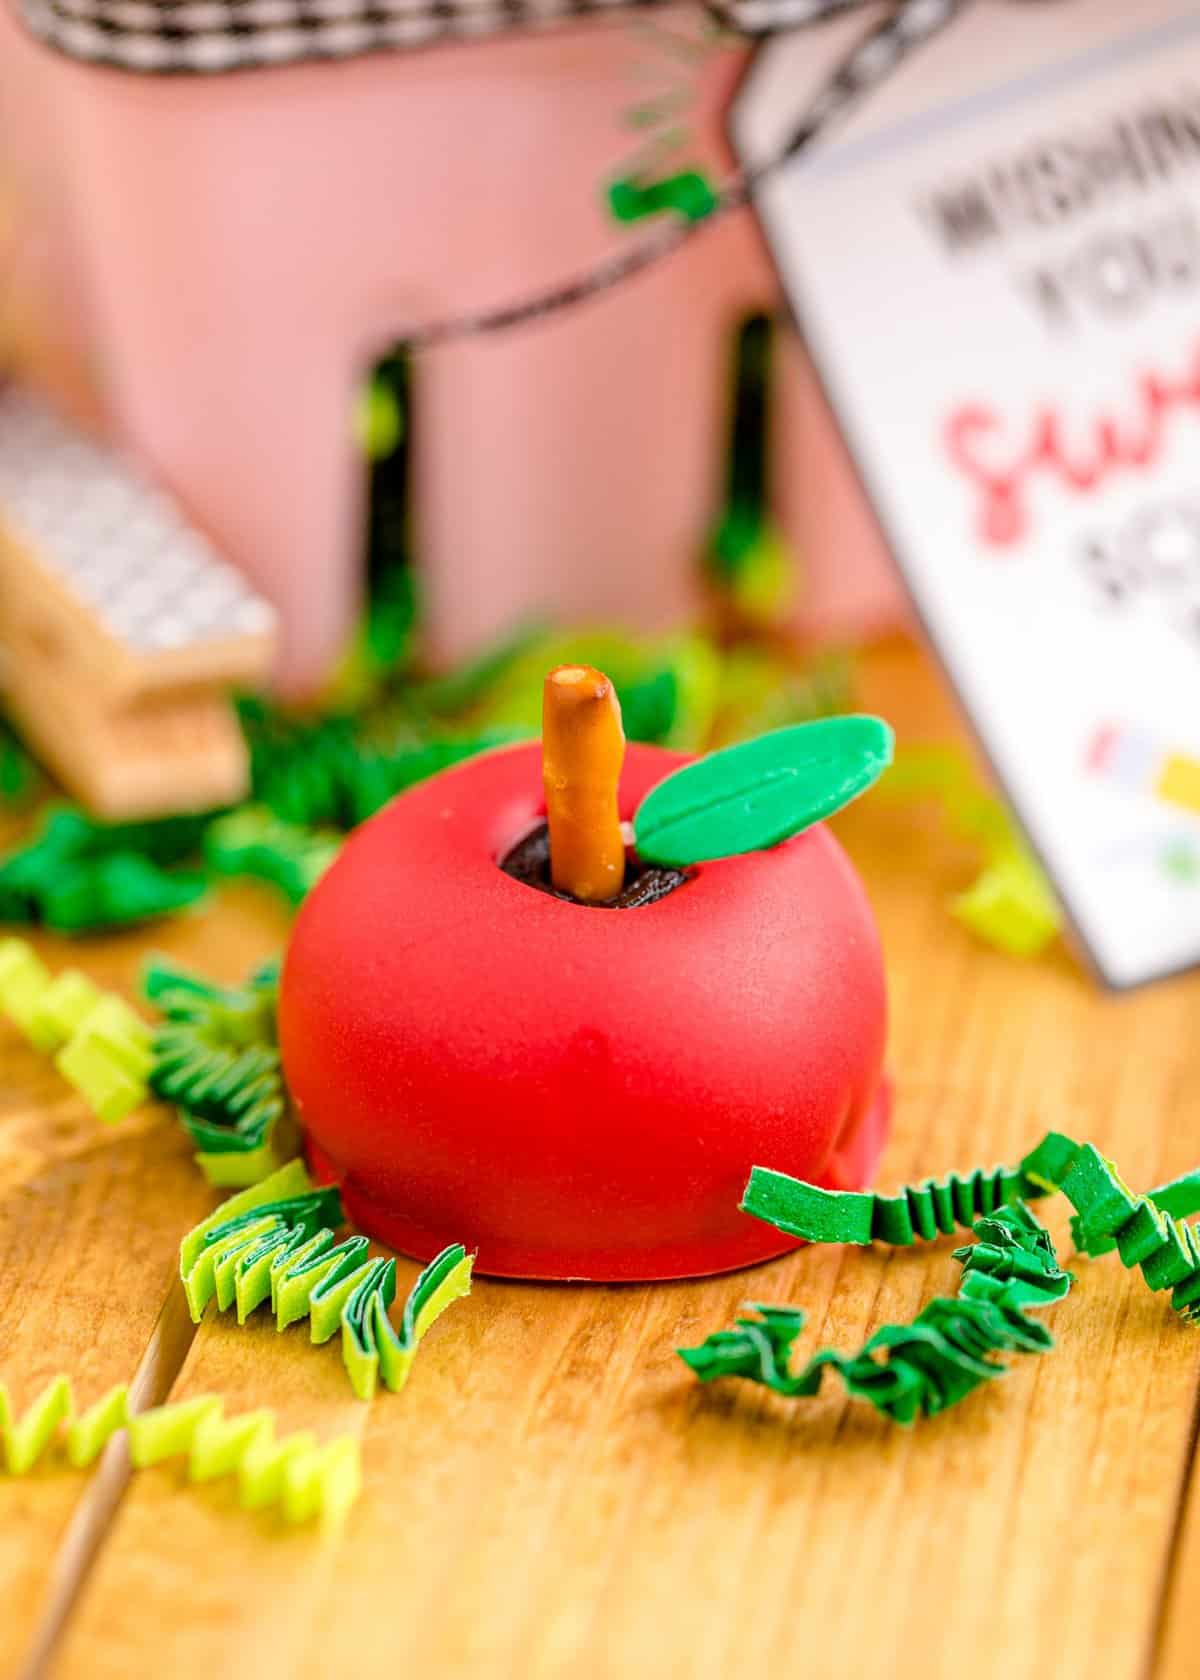
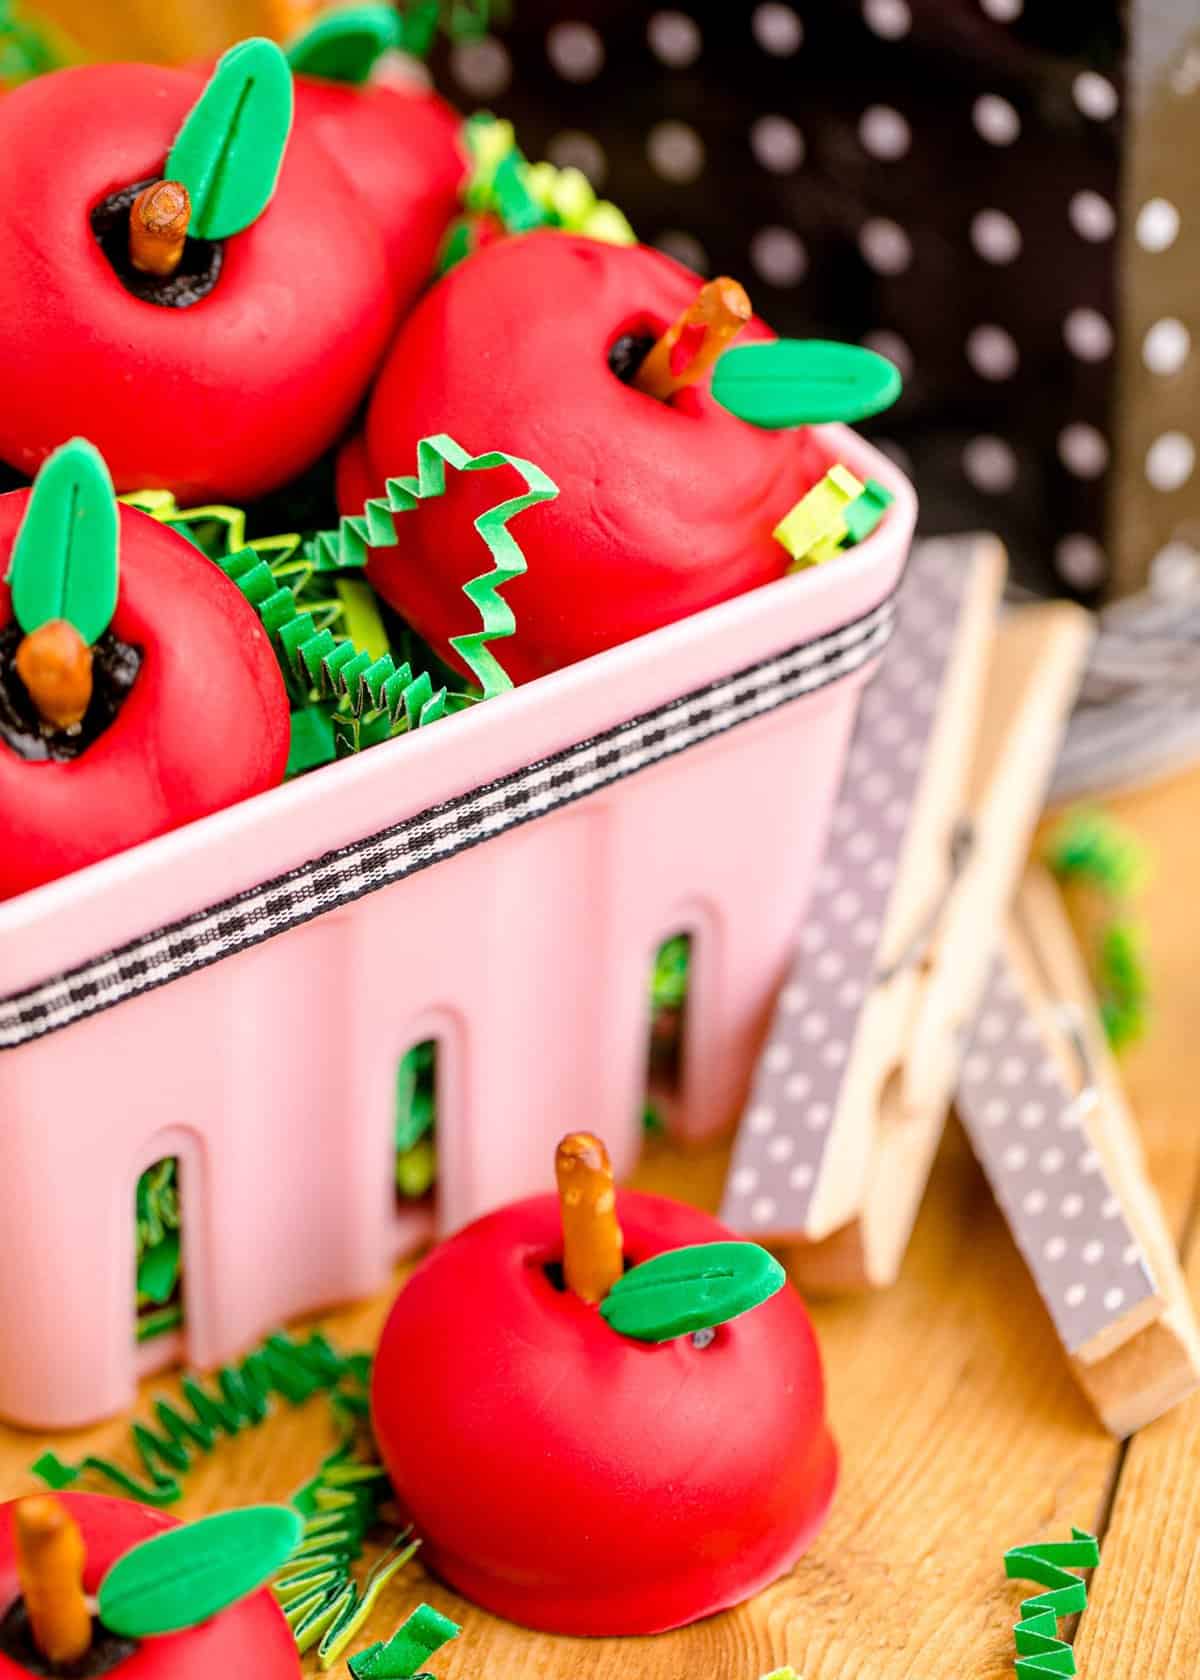
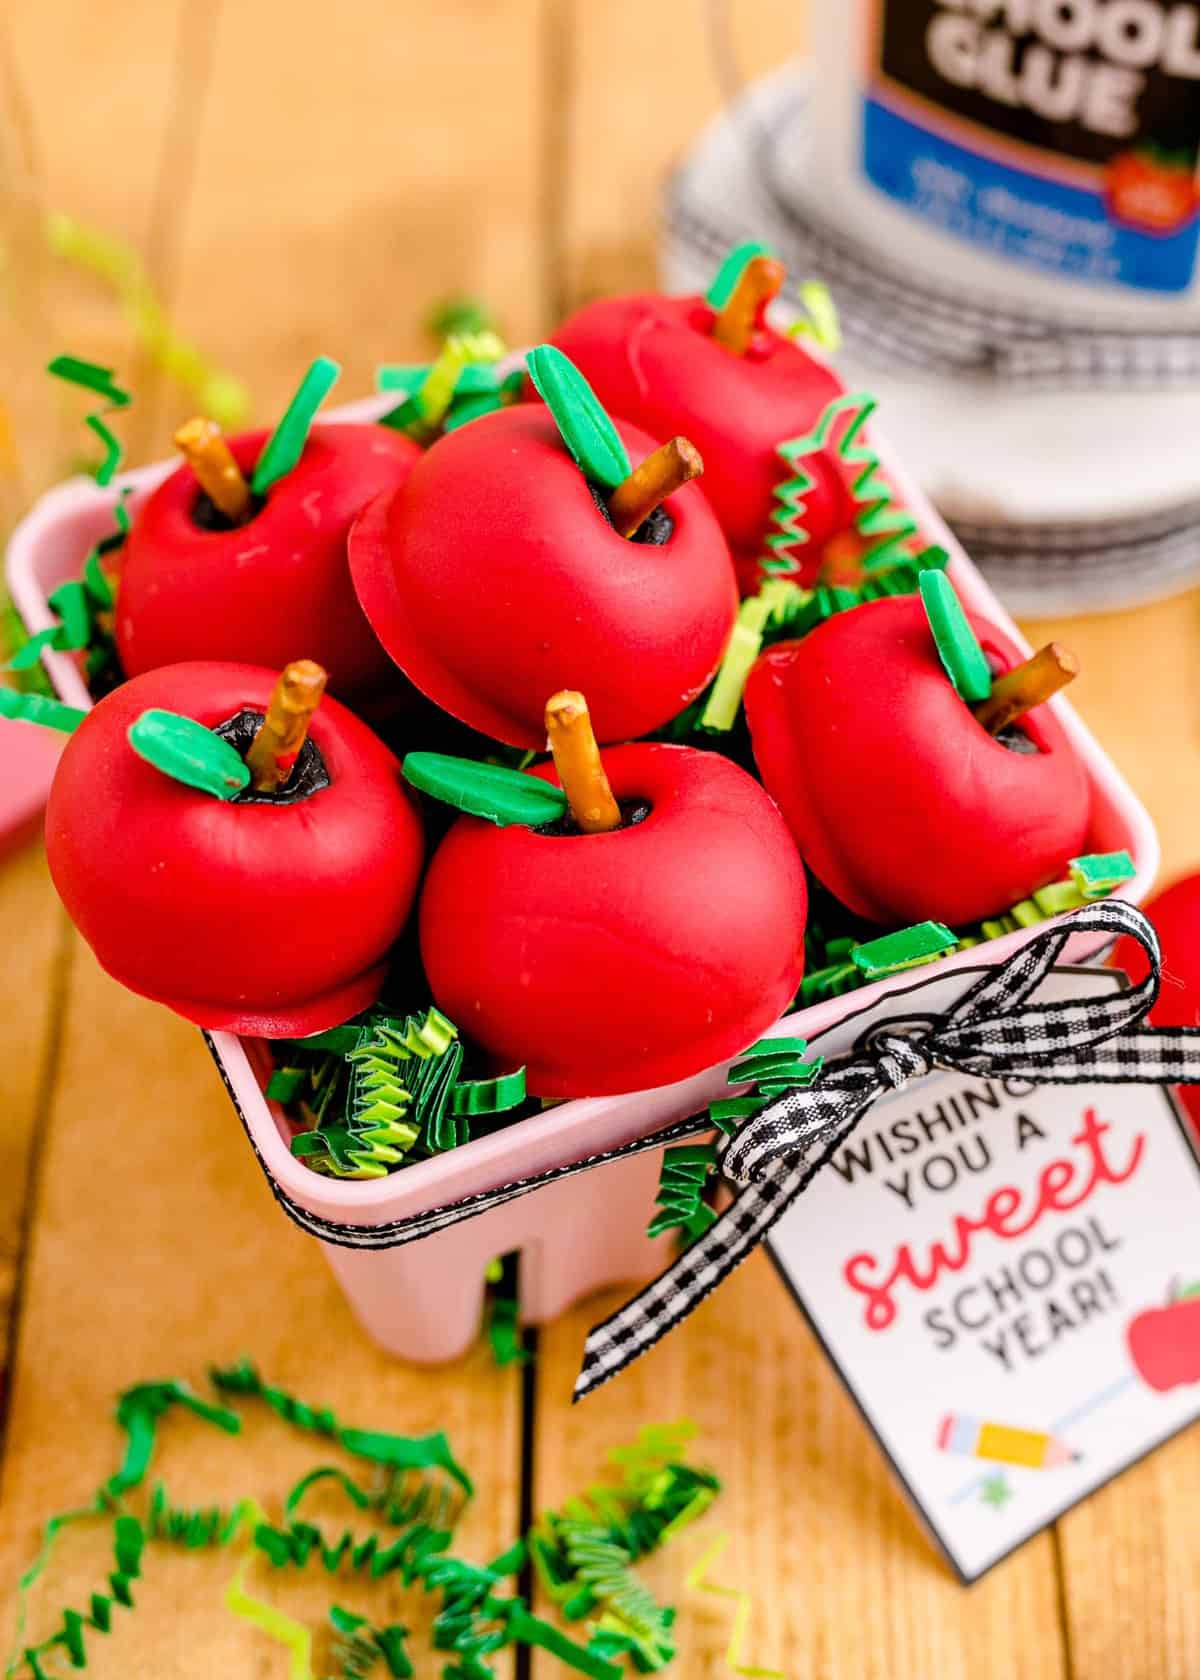
These adorable apple Oreo Balls are guaranteed to get you top of the class. With bitesize balls of crushed oreo dipped in chocolate they deserve gold stars all round as they look as good as they taste.
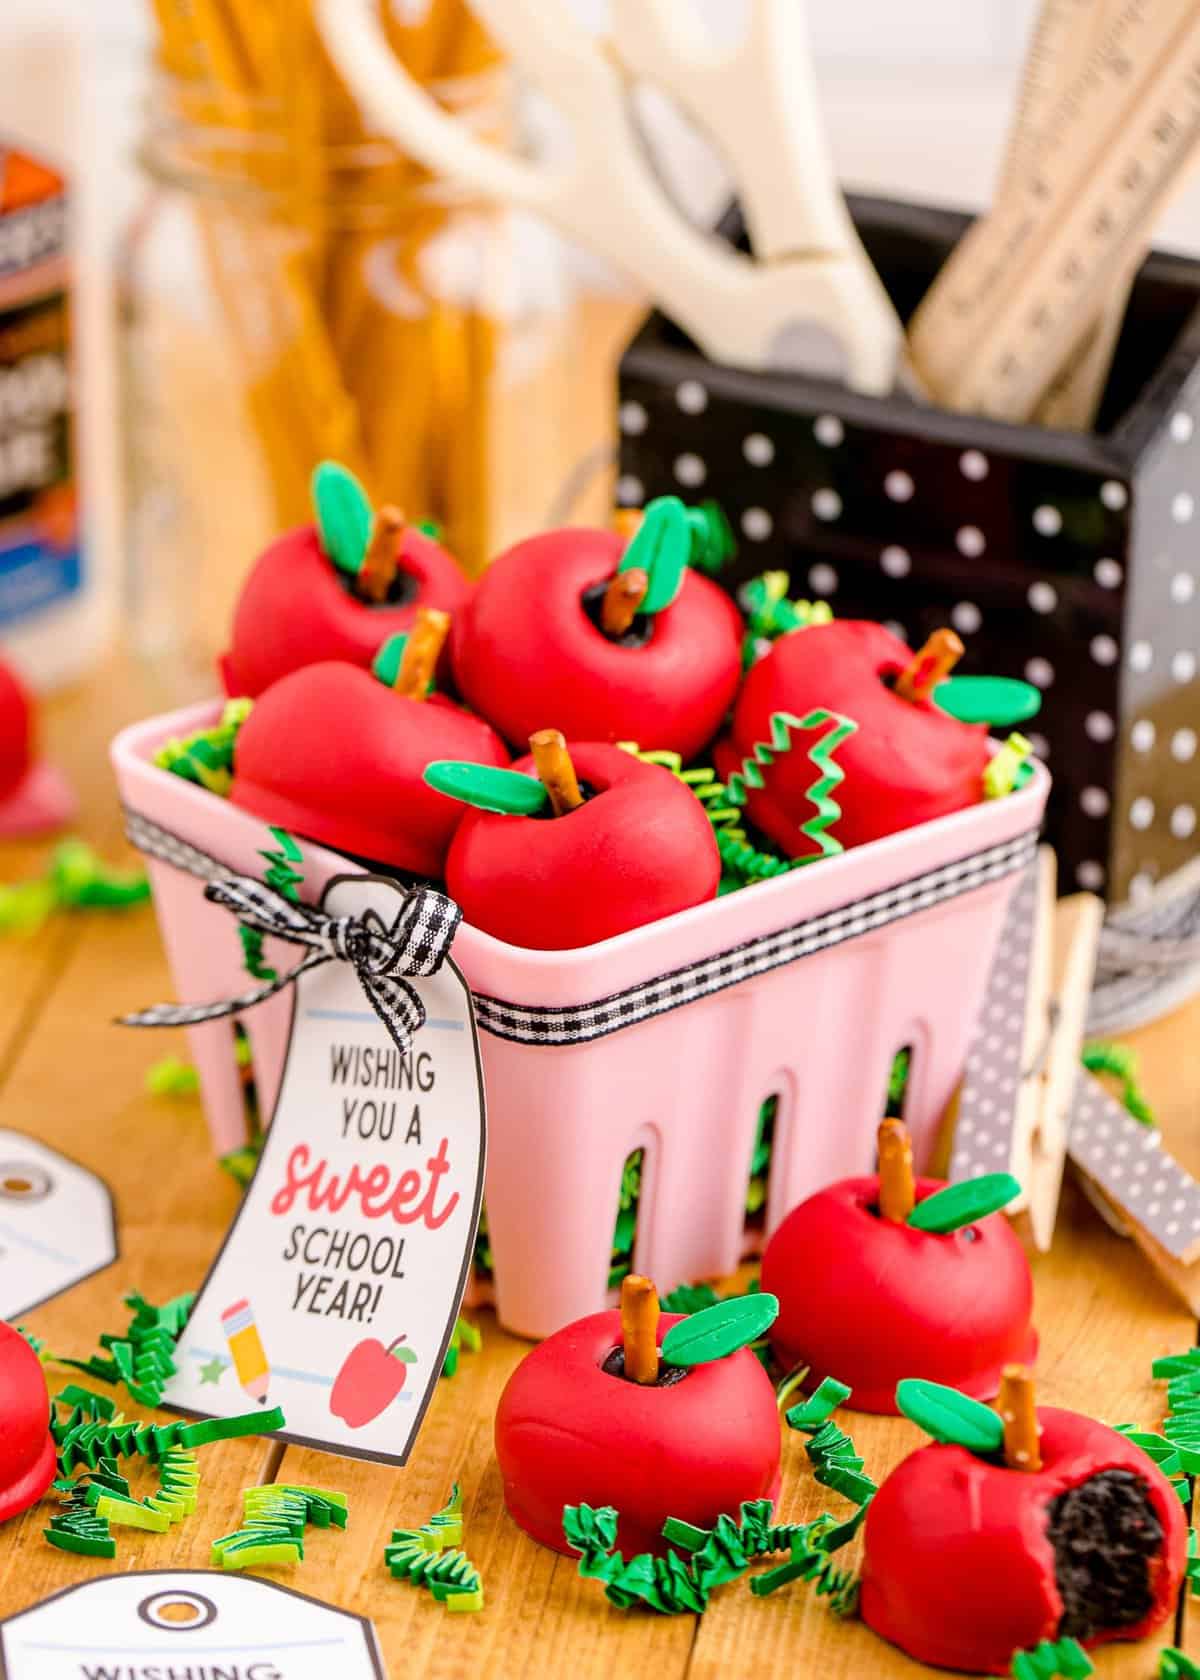
Whether you’re counting down the minutes for the school season to start or dreading the end of Summer, these back to school apple treats will make everything better. Earning you A+ for effort with ease, these no bake treats are surprisingly simple. They also make the perfect teacher gift for Teacher Appreciation Week!
We all know how crazy busy back to school can be, so I’ve kept it straightforward with just 20 minutes prep and 30 minutes to assemble. Don’t forget the “chill time” which includes you too – pour yourself a cuppa and relax as these apple oreo balls set, you deserve it!
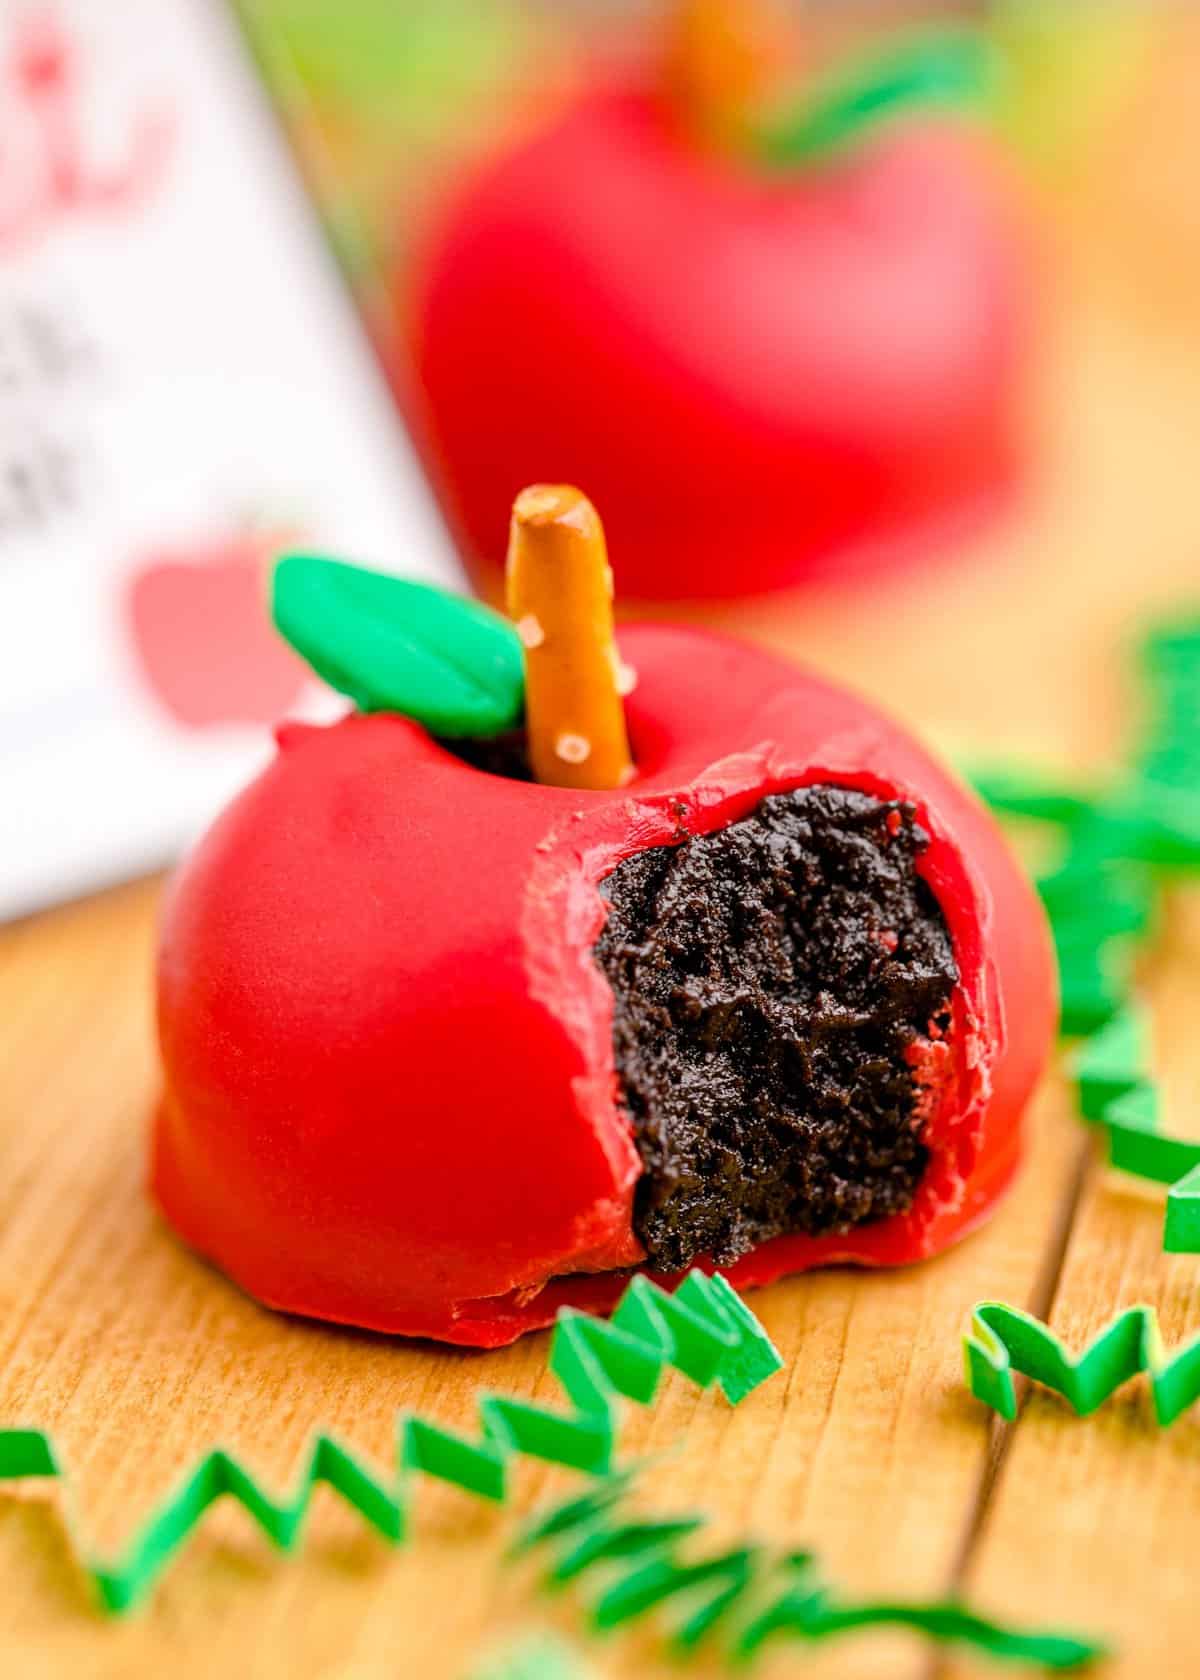
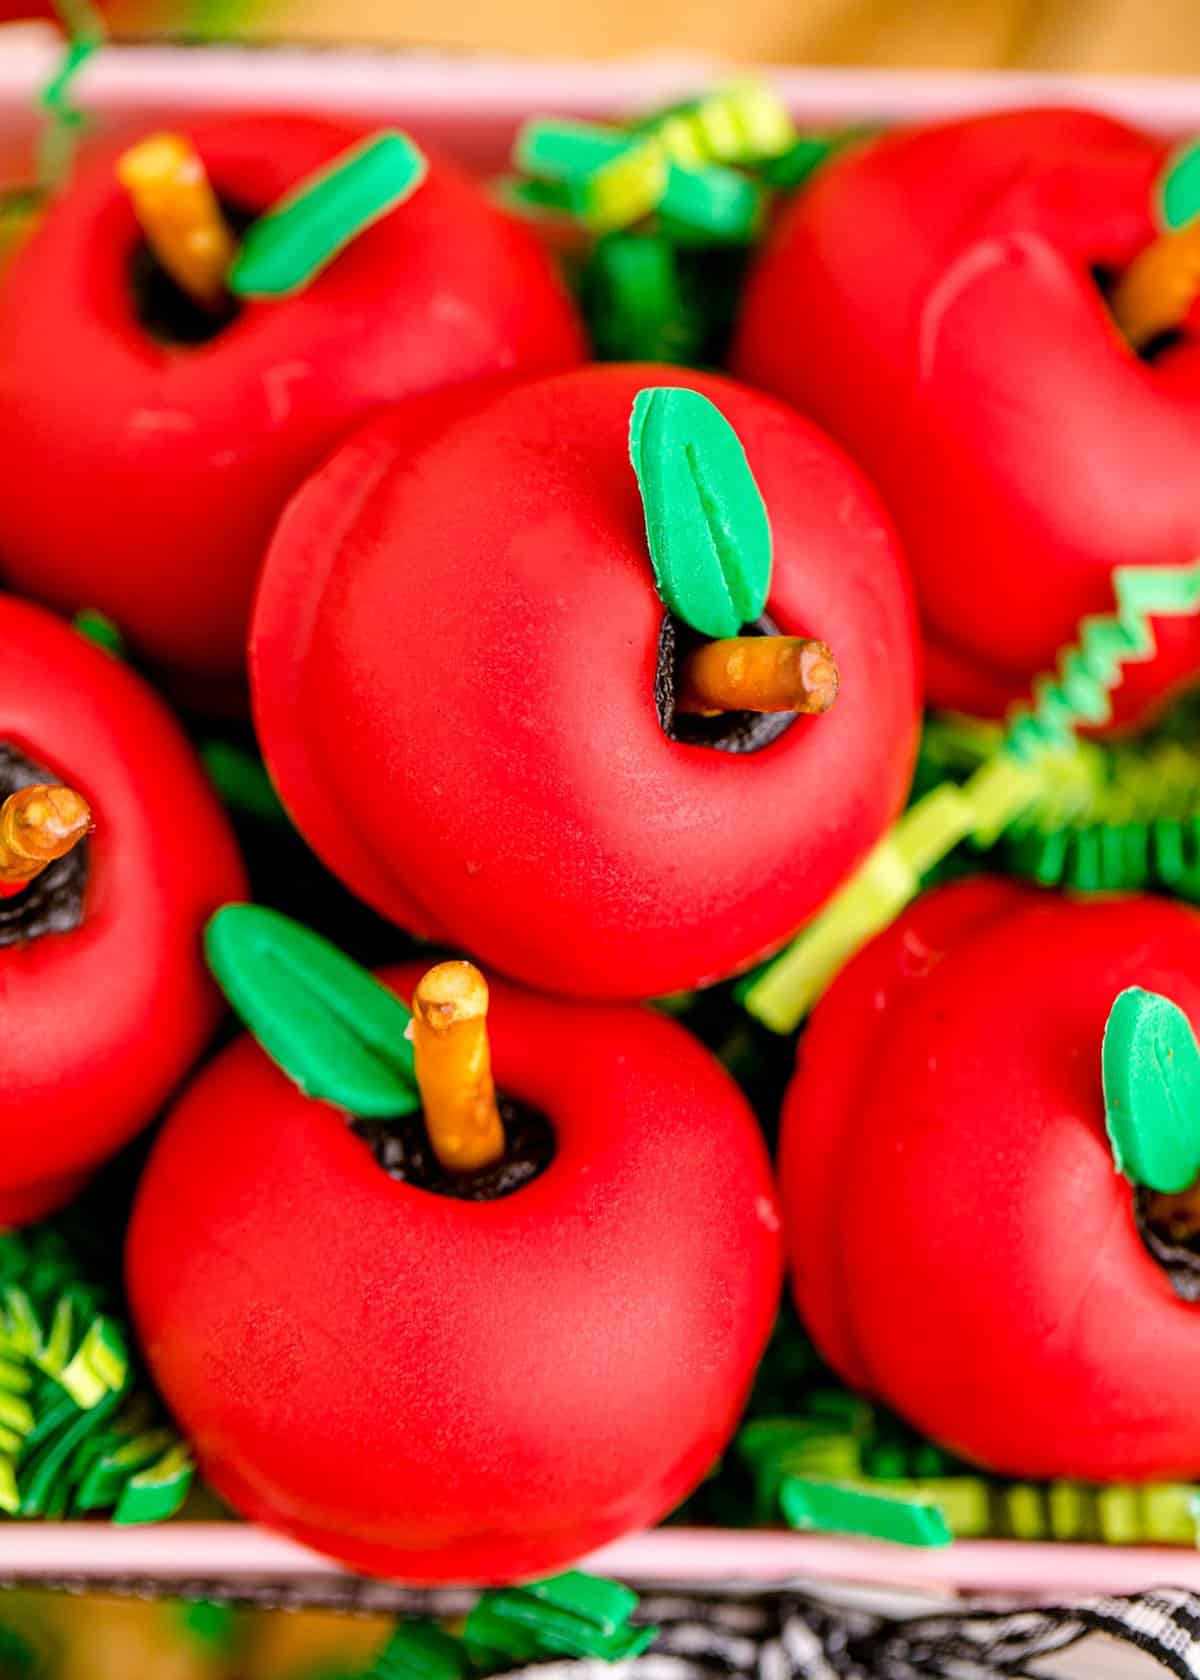
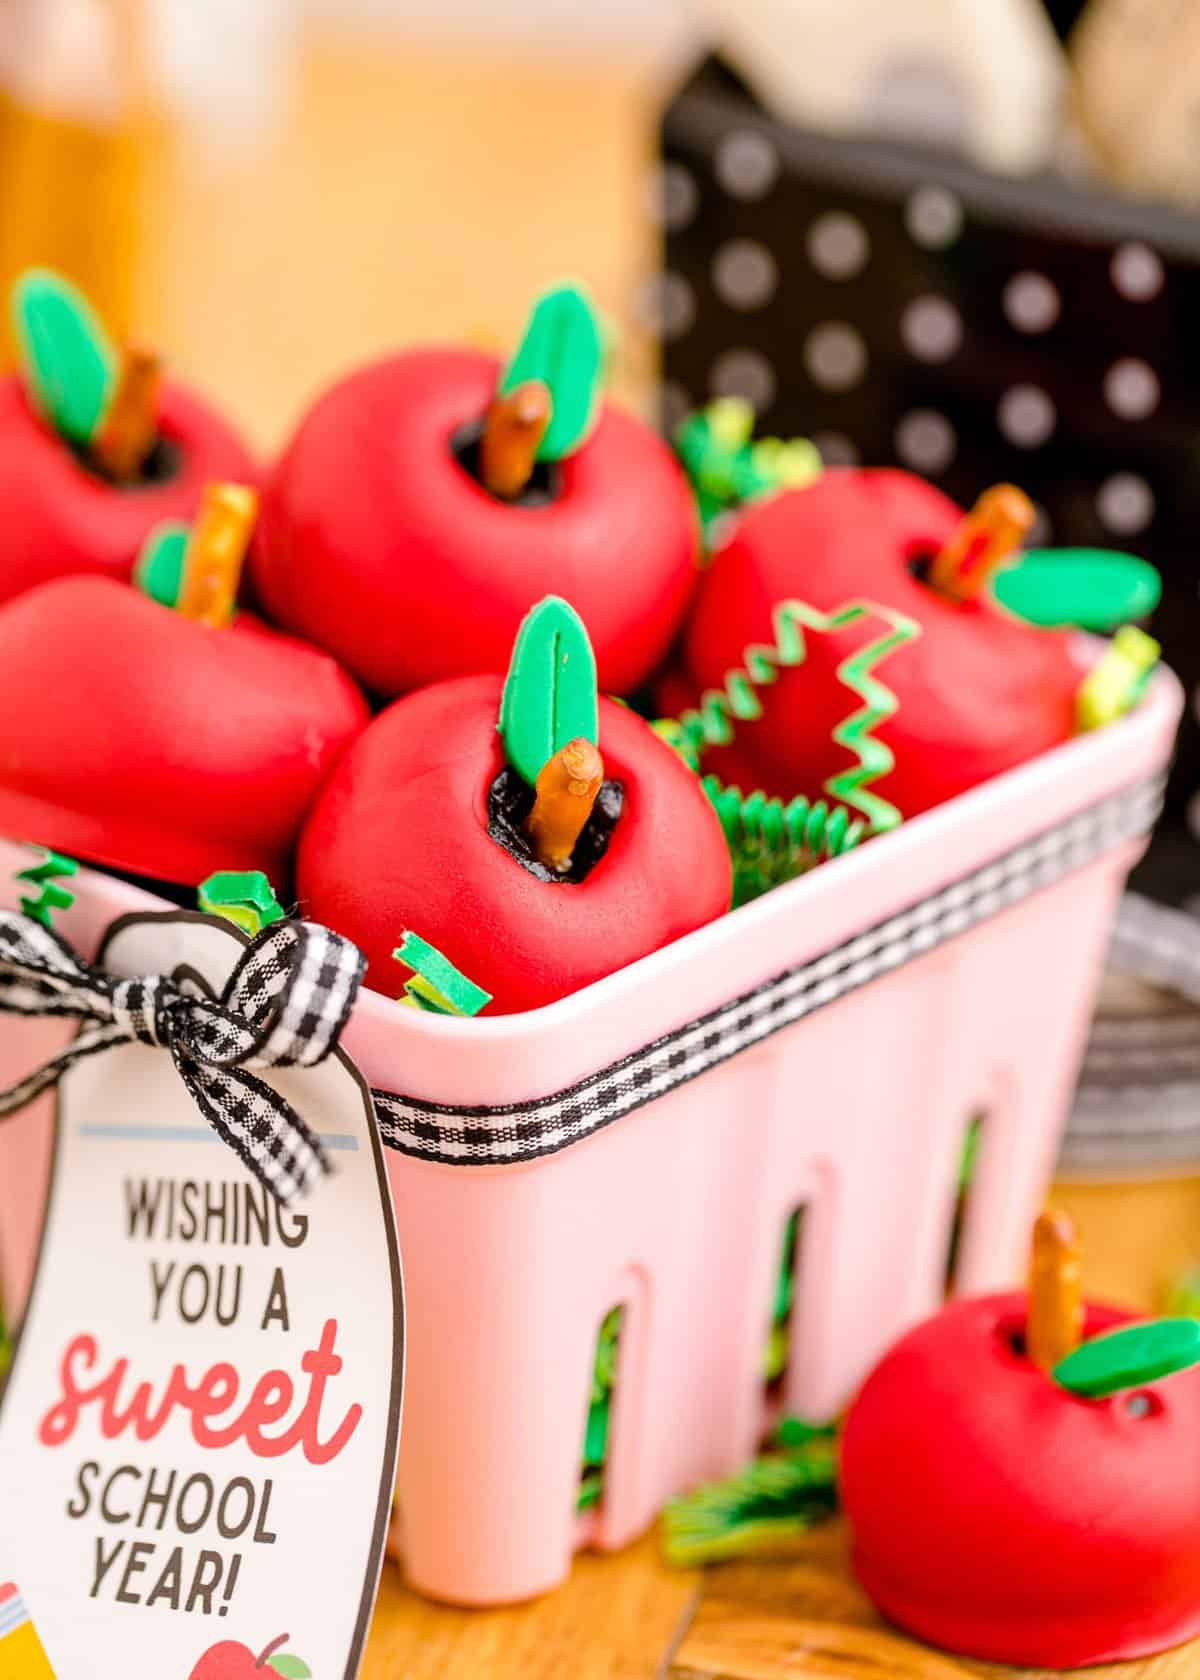
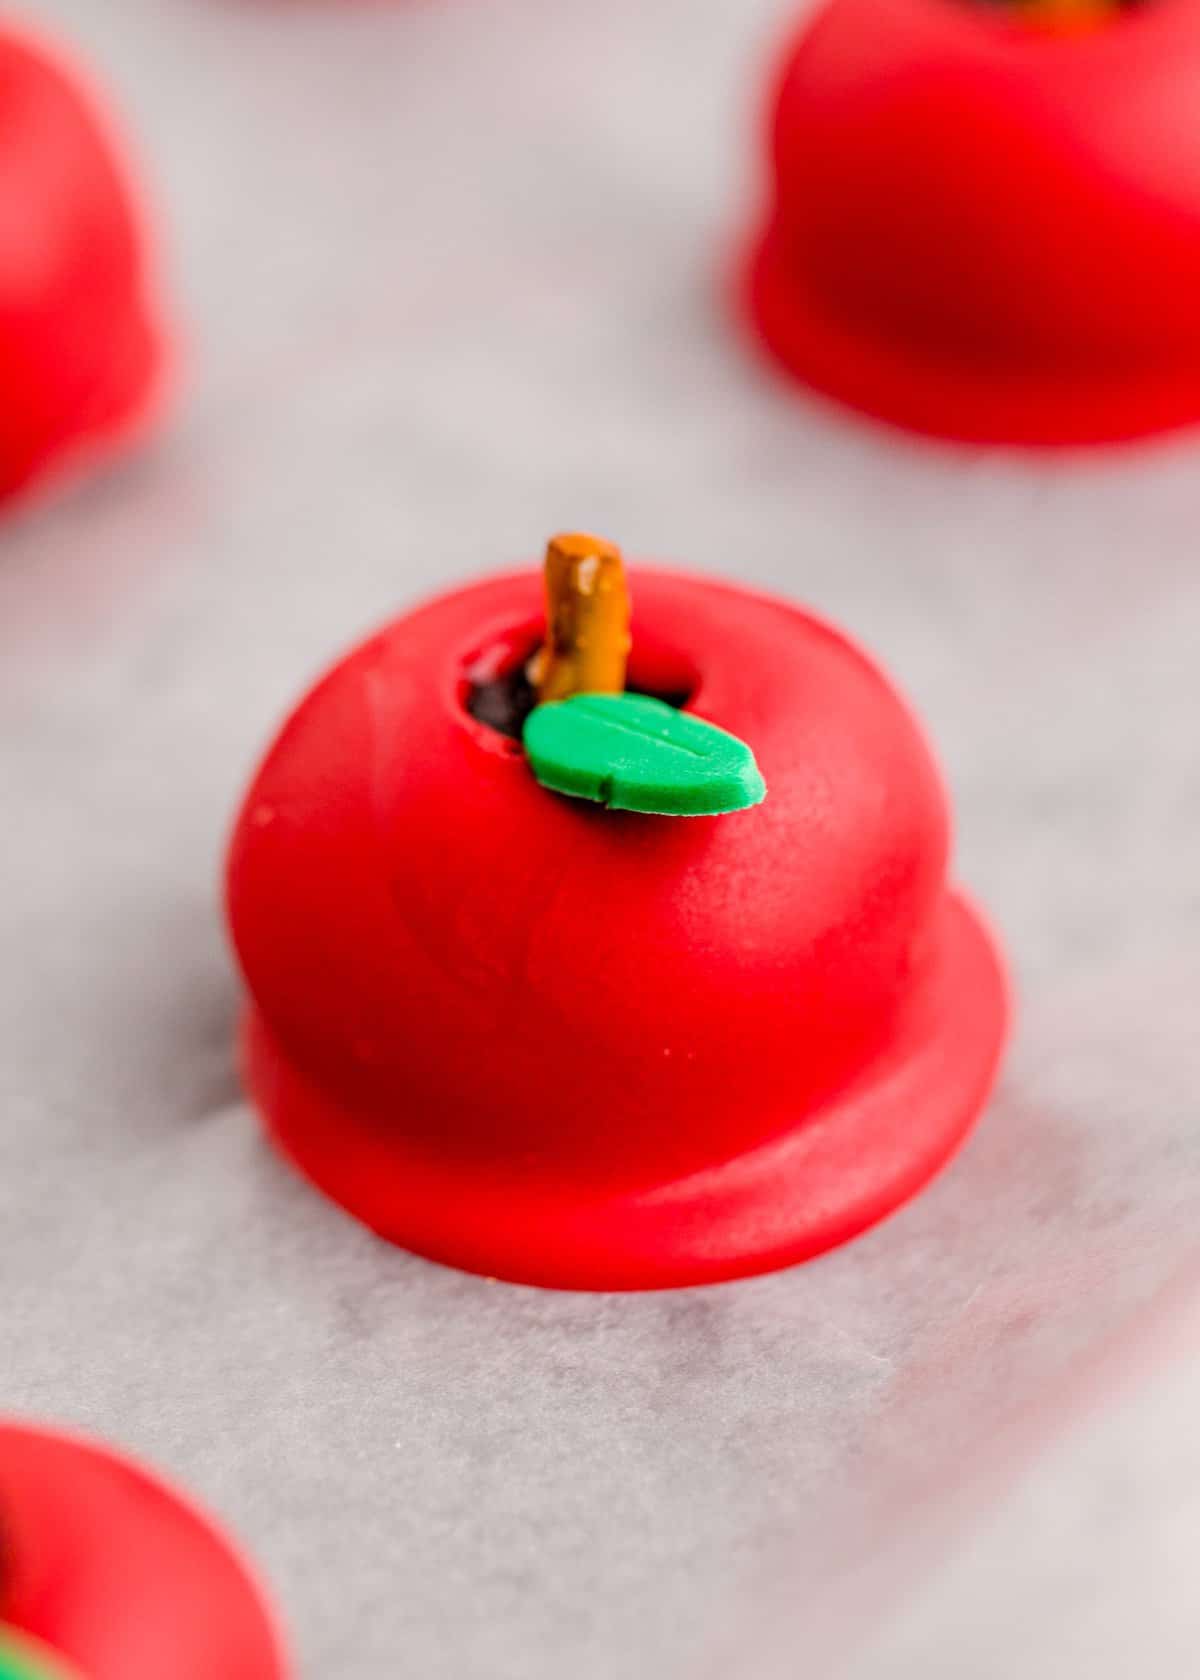
Thanks to a cheesecake inspired center consisting of crushed Oreo and cream cheese they make the most delicious fun treats for teachers and kids alike. Red candy melts, pretzel sticks and green fondant leaves then transform the oreo truffles into adorable apples that are almost too cute to eat. It’s a good job this recipe makes a batch of 32 as you’ll want to sneak a few for yourself before adding them to lunch boxes or giving as gifts.
If you're as much of a sucker for chocolate truffles as we are, check out all of our truffle recipes!
WHY WE LOVE THIS APPLE OREO BALLS RECIPE
- Super Simple – Between getting everyone back into routine and buying the school supplies there’s no time for any kitchen chaos. That’s why this recipe is fuss free and super simple. So simple in fact, that your little ones can get involved.
- No Bake – on the topic of super easy, this recipe requires no baking. Simply crush the Oreos, roll into balls, dip and decorate. Even those with no kitchen experience will manage.
- Adorable – who wouldn’t smile when receiving these adorable sweet treats? They are the perfect gift idea that is guaranteed to brighten any teachers’ day.
- Customizable – Once you learn how easy it is to make Oreo balls, you’ll whip these up all year round. They can be dipped and decorated for any holiday from Pumpkin Spice inspired Thanksgiving treats to lovely Valentine's Day truffles, not just back to school. They really are the perfect base for any time of year.
- Turn into a fall treat- These truffles would make adorable Caramel Apples Oreo cookie balls by dipping the apples halfway into beige or caramel melted candy melts!
INGREDIENTS/SHOPPING LIST
- Oreo Cookies
- Cream cheese
- Butter
- Vanilla extract
- Red candy melts
- Green fondant
- Pretzel sticks
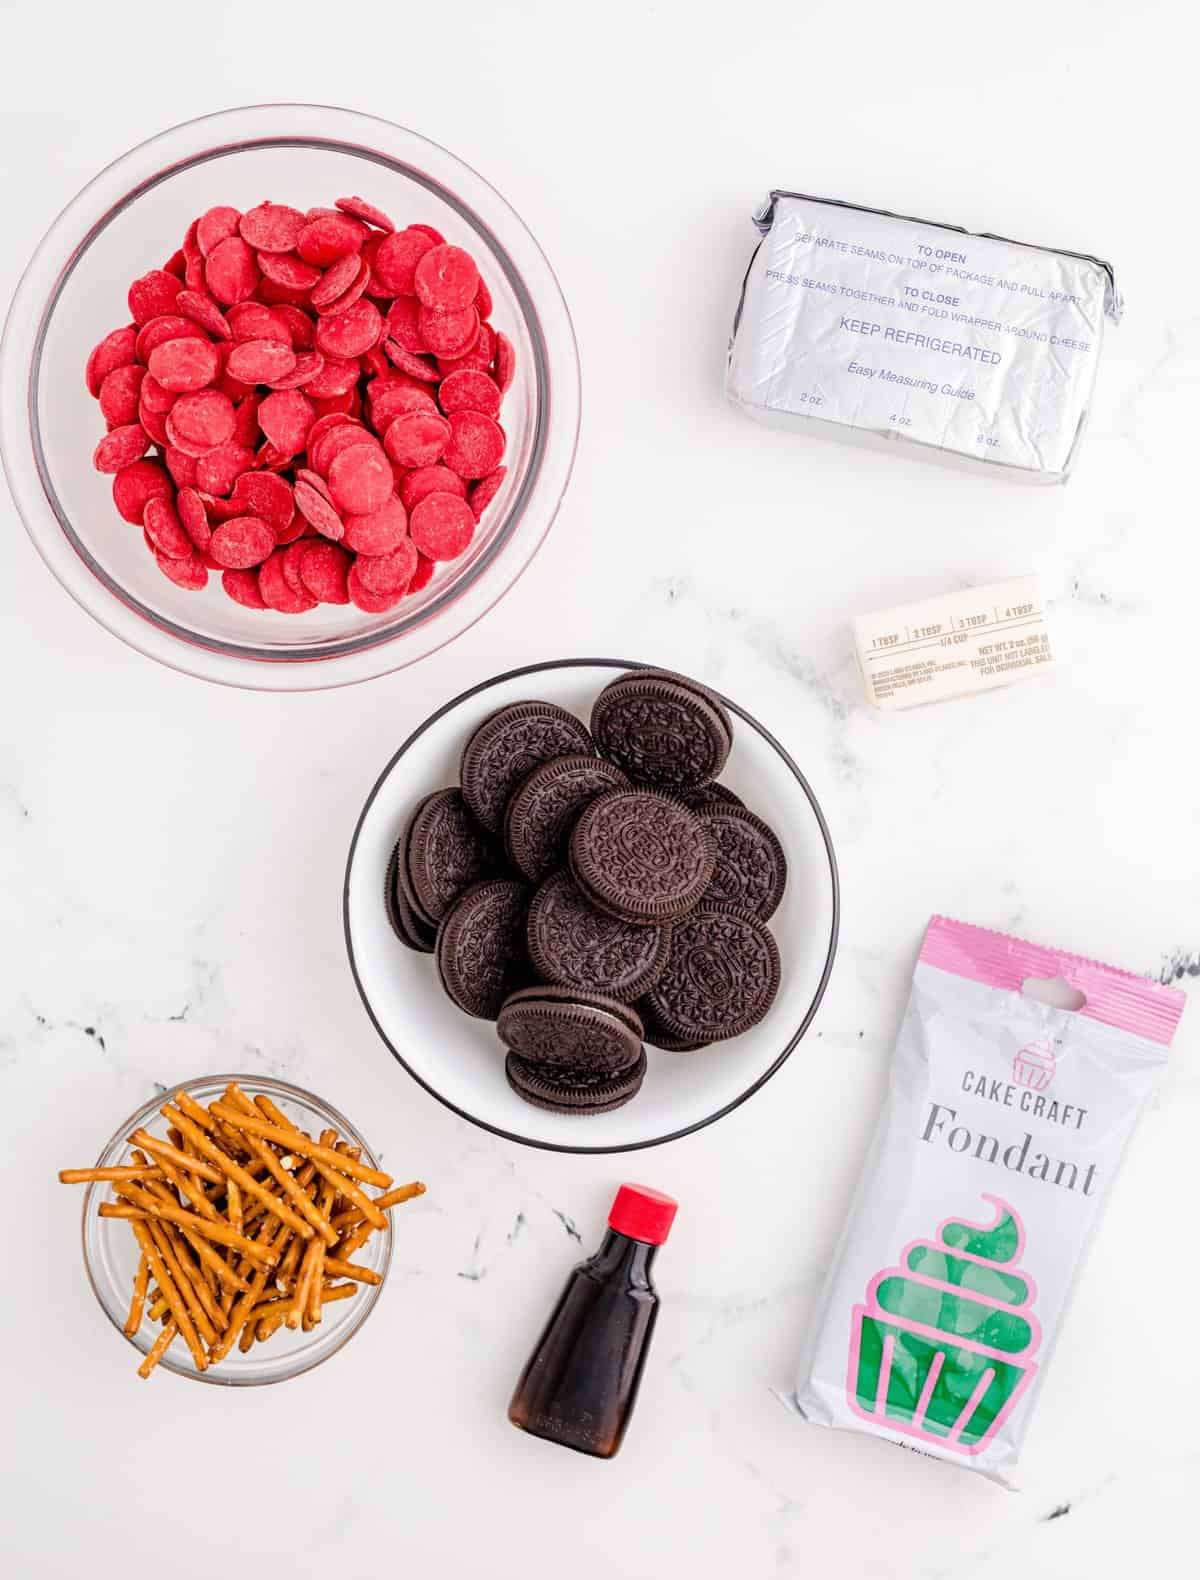
SUBSTITUTIONS AND ADDITIONS
- Pretzels – I prefer pretzel sticks as you need a little length for the dipping, but you can also use broken pretzel pieces then dip the oreo balls using a fork.
- Oreos – as we need to use the entire oreo (cookie and cream) in this recipe, do not substitute for the double-stuffed variety. This will disrupt your cream to biscuit ratio so your Oreo balls will struggle to stay together. If chocolate is not your preference, you can try different flavors of oreo as a substitute.
- Cream Cheese – do not substitute for light cream cheese. The regular contains more fat which is needed to bind the mixture. Lighter cream cheese is also less flavorful and not as rich, so the finished product will be less delicious.
- Green fondant – I totally understand if you don’t have time to go the extra mile with the fondant leaves. You can substitute for any green candy you can get your hands on such as a green gummy or M&M cut in half. You can also find leaf-shaped sprinkles sometimes in the baking aisle or on amazon.
- Perfect glaze – Feel free to add one teaspoon of coconut oil to the candy melts to help them melt and pour better. You can also add a drop or two of food color for that vibrant red finish if you feel your apple oreo balls are not red enough.
- White chocolate – Some people use candy melts and white chocolate interchangeably however they are not the same thing. The main differences are chocolate melts smoother and quicker, but if you are using it as a coating it will need to be tempered. I prefer sticking to candy melts for this recipe as they are already colored and create a slightly thicker coating. You can use white chocolate or melted vanilla almond bark but you will need to temper and add food coloring.
RECOMMENDED TOOLS TO MAKE THIS RECIPE
- Baking Sheet
- Microwave Safe Bowls
- Food Processor
- Wax Paper or parchment paper
- 1 inch Cookie Scoop

HOW TO MAKE THIS APPLE OREO BALLS RECIPE
Thankfully these apple oreo balls are as easy to make as they are cute to look at. Once your Oreos are crushed and cream cheese added it’s simply roll, dip and decorate. Then it’s time for them to chill in the fridge as you chill with a cuppa enjoying those last few moments of peace before the back to school chaos commences.
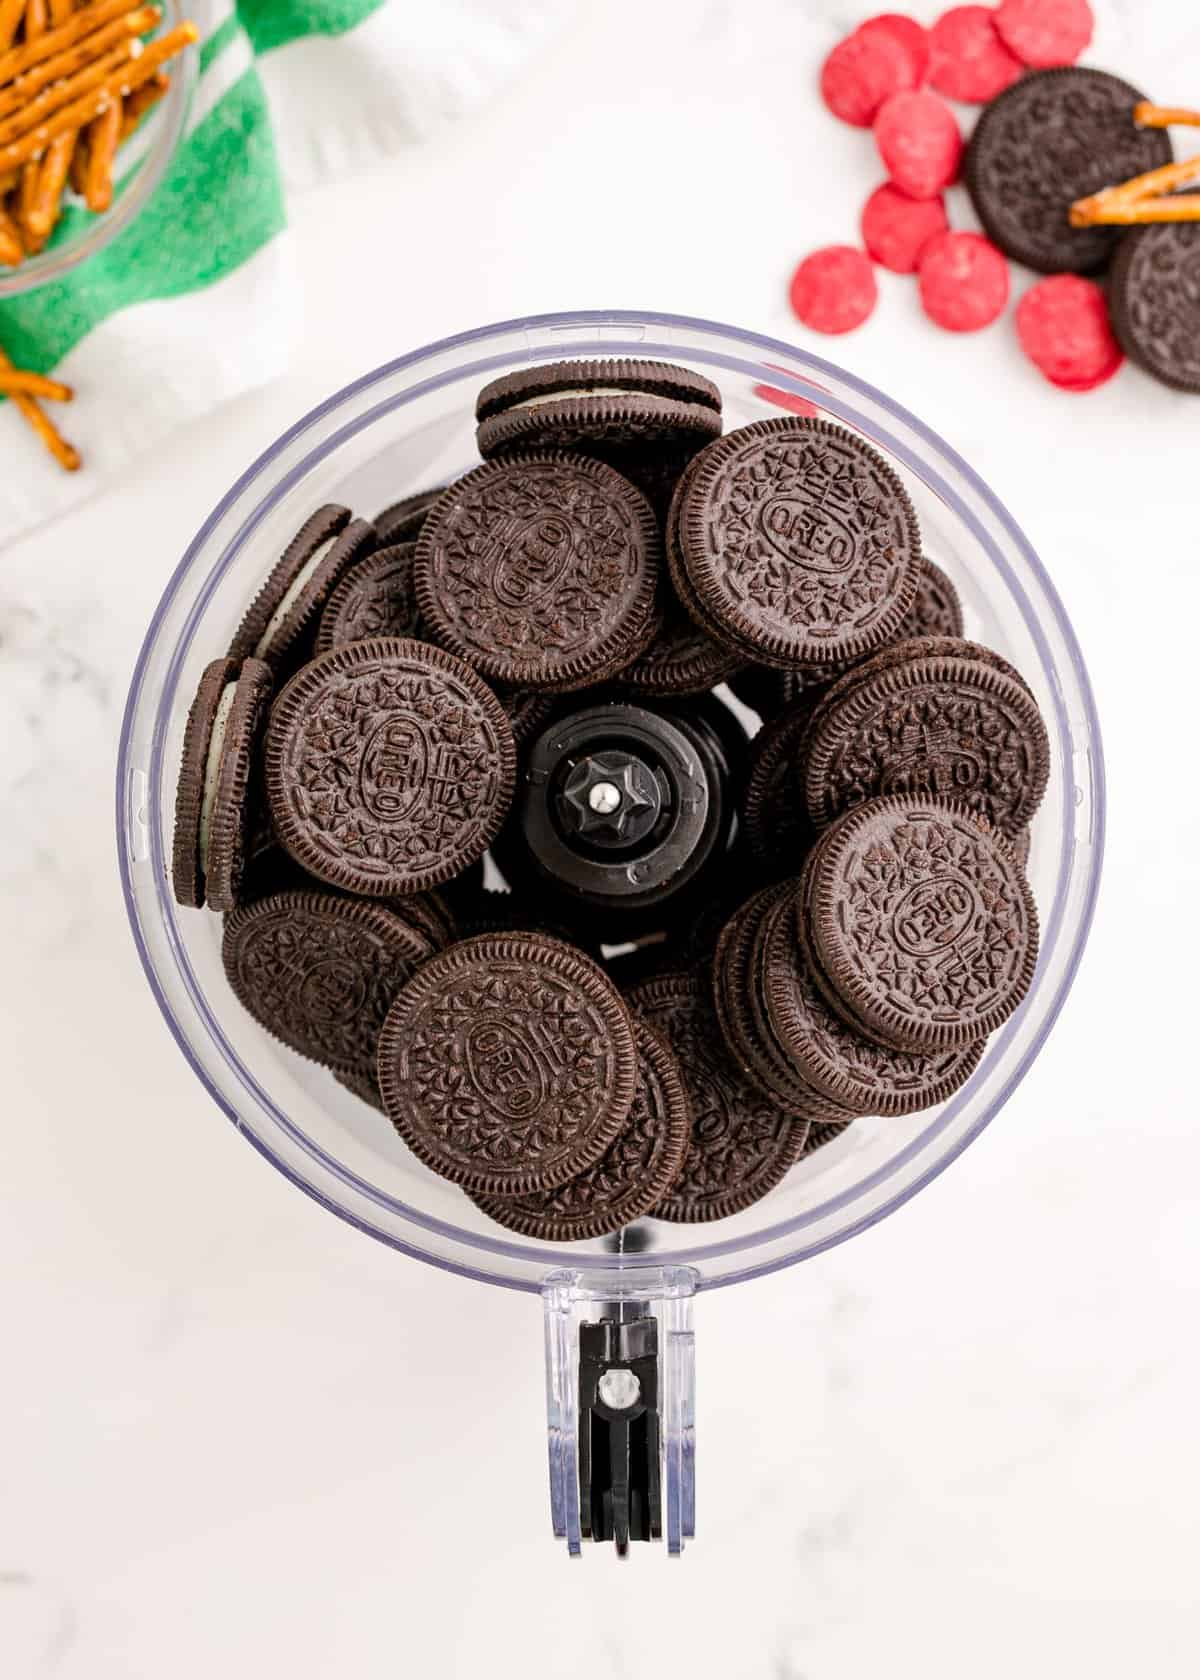
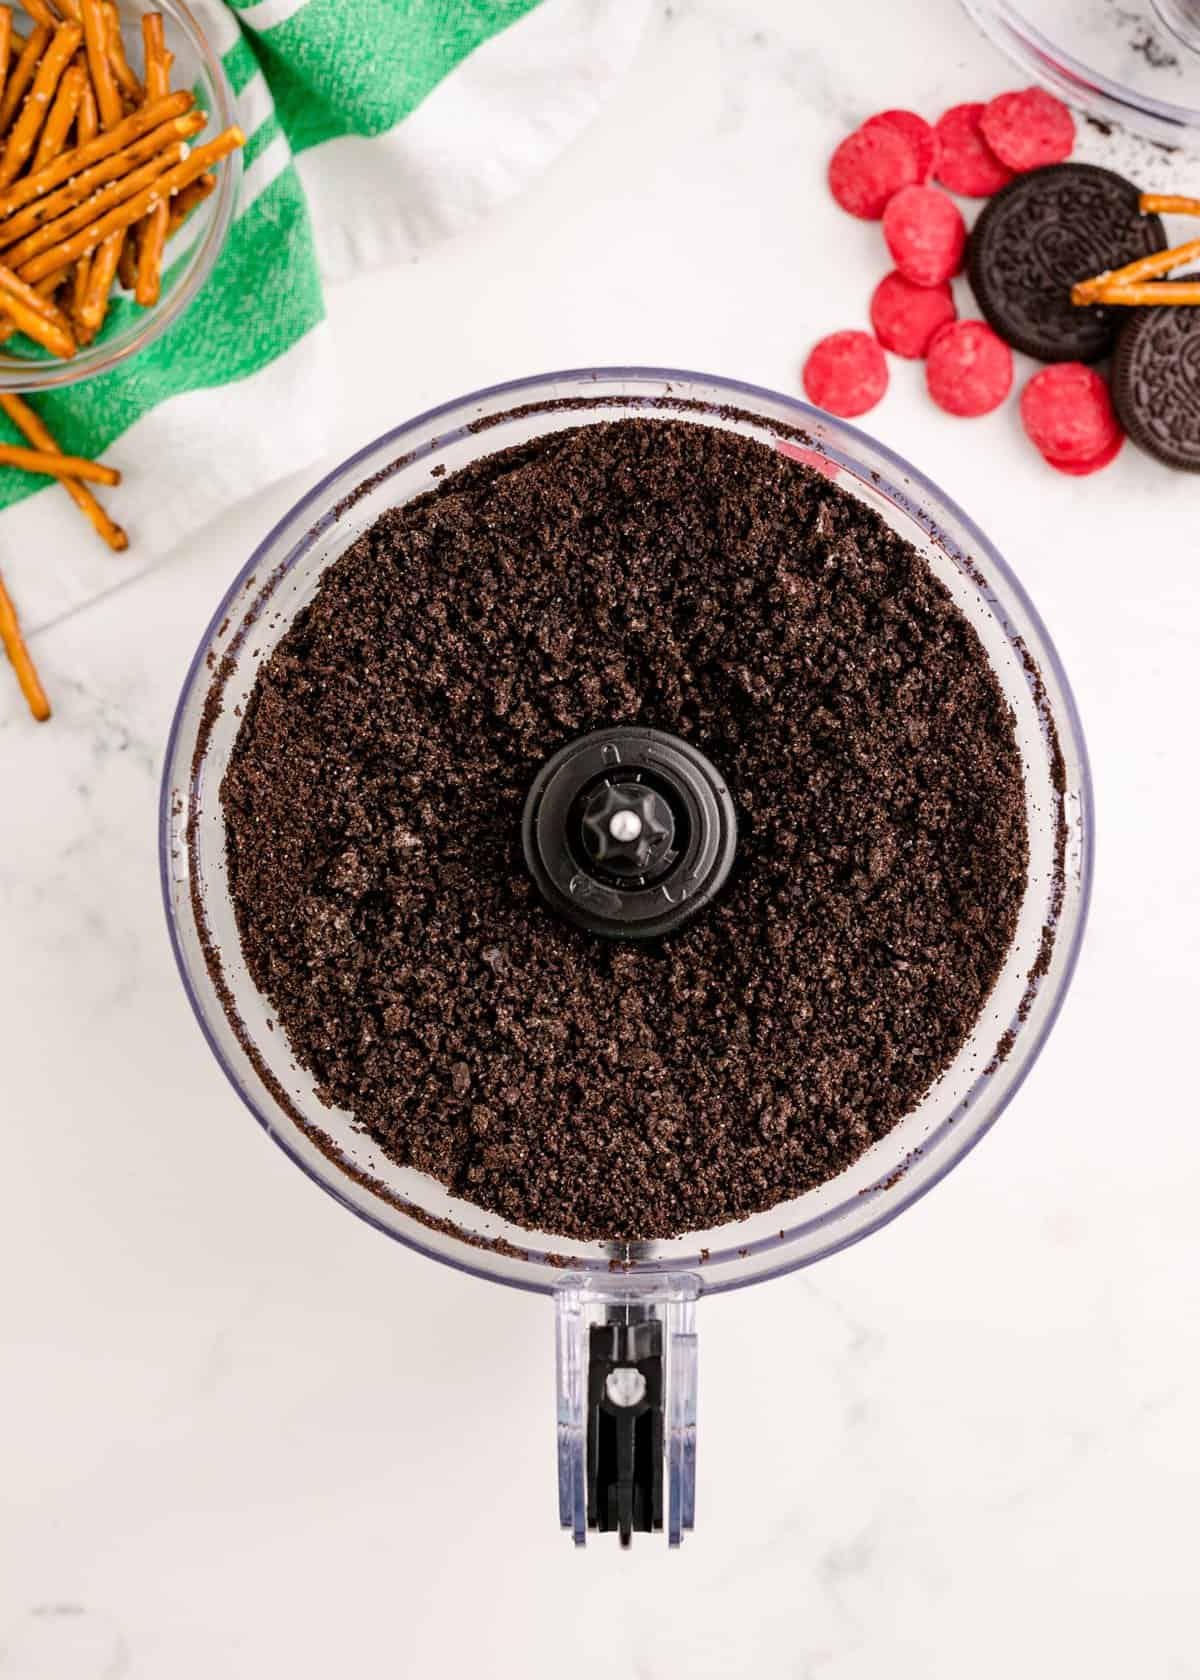
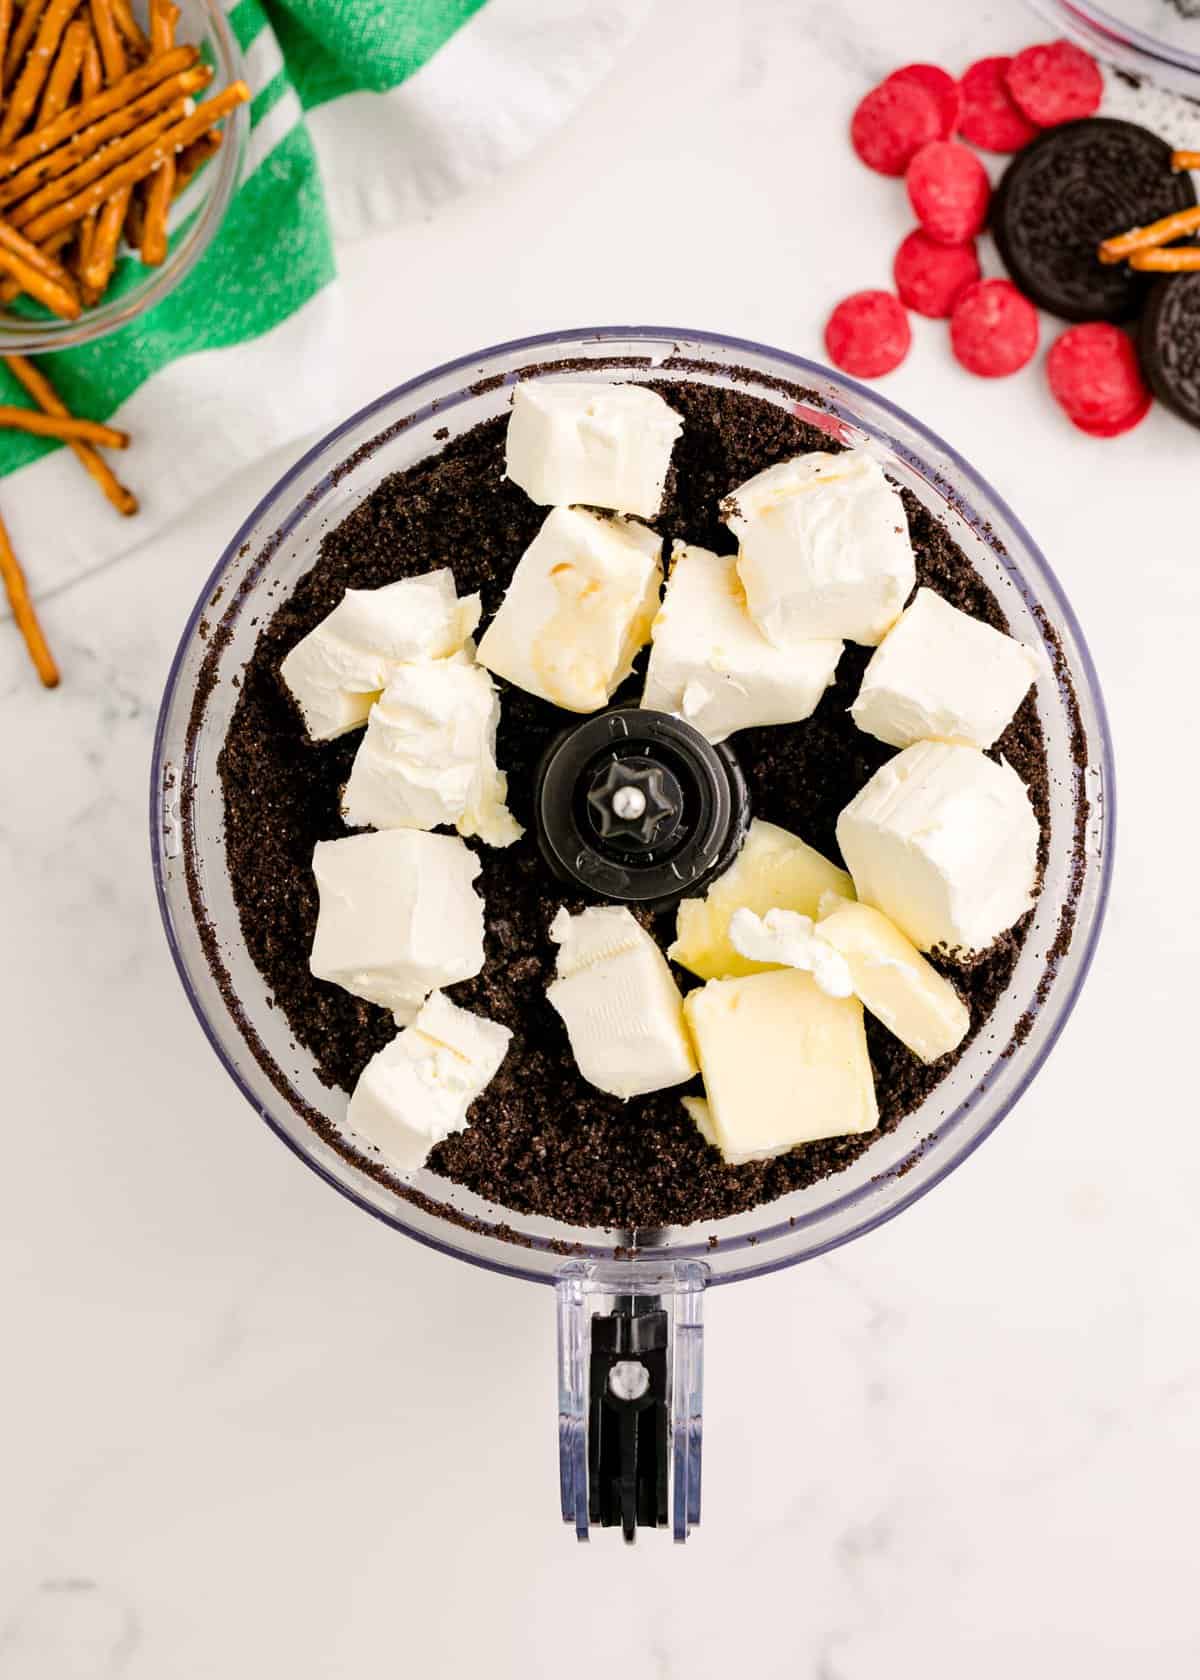
1. Place Oreos in a large food processor. Pulse until oreos become fine crumbs.
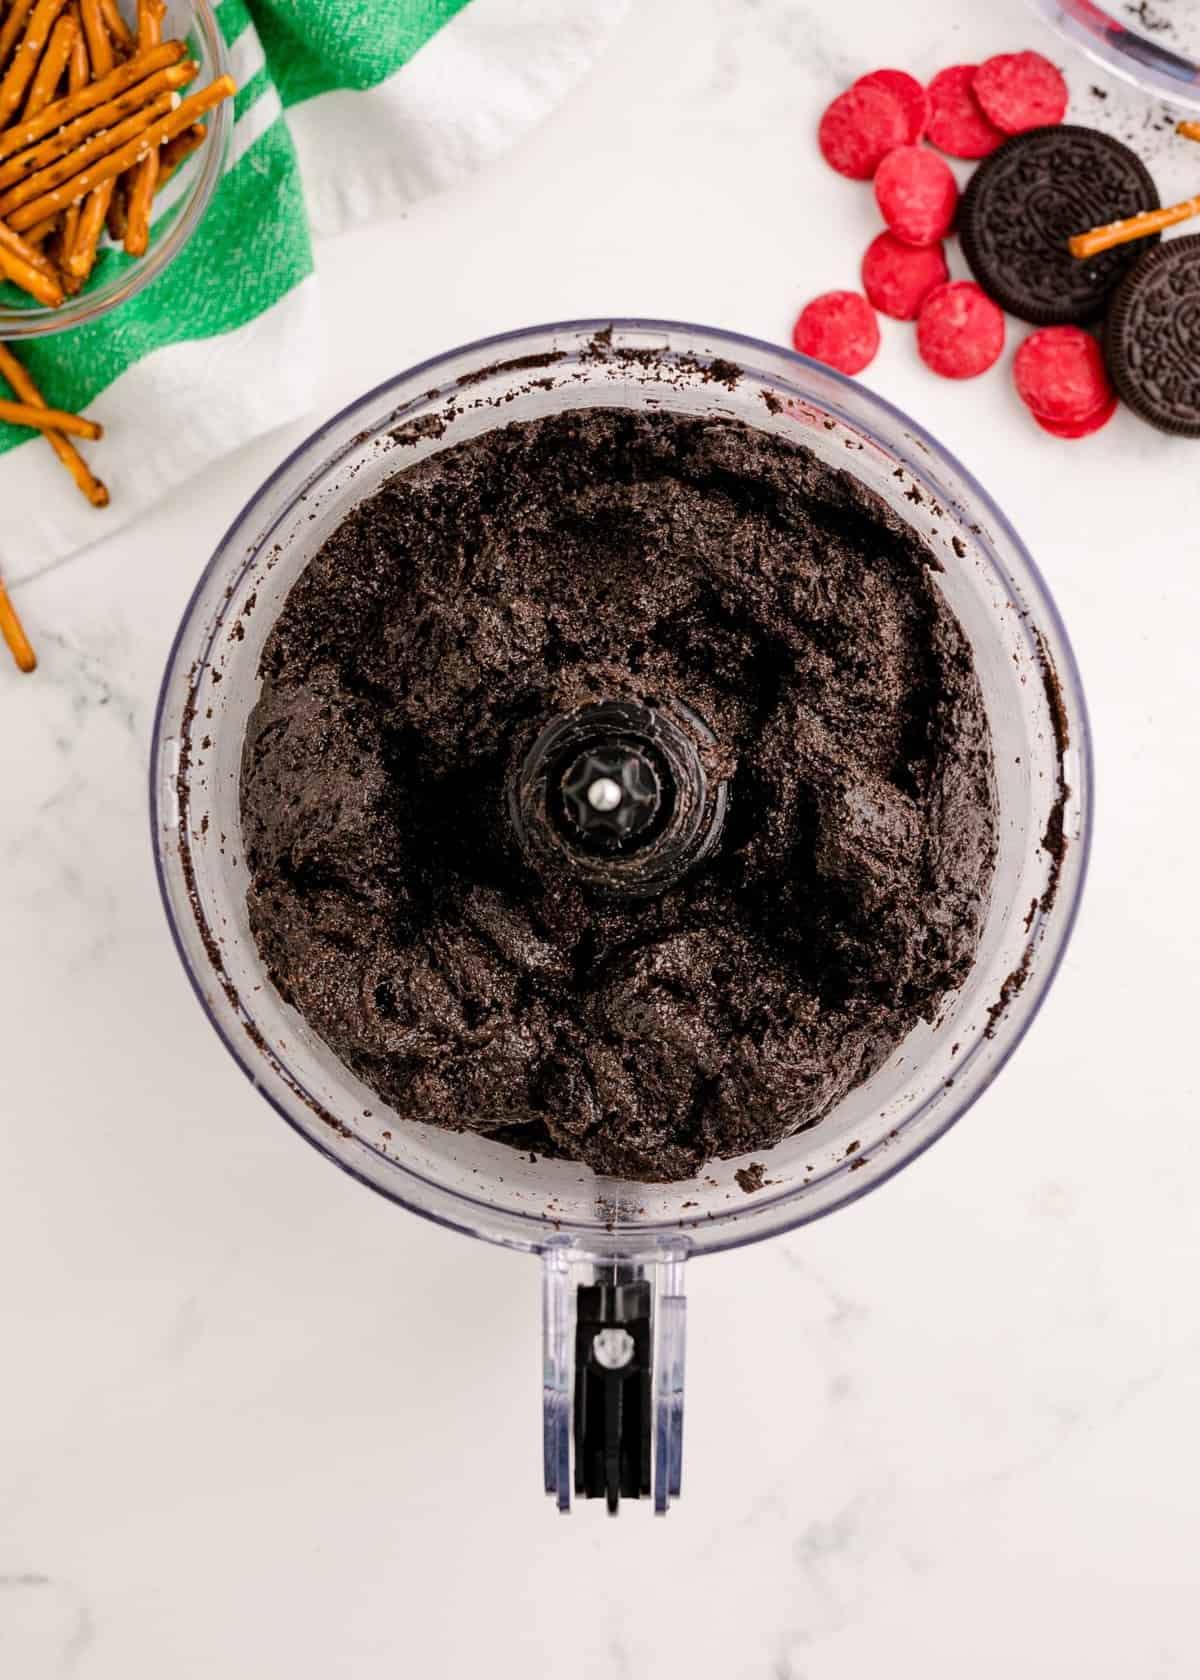
2. Add the softened cream cheese, followed by the butter and vanilla. Blend again until well combined. PRO TIP: To avoid pockets of cream cheese mixture, scrape down the sides using a rubber spatula to ensure the mixture is well combined.
3. Chill the Oreo cream cheese mix for 10 minutes in the freezer. This step is essential as it will allow make rolling the oreo balls easier.
4. Use a 1 inch cookie scoop, or any small cookie scoop, to measure out the oreo truffles. Then roll the mixture into a ball and place on a lined baking sheet. PRO TIP: You can make the balls and freeze them for up to 1 month before coating. Just make sure to place them in a ziplock bag once frozen to avoid freezer burn.
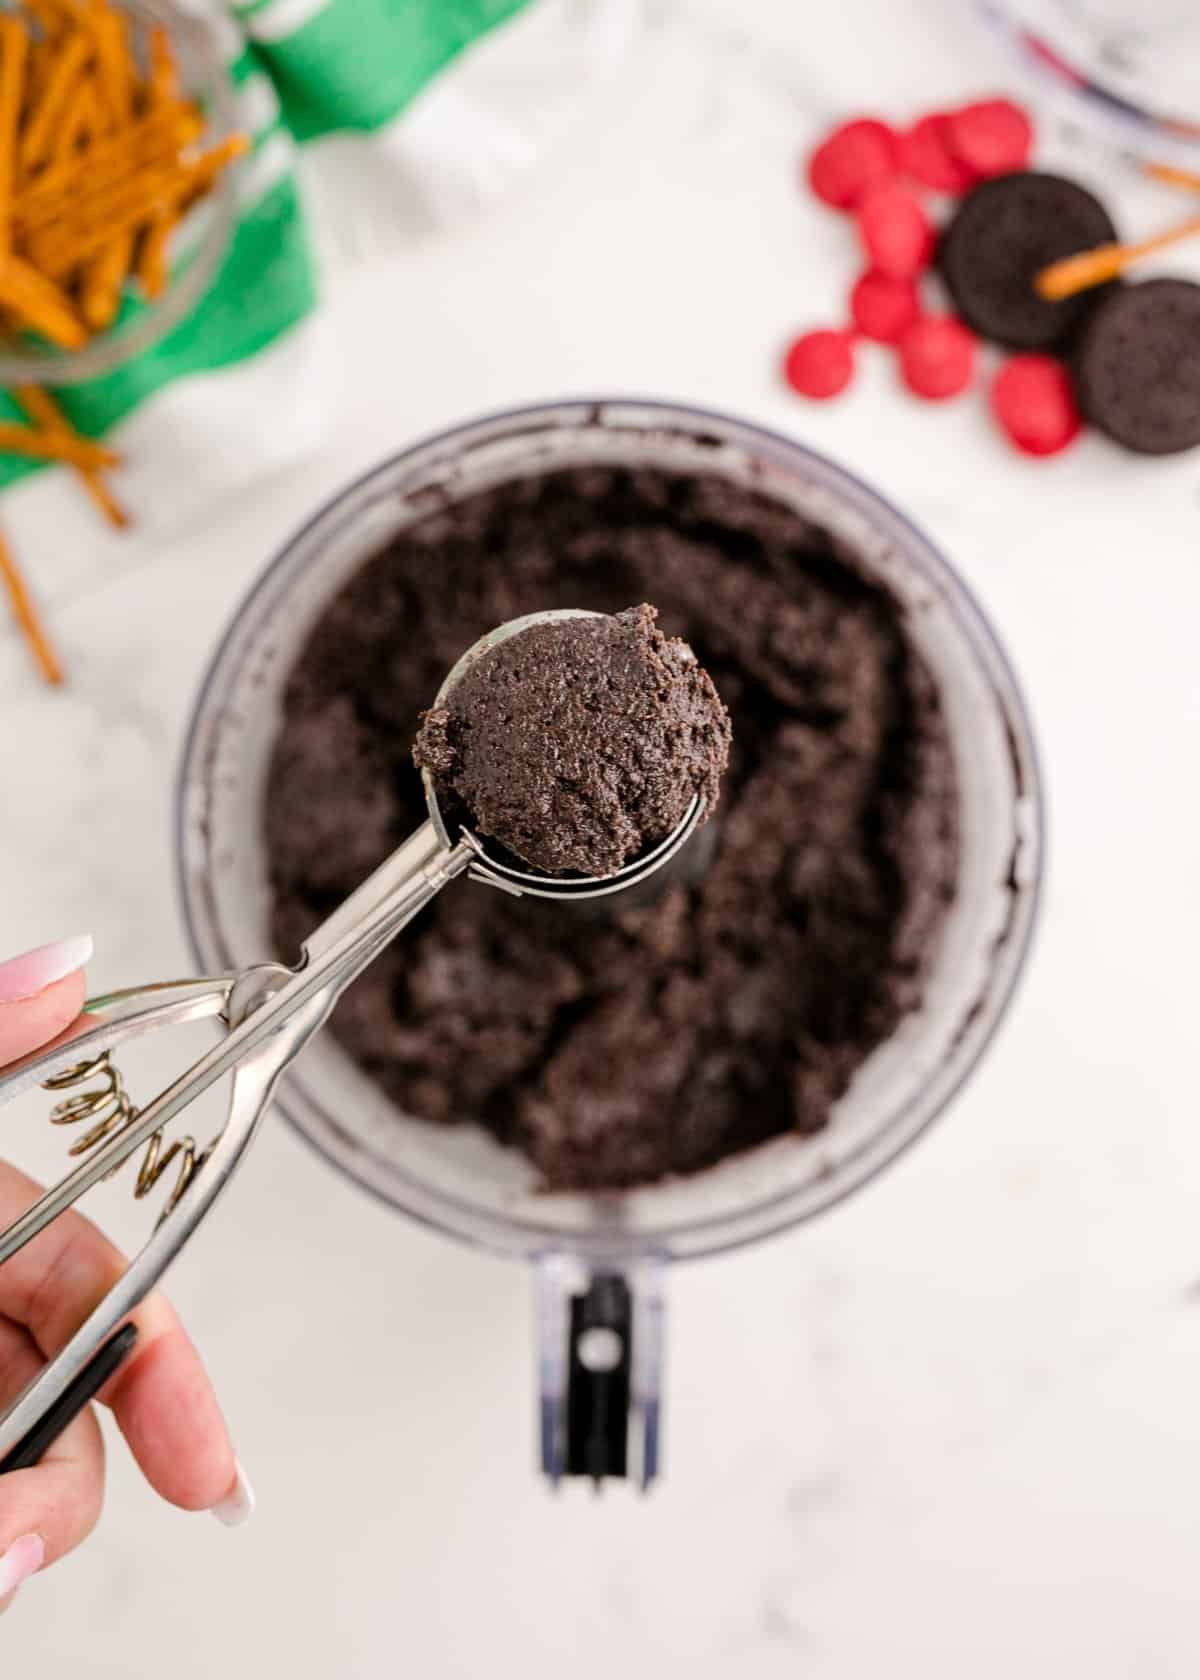
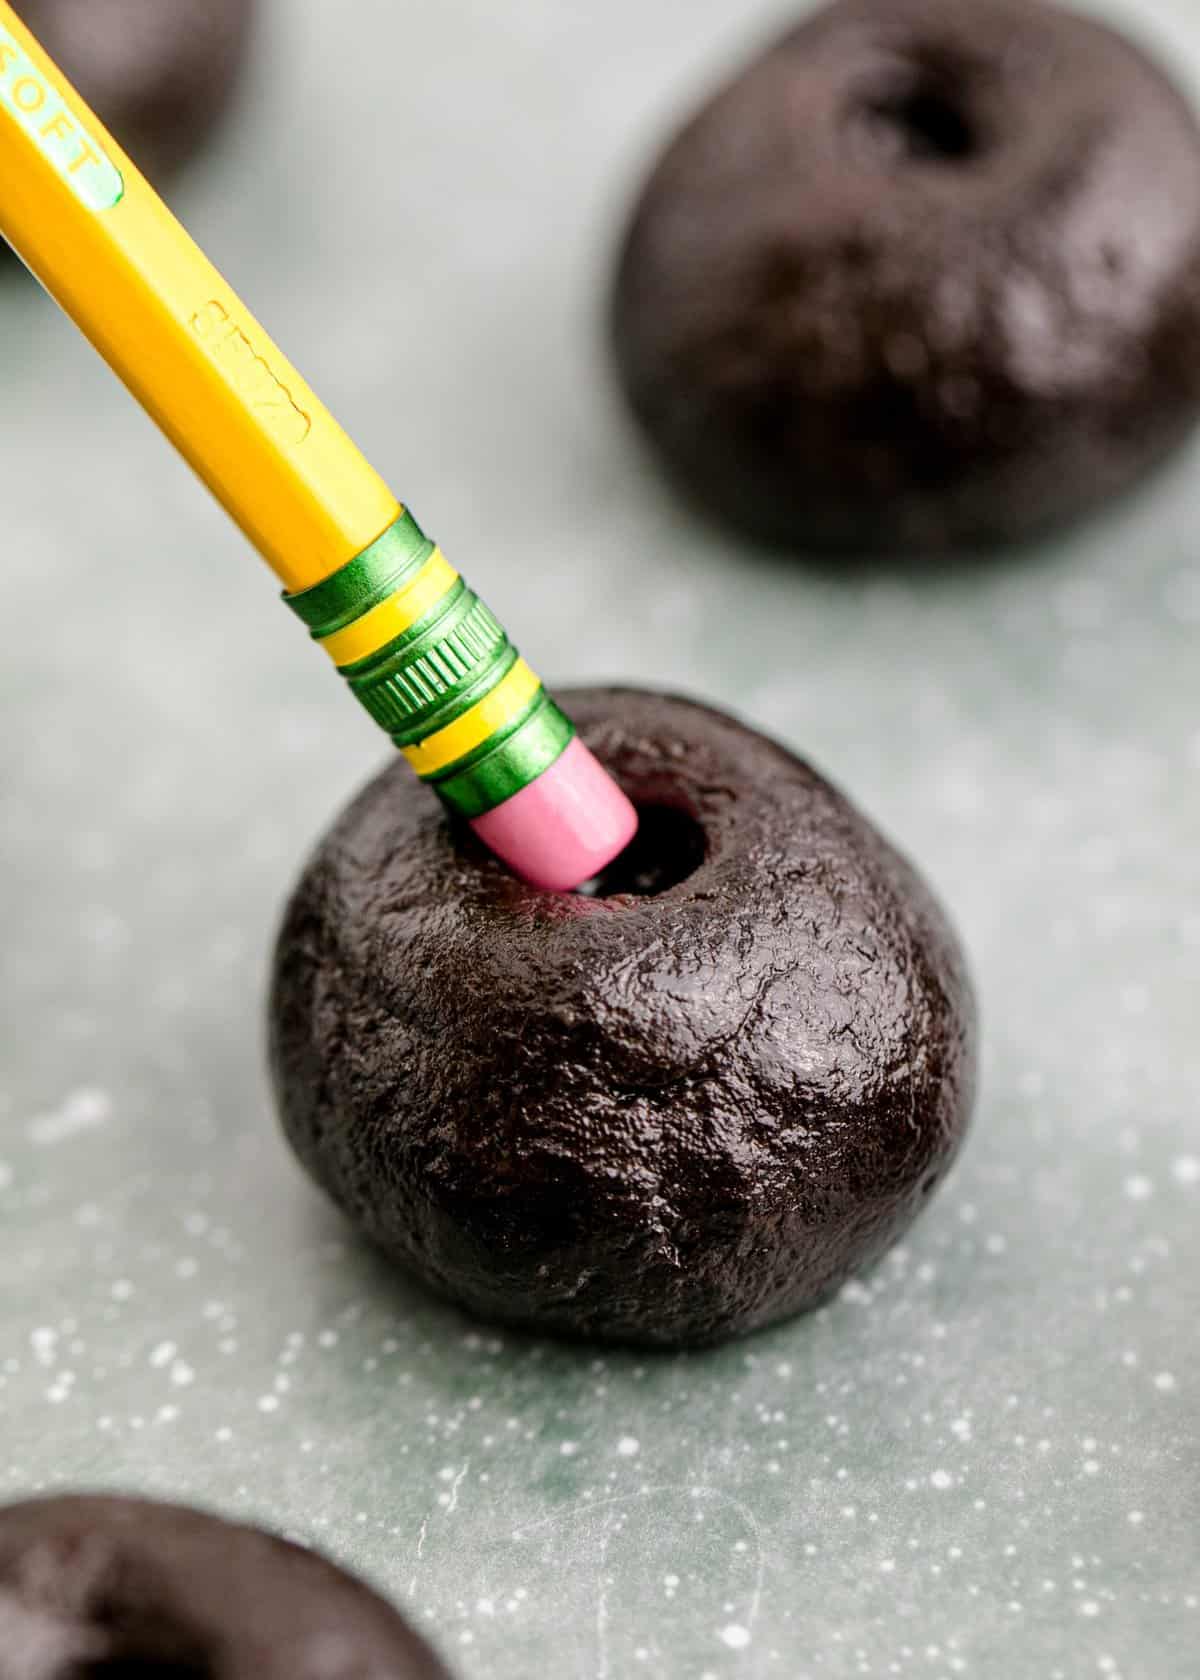
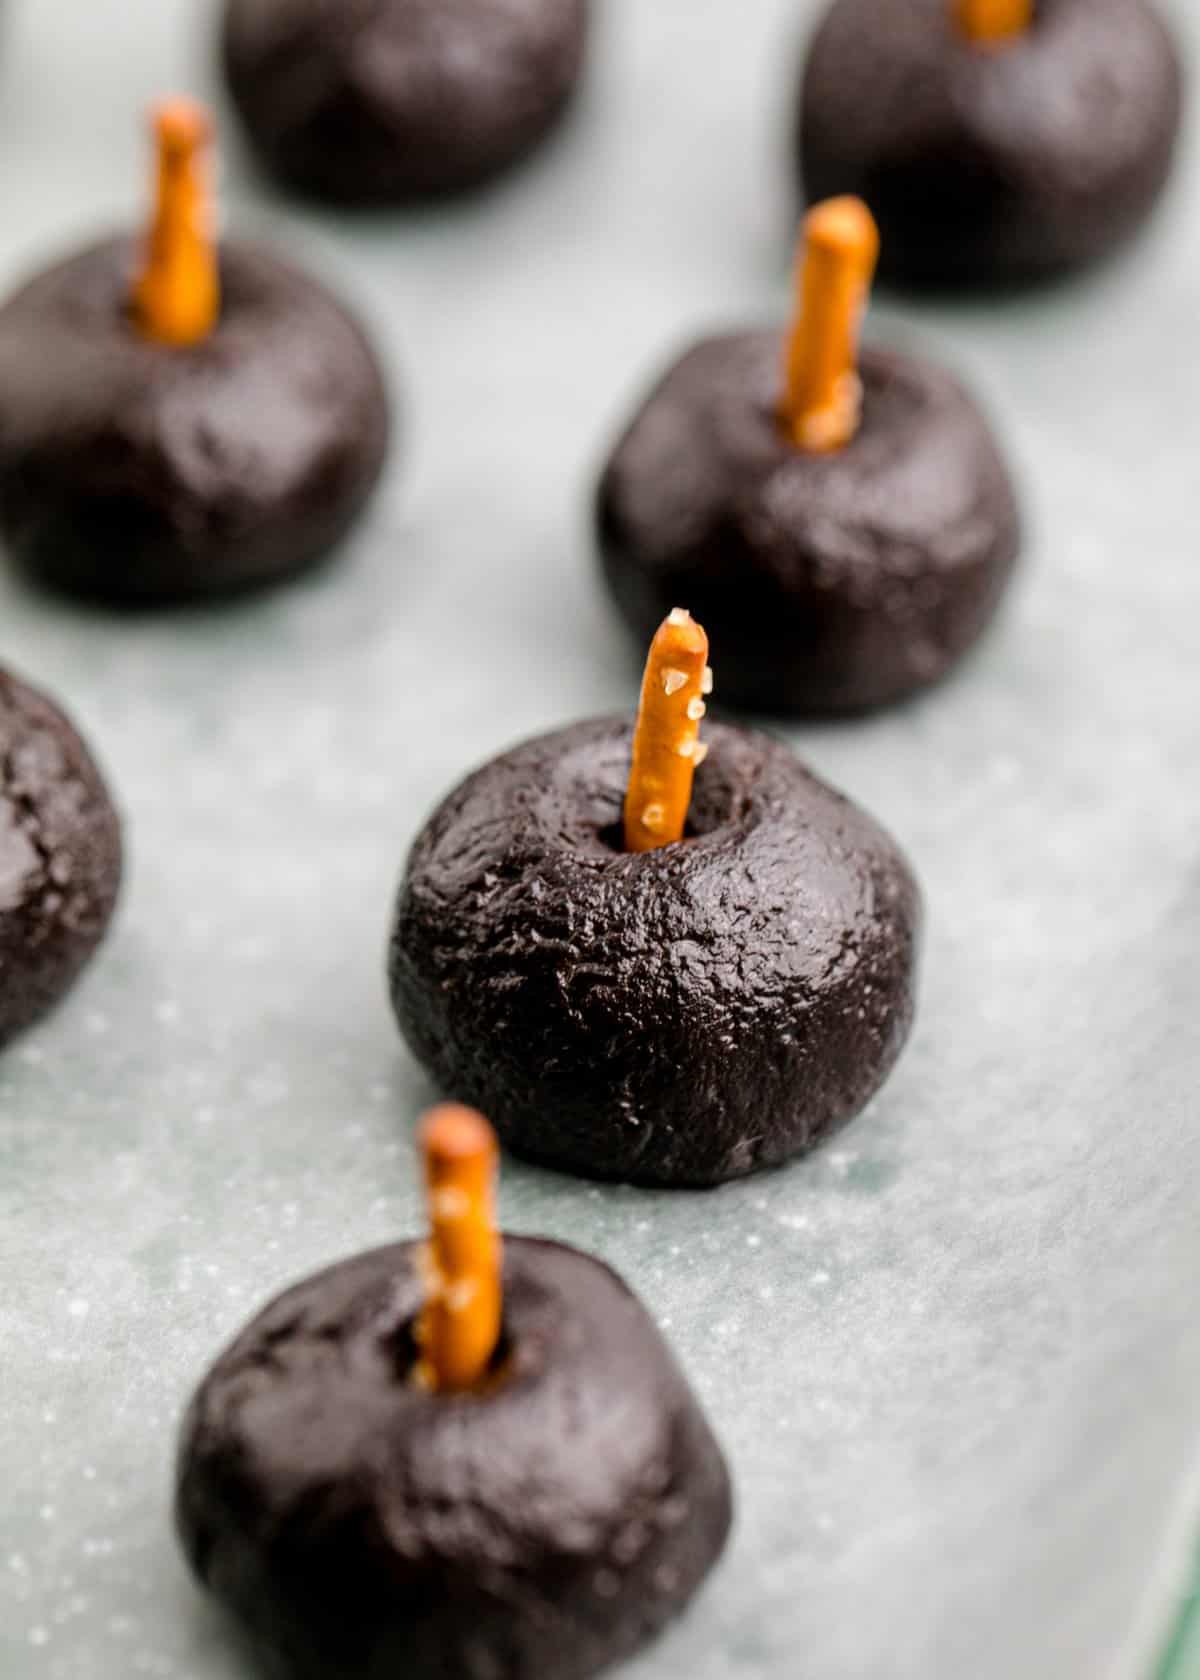
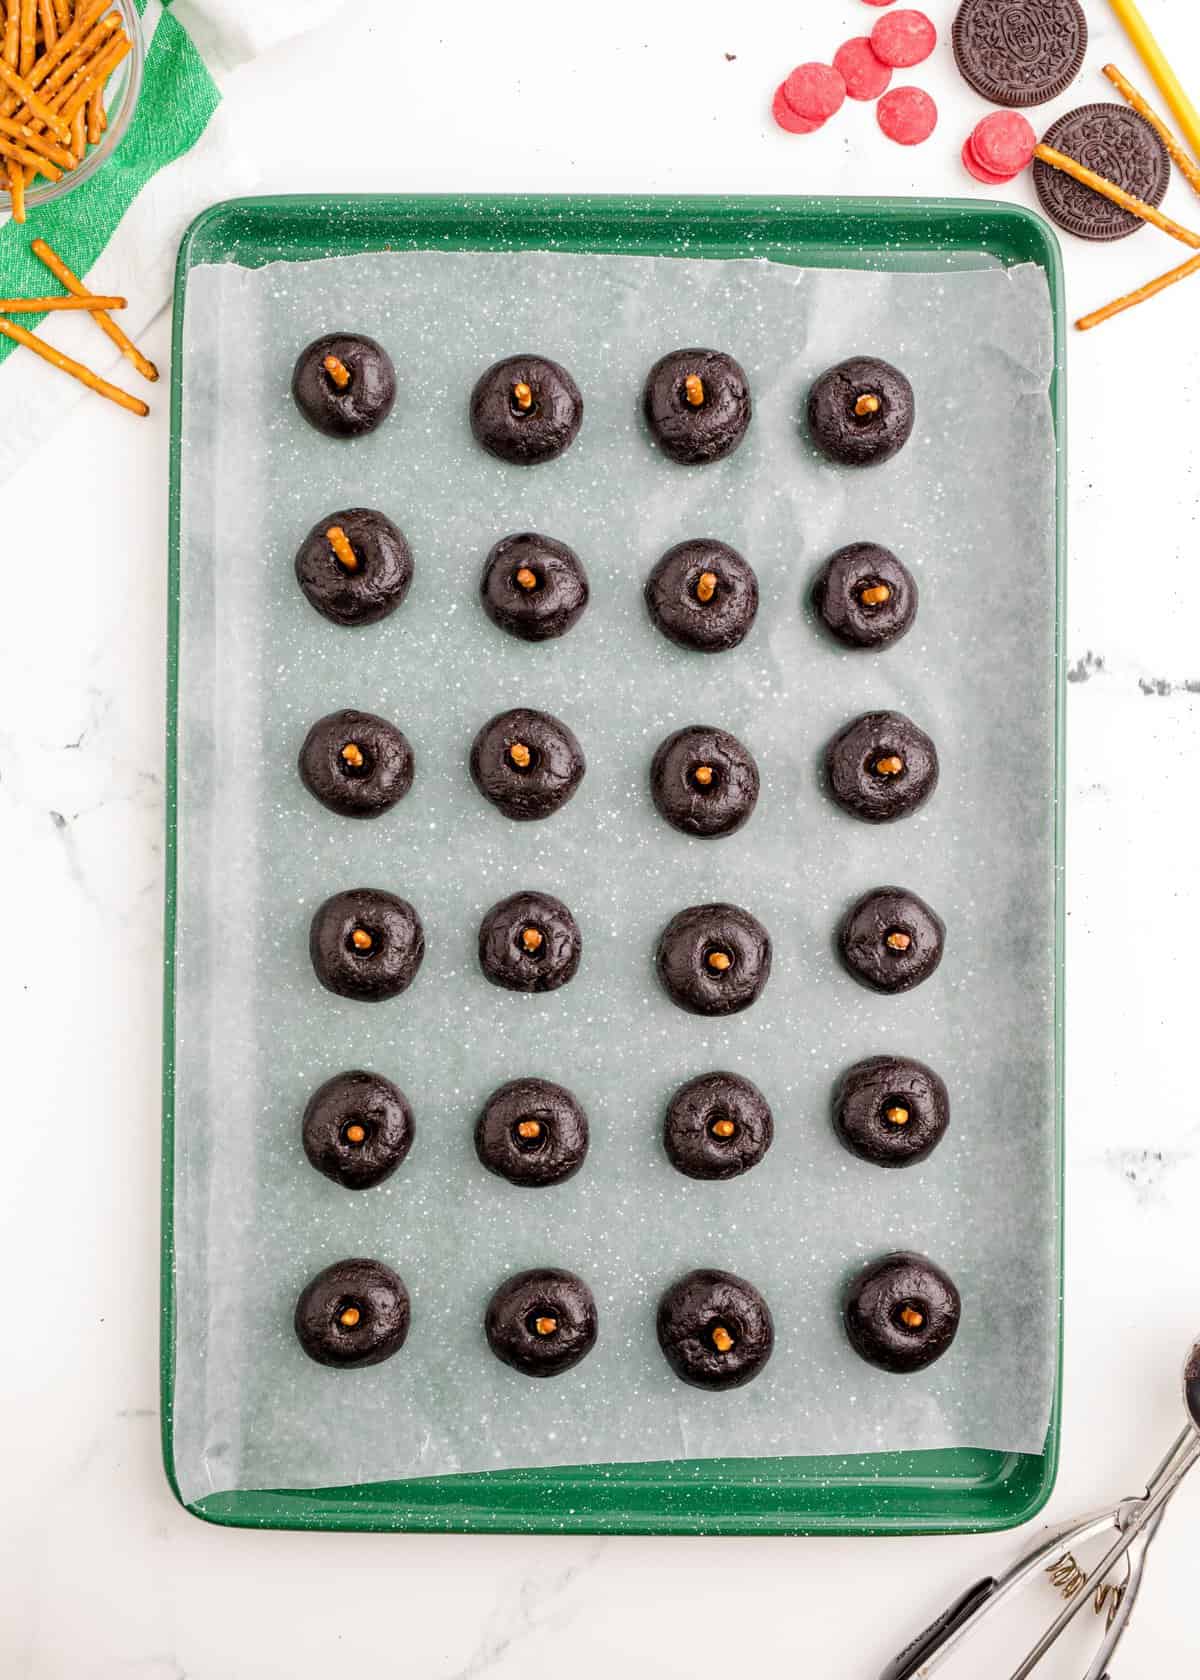
5. Make a very small indent at the top of each ball to mimic a real apple where the stem would be. Break the pretzel sticks in half and push the broken ends into the indent in the center of each ball. PRO TIP: Don’t make your pretzel stick too short as you need this to act as your handle for dipping into the coating later.
6. Once the stems are added, return the oreo balls to the baking sheet and place in the freezer for 20 minutes.
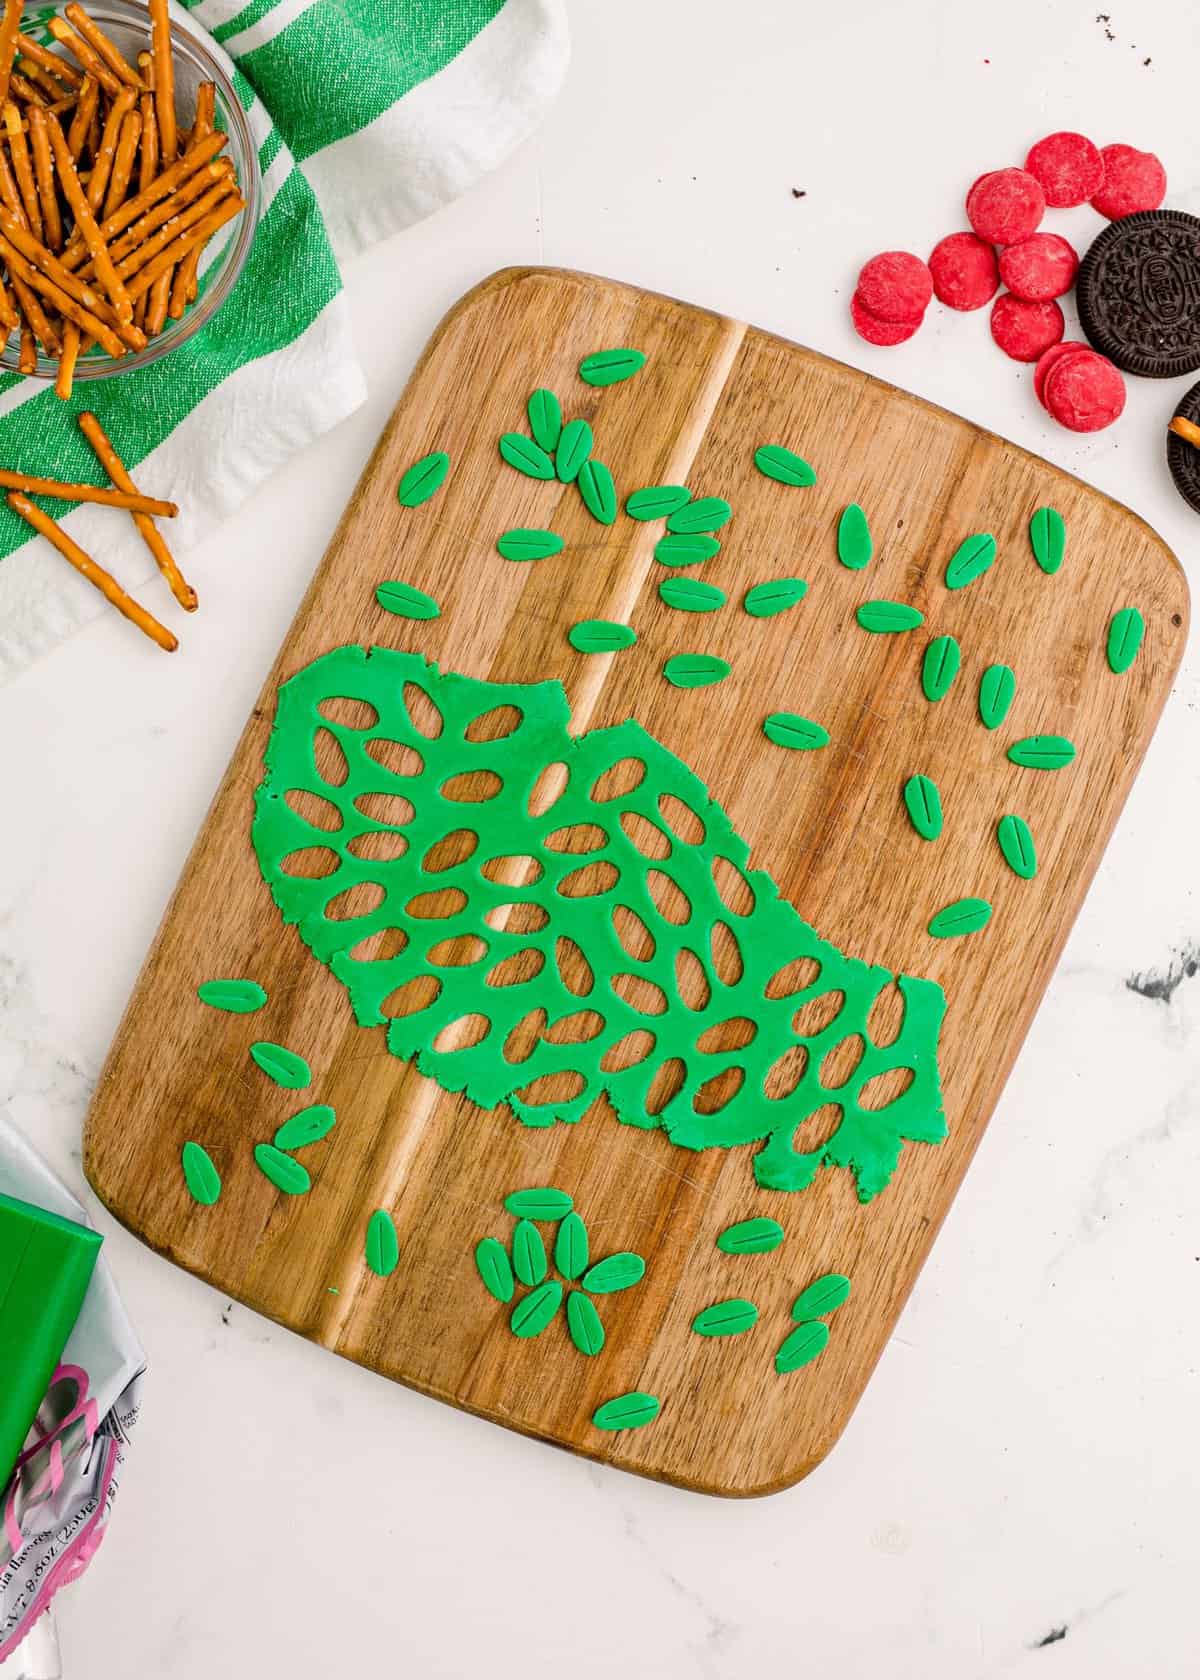
7. While the truffles are chilling, you can roll out your green fondant then using a leaf shaped cookie cutter or knife create the tiny leaves. Set aside.
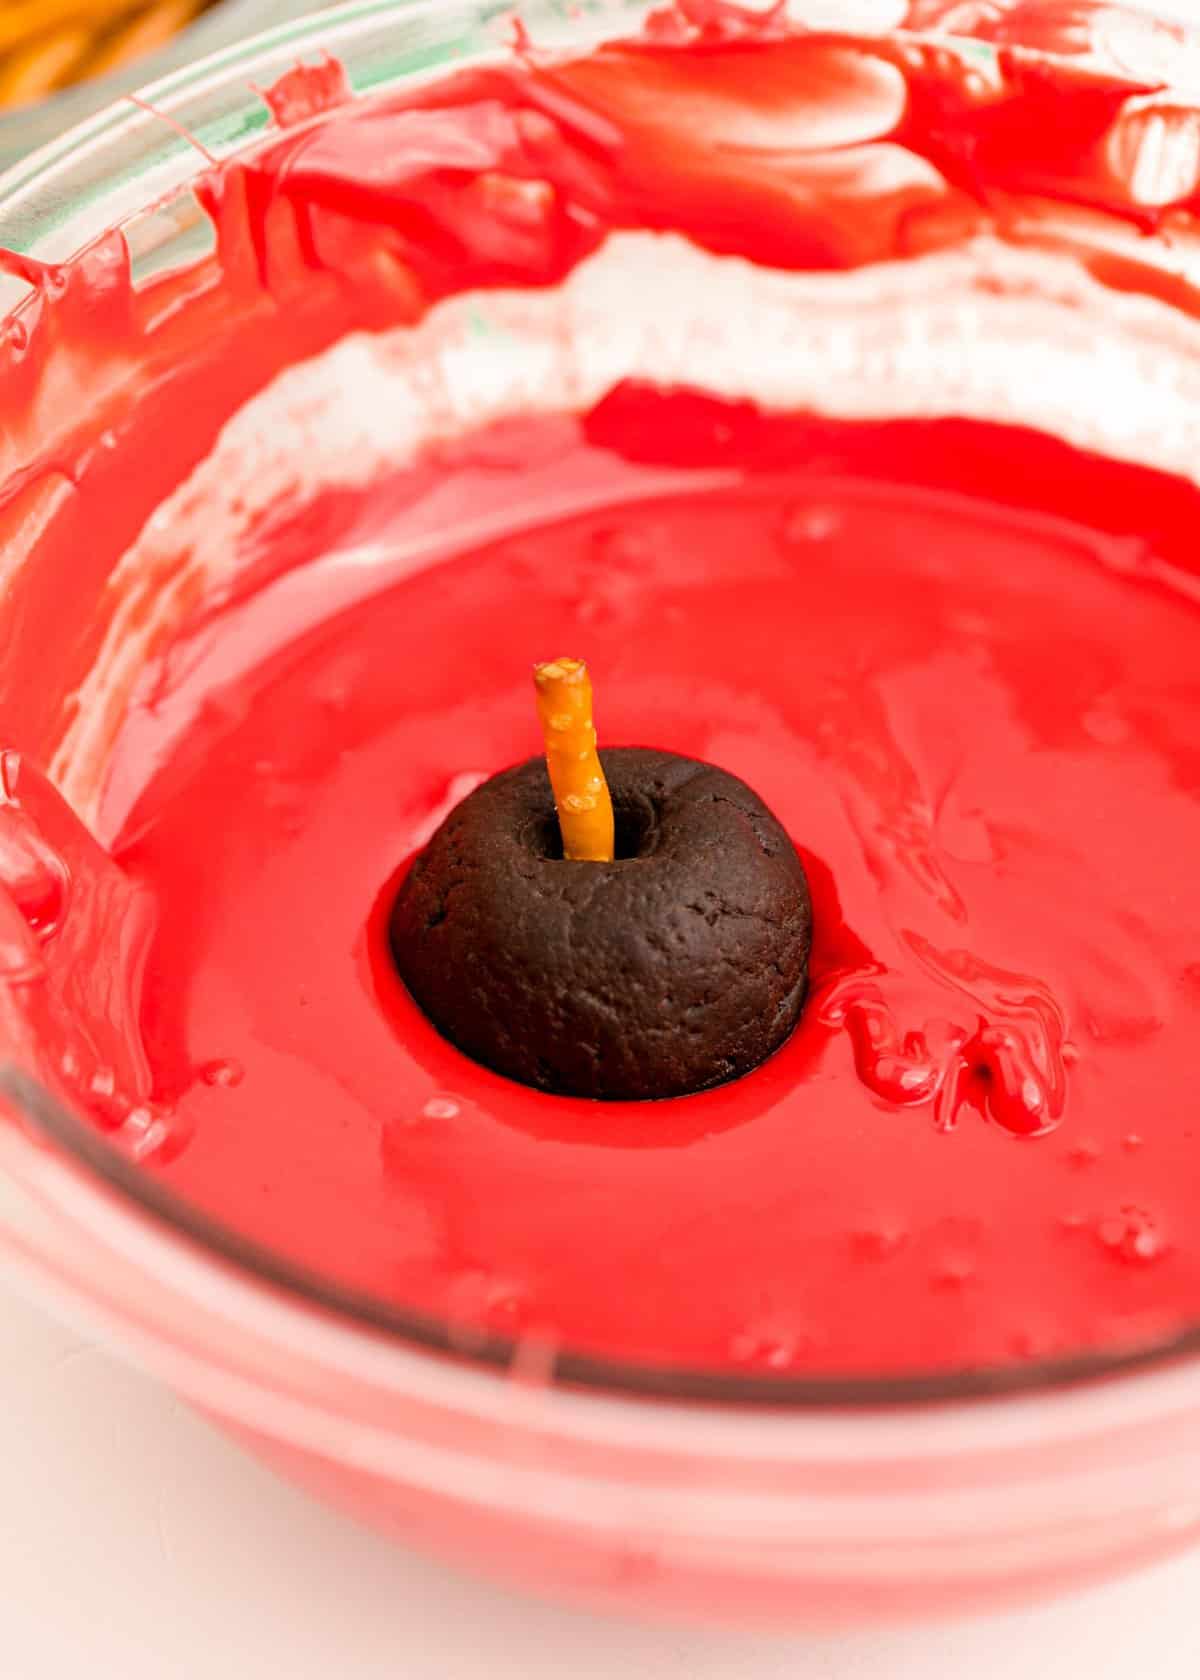
8. Add the candy melts to a microwave-safe bowl and melt according to package directions, until you have a smooth melted chocolate. PRO TIP: The secret when working with candy melts is not to overheat and heat in 10 second intervals. I recommend you stop microwaving when around 80% of the candy melts are melted. Then stir to melt the rest.
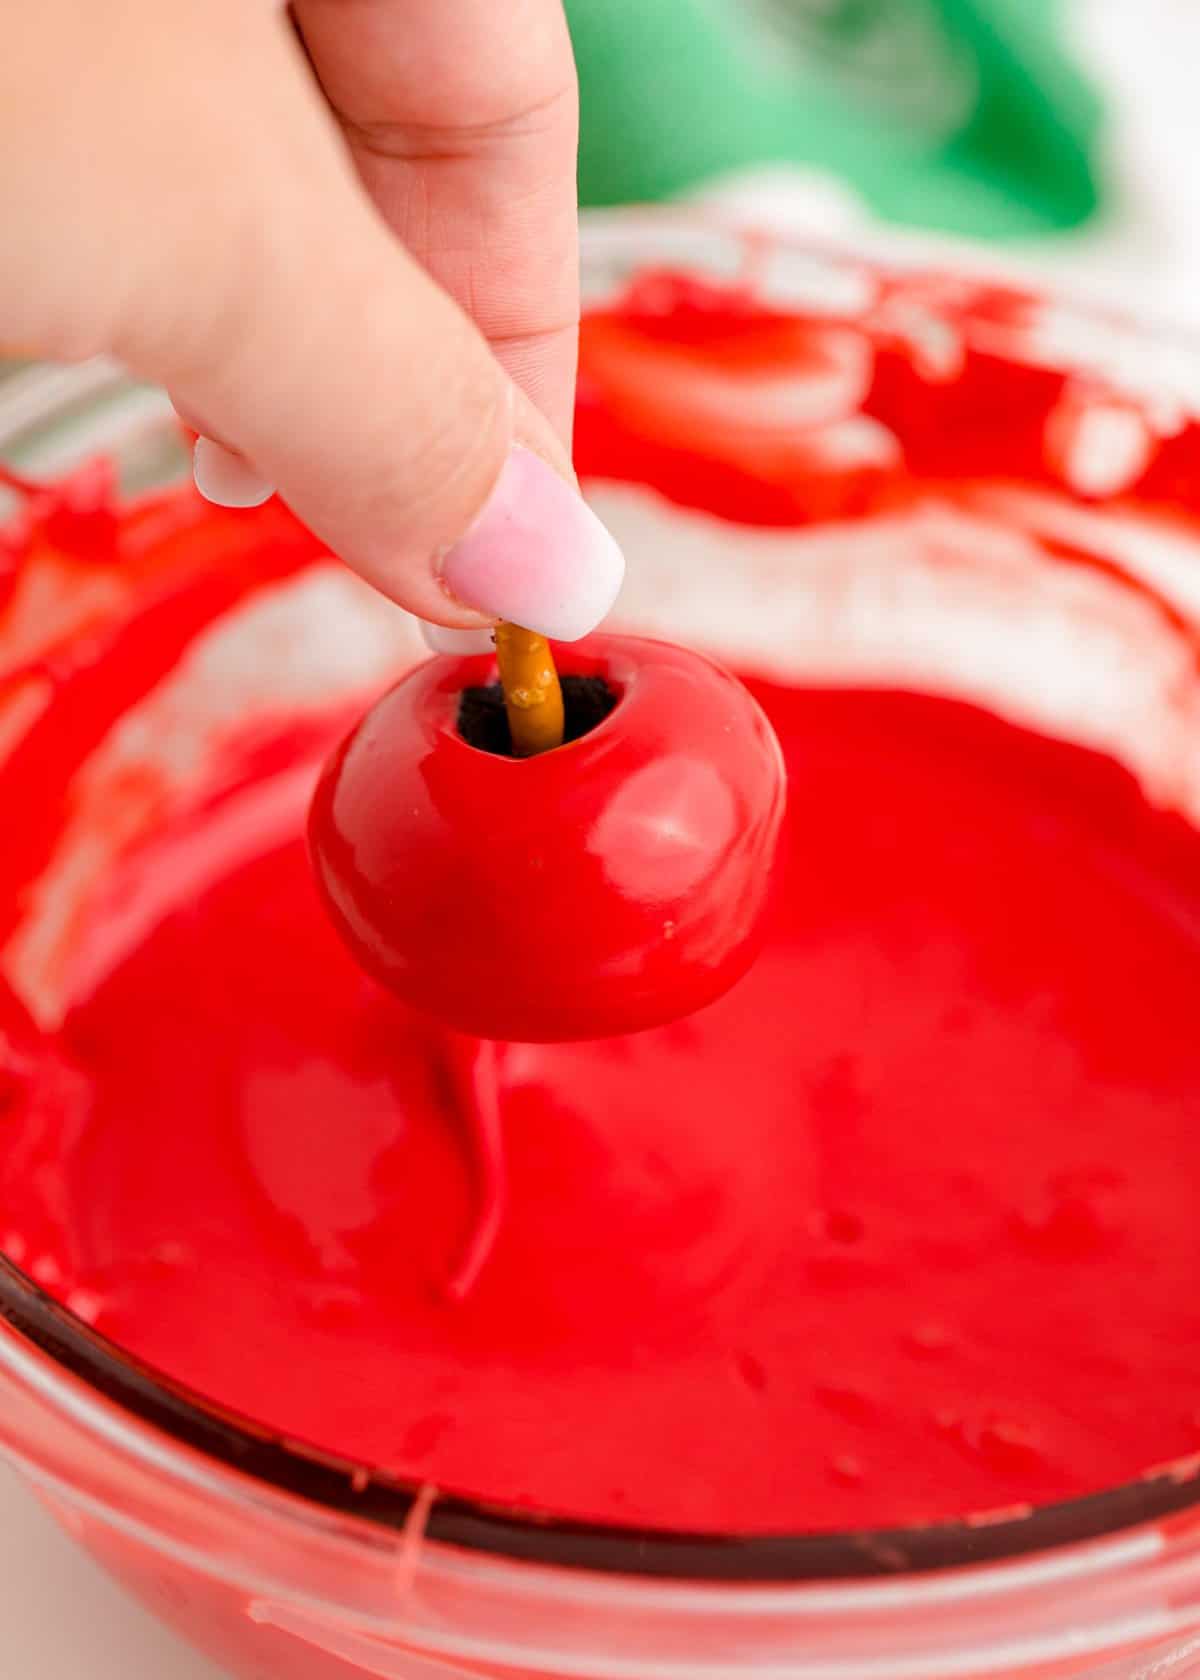
9. Remove the truffles from the freezer, and using the pretzel between your finger and thumb as a handle, dip the oreo balls into the candy melts. Let drip for a few seconds to remove excess chocolate. This helps to create a smooth finish. You may need to submerge more than once to ensure it is fully coated. Add the leaf immediately to the top of the ball to ensure it sticks before the coating sets.
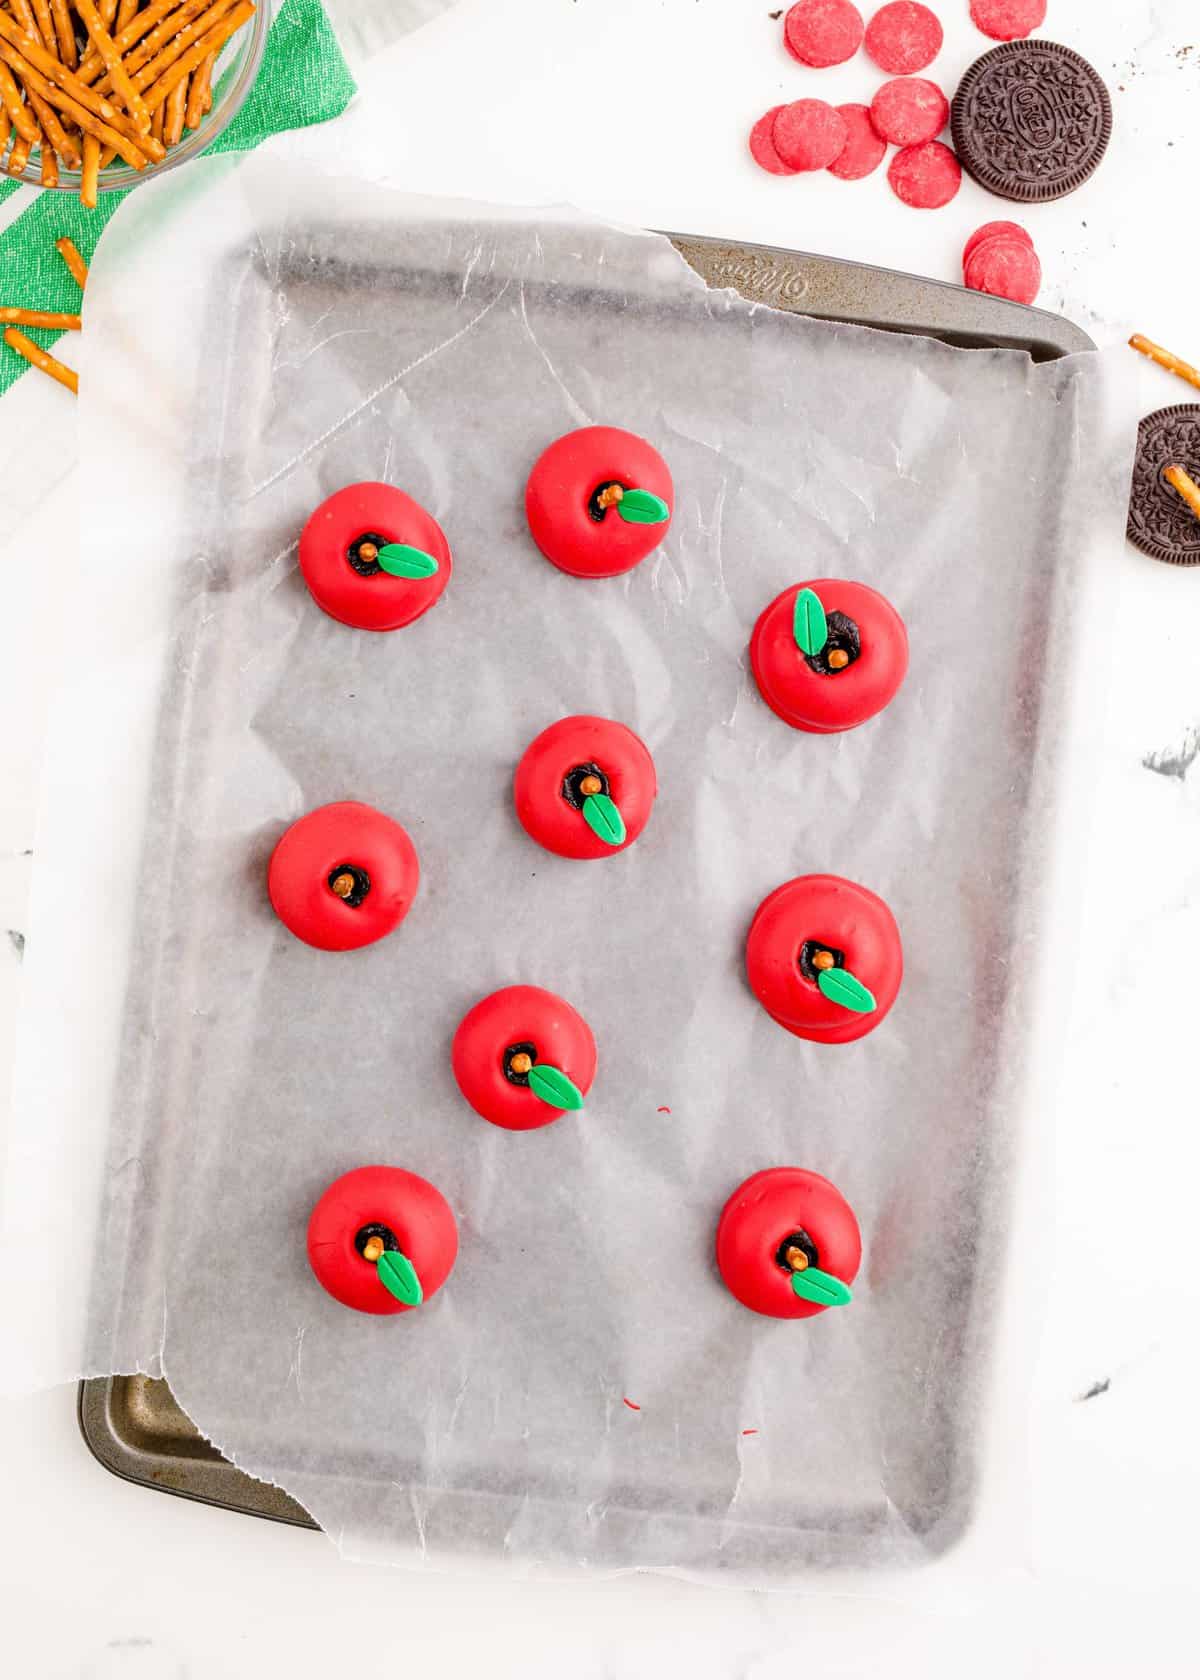
11. Once you have dipped and decorated all of your apple oreo balls, place on the lined cookie sheet and put them in the fridge for at least 20 minutes to fully set.
TIPS AND TRICKS
- Room temperature ingredients – Make sure your butter and cream cheese are at room temperature. If they are too cold, it will be harder to combine them with the oreo crumbs, resulting in lumpy oreo balls which no one will appreciate.
- No food processor? No problem. You can also crush the Oreos by adding them to a large resealable bag and crush with a rolling pin. Add the crumbs to a bowl, then mix in the butter and cream cheese by hand.
- Don’t forget the freezer – Don’t be tempted to skip the chill time. It is essential you add the oreo truffle mix to the freezer both times otherwise you risk your adorable apple balls falling apart.
- Work in batches – if your kitchen is particularly warm, or you simply prefer to take your time it may be easier to work in batches. Take the Oreo balls out of the fridge a few at a time to dip and decorate. This will avoid them getting too warm to work with as well as your candy coating setting before adding your leaf.
- Coloring – Some candy melts are more red in color than others. If you prefer a darker shade add a drop or two of gel food coloring at the melting stage.
- Dipping – If you’ve made your pretzel stems too short, you can use forks to dip. Add the truffle to the melted coating, then use a fork to lift it out. Use a second fork and gently pass the oreo ball back and forth to remove any excess.

STORAGE TIPS
- As these apple Oreo balls contain cream cheese they will need to be kept refrigerated until you serve them. The oils from the truffles can also release if they get too hot.
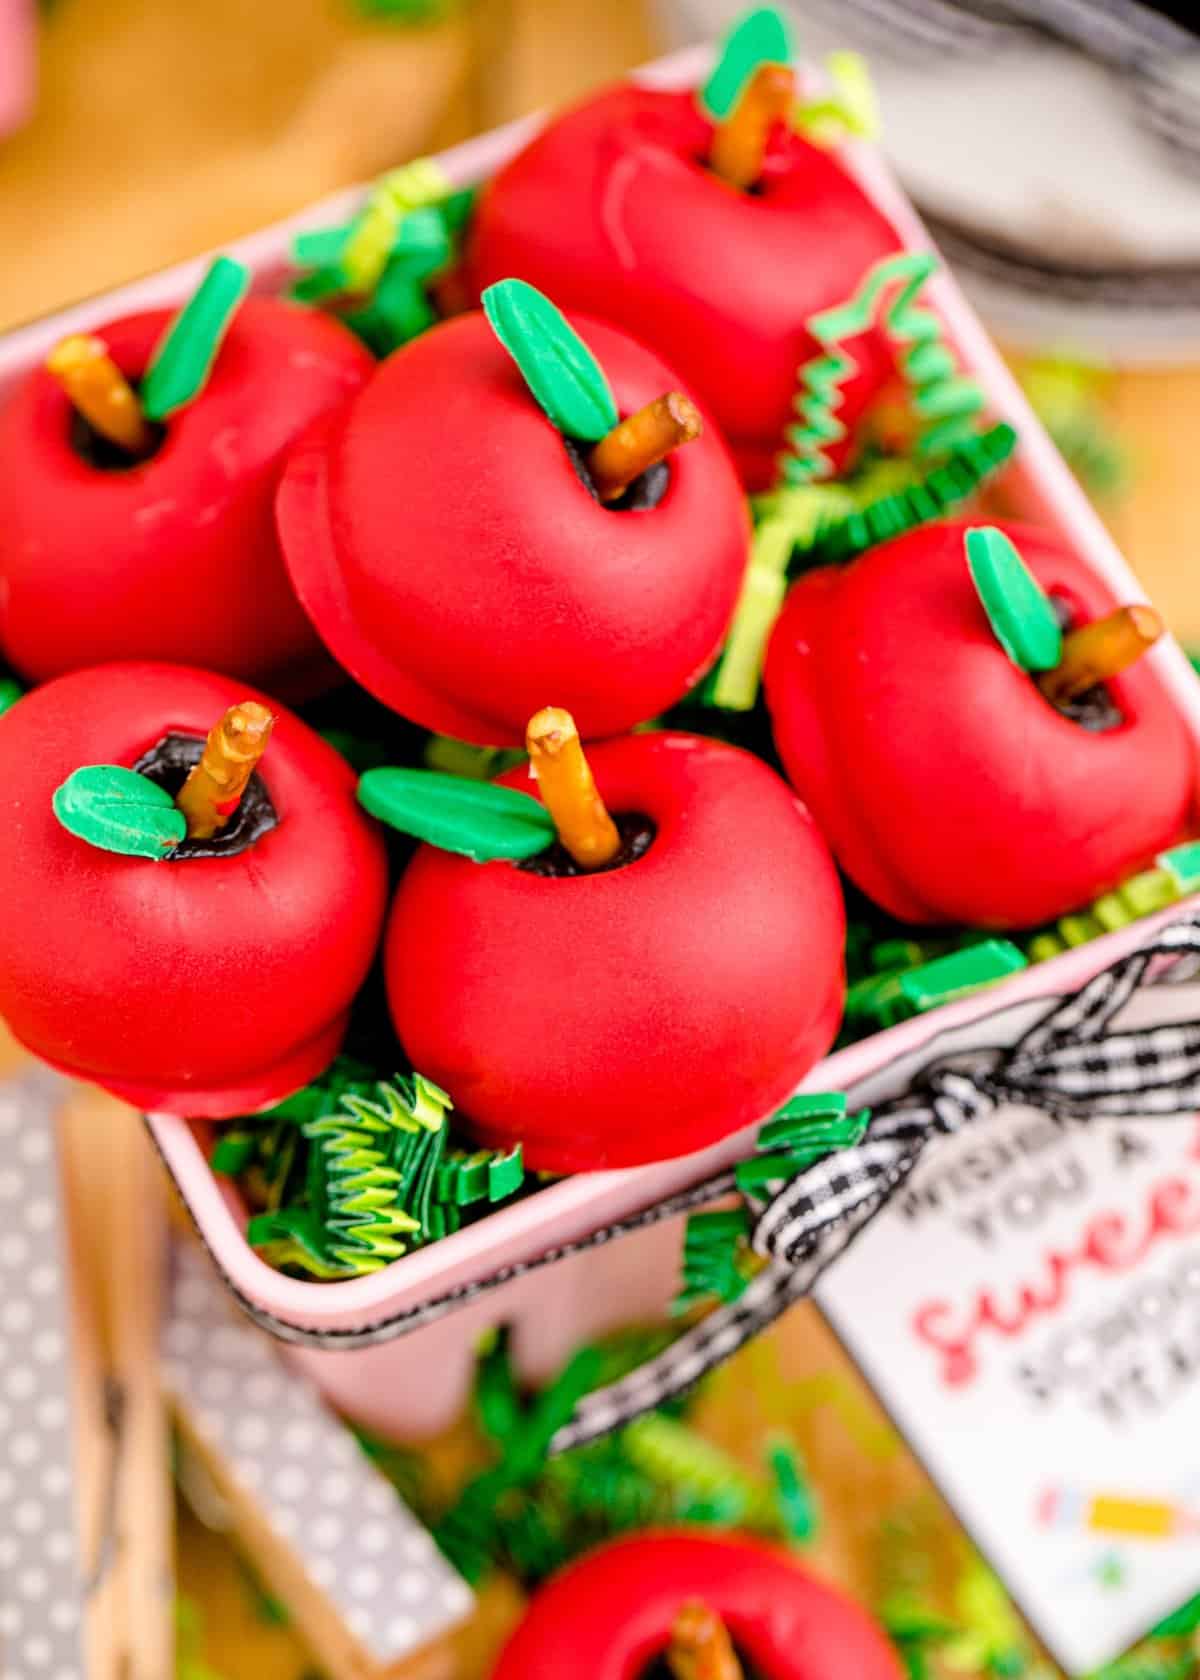
- You add them to mason jars, or gift bags if you plan to hand them out but store them in the refrigerator until you’re ready to deliver. Also, don’t forget to let your recipient know they will need to keep them refrigerated too if they don’t plan on eating them immediately.
- They will keep for up to 3 weeks refrigerated, but trust me, they are far too tempting to keep that long. You (or your little ones) will want to devour these asap!
FREQUENTLY ASKED QUESTIONS
Do I really need to freeze the oreo balls before I dip them in chocolate?
If you skip the freezer your pretzel stem will slip right out and your oreo balls will fall apart when dipped in the candy coating. The freezer helps to harden the truffle making it SO much easier to dip. They will simply be too soft if you skip this step.

Can I use a bigger scoop to make larger apples?
These are the perfect bite size treat for a reason. If you make them too big, not only will they be super tricky to coat evenly, but they may be a little too sickly sweet and not as enjoyable. Stick to a 1 inch scoop and they’ll be perfect.
Is it normal for the oreo balls to seem oily when rolling?
This is totally normal. The mixture will warm in your hands as you roll which encourages oil from the cream cheese, oreo frosting and butter to release. If you are concerned about them being too oily feel free to return to the freezer half way through to chill before continuing to roll.
How can I make these apple oreo balls taste of apple?
If you want to make these apple oreo balls extra, extra special you could make them apple pie flavored thanks to a few simple tweaks. Firstly, swap the regular oreos for golden oreos. Then alongside your oreo, cream cheese mix add apple pie filling instead of butter and vanilla. You could also add a sprinkle of cinnamon for added authentic apple pie flavor. Then, continue the steps as normal.
OTHER SWEET TREATS YOU MAY ENJOY
- Birthday Cake Truffles
- Mint Chocolate Fudge
- Cherry Cheesecake Fudge
- Chocolate and Peanut Butter Owl Cookies

These adorable apple Oreo Balls are guaranteed to get you top of the class. With bitesize balls of crushed oreo dipped in chocolate they deserve gold stars all round as they look as good as they taste.
- 48 Oreo Cookies one Family Size package
- 8 oz cream cheese one block, softened
- ½ tablespoon butter softened
- ½ teaspoon vanilla extract
- 2 bags of red candy melts 8 oz bags each
- Green fondant pre-made, 8 oz package
- 15 pretzel sticks
-
Place Oreos in a food processor and pulse until oreos become a fine crumb.
-
Add the softened cream cheese, softened butter and vanilla to the oreo crumbs and blend together. (you may need to scrape down the bowl as you blend because the mixture can get caught and be sticky, make sure to thoroughly combine all the ingredients so you don’t have pockets of cream cheese).
-
Chill the oreo truffle mix for 10 minutes in the freezer, this allows you to form the oreo balls a little easier.
-
Use a 1 inch cookie scoop to measure out the oreo truffles, then roll each into a ball and place them on a baking sheet lined with wax paper.
-
Make a very small indent to the top of each ball, like you would see on an apple where the stem would be. Then break each pretzel stick in half and push the broken ends into each of the indented oreo truffle balls. (Make sure to leave enough at the top to allow you to dip the truffles in chocolate later.
-
Place the baking sheet in the freezer for 20 minutes.
-
While the truffles are chilling, roll out your green fondant and use a leaf shaped cookie cutter or knife to cut out tiny leaves for the apples. Set these aside.
-
Use a microwave safe bowl to melt the red candy melts, according to the package directions.
-
Remove the truffles from the freezer and begin to coat in red chocolate.
-
Work in batches and make sure to add the fondant leaves to each apple before they harden.
-
Once you cover all of the truffles and assemble the apples, put them in the fridge for at least 20 minutes to fully harden.
Use a little bit of vanilla and softened butter to make the truffle consistency a little more shapeable. The balls settle and create a flat bottom that looks more like an apple.
We recommend keeping these refrigerated until you serve them. The oils from the truffles can release if they get too hot. If you plan to make little bags to hand out, those can also be stored in the refrigerator until you deliver them.
These will keep in the fridge for up to 3 weeks.

Leave a Reply