
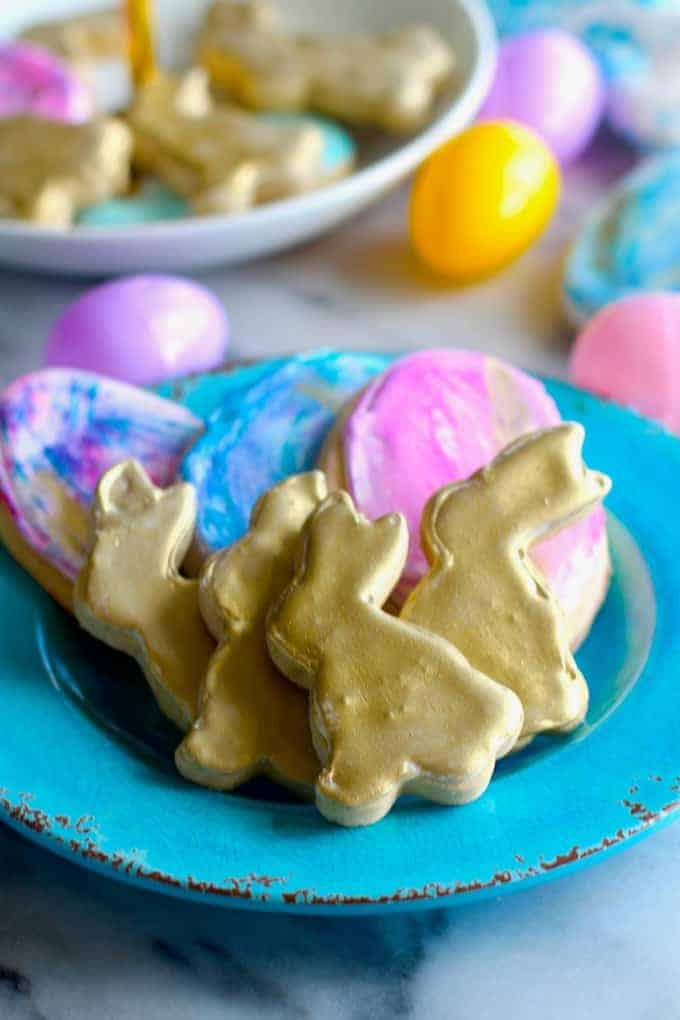
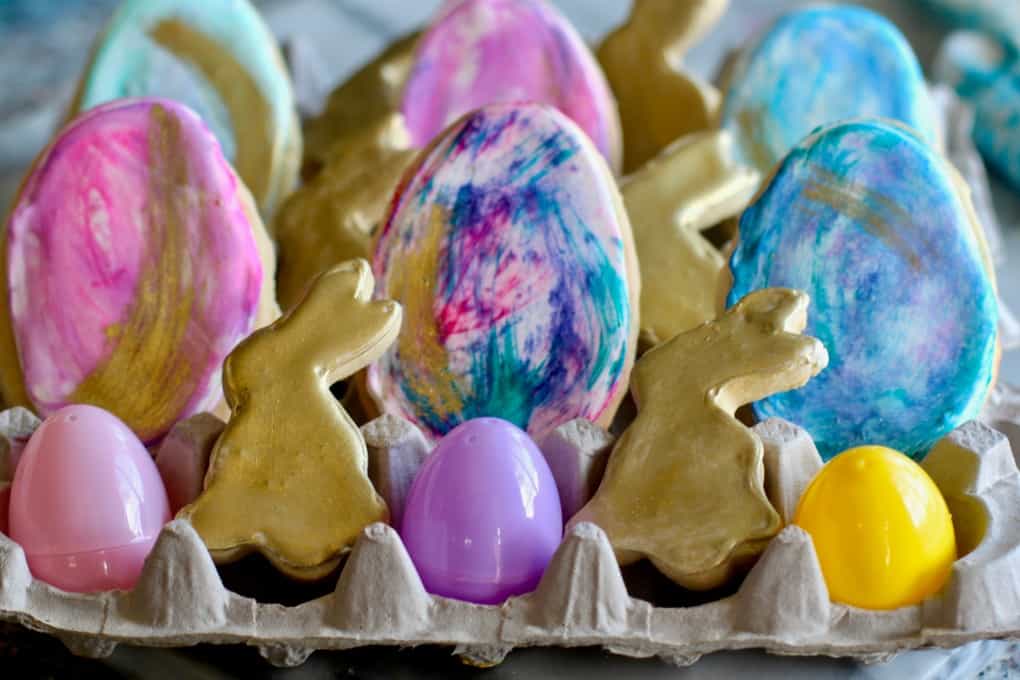
Celebrate Easter in style with Golden Bunny and Watercolor Egg Easter Cookies! These bunny-and egg-shaped cookies painted with gold and vibrant watercolors give a stylish and elegant touch to any Easter cookie tray.
Easter is almost here, which means it's time to get started on all the fun Easter treats. I like to set aside a little time on the weekends leading up to Easter to test out new-to-me Easter goodies in addition to whipping up tried-and-true favorites.
When it comes to new recipes, if a recipe is deemed "Easter party-worthy," I freeze it (if I can) until the big day. If it's not... well, we just have a few extra goodies around the house to enjoy. (No one complains about having to eat the "Easter duds"!)
These beautiful Easter cookies were definitely not Easter duds. I have 4 dozen of them (sans icing — more on that in a moment) in my freezer right now, and I made a test batch this past weekend just to make sure they were Easter-worthy. Not only did they taste amazing, but I know they'll make a gorgeous addition to my Easter dessert table this year.
Golden Bunny and Watercolor Egg Easter Cookies are made from a sugar cookie base frosted with a layer of Royal icing. Royal icing, if you're unfamiliar, is a hard icing that's traditionally made with raw egg whites. However, it tastes just as good (and is much safer to eat) if you use meringue powder, which is what I use in this recipe.
How to Make Golden Bunny and Watercolor Egg Easter Cookies Ahead of Easter
If you want to make these Easter cookies ahead of Easter, follow Steps 1 to 9 and then place them in a freezer-safe storage container.
When it's time to make your Easter cookies, take them out of the freezer and allow them to thaw for at least 10 minutes before icing them (Steps 10 to 17).
How to Ice Golden Bunny and Watercolor Egg Easter Cookies
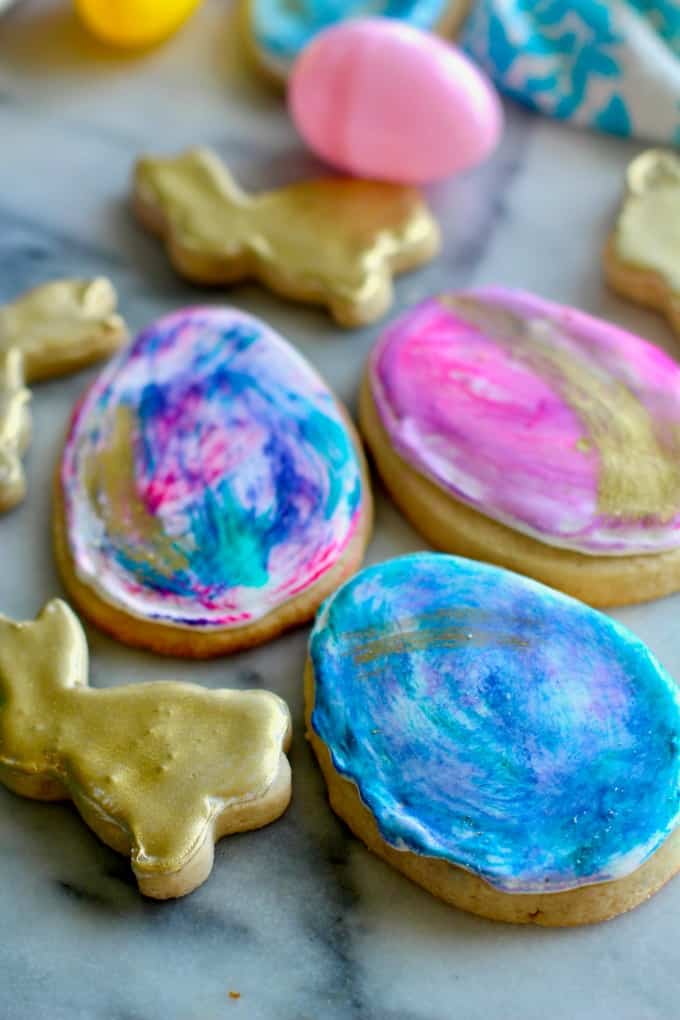
This is the fun part! These Easter cookies go beyond a simple recipe and become an art project.
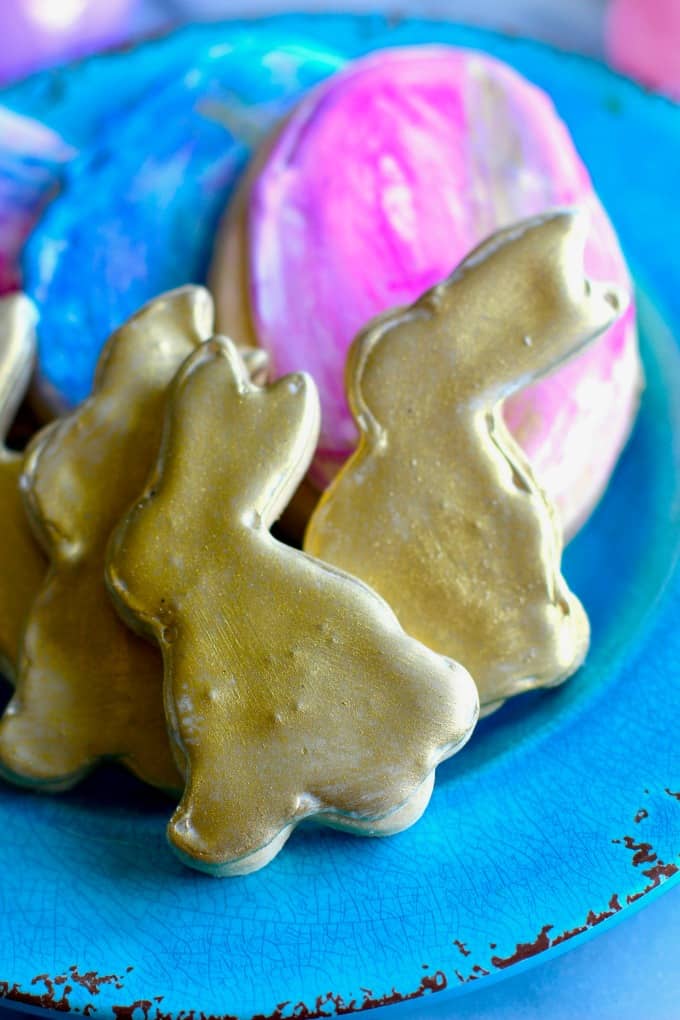
To ice the golden bunnies: Combine 2 teaspoons of gold edible powder with a drop of extract or vodka. You want it to be a thick paint consistency. Paint gold onto bunnies and allow to dry completely (about 1 hour).
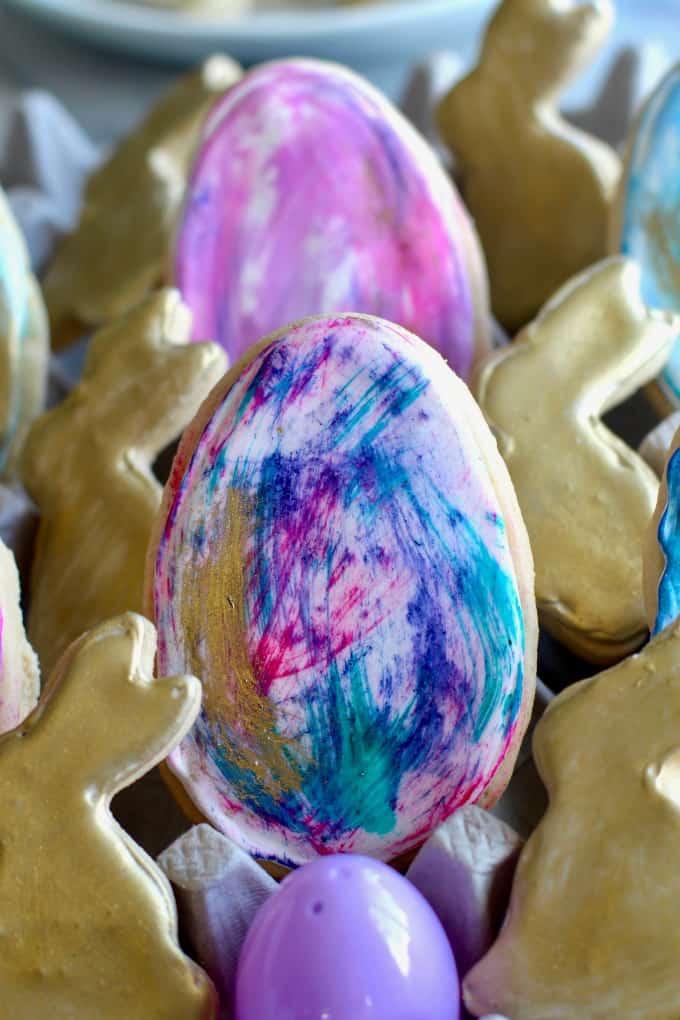
To ice the watercolor eggs: Place a drop of gel food coloring on a plate. Dampen brush in water, then in gel. Paint eggs with different colored gel, then allow to dry for 10 minutes and brush with a stroke of gold, if desired.
Enjoy!
More Easter Desserts
For a few more Easter recipes, check out the following posts:
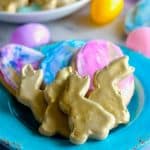
Celebrate Easter in style with these eye-catching Easter cookies.
- 3 cups flour
- ½ teaspoon baking powder
- ½ teaspoon salt
- 1 cups granulated sugar
- 1 cups butter 2 sticks
- 1 eggs
- 1 teaspoon almond extract
- 7 tablespoons water
- ¼ cup meringue powder
- 1 pound confectioners’ sugar
- 1 teaspoon light corn syrup
- ¼ teaspoon almond extract
- Edible Gold Powder
- Clear extract or vodka
- Gel food coloring
- New clean paint brushes
-
Cream sugar and butter until light and fluffy.
-
Add eggs and vanilla.
-
In a separate bowl, mix dry ingredients.
-
Add dry ingredients to butter mixture and mix until combined.
-
Put a handful of the freshly made dough between two sheets of parchment paper and roll to desired thickness.
-
Repeat with the rest of the dough.
-
Put the rolled dough, including the parchment paper, on a cookie sheet and refrigerate for 10 minutes or longer.
-
Cut dough with egg and rabbit cookie cutters and place on a parchment lined cookie sheet.
-
Bake at 350° F for 8 -10 minutes. Let cool before decorating.
-
To make the royal icing, beat 7 tablespoons water and meringue powder with a mixer at medium speed until foamy. Sift in confectioners’ sugar; beat at low speed until smooth. Add corn syrup and extract. Increase speed to medium-low, and beat for 5 minutes. Increase speed to medium-high, and beat icing until glossy and stiff peaks form.
-
Place in piping bag and line the cookies with frosting, then allow to set for 5 minutes.
-
Flood the cookies with icing, then spread to coat. Allow to dry completely, about 4 hours.
-
Once cookies are dry they are ready to decorate.
-
Combine 2 teaspoons of gold edible powder with a drop of extract or vodka. You want it to be a thick paint consistency.
-
Paint gold onto bunnies and allow to dry completely, about 1 hour.
-
For the watercolor eggs, place a drop of gel food coloring on a plate. Dampen brush in water, then in gel.
-
Paint eggs with different colored gel, then allow to dry for 10 minutes and brush with a stroke of gold, if desired.
Royal icing recipe from Bake @ 350.
Leave a Reply