This vibrant and colorful Day of the Dead Layer Cake is the perfect centerpiece for Dia de los Muertos celebrations.
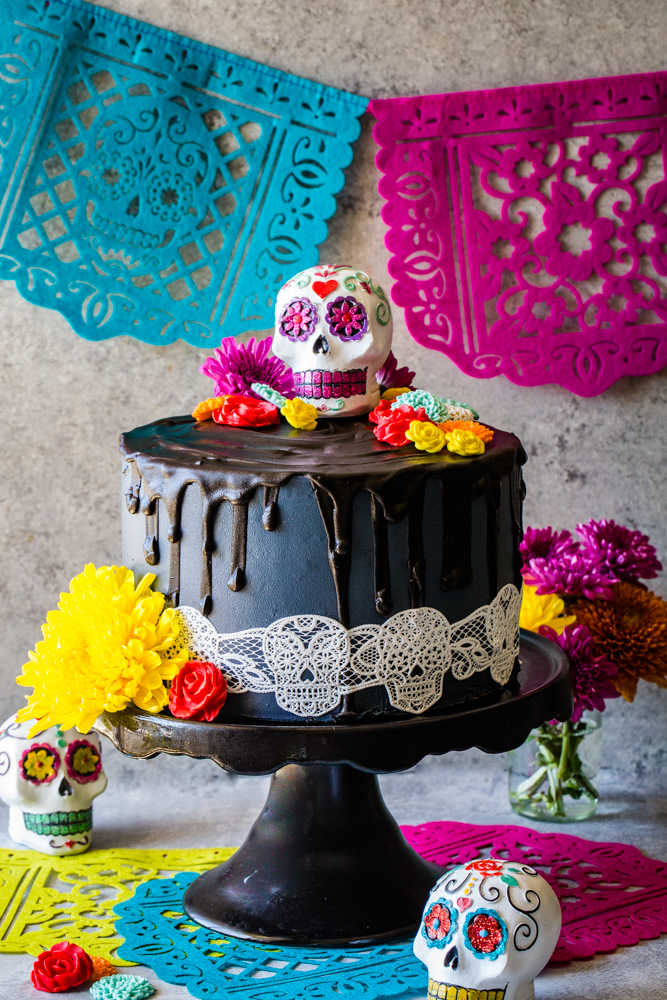
This Day of the Dead Cake decadent and delicious and perfect for the chocolate lover!
Dia de los Muertos, (Spanish for day of the dead), is a holiday celebrated throughout Mexico that centers around family and friends gathering to remember loved ones who have died. The celebration includes building altars decorated with orange marigolds and sugar skulls, known as Calaveras, that include colorful designs that represent the individual personality of the departed.
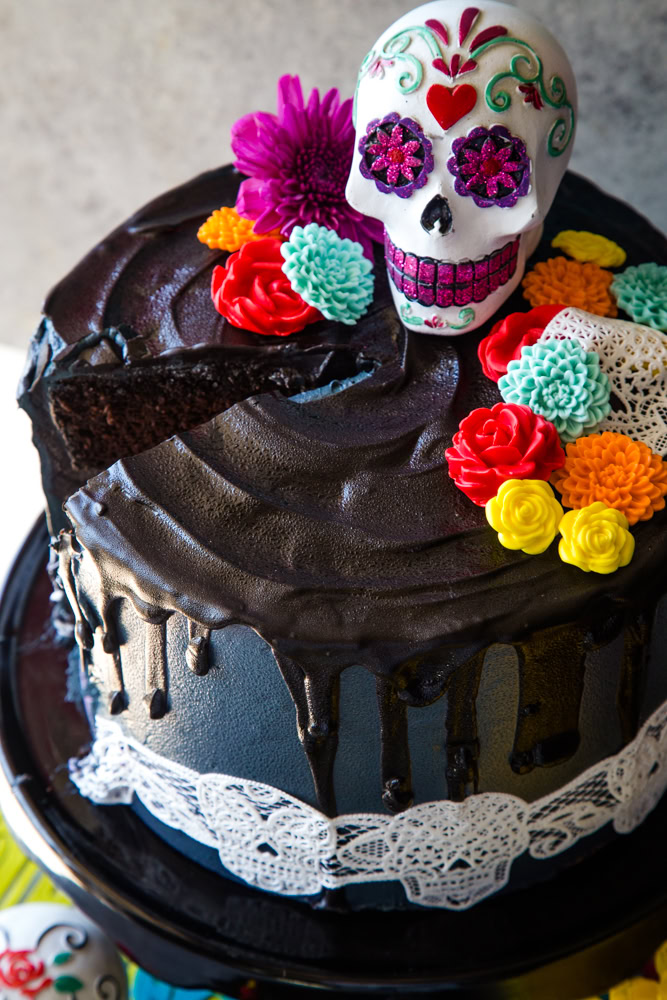
Living in Southern California, my family has been able to learn about Dia de los Muertos from our dear friends who over the years have invited us to participate in their tradition. And this year I am making this gorgeous Day of the Dead Layer Cake to bring to the celebration.
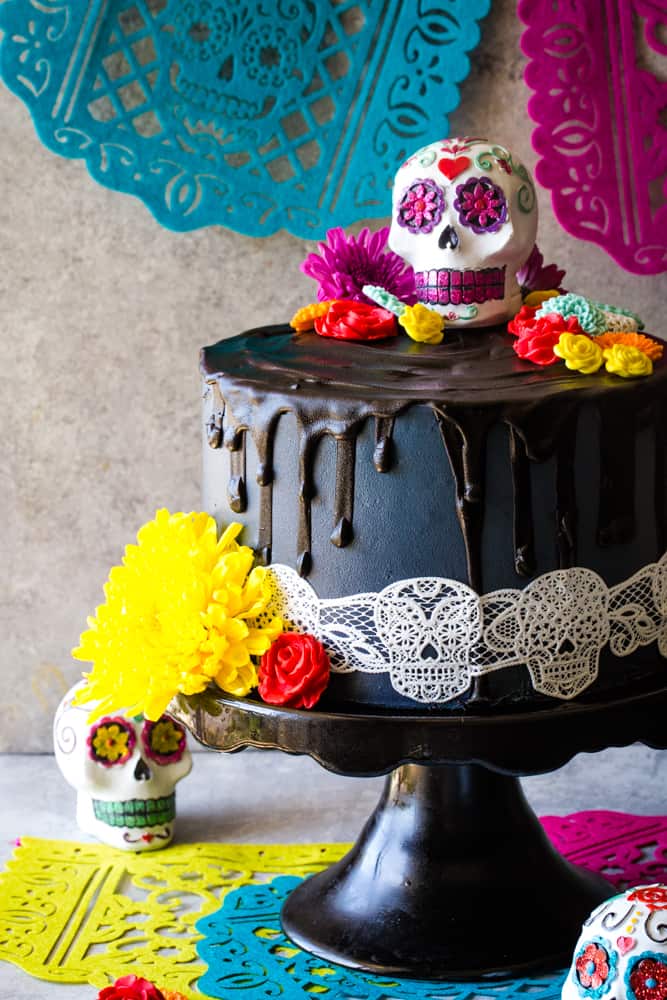
This delicious layer cake features deep, dark chocolate cake layers and rich chocolate ganache. Topping it all off is a true black chocolate buttercream and gorgeous edible decorations. Day of the Dead Cake is truly a feast for the eyes as well as the palate.
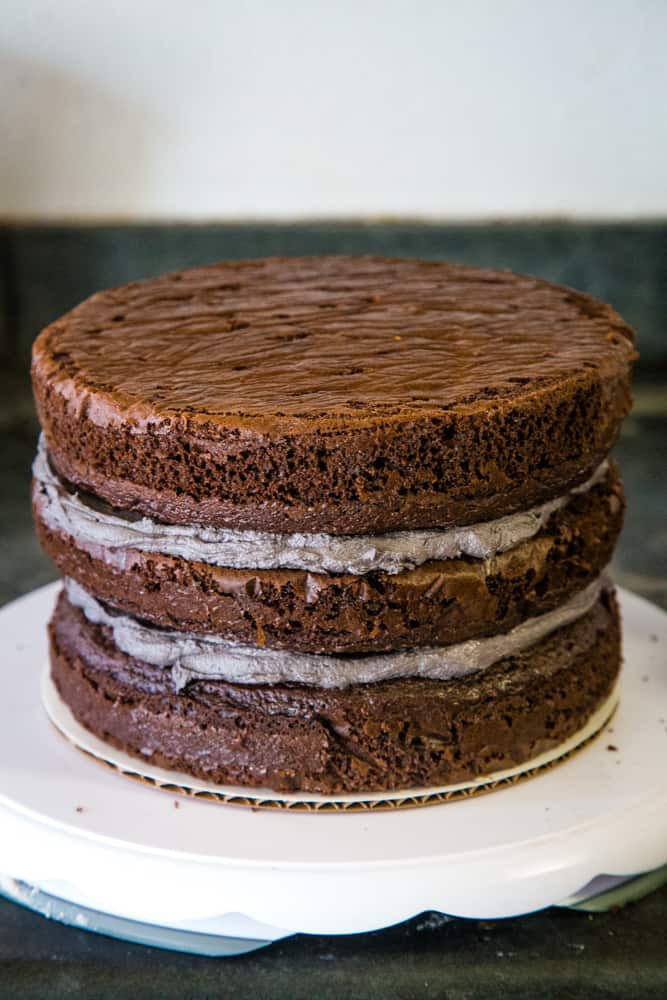
The frosting on the inside of this cake uses Wilton Black food gel.
How To Make Black Frosting for Day of the Dead Cake
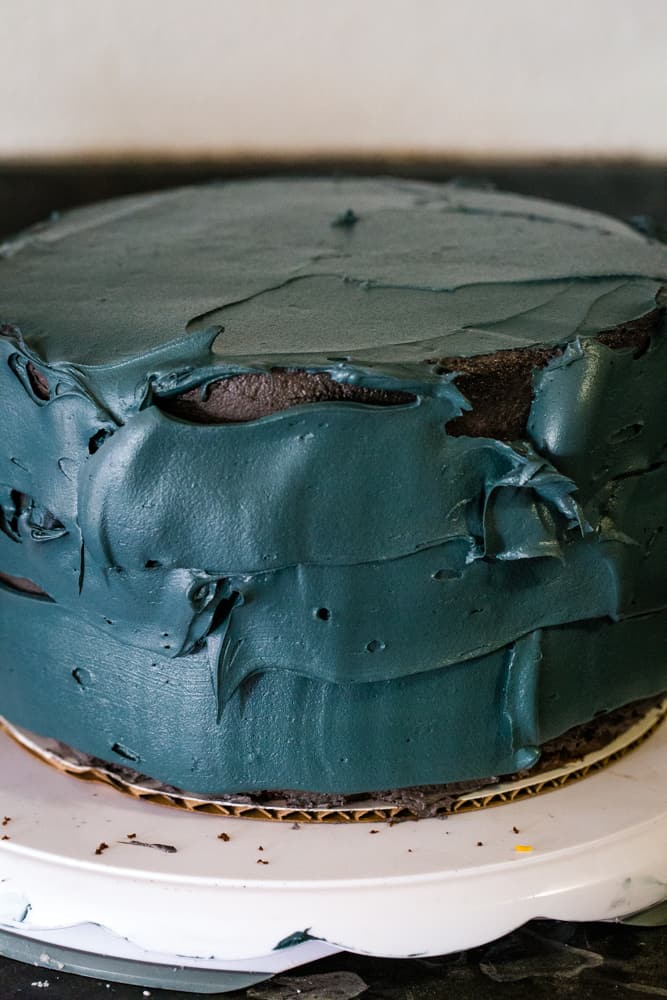
The outer frosting of this Day of the Dead Cake is made with Americolor Black food gel. This will saturate into a darker color overnight.
Follow these tips to achieve a truly black buttercream frosting:
- Start with a chocolate buttercream. Tinting a white frosting with black food dye can make it taste bitter. Making a dark chocolate frosting means you can use less dye.
- There are three types of food coloring: liquid, gel and powder. The main difference between them is the concentration of color, with liquid dyes being the least concentrated, while gels and powders are more concentrated. I prefer to work with gel food dye. They tend to mix in a bit quicker and smoother. You'll want to choose a dark black food dye so you can use less of it. I like using Wilton or Americolor gels.
- Darker colors like black will deepen as the frosting sets up. I like to make this frosting a day in advance and let it sit overnight to saturate and become darker.
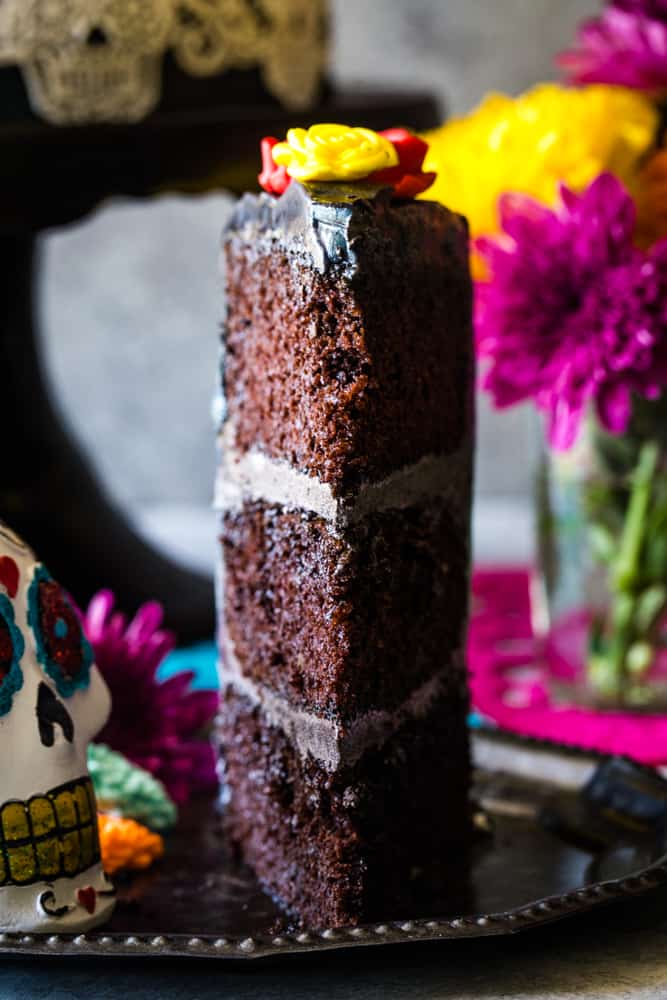
What is the Best Cocoa Powder for Making Day of the Dead Cake?
There are three main types of cocoa powder available to use for baking:
- Natural cocoa powder is lighter in color and is the most common variety found in stores.
- Dutch Process Cocoa (or European process cocoa powder) has gone through a longer process to achieve a richer chocolate flavor.
- Like Dutch process cocoa, black cocoa powder has been additionally processed to obtain a very dark, rich flavor.
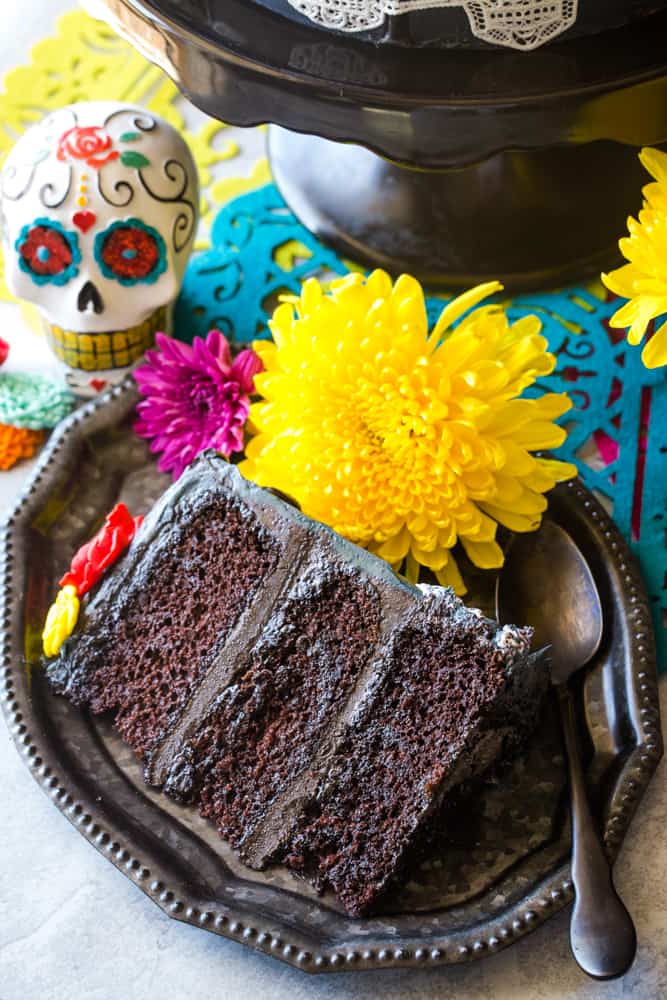
If you are really wanting a black cake, then you will want to use black cocoa powder. The cake will be slightly less sweet, but the color will be frighteningly dark. I tend to use the type I happen to have on hand, which in this case was Hershey's specialty dark cocoa powder.
How To Decorate Day of the Dead Cake
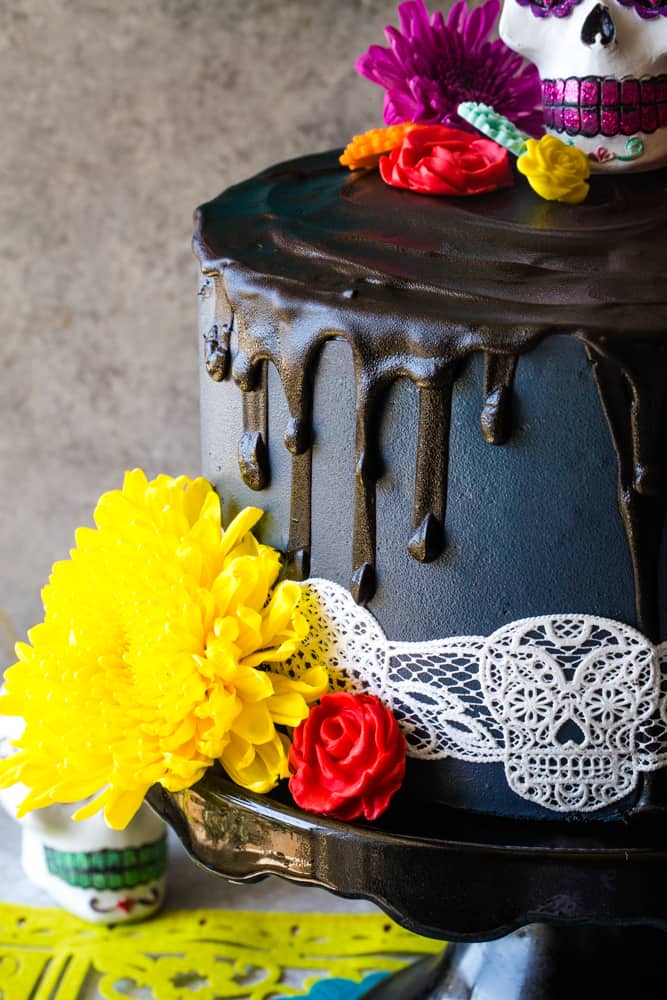
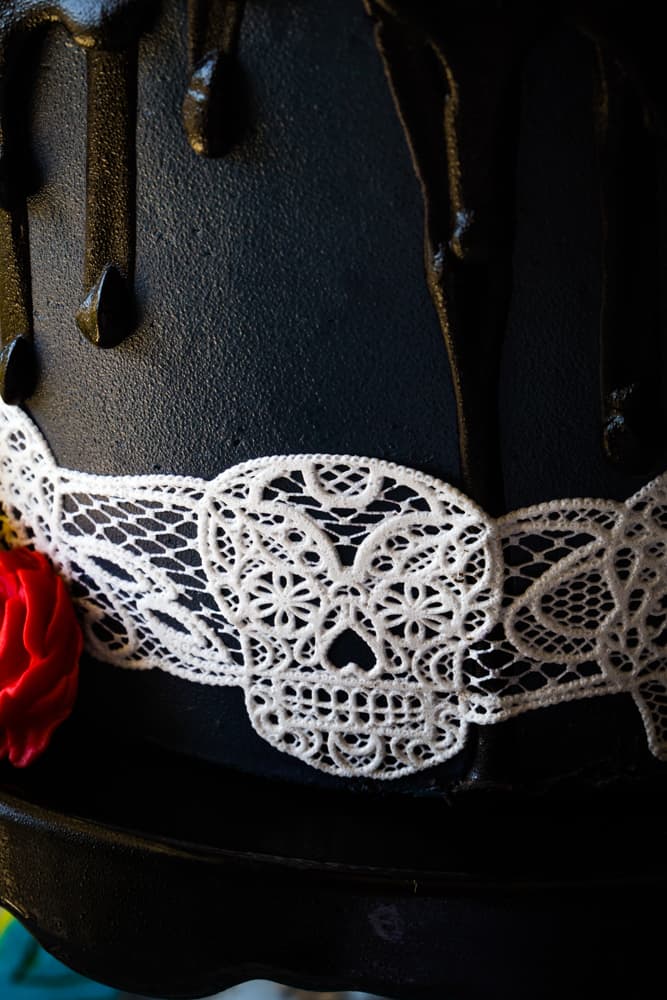
You can buy this gorgeous edible skull lace on Etsy, or feel free to create your own. I like to add colorful royal icing flowers, but fresh flowers are also a great addition. Just make sure to remove them before serving!
More Amazing Cake Recipes
Celebrate the season with this recipe for Caramel Apple Pie Cake, or indulge your chocolate cravings even more with this S'Mores Dessert Layer Cake. And why not welcome in the holidays with this gorgeous Gingerbread House Cake?
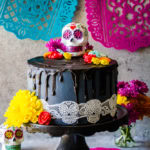
A decadent dark chocolate cake that is garnished with beautiful edible and skulls.
- 3 cups all-purpose flour
- 3 cups granulated sugar
- 1 ½ cups unsweetened cocoa powder
- 1 tablespoon baking soda
- 1 ½ teaspoons baking powder
- 1 ½ teaspoons salt
- 4 large eggs
- 1 ½ cups buttermilk any kind of milk will work, but buttermilk is best
- 1 ½ cups hot coffee or boiling water
- ½ cup vegetable oil
- 2 teaspoons vanilla extract
- Black food dye
- 2 cups unsalted butter room temperature
- 1 ¼ cups butter flavored shortening
- 1 teaspoon black food gel
- ¼ tsp salt
- 8 cups powdered sugar
- ¼ teaspoon salt
- ¾ cup dark cocoa powder
- 2 tsp vanilla extract
- 3 tablespoon milk
- ¾ cup natural unsweetened cocoa powder
- Black food dye
- ½ cup heavy whipping cream
- 1 cup semi-sweet chocolate chips
- Sugar Skull
- Various colored royal icing flowers
- Fresh flowers if desired
-
Preheat oven to 350 degrees. Grease and flour three 8inch round pans.
-
In a large bowl, whisk together flour, sugar, cocoa powder, baking soda, baking powder, and salt.
-
Create a well in the center of the flour mixture and add eggs, buttermilk, oil and 1 teaspoon black food dye. Whisk until ingredients are incorporated; batter will be thick and bumpy.
-
Carefully pour in hot coffee, and whisk until batter is smooth and runny and no longer bumpy.
-
Divide batter equally into pans.
-
Bake cakes for 26-28 minutes or until a knife is inserted into the center of the cake and comes out with only a few small moist crumbs.
-
Cool cakes in pans for 10 minutes, then remove cakes from pans and place on a cooling rack to cool completely.
-
Beat together butter, shortening, and 1 teaspoon of black food dye until creamy.
-
With your mixer running on low, gradually add the powdered sugar, cocoa powder and salt.
-
Add the milk and vanilla, and increase mixer speed to high speed. Beat frosting for 4-5 minutes or until it is light and fluffy.
-
Remove beater attachment, and stir with a wooden spoon to remove excess air bubbles.
-
Level the cakes by using a serrated knife to remove the domes.
-
Place the first layer of the cake on a cardboard cake round or cake stand.
-
Evenly spread about ¾ cup of frosting on the top of the cake, top with 2nd cake layer, and repeat with remaining layer.
-
If wanting a smooth finish cake, spread a thin layer of frosting around the outside of the cake to create a crumb coat. Refrigerate or freeze cake for 20-30 minutes.
-
Once cold, pipe a generous amount of frosting around the outside of the cake. Run a cake scraper along the edge of the cake to flatten out the frosting and remove excess. For more tips on how to create a smooth finish, see the link below in the notes section.
-
Refrigerate cake for 4-5 hours (or overnight to allow frosting to set and the black color to saturate.
-
In a medium sized microwave-safe bowl, heat heavy cream for 30-45 seconds or until hot.
-
Add the chocolate chips and let sit for 4-5 minutes, then stir until smooth.
-
Drizzle the ganache around the edges of the cake, then use remaining ganache to fill in the top of the cake. Spread with an offset spatula, if needed.
-
Top cake with sugar skulls and flowers. If using the edible skull lace, run the lace around the bottom of the cake and gently press into the cake to secure.
-
Refrigerate the cake for at least 30 minutes to allow the ganache to set.
-
Once ready to serve, let the cake come to room temperature for 15-20 before service.
-
Slice, serve, and enjoy!
Some of the product links contained in this post are affiliate links. I earn a small commission if you purchase a product I referred, at no extra charge to you. This helps us to continue providing free recipes on Theseasidebaker.com. Thank you for your support!

Leave a Reply