No hassle Holiday Christmas wreath cookies - quick and easy, no-bake Christmas cookies made with fudge strip cookies and decorated as snowflakes, Santa’s belt, holly themed, and more! Perfect for parties or just because!

If you’re looking for a unique and fun Christmas cookie recipe for the holidays this year, then look no further! This recipe has everything you could want, glitter gel, Christmas colors, delicious cookies, and best of all, it requires no baking! This recipe is so simple and easy even your littlest ones will be able to help decorate and spread the holiday cheer with these Christmas Wreath cookies.

Christmas cookies are a big part of many family traditions, and whether you already have a similar tradition in place or are looking to start a fun one with your family, then this recipe could tick all the boxes. It uses prebought cookies, KeeblerFudge Stripes we all know and love, as the base for this no-bake cookie wreath. They also use colorful candy melts and familiar candy favorites like M&Ms, licorice, and sprinkles! The decorations for this Christmas Wreath cookie have endless possibilities and are open to creativity for everyone in the family.
If you’re searching for a Christmas cookie you can take to a Christmas dinner party or have fun decorating with your kids to leave out for Santa. This recipe can work for any holiday occasion.

In this recipe, you will find instructions on how to decorate the Christmas Wreath cookies per the original designs, but you can also have full creative freedom to change and decorate however you want to! If you keep to the designs then you’ll have 6 options for decorations that you can feel confident displaying for coworkers or family members, but if you choose to do your own thing then the possibilities are endless!
Our choices for decorating instructions for this recipe are a Holly cookie, Blue Snowflake, Gold and White beads, White dots with bow, Santa Belt, and Green and white stripes. There are so many colorful and festive options for you to enjoy and display for family, friends, or even coworkers! Be sure to be the star of the show with this no-pressure recipe for the holiday season.
WHY WE LOVE THIS CHRISTMAS WREATH COOKIES RECIPE
- This recipe is easy and requires no baking
- The ingredients are simple and fun for everyone
- The decorating instructions are easy to follow and leave room to be fancy or let loose
- It is made with ingredients that are fun and easy to get
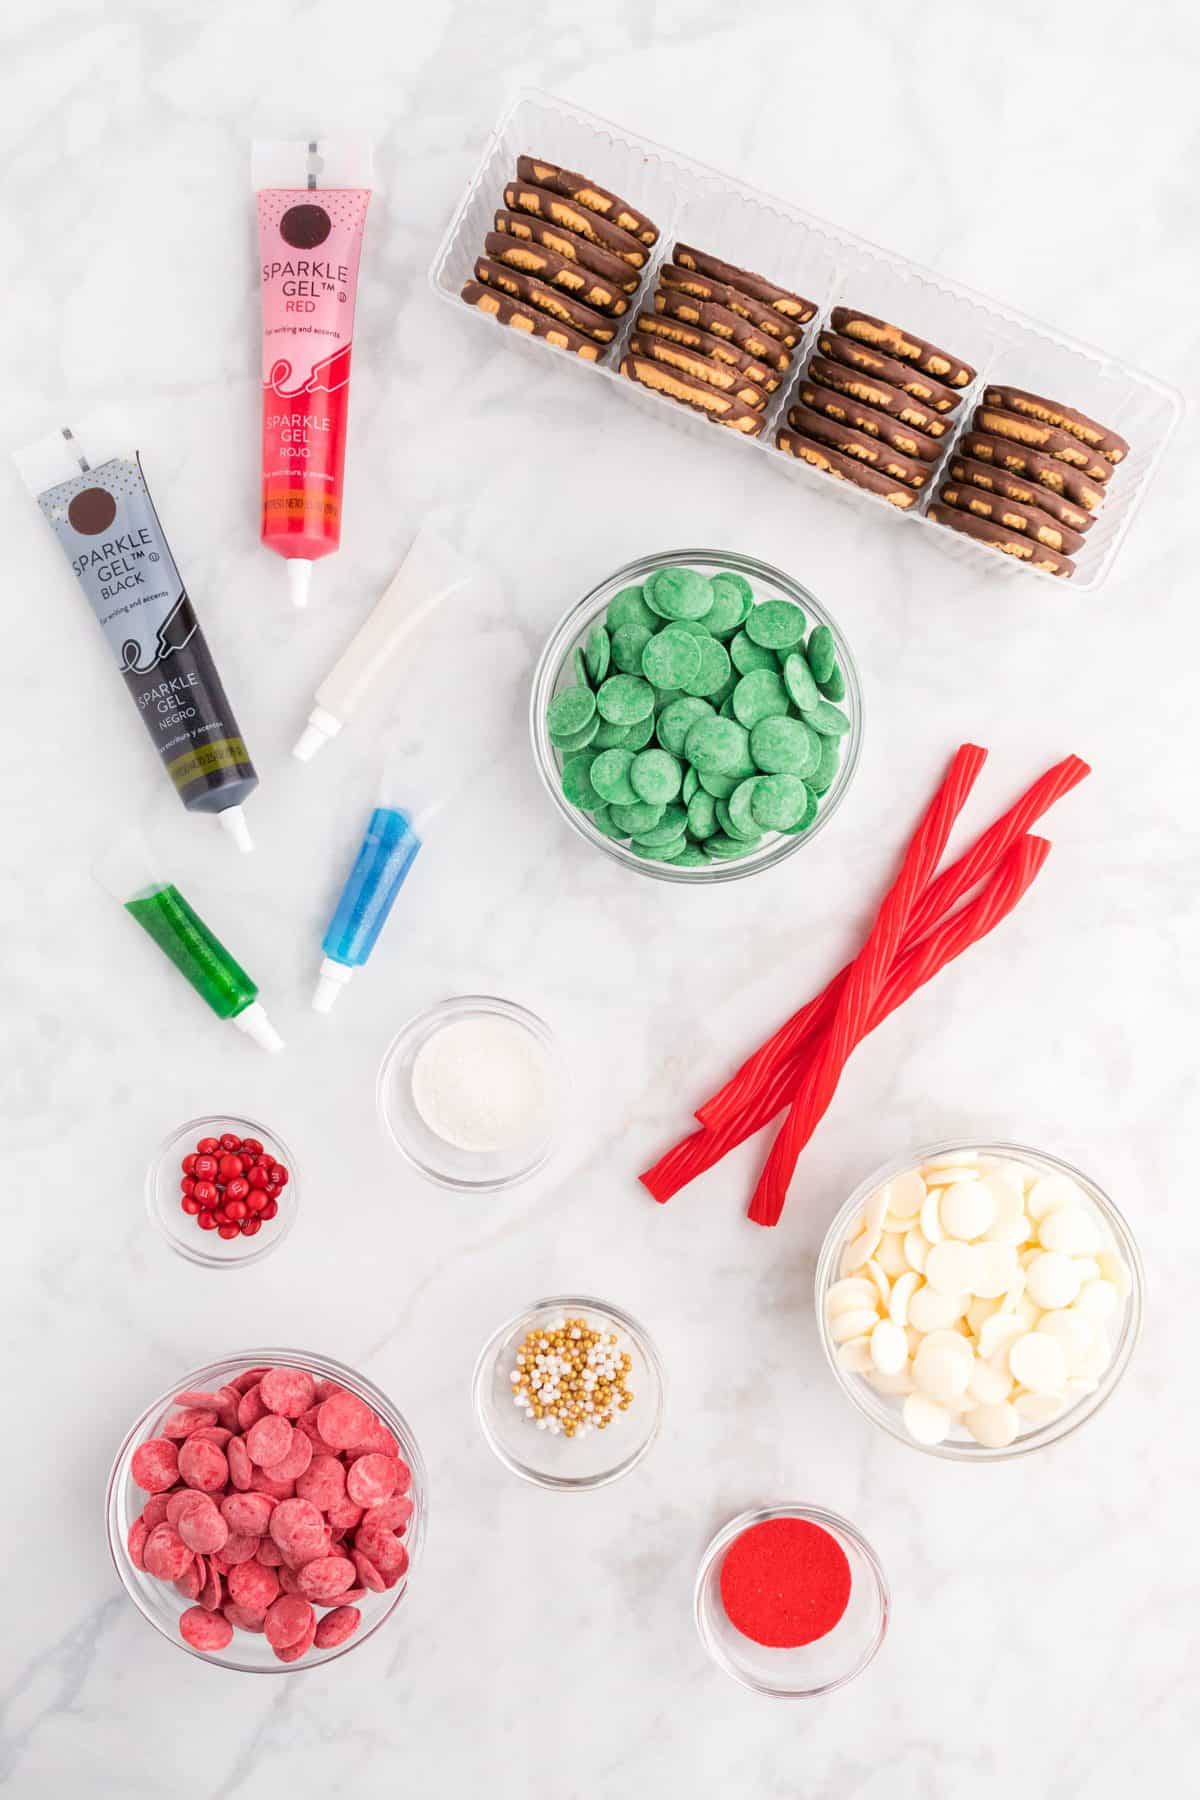
INGREDIENTS/SHOPPING LIST FOR YOUR HOLIDAY WREATH COOKIES
-
1 package of Fudge Stripe cookies (Keebler is the brand used in the recipe but any comparable brand will work)
-
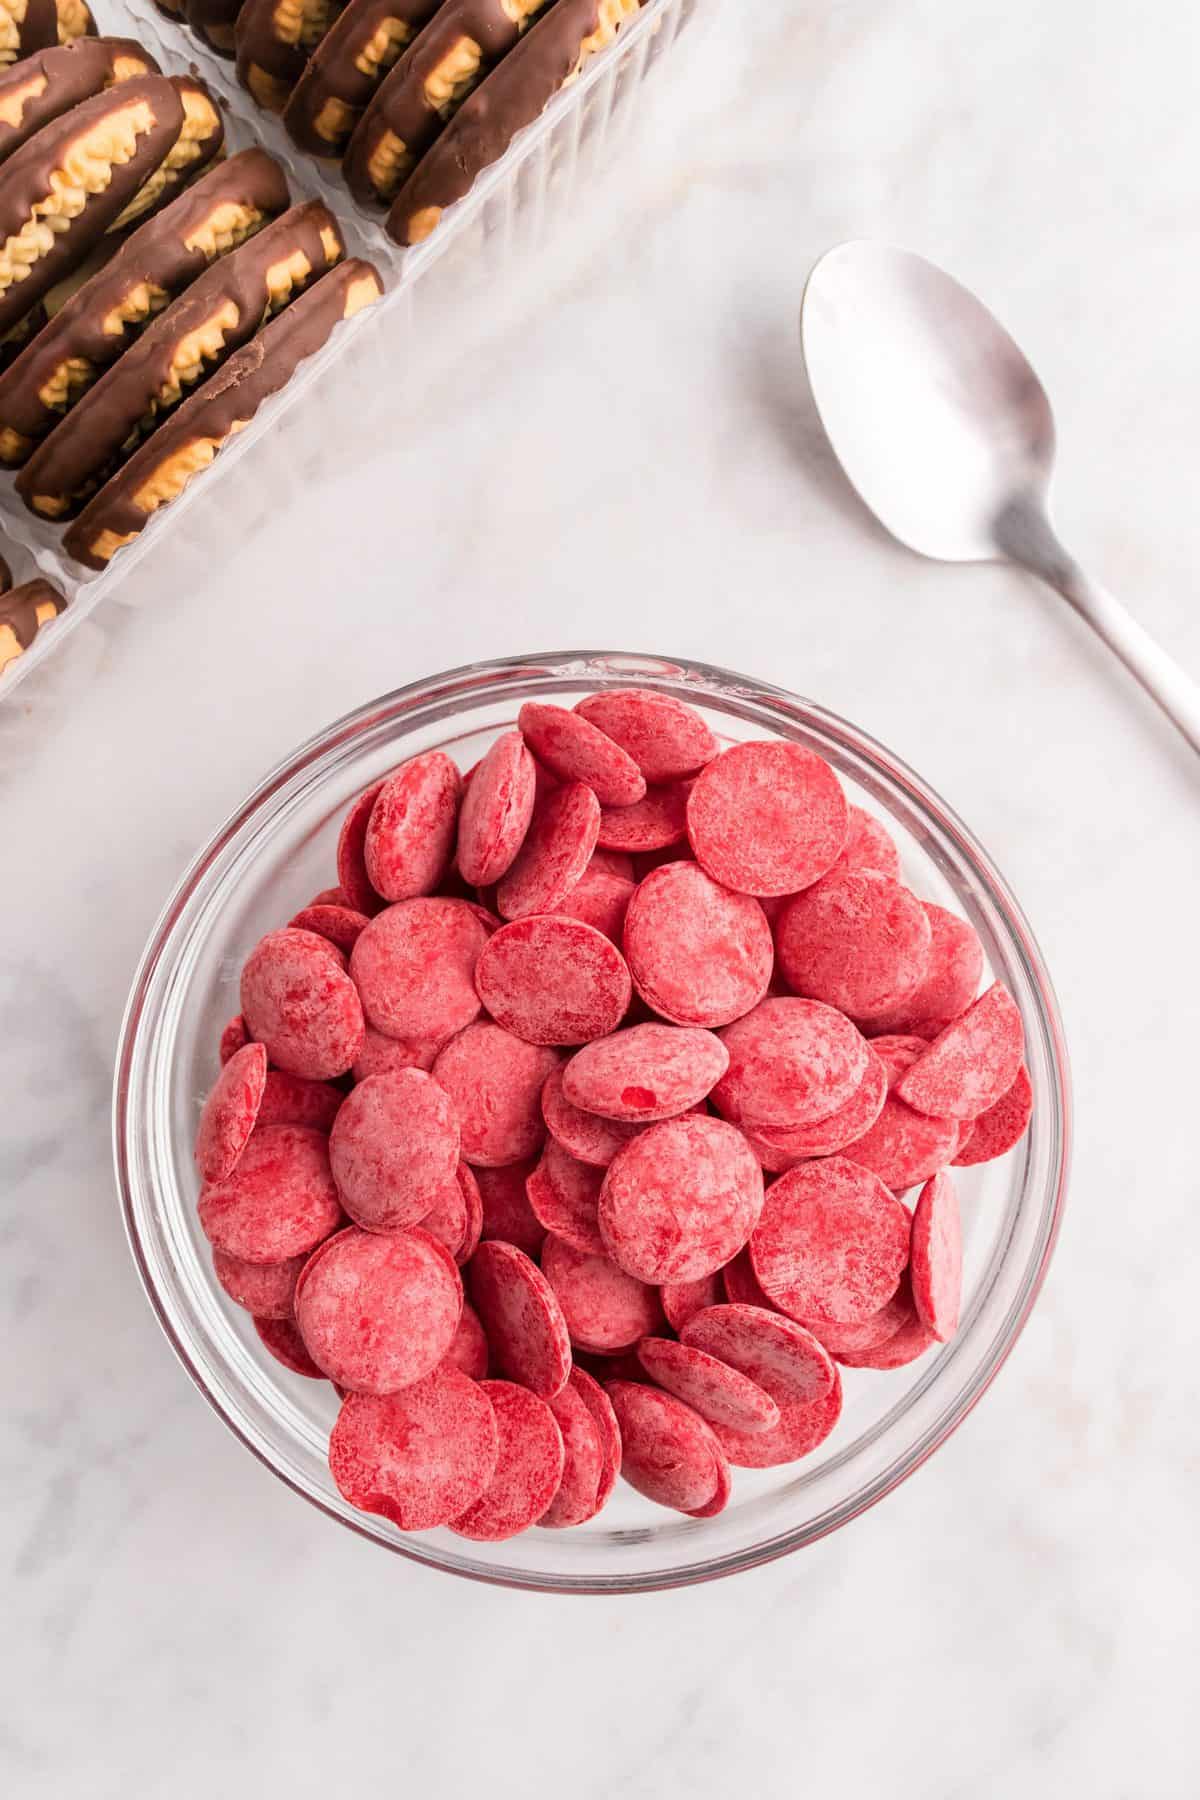
1 bag green candy melts
-
1 bag red candy melts
-
1 bag white candy melts
-
Edible glitter/sparkle gel in multiple colors you choose: black, white, red, blue, and green
-
Mini M&Ms
-
Wilton 4-Cell Gold Sprinkles Mix (or another comparable brand with gold and white bead sprinkles)
-
Sanding sugar in red and silver
-
Pull n Peel Licorice
SUBSTITUTIONS AND ADDITIONS
-
Gluten-free substitution: If you or a member of your family requires a gluten-free option then you can replace the classic Keebler fudge stripes with a gluten-free brand, or augment the recipe to include a different type of cookie with a hole in the center. The brand Goodie Girl has a gluten-free, peanut-free, egg-free, and Kosher-certified option which would fit nicely as a substitute for this specific recipe.
-
Extra chocolate additions: If you wish to use a different type of chocolate rather than the color melts, you can use white chocolate! For the different colors, you can just add food coloring and mix to get the desired effects. Be sure to use fat-soluble, oil-based food coloring to mix with the oily white chocolate. The process for the recipe will still be the same, but your cookies will have an extra layer of chocolate and a touch more sweetness.
-
Dairy-free substitutions: If you or someone in your family has dietary restrictions or is vegan or lactose intolerant, this recipe can also be tweaked to accommodate those needs! First, you would want to find either a vegan or dairy-free meltable white chocolate or candy melts. You could also use dairy-free royal icing. This is a vegan white chocolate that would work well with this recipe, and melts evenly. A vegan, dairy-free alternative to the fudge stripe cookie itself could be made from a copycat recipe, or you could buy these, be sure to check the ingredients but the new format for this brand’s cookie is advertised as a vegan alternative.
-
Decoration additions: If you want to feel even fancier and more festive with your decorations, you can think about adding gold leaf or brush on gold paint for baking! You can also use other baking glitter decorations to add more sparkle along with your sanding sugars. Painting on the cookies with baking paints also allows you to work with the cookies after they have dried and add on to your details. So, you want your holly berries to stand out or want to use gold and silver paints instead of sprinkles as your beads, then these additions can give you more creative freedom as well.
RECOMMENDED TOOLS TO MAKE THIS NO-BAKE CHRISTMAS COOKIE RECIPE
-
A large cookie sheet
-
Parchment paper
-
A microwave
-
3 small microwaveable bowls (for the candy melts)

HOW TO MAKE THIS CHRISTMAS WREATH COOKIE RECIPE
White Cookies
-
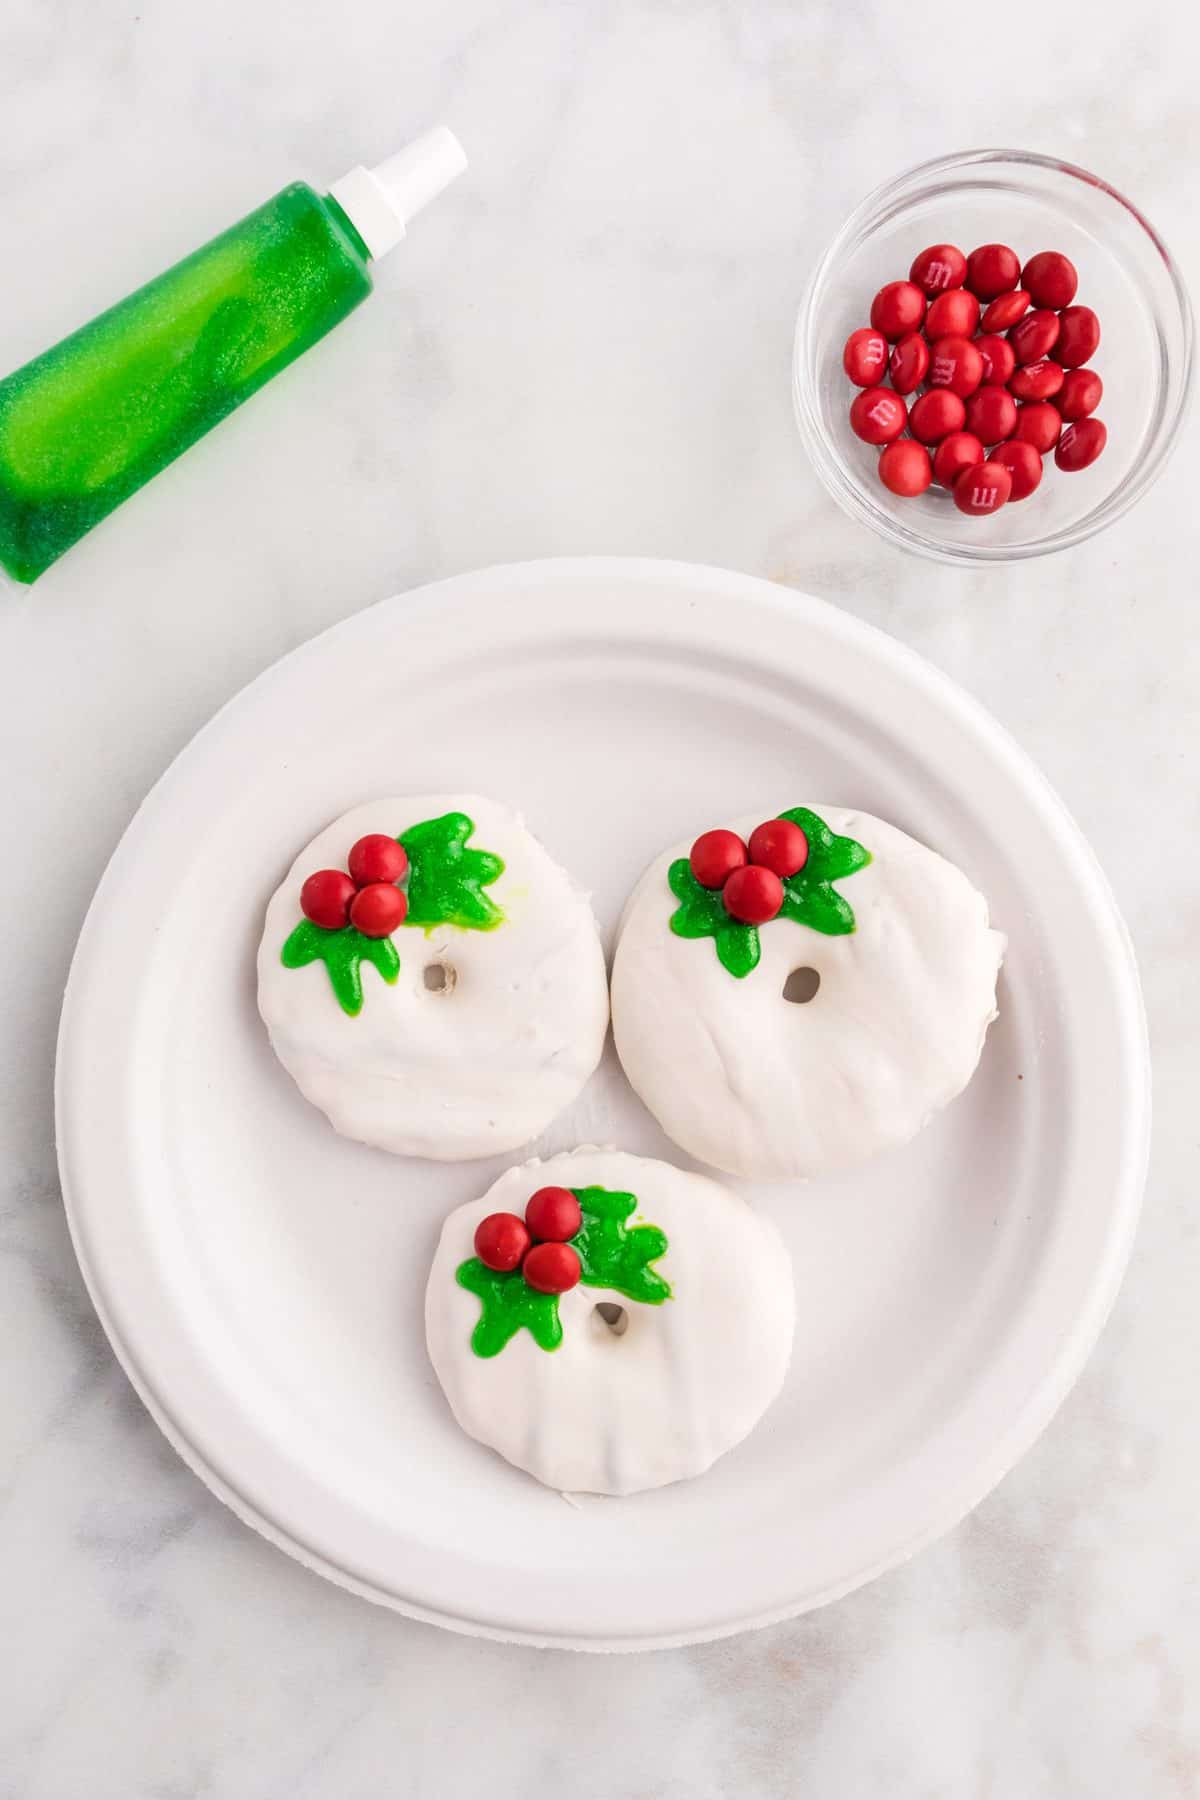
Holly Cookie: Use green glitter gel to draw the leaves, then add 3 red M&M’s.
-
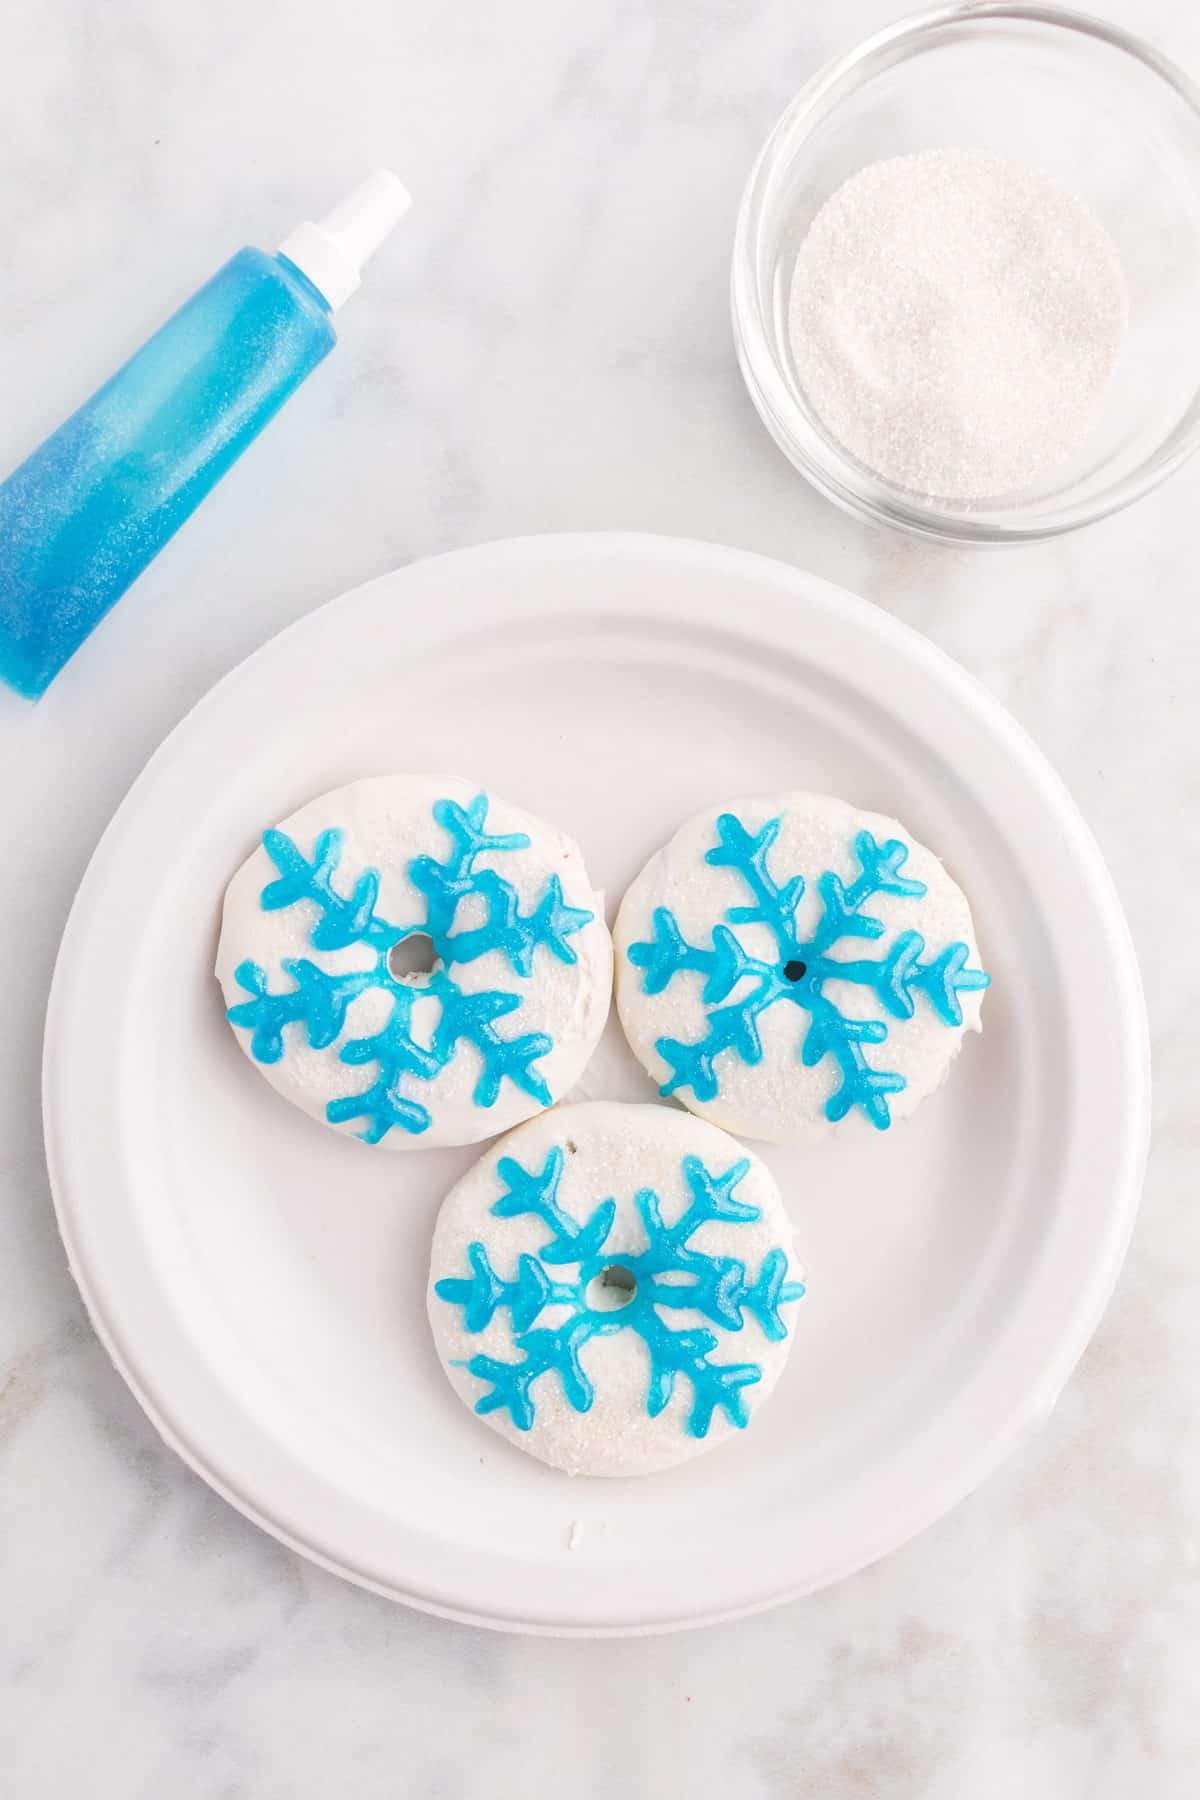
Blue Snowflake: Sprinkle on silver sanding sugar, then draw snowflake with blue glitter gel.
Green Cookies
-
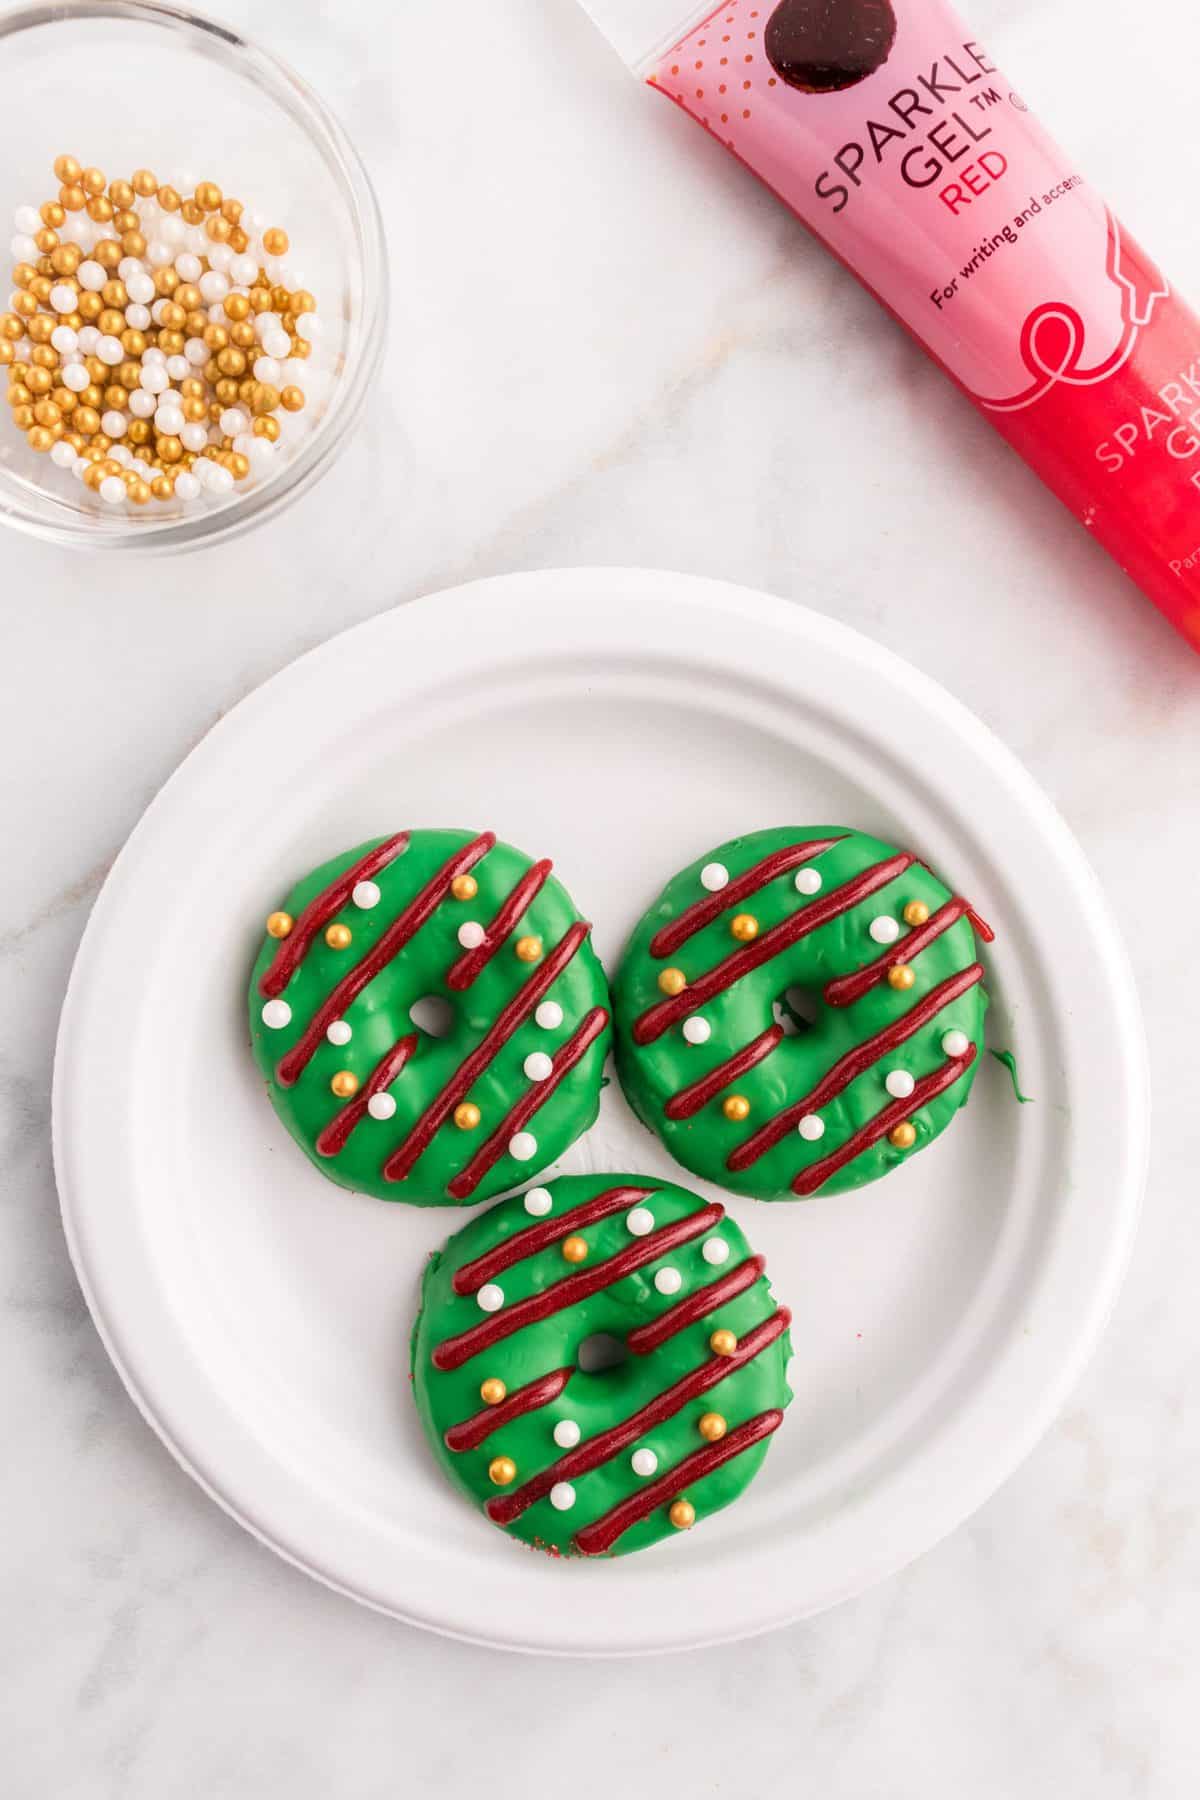
Gold & White Beads: Draw red glitter gel lines, then add gold & white beads.
-
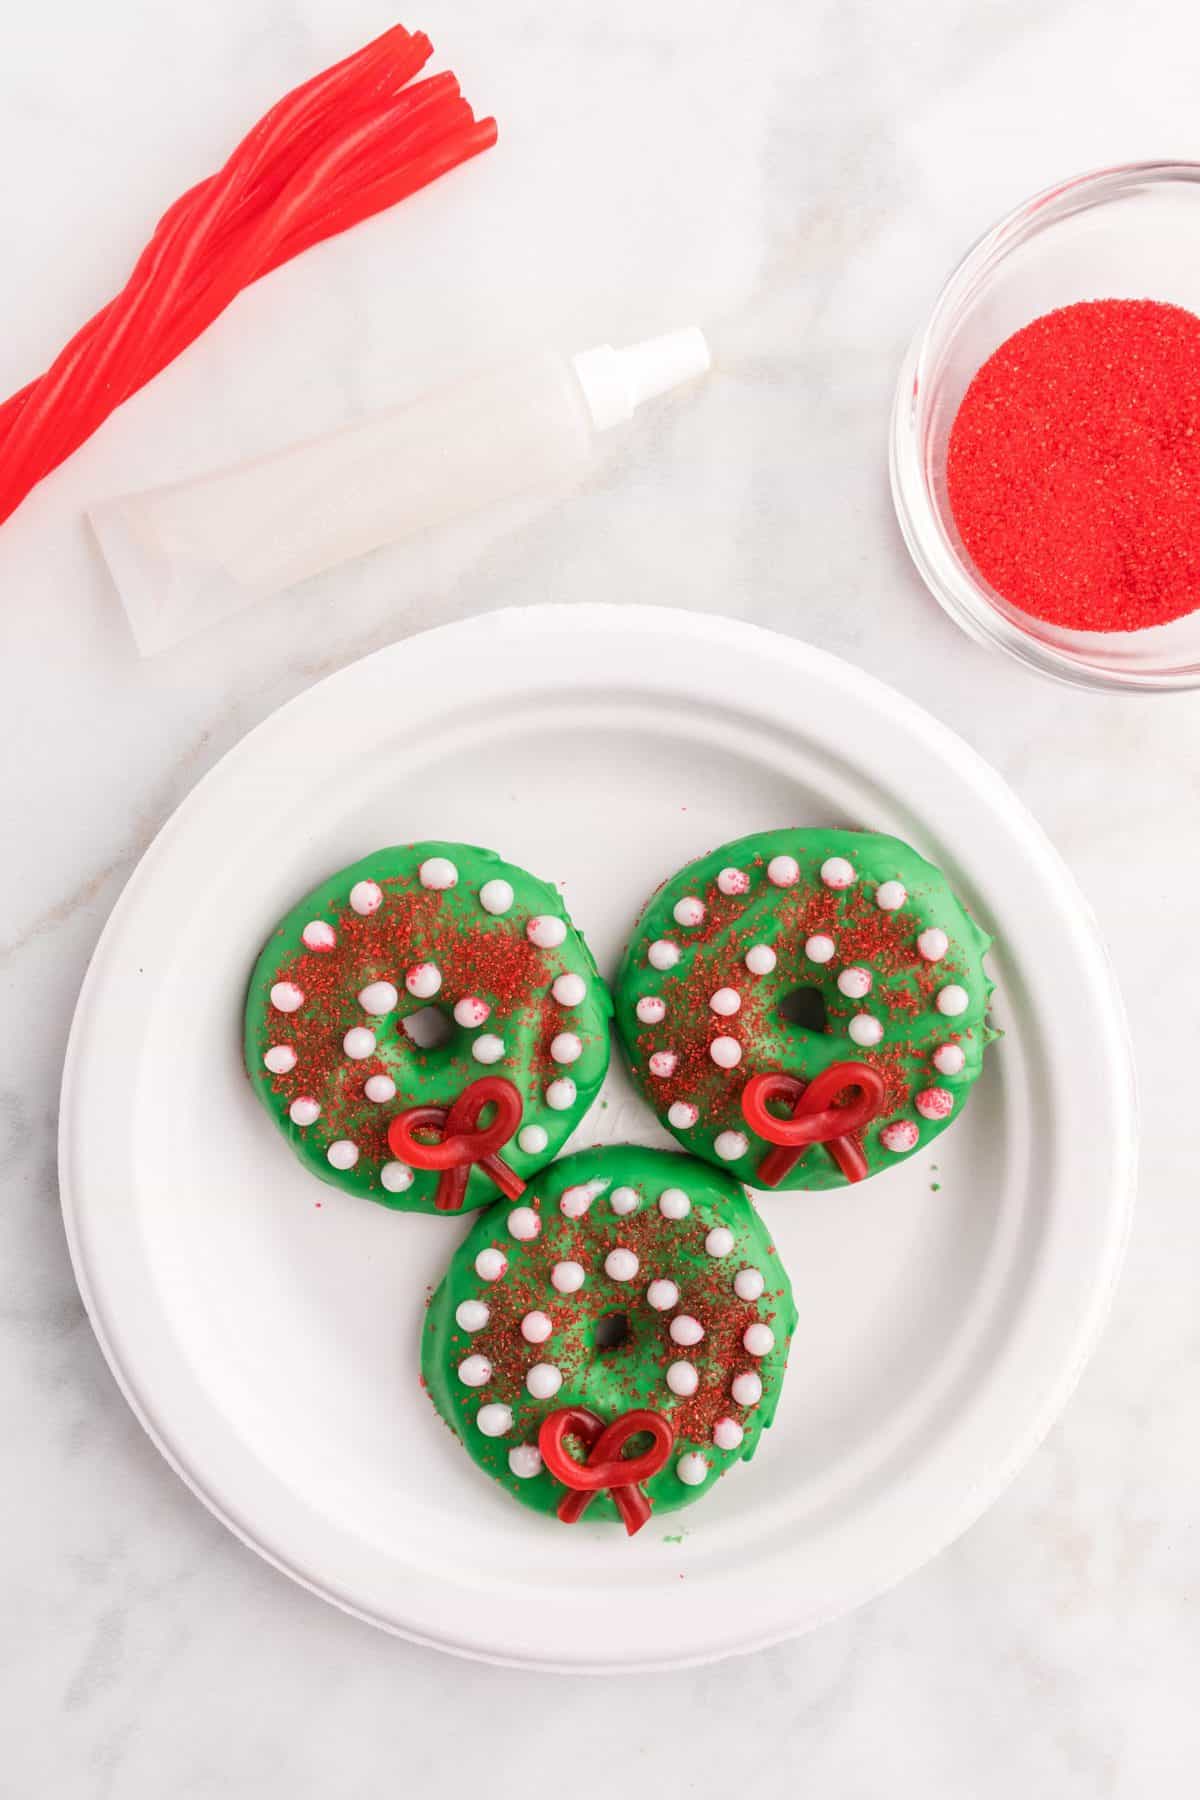
White Dots with Bow: Add the licorice bow while candy is still warm, then sprinkle red sanding sugar followed by white glitter gel dots.
Red Cookies
-
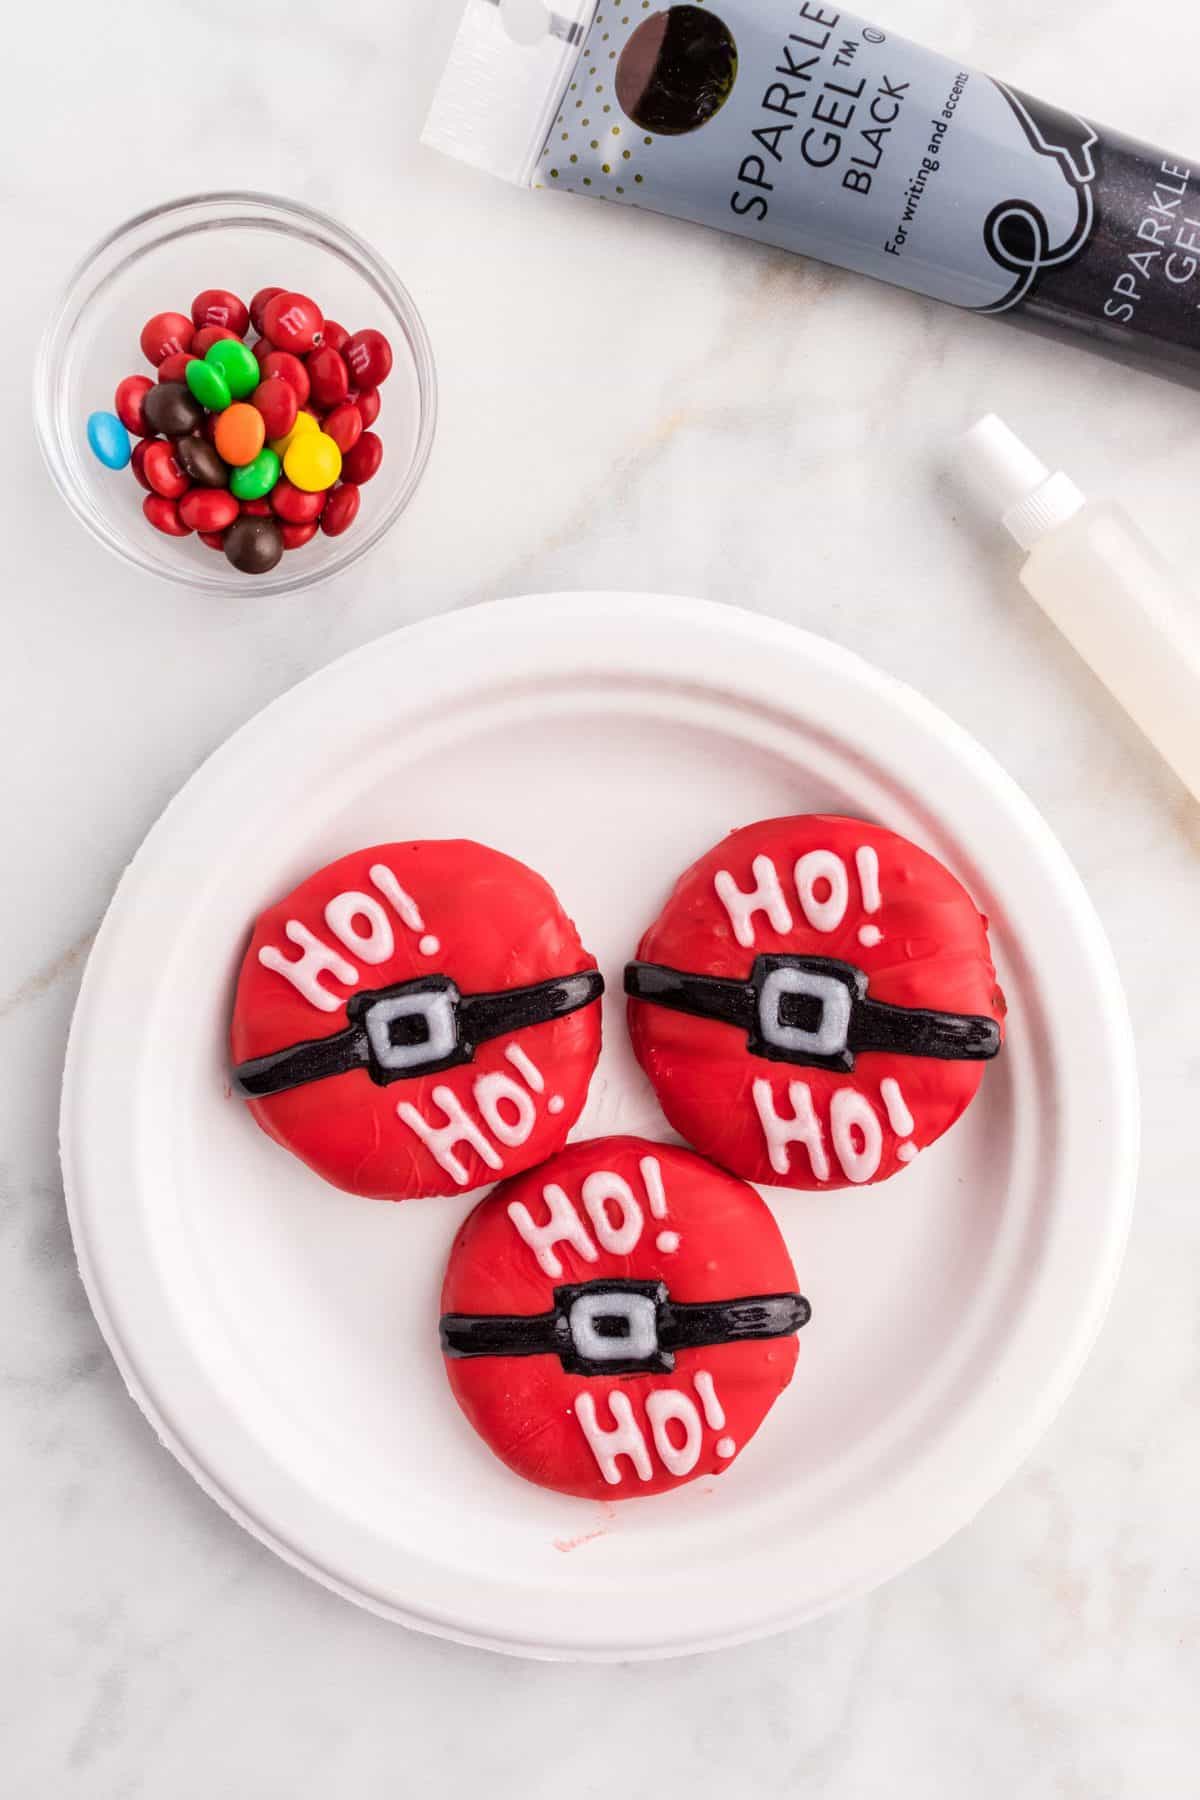
Santa Belt: Put a mini M&M into the hole so the gel doesn’t fall through. Use black glitter gel to draw the belt, including filling in the center buckle, then add white glitter gel to highlight the buckle. Then add the “Ho! Ho!” with white glitter gel.
-
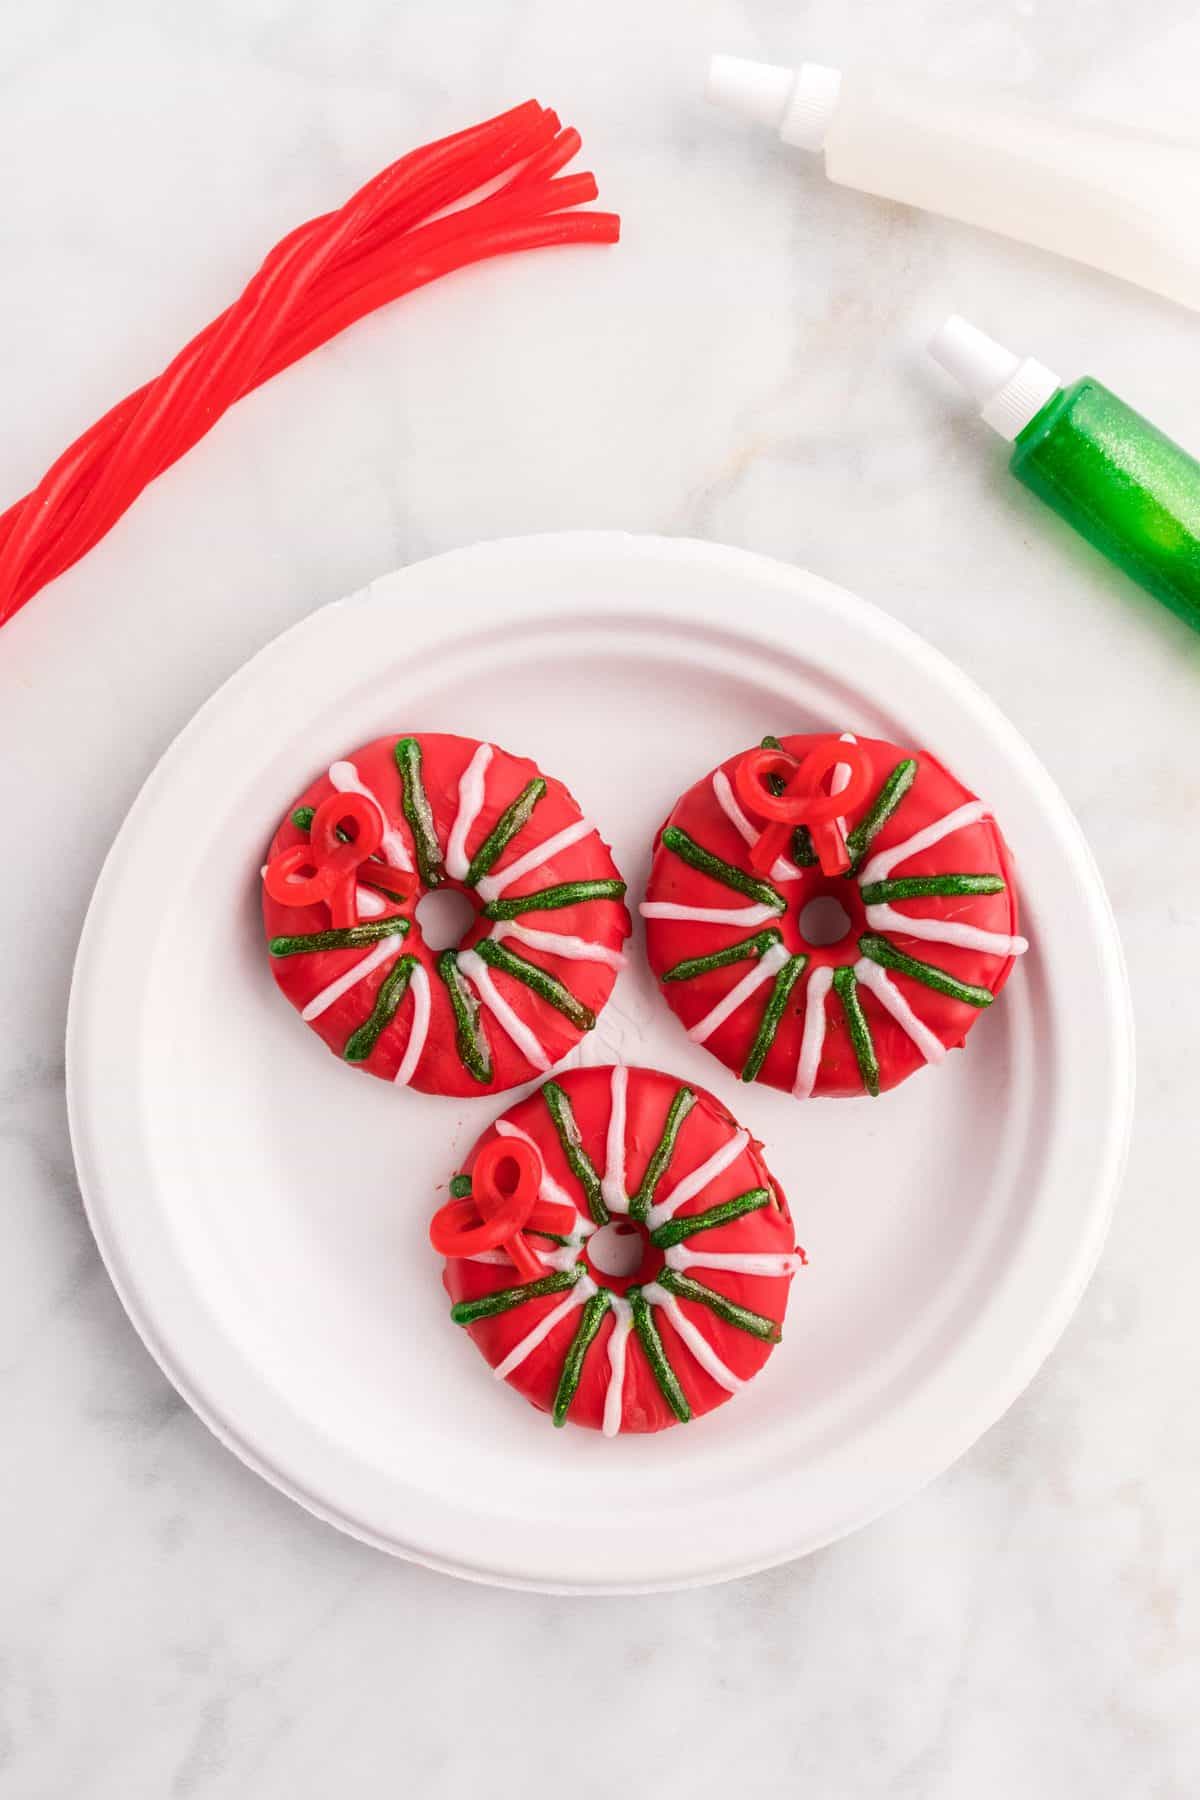
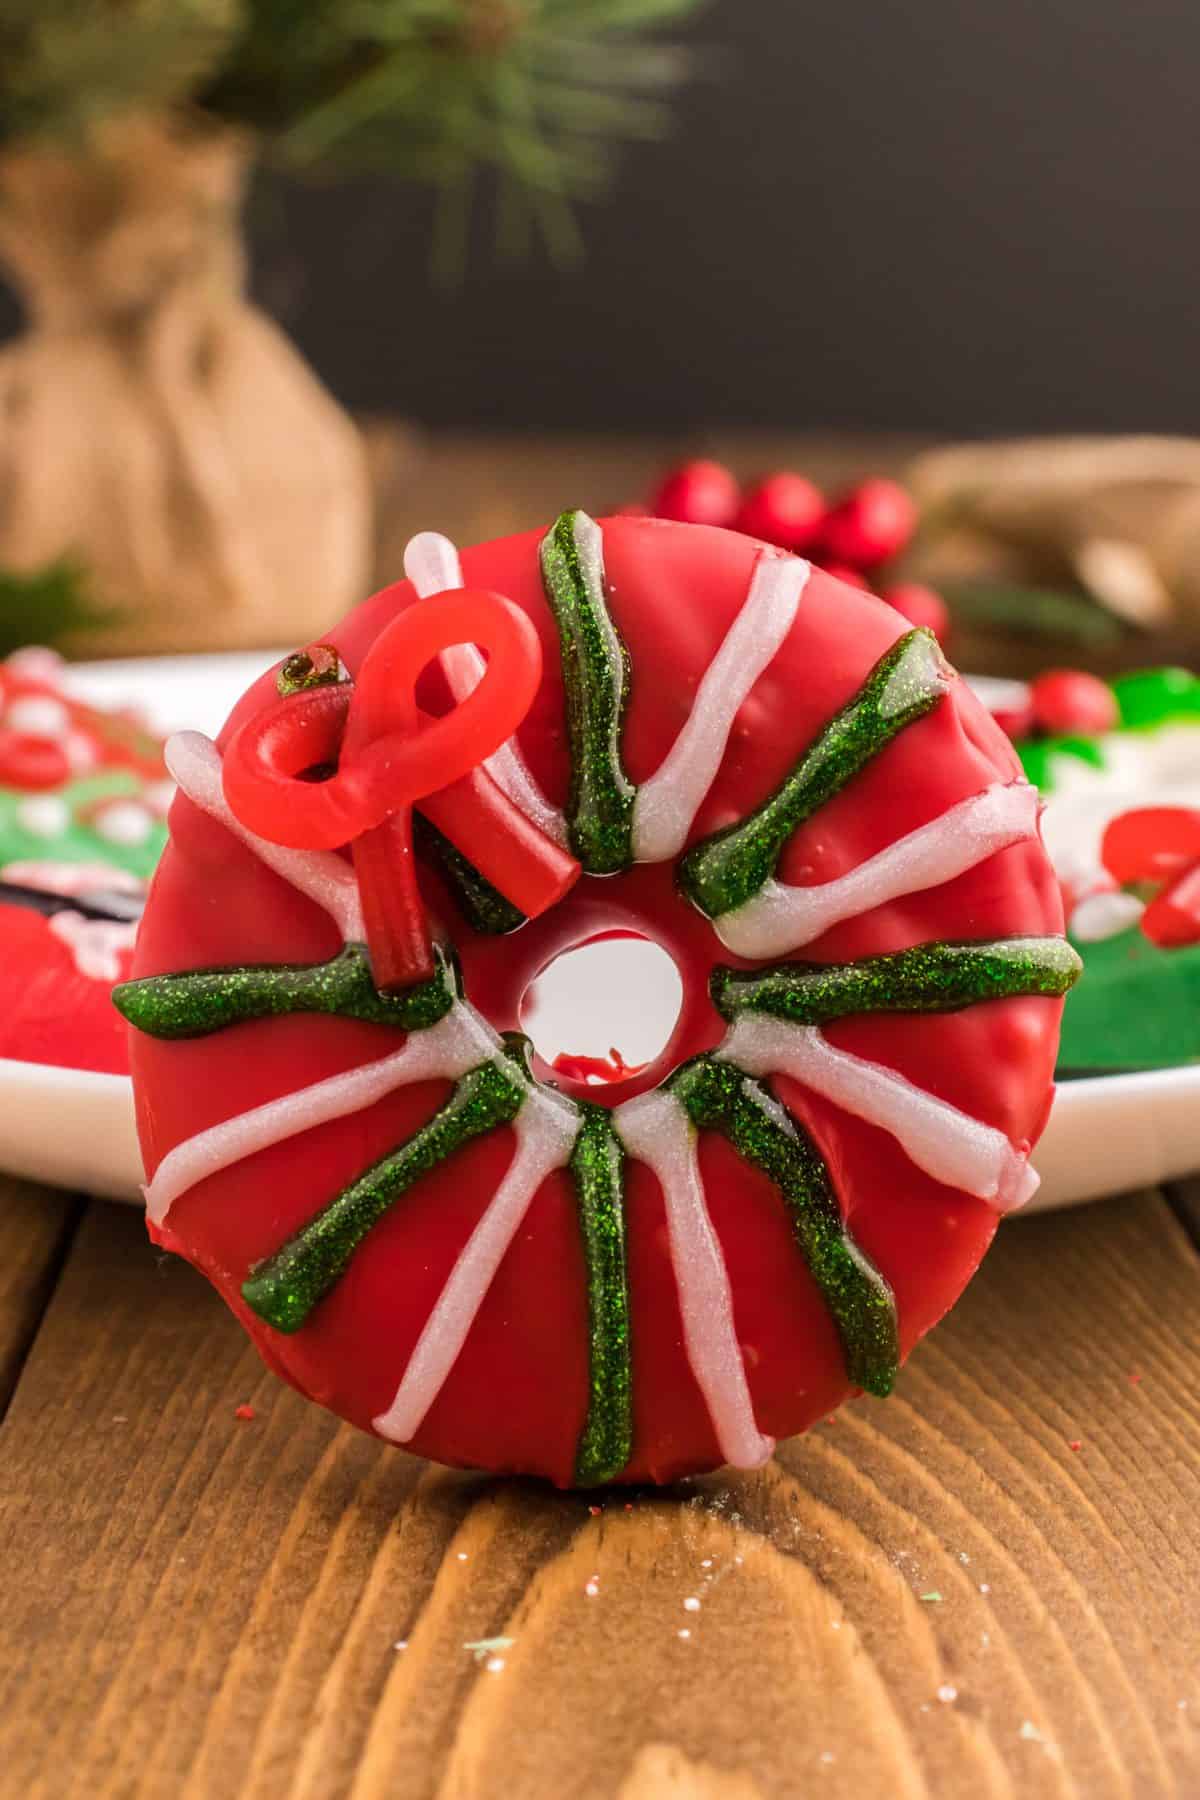
Green & White Stripes: Draw lines using the glitter gel, alternating between green and white, then add a licorice bow in the upper left.
TIPS
-
Store in a flat, airtight container
-
The glitter gel does not harden or dry fully, so be mindful of smearing decorations during transport
-
Pre-make the licorice bows to save time
-
Try placing the dipped cookies on a wire rack or back onto the pan after the excess has been drained
-
Begin adding decorations before the candy melt dries onto the cookies. This way, they will stick better.
-
The candy melts may be thicker than needed for the dipping process, if so, you can add vegetable shortening to make the consistency thinner
-
Use Pull N Peel licorice to make the licorice bows, because you will only use one string to make the bow.
-
The white candy melts may also melt the chocolate from the fudge stripe cookie, mixing and making it brown. To avoid this, put the cookie in top side up and add melted candy on top and pull straight up to drain off the excess and avoid excess mixing
STORAGE TIPS
To properly store your decorated Christmas Wreath cookies, we suggest:
-
Keeping them refrigerated when not being served
-
Storing in an airtight container
-
Storing them without laying them on top of one another to avoid smearing any glitter gel or affecting any of the decorations
-
They will last up to two weeks if stored properly
FREQUENTLY ASKED QUESTIONS
What are Christmas Wreath Cookies? These delicious Christmas Wreath Cookies use fudge striped cookies that are dipped in vanilla-flavored candy melts and decorated with sprinkles, candy, and edible glitter/sparkle gel! Decorate them any way you’d like to customize your own wreaths.
Why use Fudge Striped Cookies? These cookies already taste delicious on their own, but already having a hole in the middle makes them the perfect cookie to use as a wreath.
What if I can’t find white, red or green candy melts? If you can find white candy melts, red and green food coloring can be used with white chocolate to get the desired color. Otherwise, any color you’d like can be used!
Can you reheat leftover candy melts? Yes! Let the candy melts completely cool, then store them in an airtight container or plastic bag. Then keep them in a cool and dry place and do not freeze or refrigerate. Otherwise, moisture can be absorbed into the candy. Doing this will allow your candy to be re-melted!


- 3 12-ounce bags of different colored candy melts: green, red, and white (I used Wilton)
- 1 package of Fudge Striped Cookies I used the Keebler brand
- Black white, red, blue & green edible glitter/sparkle gel
- Mini M&M’s I only used the red ones
- Gold & white beads I used the Wilton 4-Cell Gold Sprinkles Mix
- Red & silver sanding sugar
- Pull ‘n’ Peel licorice
-
Line a cookie sheet with parchment paper.
-
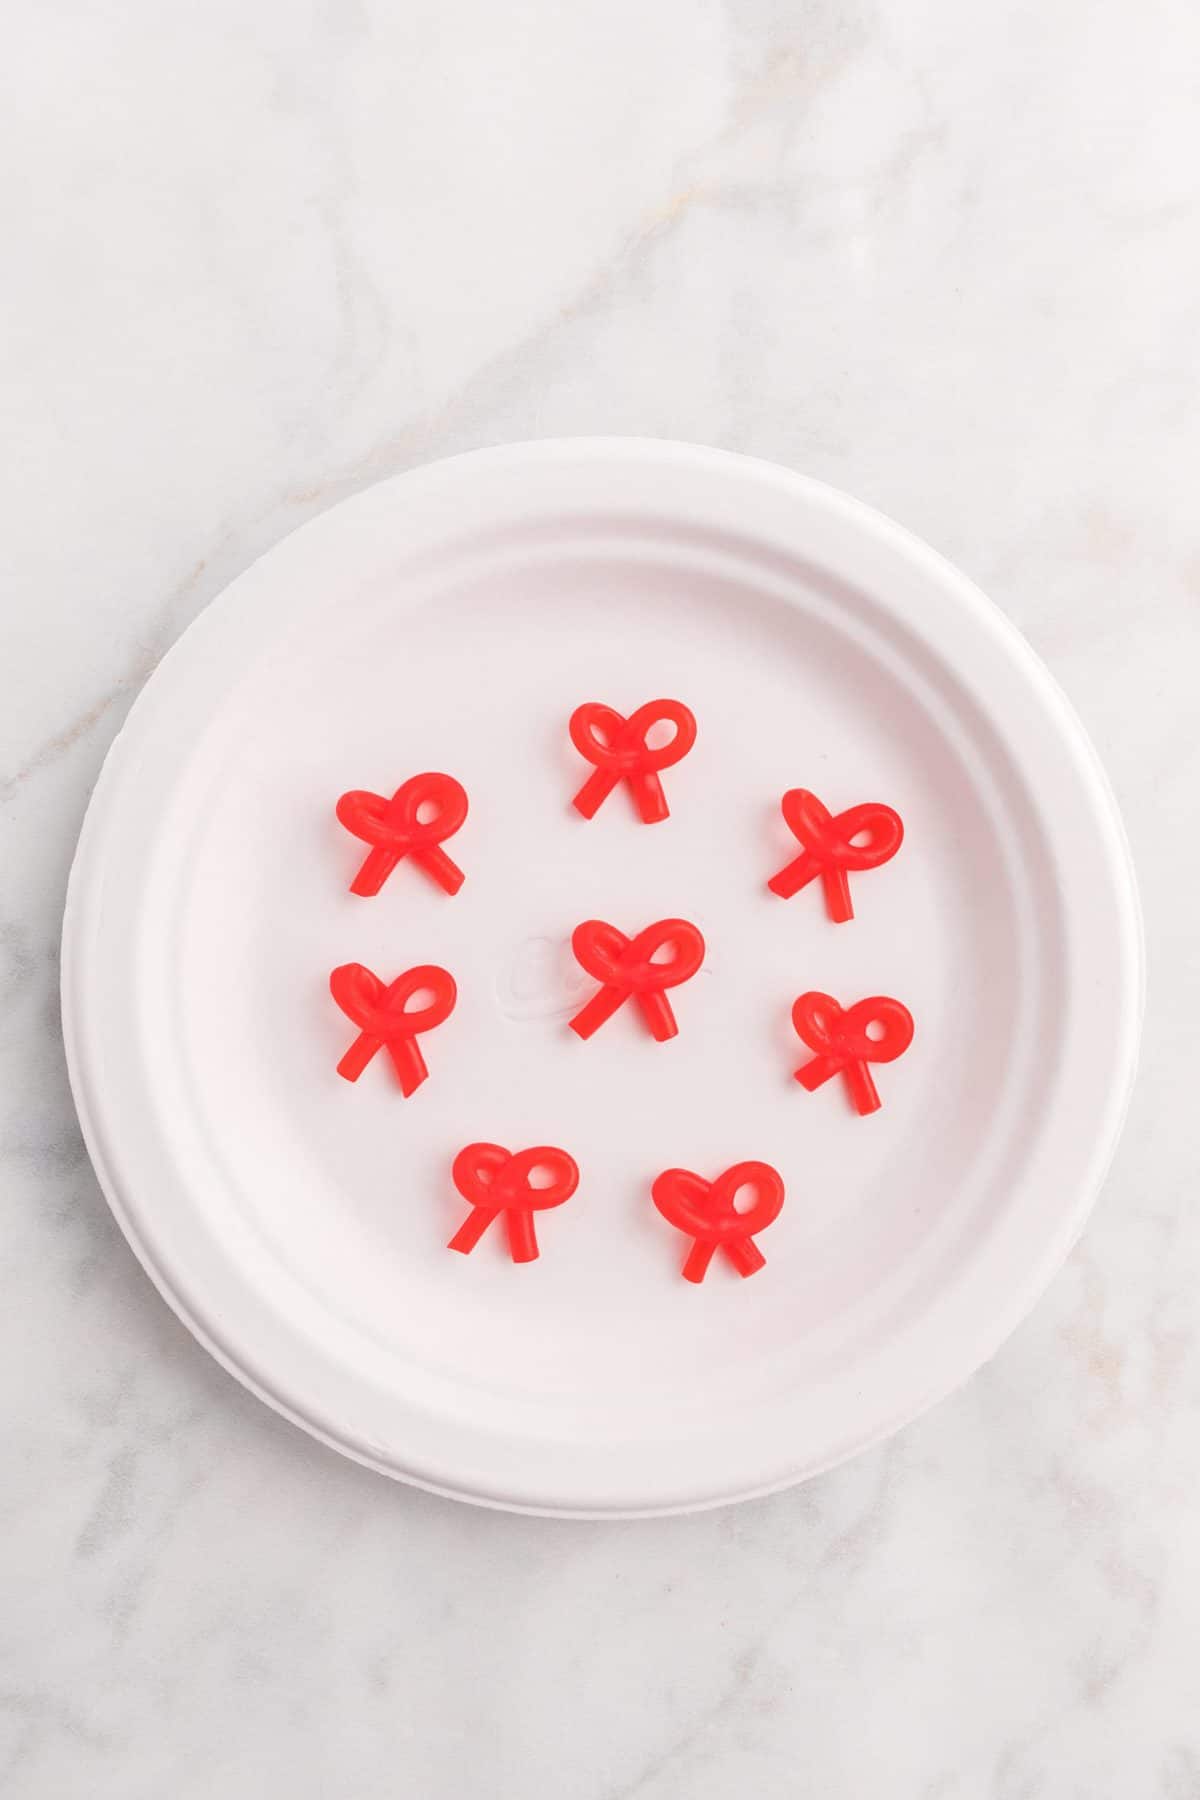
Prepare 8 licorice bows (4 for green and 4 for red cookies).
-
In a small microwaveable bowl, pour 1 ½ cups of one color candy melts. Then follow heating instructions on the back of the package. Make sure candy melts are all melted and the mixture is smooth.
-
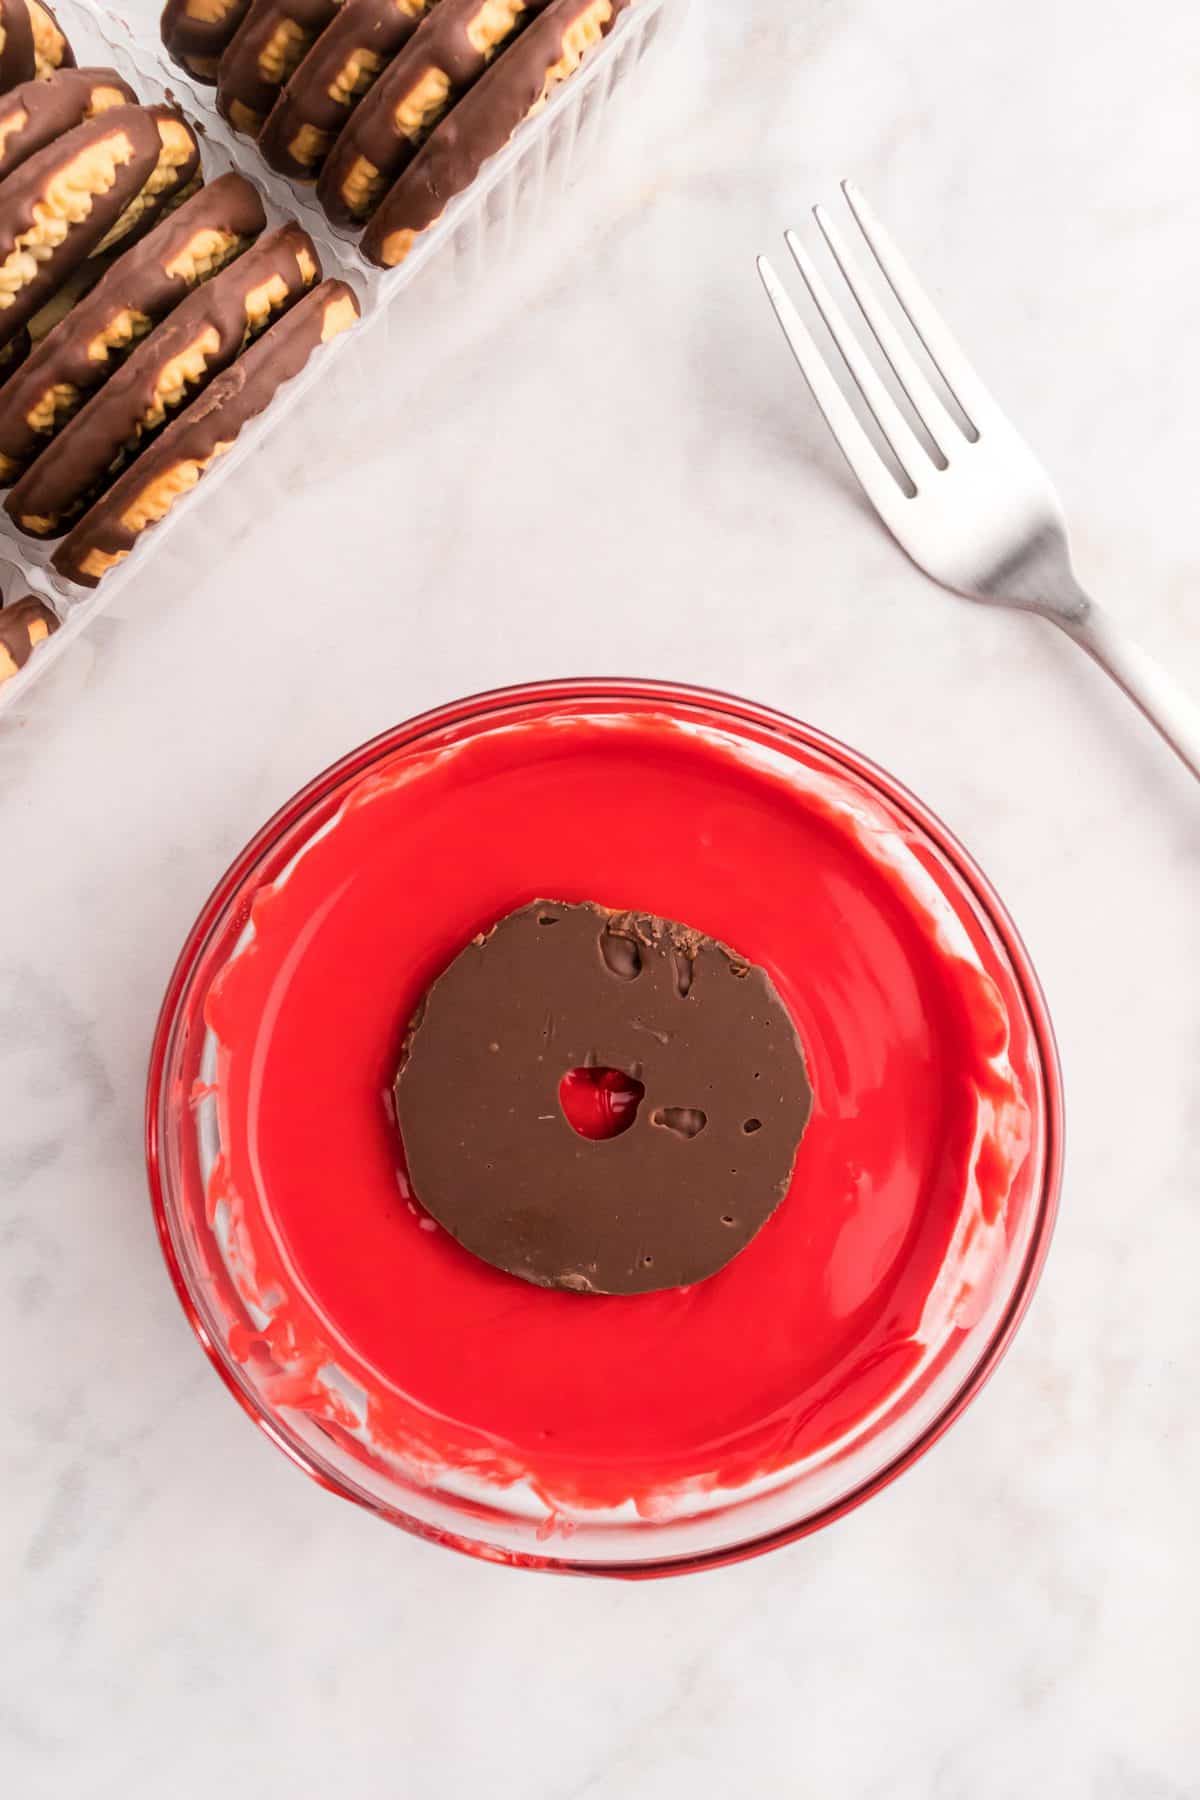
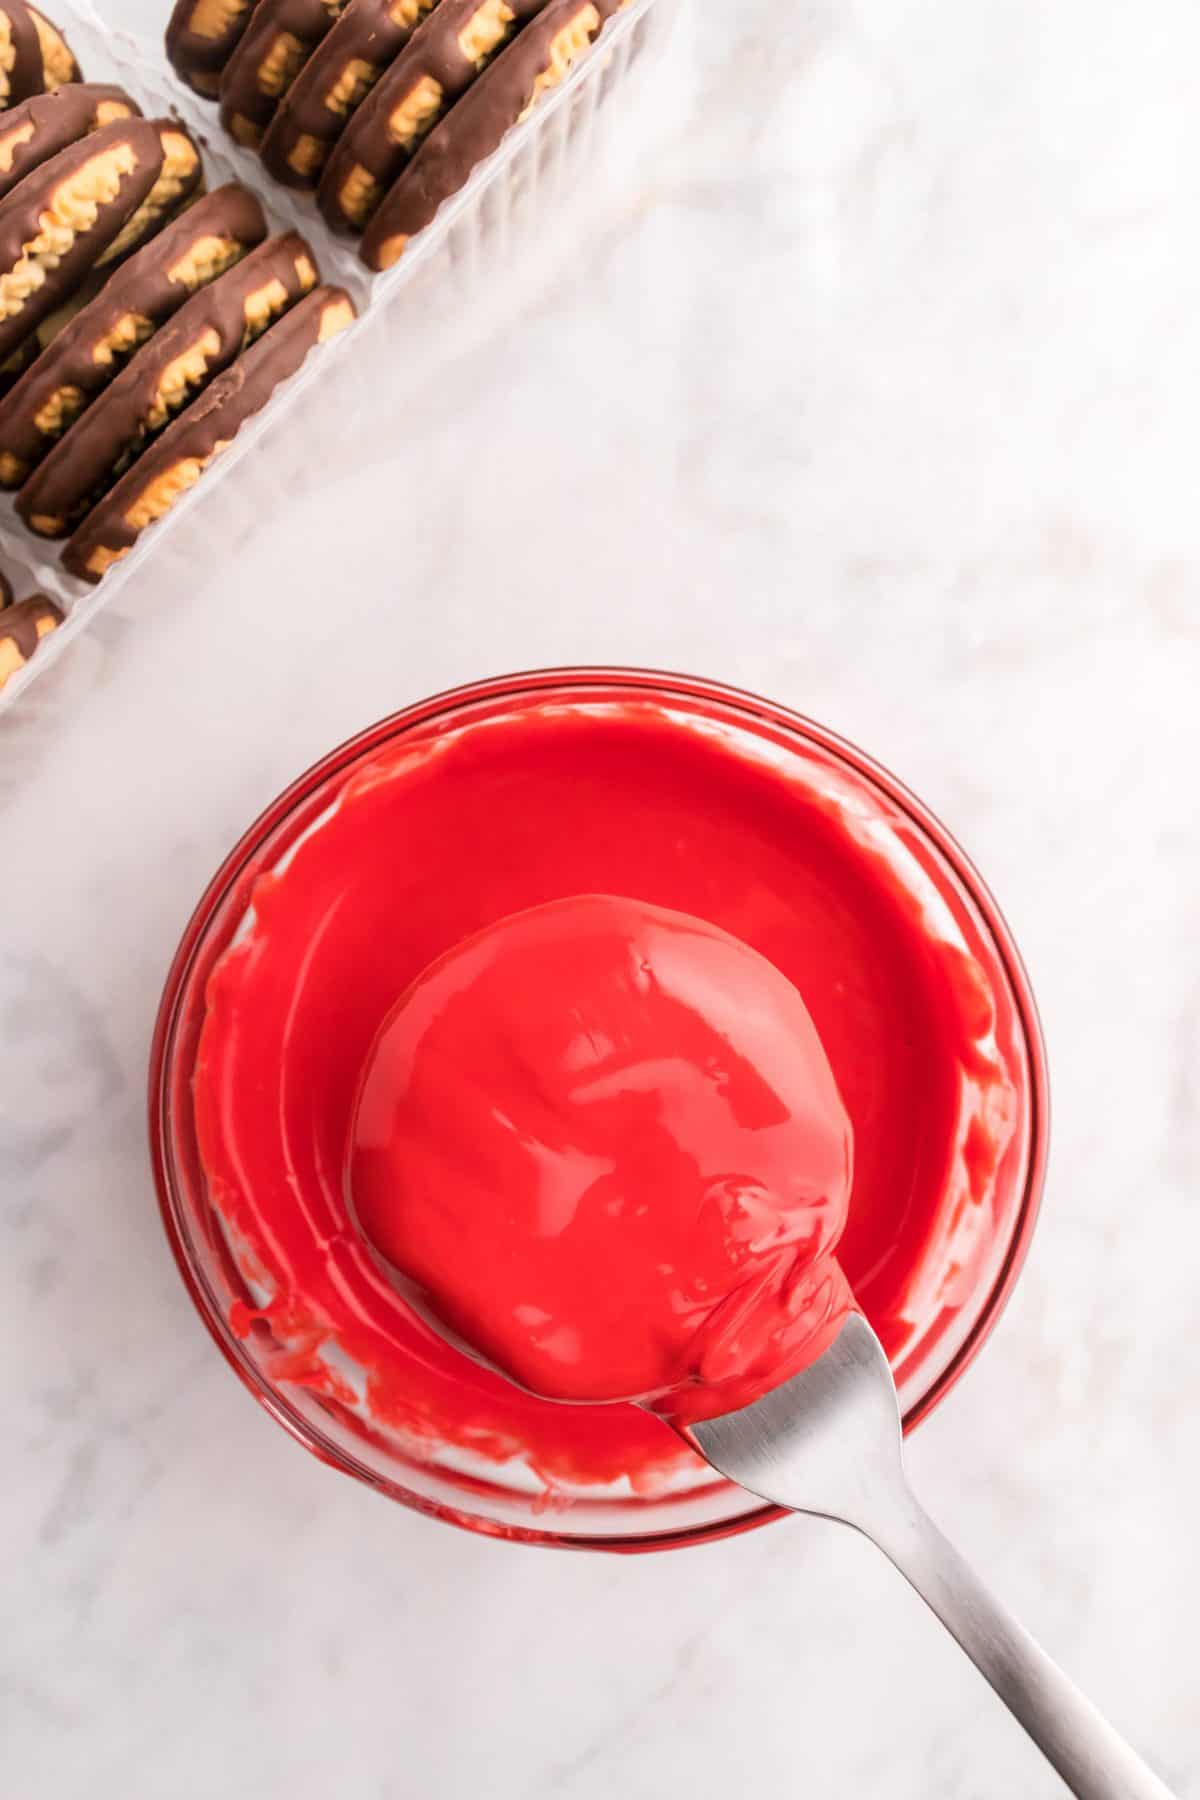
Pull out one fudge striped cookie from the package and place the cookie (top side down) into the candy melts. With a fork, flip onto the other side, making sure that the cookie is completely covered.
-
With the fork, lift the cookie out and gently shake off excess candy melts and continue until the top is smooth.
-
Place the cookie on the parchment paper and decorate! It’s best to decorate while the candy melts are still warm in order for the decorations to stick. This works best by dipping 2-3 cookies and then decorating those before continuing with the remaining cookies of that color.
-
Repeat the process with the other colors of candy melts.
-
Once decorated, let the cookies cool for the candy melts to harden. Put the tray in the refrigerator for 10 minutes for faster cooling.
-
Serve chilled or at room temperature.
-
Store in an airtight container for up to two weeks.
-
Holly Cookie: Use green glitter gel to draw the leaves, then add 3 red M&M’s.
-
Blue Snowflake: Sprinkle on silver sanding sugar, then draw snowflake with blue glitter gel.
-
Gold & White Beads: Draw red glitter gel lines, then add gold & white beads.
-
White Dots with Bow: Add the licorice bow while candy is still warm, then sprinkle red sanding sugar followed by white glitter gel dots.
-
Santa Belt: Put a mini M&M into the hole so the gel doesn’t fall through. Use black glitter gel to draw the belt, including filling in the center buckle, then add white glitter gel to highlight the buckle. Then add the “Ho! Ho!” with white glitter gel.
-
Green & White Stripes: Draw lines using the glitter gel, alternating between green and white, then add a licorice bow in the upper left.
Tips:
The glitter gel doesn’t harden all of the way, so be careful when eating and transporting. I would not recommend stacking.
To make the licorice bow, tear off one string of licorice. Take one end and make a small loop, then take the other end and make another small loop, while crossing the middle sections, like an “x”, over each other to make a bow. Firmly press together the part where the licorice crosses in order for it to stay. Then trim the bow ribbon to the desired length.
If candy melts are too thick, continue adding one teaspoon of vegetable shortening until desired consistency is achieved.
For the white candy melts, the chocolate from the cookie may start to melt and turn the white candy brown. The best way to avoid this is to place the cookie in the candy melts, top side up, and spoon the candy melts on top, remove, and shake off excess into another bowl so the chocolate drippings don’t mix with the white. This method is more effective for this cookie.

Leave a Reply