I find myself examining every photograph differently now. When I look at a cookbook, magazine, or internet, I look how the photographer styled the food, what they used as a background, and the way it was lit up. I bookmark styles that I really like and try to use them later in my own photographs. However, being an amateur aspiring photographer, recreating them can be quite difficult. Combine that with my lack of linens and plates, you get a very frustrating photo shoot!
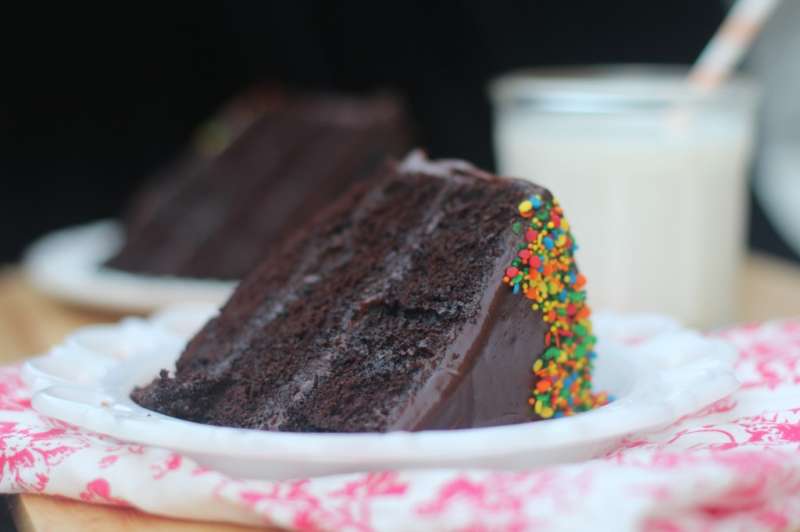
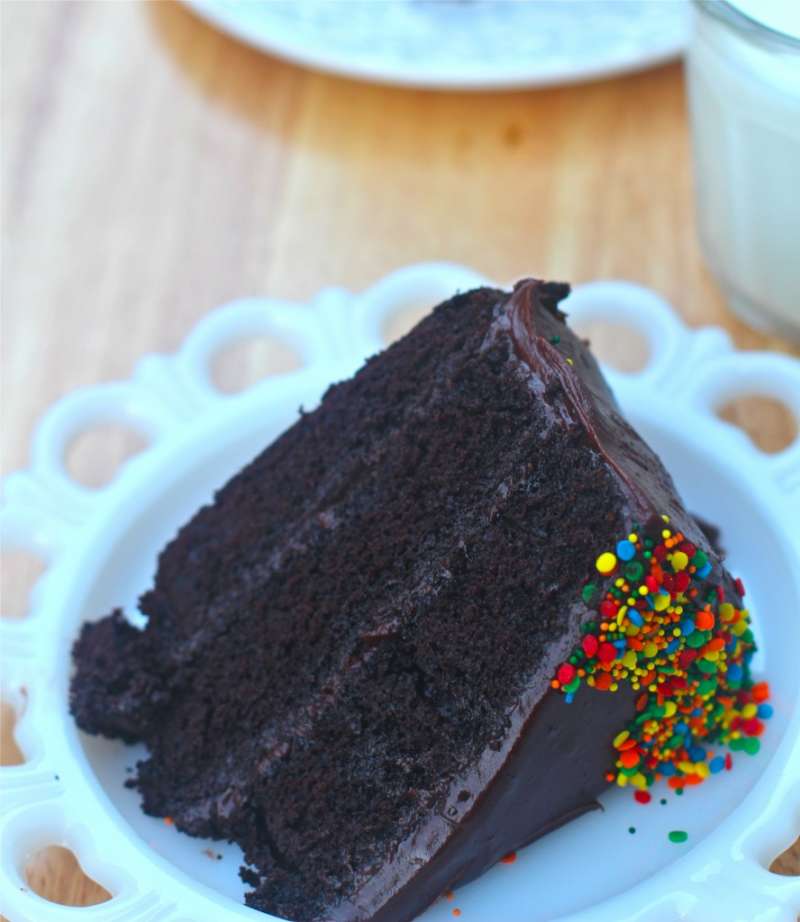
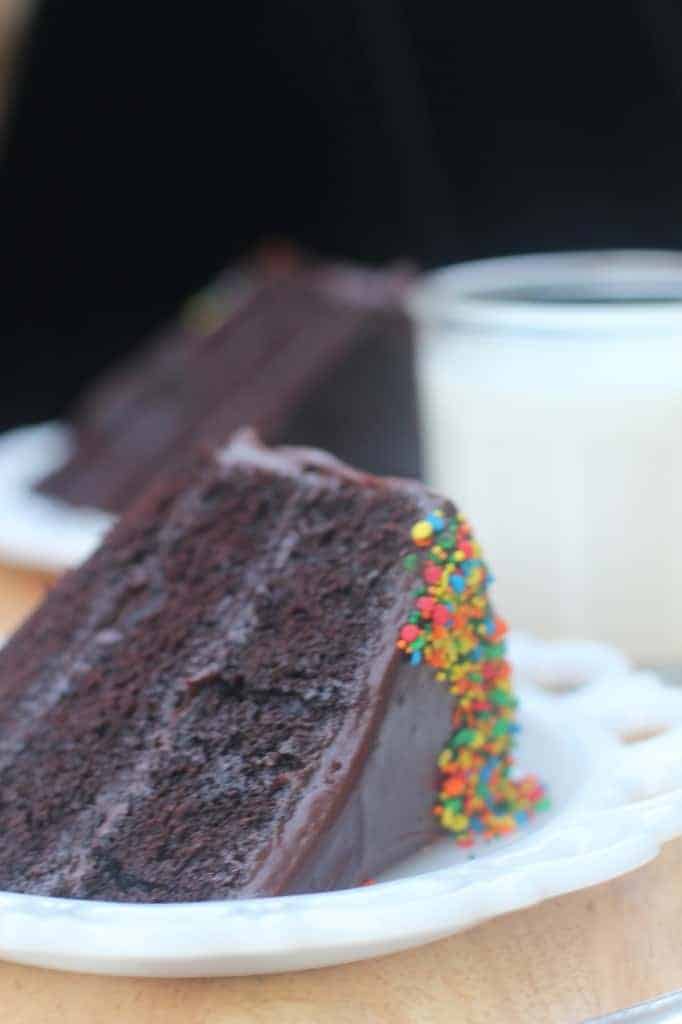
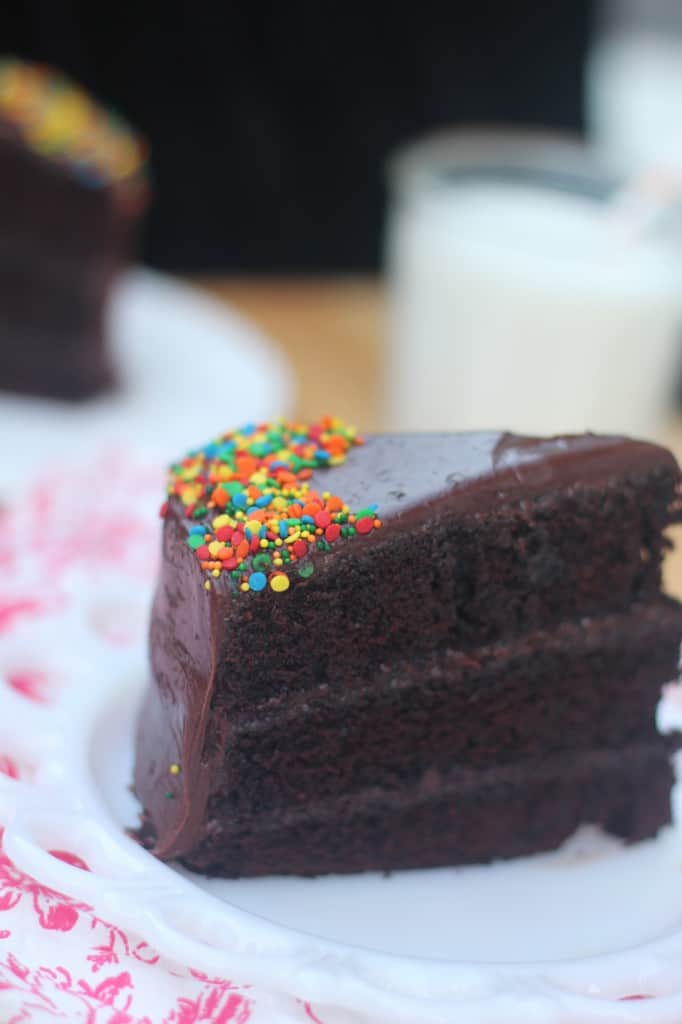
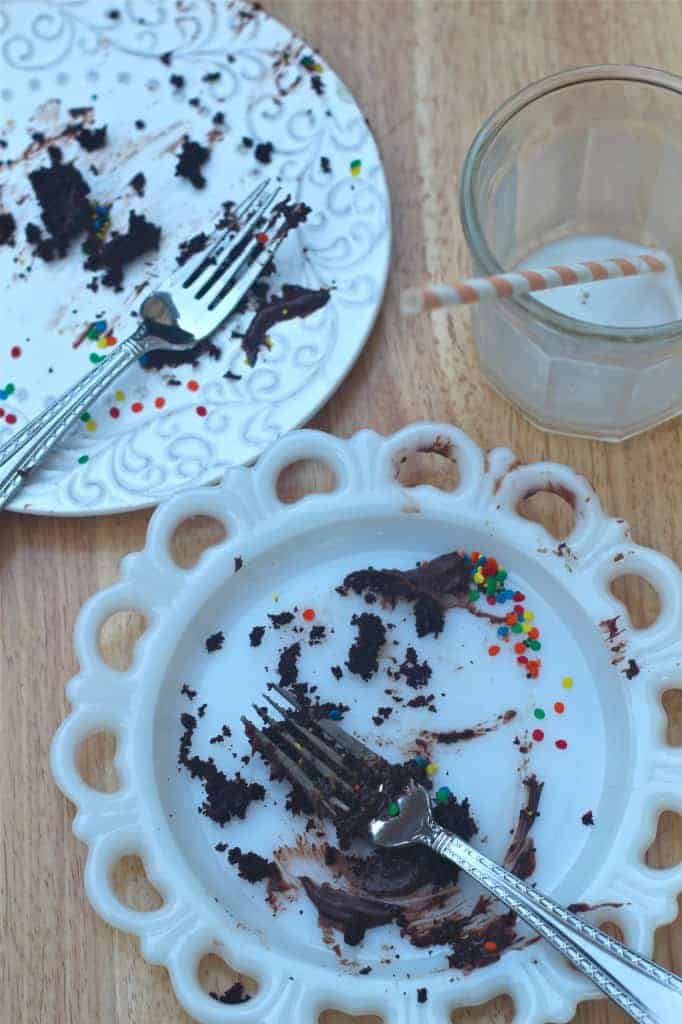
While photographing this cake, I was exceptionally frustrated. The pictures were just were not coming out right. The contrast of the background and the foreground were not working together. Thank goodness I had two huge pieces of moist chocolate cake in front of me to console my frustrations!
On to the cake. I have a go to recipe, but I was out of oil so had to either make another (umpteenth time) or find another recipe. I am glad I found another recipe, because not only was this cake simple and quick, it was absolutely delicious! The recipe is from foodess.com. I was in a rush so I followed her directions exactly, which I would totally recommend. This recipe needs not adjustments!
- 1 ¾ cups all purpose flour
- 2 cups granulated white sugar
- ¾ cup unsweetened cocoa powder
- 1 ½ teaspoon baking soda
- ¾ teaspoon salt
- 2 large eggs
- 1 cup buttermilk (or substitute by putting 1 tablespoon white vinegar in a cup then filling the rest up with milk; let stand 5 minutes until thickened)
- ½ cup butter , melted
- 1 tablespoon vanilla extract
- 1 cup freshly brewed hot coffee (or 2 teaspoon instant coffee in 1 cup boiling water)
- 4 oz . milk chocolate chips
- 3 cups confectioners’ sugar
- 1 stick unsalted butter
- 3 Tbs . heavy cream
- 1 teaspoon . vanilla extract
- ⅛ teaspoon . salt
-
Preheat oven to 350 degrees. Grease and flour two 9-inch baking pans (or line with parchment paper circles) and set aside.
-
In the large bowl of a standing mixer, stir together flour, sugar, cocoa, baking soda, and salt.
-
Add eggs, buttermilk, melted butter and vanilla extract and beat until smooth (about 3 minutes). Remove bowl from mixer and stir in hot coffee with a rubber spatula.
-
Batter will be very runny.
-
Pour batter evenly between the two pans and bake on middle rack of oven for about 35 minutes, until toothpick inserted in centre comes out clean with just a few moist crumbs attached.
-
Allow to cool 15 minutes in pans, then run a butter knife around the edges of each cake.
-
Place a wire cooling rack over top of each pan.
-
Wearing oven mitts, use both hands to hold the racks in place while flipping the cakes over onto the racks.
-
Set the racks down and gently thump on the bottom of the pans until the cakes release.
-
Cool completely before handling or frosting.
-
Melt the chocolate in a double boiler, constantly stirring with a wooden spoon to avoid burning. Stir until the chocolate is melted and smooth.
-
Let cool to room temperature.In the bowl of an electric mixer fitted with the flat beater, combine the confectioners’ sugar, butter, cream, the vanilla and salt and beat on low speed until combined, about 1 minute.
-
Stop the mixer and scrape down the sides of the bowl.
-
Increase the speed to medium and beat for 2 minutes, then reduce the speed to low.
-
Add the chocolate and beat until combined, then increase the speed to medium and beat for 1 minute more.
-
If the frosting is dry, add more milk, 1 tsp. at a time, until it is creamy but still holds peaks. Makes about 2 cups.

Alison
After recently starting a blog, I feel the same way about food photography...every picture in a magazine or cookbook is now something I'm trying to live up to. So, I hear ya!
pattyabr
yum chocolate cake...I'd love to try that recipe
bakearama
The photos look great... they really sell the cake which is the important point!
I find the same though.. oh for a spotlessly clean kitchen with endless plain backdrops to use for photos...