This shop has been compensated by Collective Bias, Inc. and its advertiser. All opinions are mine alone. #PlanesToTheRescue #CollectiveBias
Christmas is only a few days away which means a few things. First, I still have a bit of shopping left to do and loads of wrapping to complete. Second, I have grocery shopping and meal prep as well as baking for family and friends. Finally, I have three kids at home that tend to be bored 5 minutes after waking up.
Keeping the kids occupied and content for 2 straight weeks is no easy task. When we lived in the apartment, I always had a bunch of kids over. My (childless) neighbors would always comment about the craziness. I never minded because when they had friends over there were occupied amongst themselves. No, "Mom, I'm bored" every five seconds. Now that we moved into a neighborhood with virtually no kids and the kids go to private school in another city, playdates have to be planned.
Therefore the excitement and buildup before a playdate is intense. My daughter (mini me in every way) likes to go over the top and "plan" her playdates. This past weekend, I decided that we would have a movie night with her friends and their brothers. This was the perfect opportunity to do something fun! In an effort to keep them busy, the kids helped with everything involved in the preparation.
My 6 (going on 16) year old daughter is a budding blogger, so she was in charge of making the food and photographing it! Didn't she do a great job!? She had decided she wanted to do a little boys movie, for her brother and her friend's brothers, and a separate girls table for her and her friends. I was so impressed with how the tables came out!
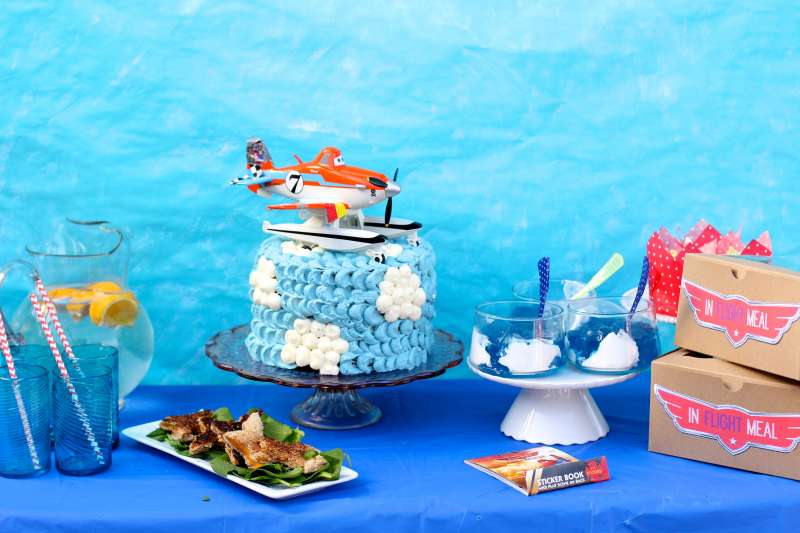
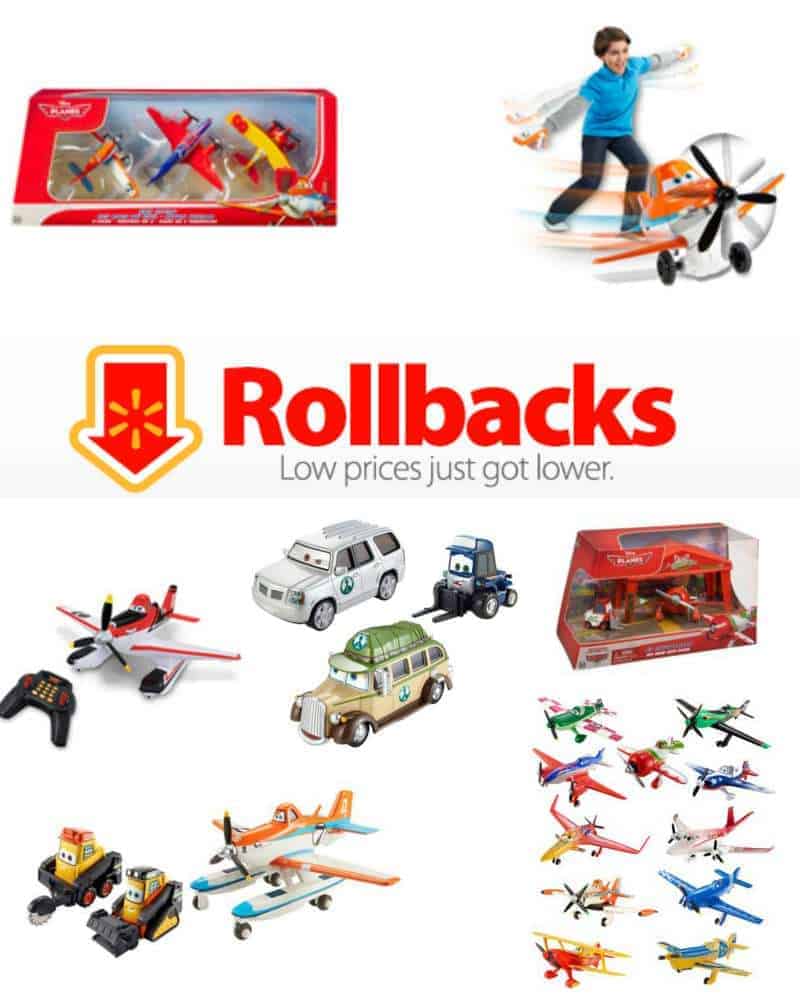
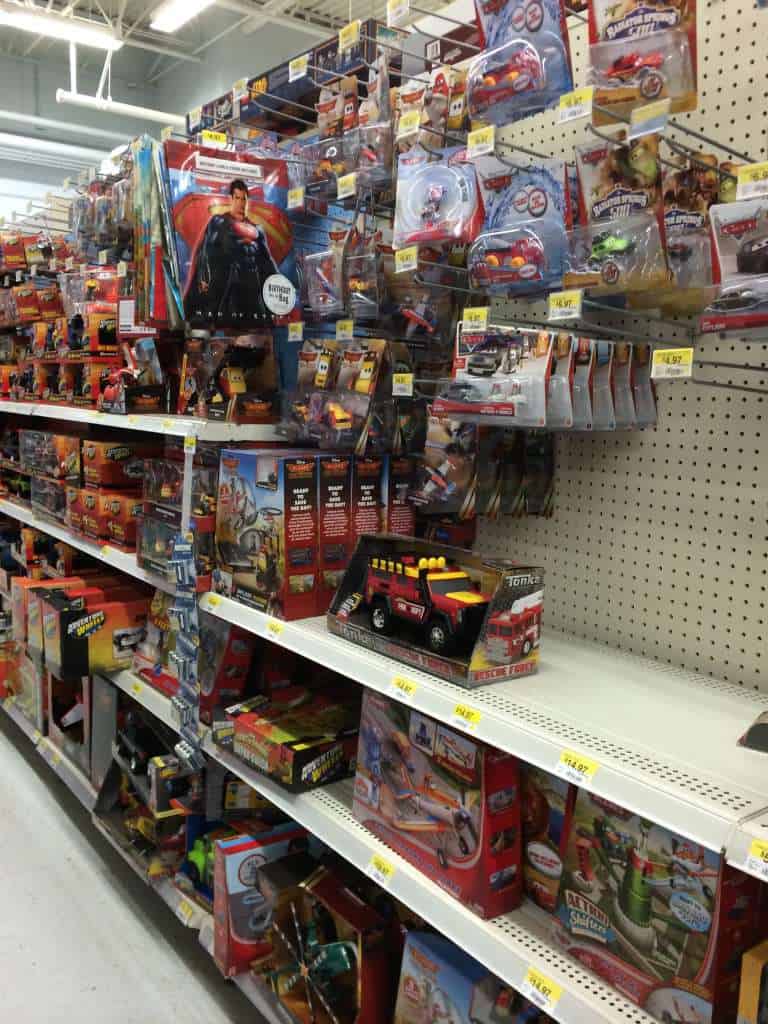
For the boys table we decided to do a Disney Planes Movie theme. This is Baby Ben's favorite movie and tons of the toys were on Rollback at Walmart. The sale could not have come at a better time! Let's just say that there will be a very happy boy on Christmas!
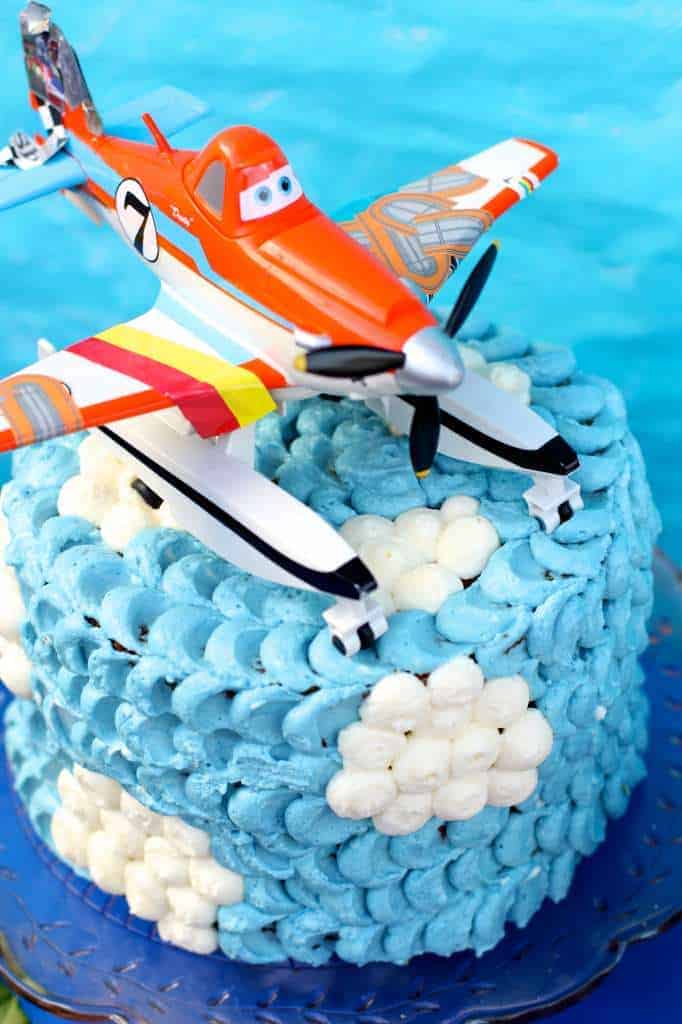
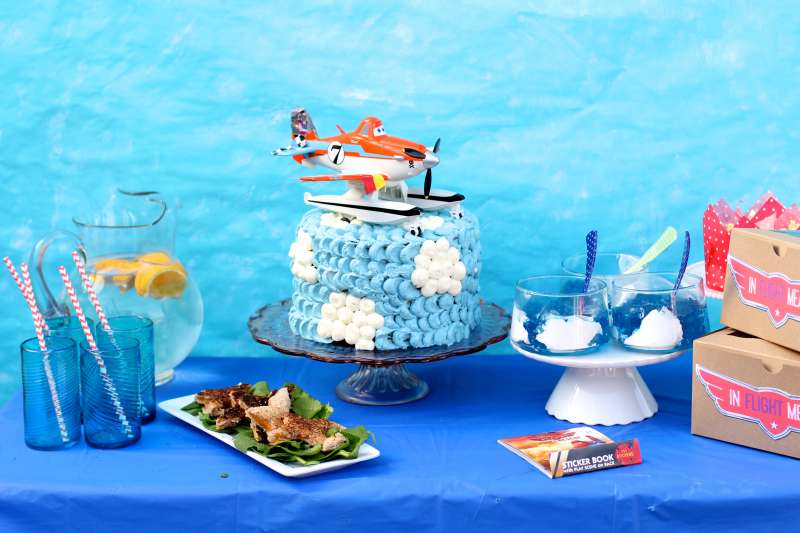
We then decided to make a sky cake. This cake is so easy to make, that my 6 year old decorated it! To frost the cake, simply make the frosting below. Once done, remove ⅓ of white frosting and place in a piping bag fitted with a large round tip. Then, add the blue coloring to the remaining frosting and place in another pipping bag fitted with a large round tip.
To start, pipe a vertical line of icing dots. Place the off-set spatula in the middle of the dot, press down and drag. Continue around the cake. To add clouds, we simply did the icing dots in the shapes of clouds then surrounded them with the dragged blue dots. See, it is super easy! This whip cream frosting is room temperature stable and does not need to be refrigerated (unless you plan on keeping it for like three days).
To fill up the table, we also made some plane shaped grilled cheese sandwiches, whip cream cloud Jell-o skies, and popcorn of course.
For a fun activity, we made In Flight Meal boxes that the kids got to decorate with Plane stickers and fill before the movie started. For the In Flight labels click here.
The boys ended the night by playing with this really fun Disney Planes Flight to the Finish Speedway that was on Rollback to $24.97!
All in all the playdate was a huge success. While the kids were busy munching and watching a movie, I was able to bake and decorate all of the sugar cookies I need for the cookie plates. I would say that is a double score!!!!!
- 4 pre-baked 8in cake layers
- 16 ounces (2 packages) cream cheese, room temperature
- 1 cup white sugar
- 1 teaspoon vanilla extract
- 1 teaspoon almond extract
- 4 cups heavy whipping cream
- blue food dye
-
Beat cream cheese and sugar on high until light and fluffy.
-
Add extracts and mix.
-
With mixer reduced to low, slowly add whipping cream.
-
Increase mixer speed to high and beat until stiff peaks form.
-
Add a layer of frosting in between each cake layer and stack.
-
Remove ⅓ of white frosting and place in a piping bag fitted with a large round tip.
-
Add about 10 drops of blue food dye to the remaining frosting and mix until combined.
-
Place blue frosting in a piping bag fitted with the same sized large round tip as the white frosting.
-
To start, pipe a vertical line of icing dots.
-
Place the off-set spatula in the middle of the dot, press down and drag.
-
Continue around the cake.
-
To add clouds, we simply did the icing dots in the shapes of clouds then surrounded them with the dragged blue dots.
-
Do the same on the top of the cake.





summerdf
Your cake is so beautiful! The whipped cream frosting sounds so delicious, it's my favorite type of frosting. And what a fun in-flight snack box! I love it all! Your daughter did a great job making the food! #client